
1993 Ford F-150 Headlight Removal / Install w/PICS
#1
 09-03-2011, 01:12 PM

1993 Ford F-150 Headlight Removal / Install w/PICS
Hello troops,
I decided to contribute to the forum by doing a some what half *** write up on removing and installing replacement headlights. Installation was not really all that difficult, however I can not for the life of me figure out why Ford even entertained this type of mounting / housing for forward illumination needs. Anywho....here we go.
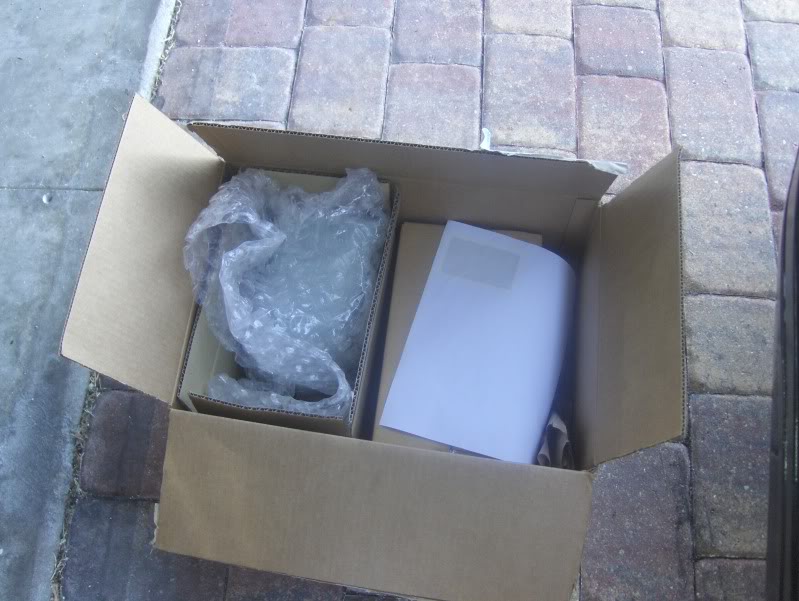
Purchased a new set of replacement lights off eBay, from seller : nationalautopart for 38.27 shipped....really good price in my opinion and the parts are good quality!
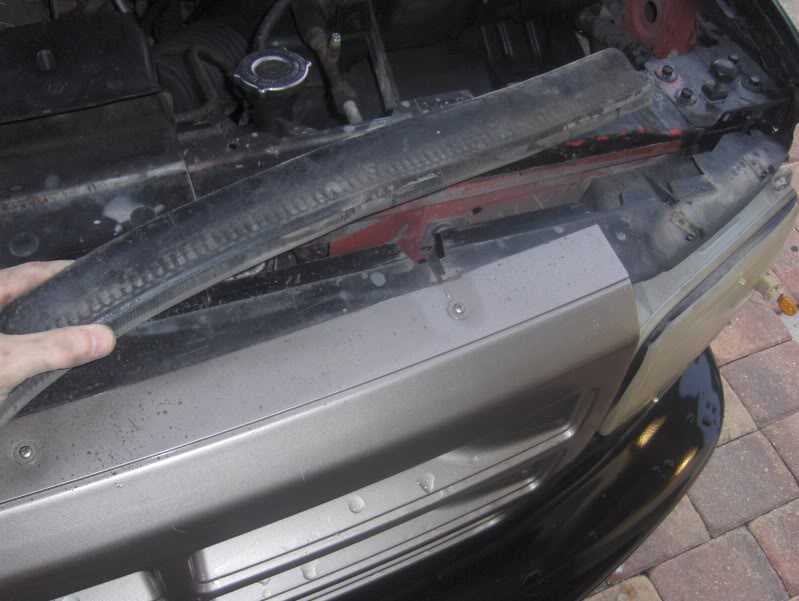
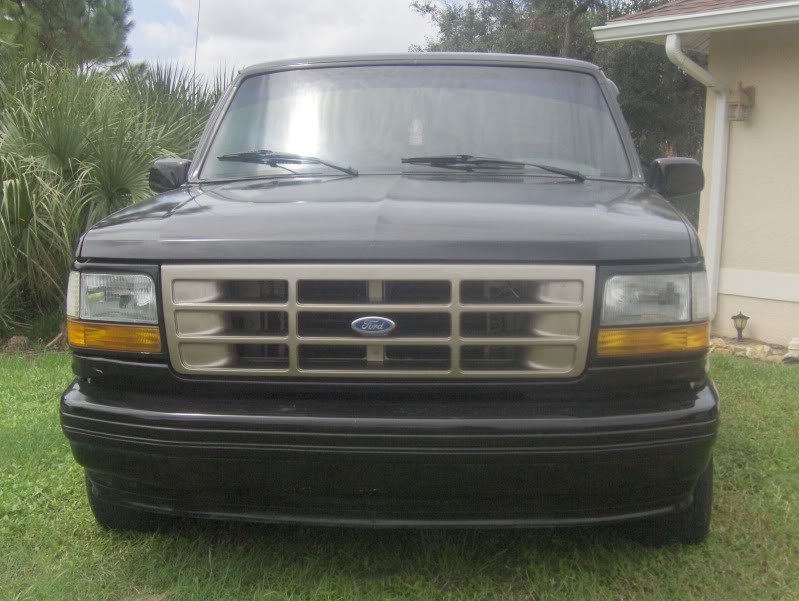
Here is a pic of the truck at the start of the swap...nasty and shows trucks age
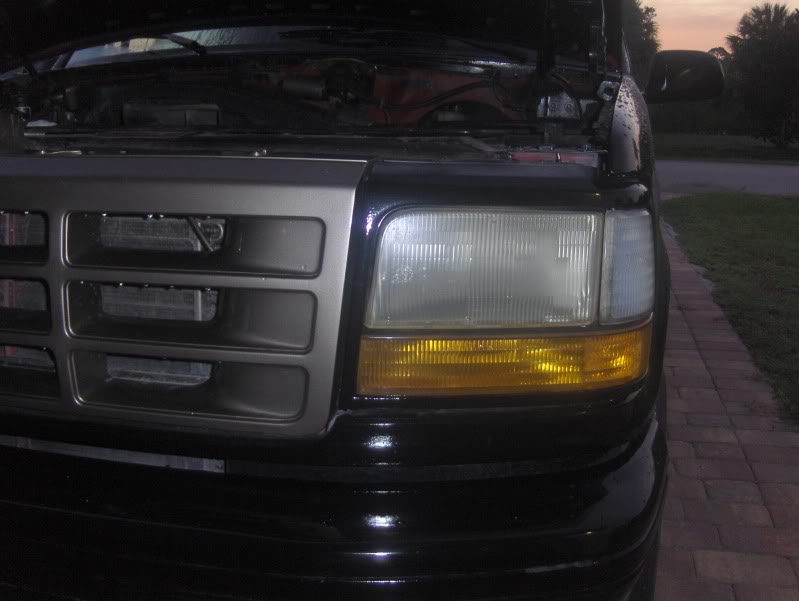
Identify two screws on top of bezel and remove
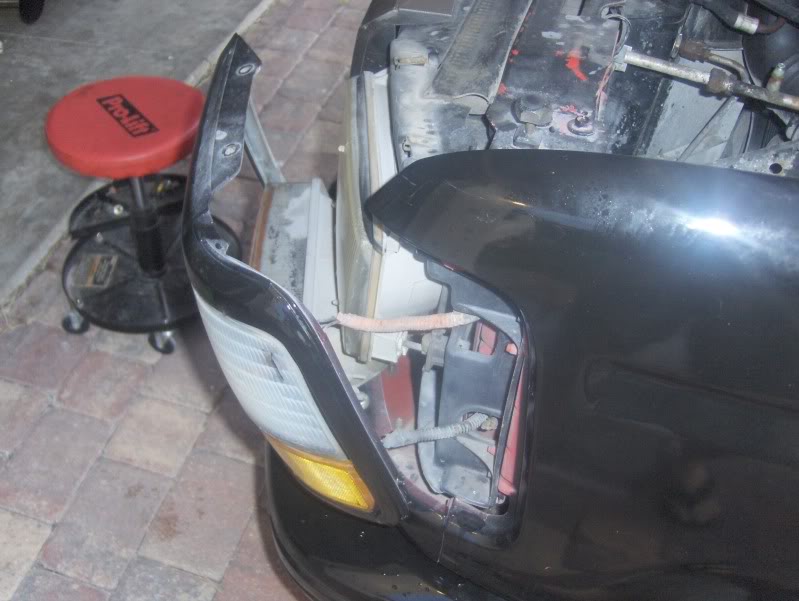
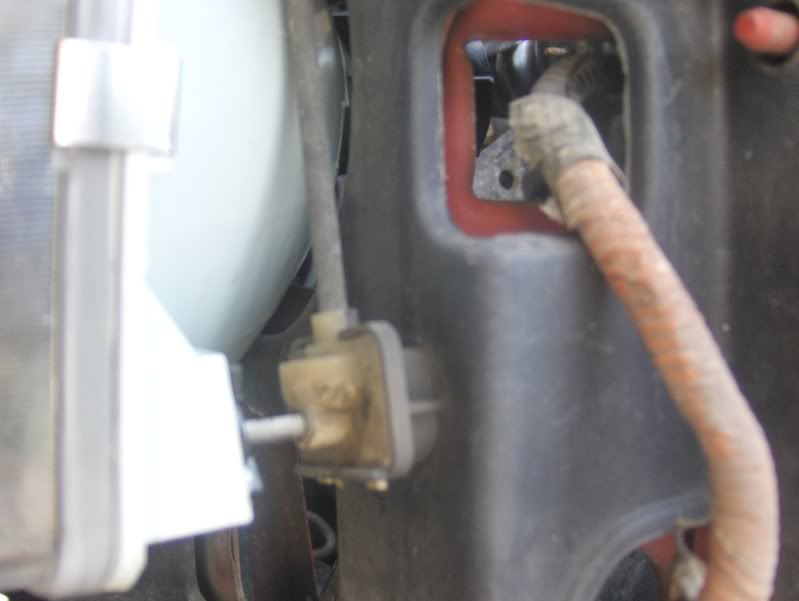
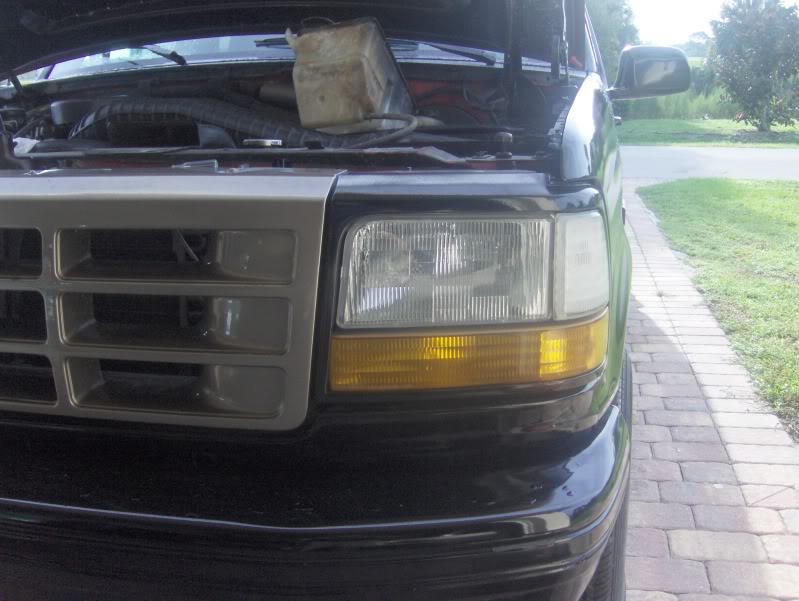
Remove single 11mm bolt from washer resivoir, unplug harness and place entire resvoir to the side
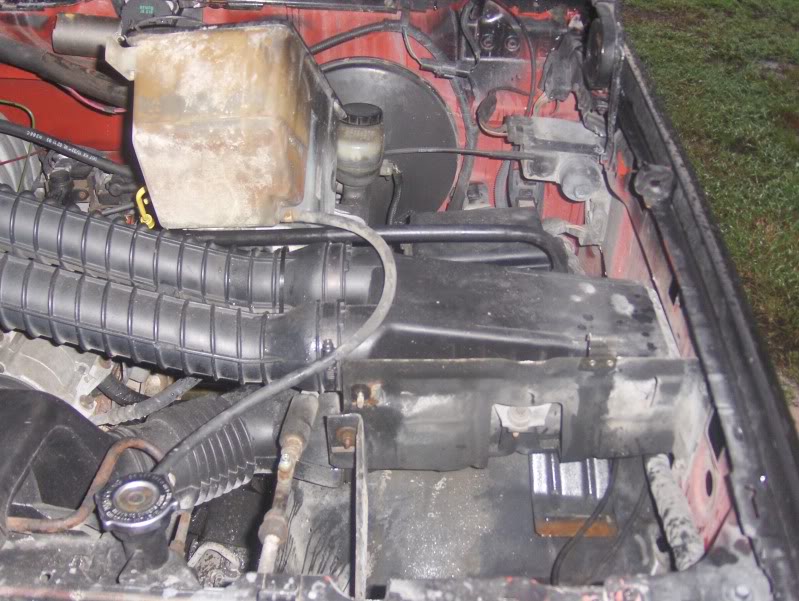
Now you have some room to work in there......
****Unsure if this forum allows huge pic heavy single posts, so will continue by way of reply button.
I decided to contribute to the forum by doing a some what half *** write up on removing and installing replacement headlights. Installation was not really all that difficult, however I can not for the life of me figure out why Ford even entertained this type of mounting / housing for forward illumination needs. Anywho....here we go.
Purchased a new set of replacement lights off eBay, from seller : nationalautopart for 38.27 shipped....really good price in my opinion and the parts are good quality!
Here is a pic of the truck at the start of the swap...nasty and shows trucks age
Identify two screws on top of bezel and remove
Remove single 11mm bolt from washer resivoir, unplug harness and place entire resvoir to the side
Now you have some room to work in there......
****Unsure if this forum allows huge pic heavy single posts, so will continue by way of reply button.
#3
09-03-2011, 01:26 PM
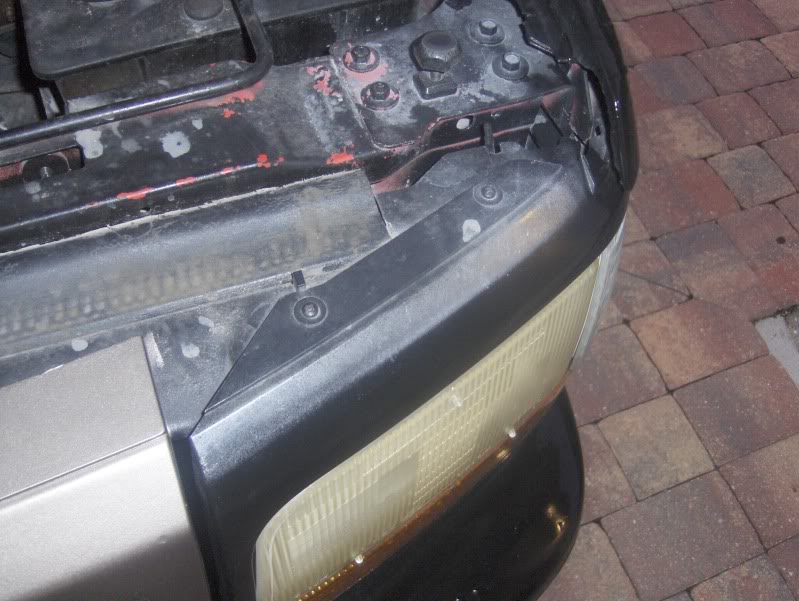
Pull bezel forward and unplug harnesses
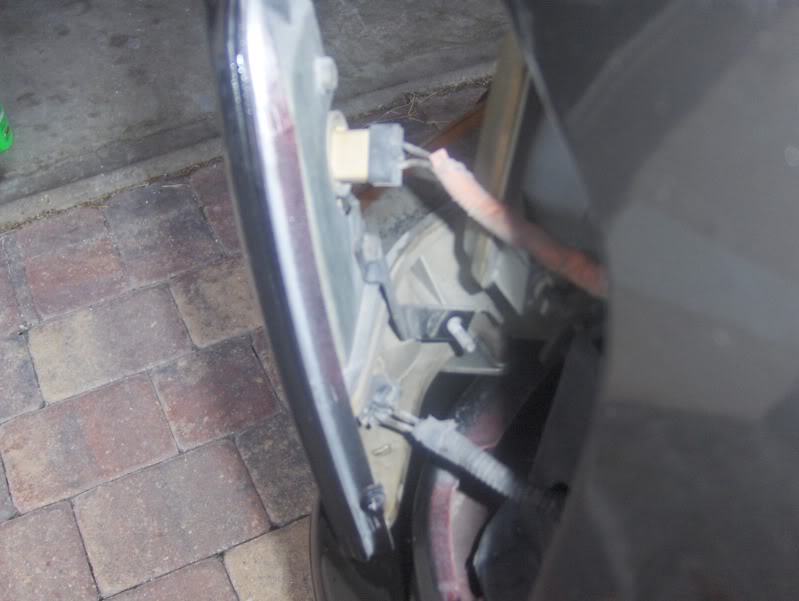
Getting there................
Pull off air dam rubber cover do-hicky
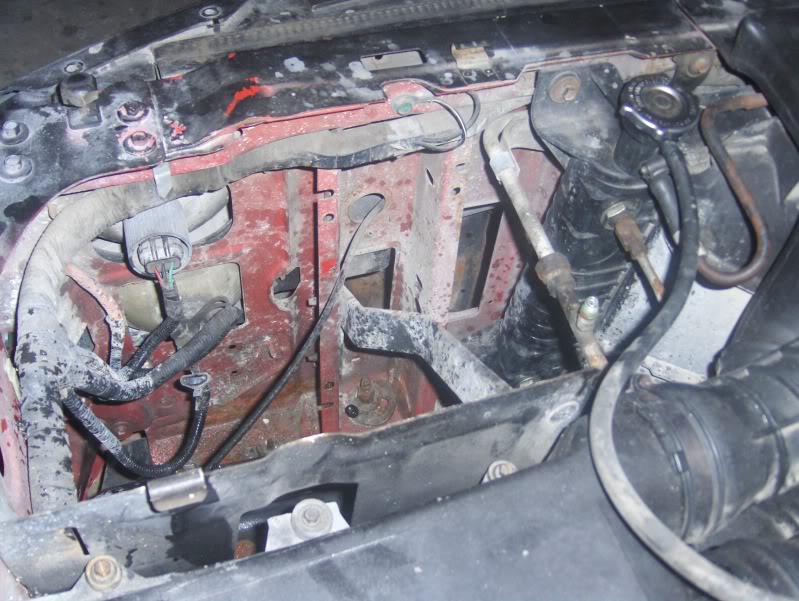
Locate two mounting brackets held on by PITA clips (I used snap ring pliers to remove....still a bit of a chore....)
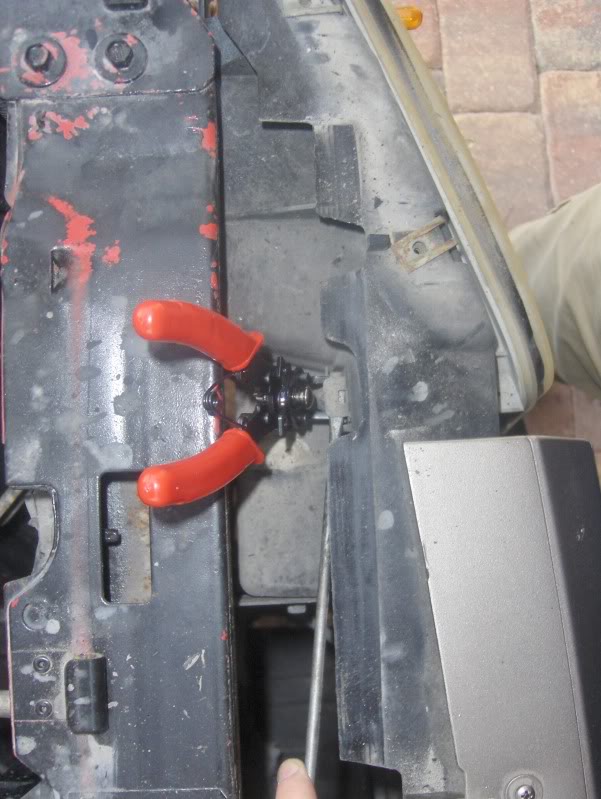
Got first one out......
Second one is a tight squeeze to get at, but you will get it....trusty flat head screw driver helps as well...
Getting there................
Pull off air dam rubber cover do-hicky
Locate two mounting brackets held on by PITA clips (I used snap ring pliers to remove....still a bit of a chore....)
Got first one out......
Second one is a tight squeeze to get at, but you will get it....trusty flat head screw driver helps as well...
#4
09-03-2011, 01:40 PM
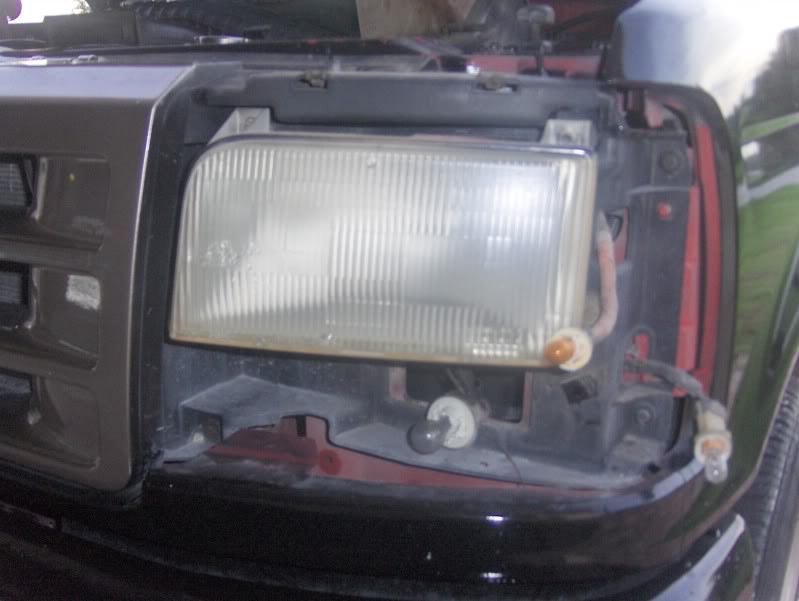
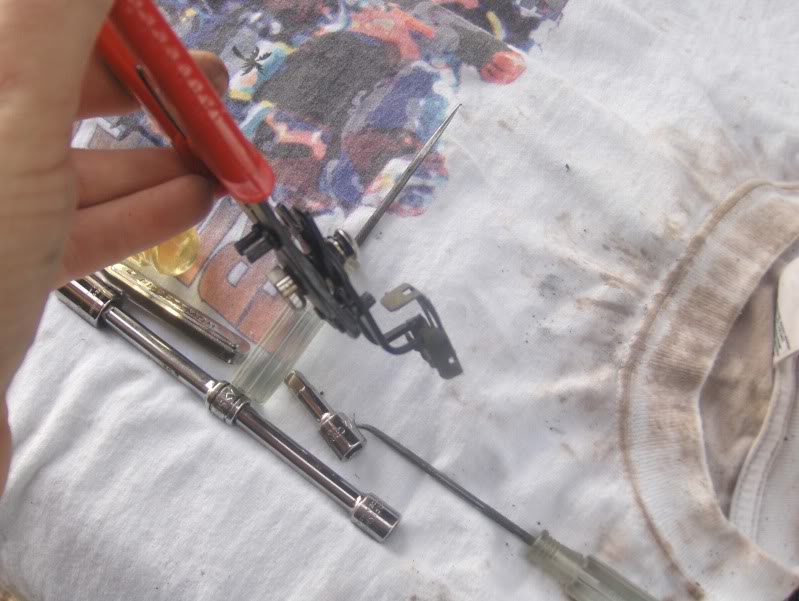
The 3rd clip, mounting point I didn't even bother with because the space was too tight....I elected to just remove / back out the threaded aiming post from up top, until the headlight was free...used a 5/32 socket and went to town
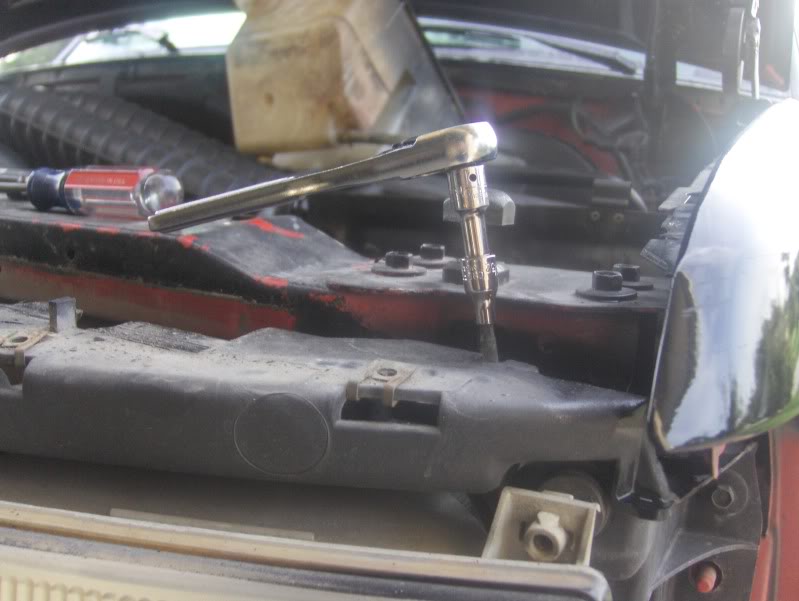
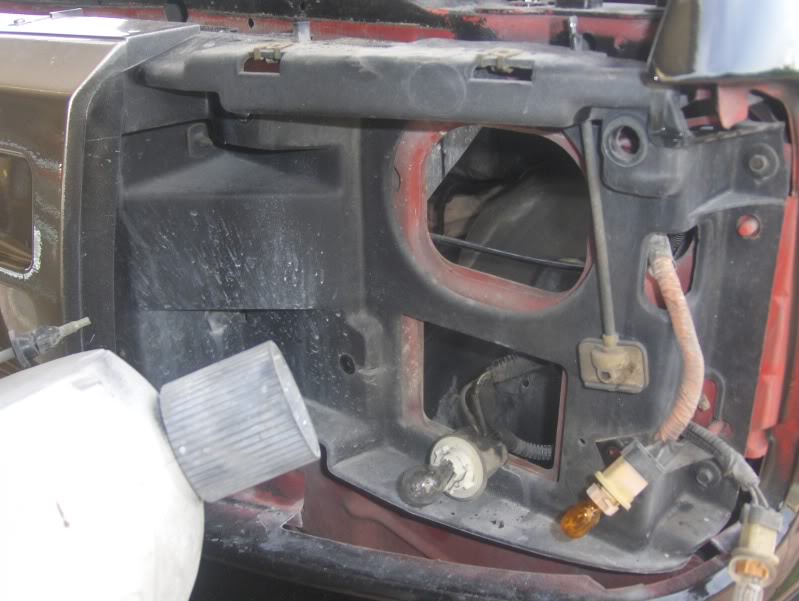
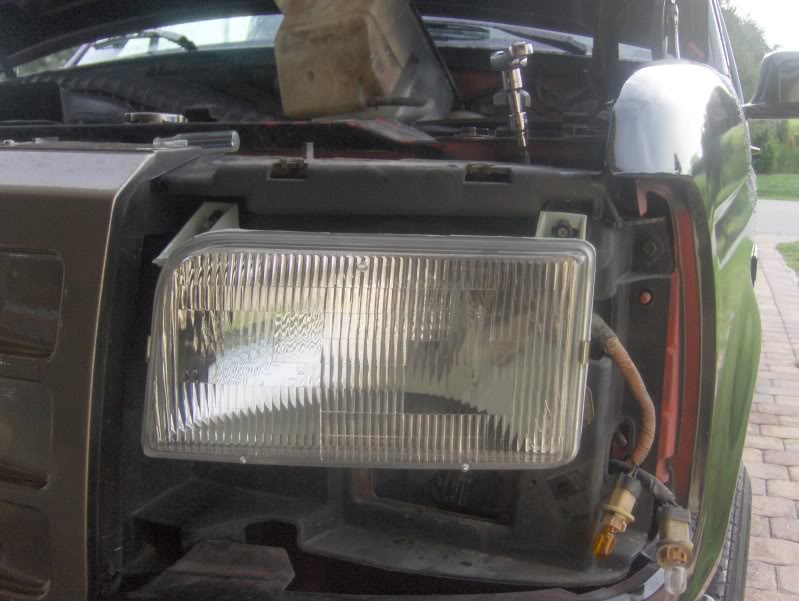
Well...should be free now.....
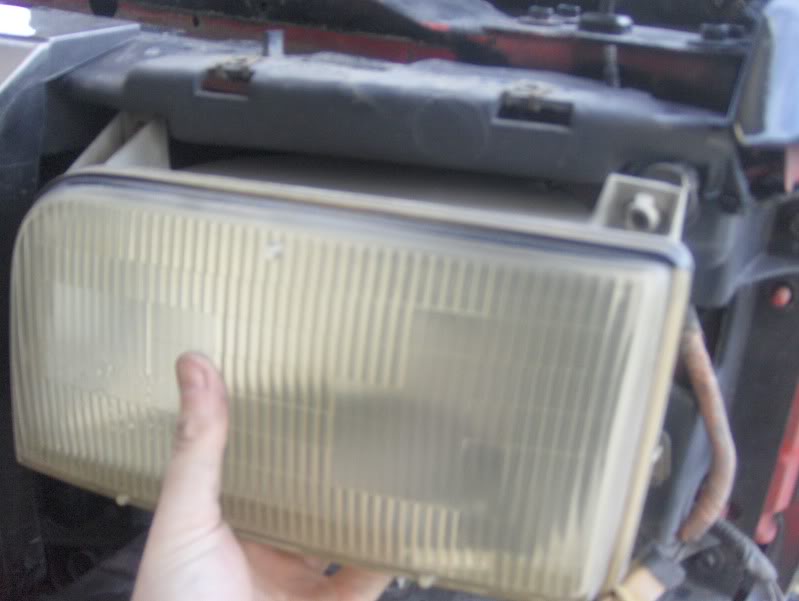
Eh, a little tug and she was out............
Now time to start installing...........
Well packaged and good quality...oh forgot to mention I got them in like three days
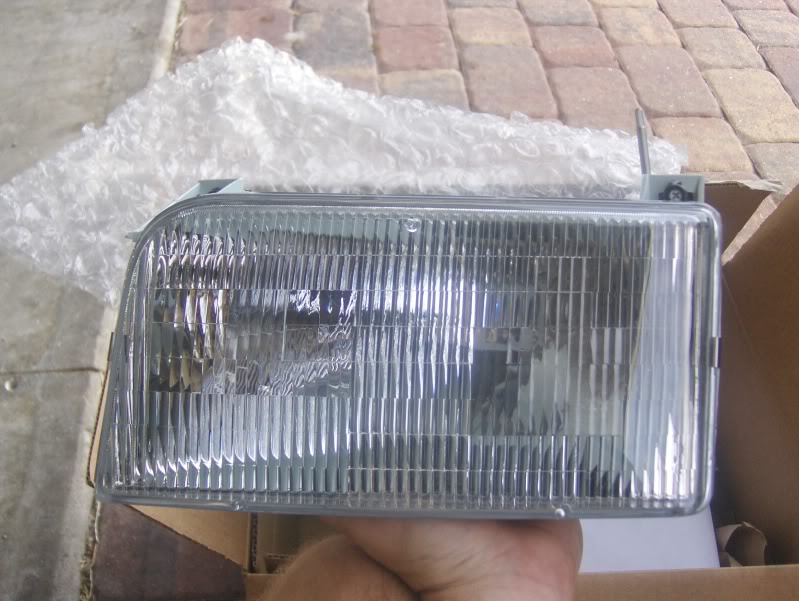
Sweet.....nice and "chiney"
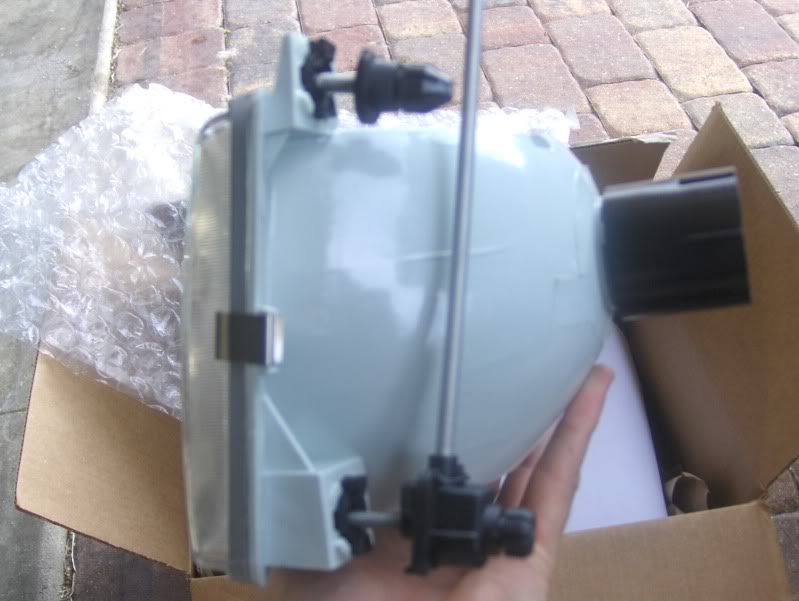
Side view of mounting hardware...of forgot to mention...they added bulbs too
Well...should be free now.....
Eh, a little tug and she was out............
Now time to start installing...........
Well packaged and good quality...oh forgot to mention I got them in like three days
Sweet.....nice and "chiney"
Side view of mounting hardware...of forgot to mention...they added bulbs too
#5
09-03-2011, 01:51 PM
Set her in the place and push in to lock tabs up top....re-install PITA clips and adjust to your liking.
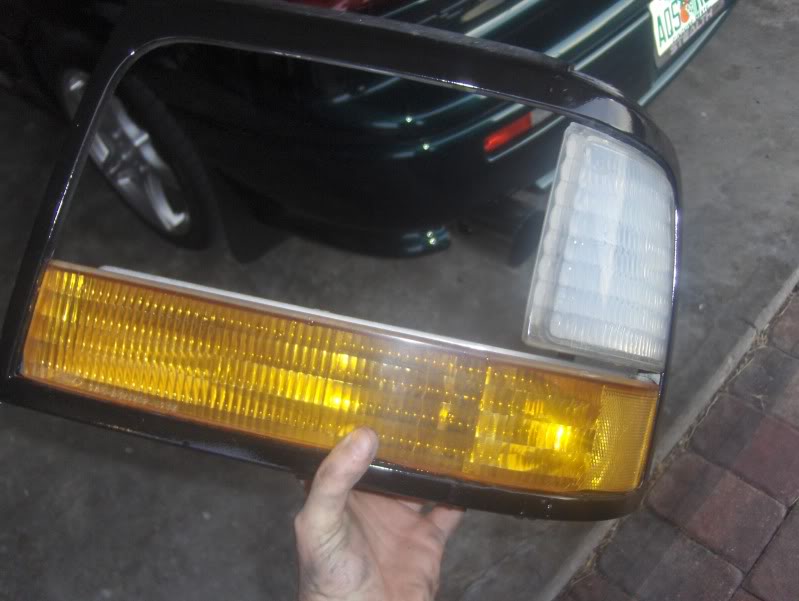
Reinstall bezel with turns / side markers. Dont forget to plug them in and replace the nuts / screws that you took off earlier.
Ah....much better now..... 1/2 way home
Remember to put the coolant / washer fluid resevoir back with that single nut and harness connection.
Pass side is same for the most part.....you could remove the battery for a tad more room, but I was being lazy and just slapped them together because it was going to rain....
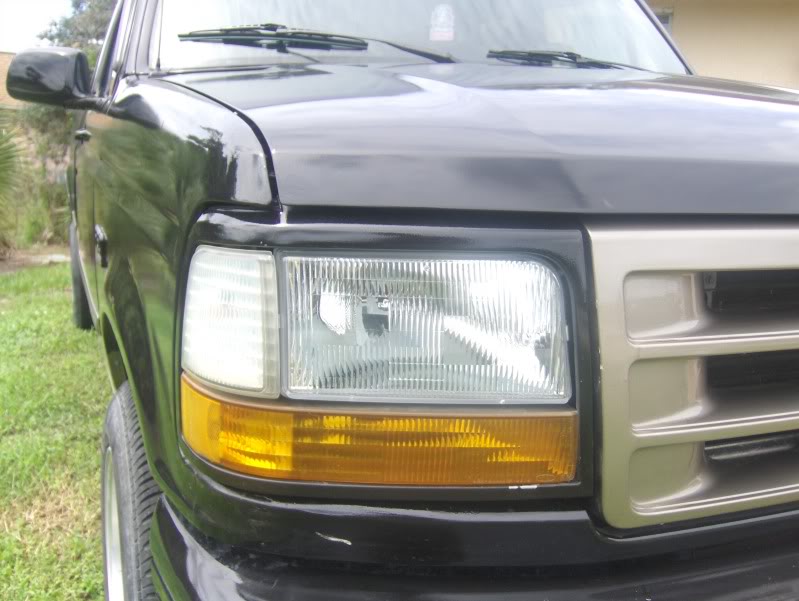
Finished and looking good
All in all for 40.00 and the price of some snap ring pliers I am really happy. Truck really needed these. Looks like I will be doing the side markers sometime in the future, but not worried about them right now. A+ to the eBay seller, so if you guys are in the market for some, I would order from this guy......cant believe some of the auctions were charging 45.00 to ship...
Hope this helps some peeps out there....oh and please excuse my spelling
Reinstall bezel with turns / side markers. Dont forget to plug them in and replace the nuts / screws that you took off earlier.
Ah....much better now..... 1/2 way home
Remember to put the coolant / washer fluid resevoir back with that single nut and harness connection.
Pass side is same for the most part.....you could remove the battery for a tad more room, but I was being lazy and just slapped them together because it was going to rain....
Finished and looking good
All in all for 40.00 and the price of some snap ring pliers I am really happy. Truck really needed these. Looks like I will be doing the side markers sometime in the future, but not worried about them right now. A+ to the eBay seller, so if you guys are in the market for some, I would order from this guy......cant believe some of the auctions were charging 45.00 to ship...
Hope this helps some peeps out there....oh and please excuse my spelling

#7
09-03-2011, 04:28 PM
Laughing Gas
Join Date: Mar 2009
Location: long island
Posts: 1,028
Likes: 0
Received 0 Likes
on
0 Posts
Trending Topics
#8
09-03-2011, 06:09 PM
Hey thanks for the props guys. I plan on getting clear turns and corners soon...I knew I should have bbought them at one time, but funds are tight. I am taking this gem in the rough to TN here in a few weeks to use as a 2nd vehicle when Im up there....I am selling my 89 Jeep Grand Wagoneer if anyone is interested 
Yeah, the old gal used to be red.....PO did a real crappy job painting it (bad tape offs, door jams were free handed and tons of orange peel). To bad I am not a Saints or Purdue fan
Yeah, the old gal used to be red.....PO did a real crappy job painting it (bad tape offs, door jams were free handed and tons of orange peel). To bad I am not a Saints or Purdue fan
#9
09-03-2011, 06:16 PM

Posting Guru
#10
09-03-2011, 06:58 PM
Postmaster

#12
09-03-2011, 09:23 PM
Postmaster
#13
09-04-2011, 01:43 AM

Garrett- No need to undo the whole headlight again...
The 2 adjustment rods that poke out the top of the headlight bezel (Looks like allen wrenches....lol) are what you use....1 dictates up/down....the other dictates left/right....I can't remember right off which one does which though...
Anyways...a simple thing once you figure out which rod does what....
#14
09-05-2011, 09:32 AM
Correct...you can aim them pretty easy out in the drive way with garage door down......no need to take it out...Mine were pretty close to being perfectly aimed...just needed to adjust vertical positioning
This is a great kit to buy from the eBay seller mentioned in post one....suprised they thre win bulbs
This is a great kit to buy from the eBay seller mentioned in post one....suprised they thre win bulbs

Thread
Thread Starter
Forum
Replies
Last Post
dn29626
1999 - 2003 7.3L Power Stroke Diesel
3
12-25-2013 05:33 PM
Gramps86
1987 - 1996 F150 & Larger F-Series Trucks
3
11-13-2010 02:58 PM
pikiluvi
1987 - 1996 F150 & Larger F-Series Trucks
6
07-05-2005 11:02 AM