Ford F-150: How to Replace Drive Shaft
When your U-Joints wear out, you're going to need to remove your drive shaft. That might sound intimidating, but with this guide, replacing your U-joints (or even your drive shaft) is a straightforward affair.
This article applies to the Ford F-150 & F-250 with both the 1- and 2-Piece Drive shaft.
The drive shaft is what delivers power from the transmission to your wheels. A u-joint is found on both ends of the drive shaft, this is what allows the drive shaft to spin. Overtime, the u-joints wear out and will begin to squeak, this is when they need to replaced. Failure to do so could allow them to completely break and leave you completely immobilized.
Drive shafts will generally cost between $250 and $650. U-joints run about $50-$70 per joint. Doing this yourself is a good idea because it's pretty easy. Still, if you want to take it to a shop, be prepared to pay another $150 to $250 for labor costs.

Tools Needed
- 12mm socket
- Large flat-ended punch tool
- Large hammer
- Pliers
- File
- New grease
- WD-40
- Brake cleaner
- 4 wheel chocks
- Transmission fluid
- Paper towels
Step 1 - Prepare the truck
With the drive shaft disengaged the truck will be able to roll freely so you'll need to take safety precautions first.
- Park on flat, level ground. This gives the truck the least chance of being able to roll.
- Set the parking brake, this is the first fail safe to prevent rolling.
- Chock all wheels on the outside, this is your second fail safe to prevent rolling.
Pro Tip
DON"T skip any of these steps above, otherwise you will be putting yourself at risk of being crushed by your truck while under it.
Step 2 - Unbolt the drive shaft
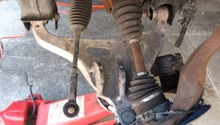
This step is doable with one person however is a lot easier with a second person due to the drive shaft being somewhat heavy and awkward to manage by one person.
- Spray the drive shaft bolts where it attaches to the rear differential with WD-40 and allow to sit for a few minutes.
- While the WD-40 is sitting, line underneath where the drive shaft connects to the transmission with paper towels.
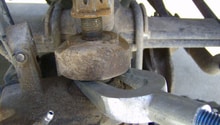
- Using your 12mm socket, remove the bolts attaching the drive shaft to the rear differential (as seen in Figure 2).
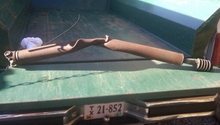
- Carefully pull the drive shaft out from the transmission.
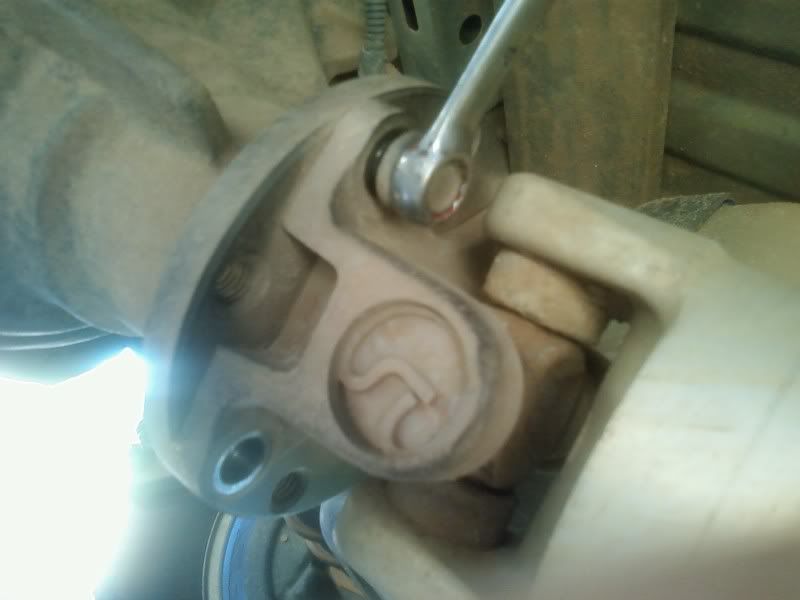
Figure 2. Drive shaft bolts. 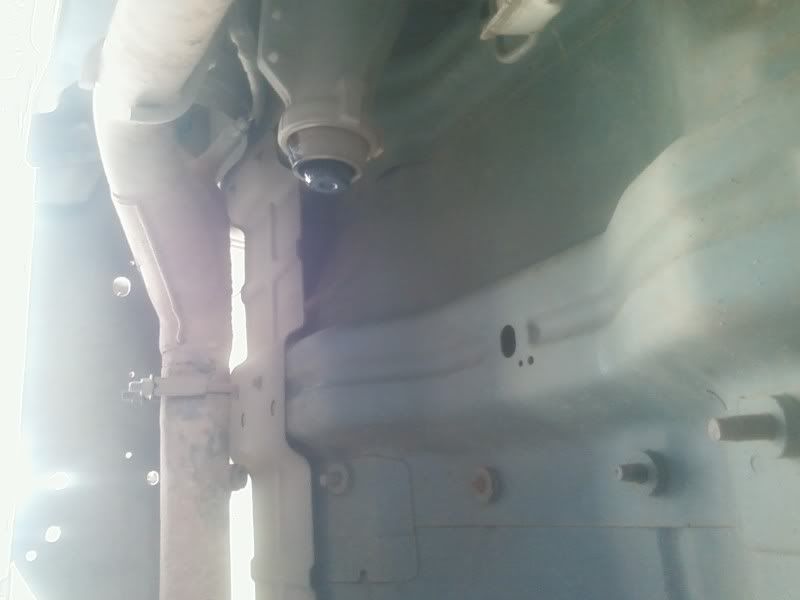
Figure 3. Drive shaft removed from transmission.
Pro Tip
When removing the drive shaft from the transmission, wrap a towel or other soft cloth around the end that came out the differential to prevent any damage to it.
Step 3 - U-joint removal
This step may be optional depending on what you're doing. If your replacing the entire driveshaft, chances are the new shaft will have the u-joints pre-installed for you. You only need to do this process on the u-joints you are replacing.
- Remove the internal c-clip on the u-joint race on both sides using the pliers, just squeeze together the middle and it will pop out. See Figure 2 for the location.
- Soak the bearing races in WD-40 and then use the punch and hammer to push out one side.
- If the bearing race is still stuck in a little once the u-joint bottoms out on the yoke, a set of channel locks will make removing it easier.
- Using the punch and hammer on the side where you just removed the race, knock it the other direction to remove the race on the opposite side. See Figure 7 below.
- Remove the u-joint (see Figure 8) and file down any dents or rough edges on the yoke
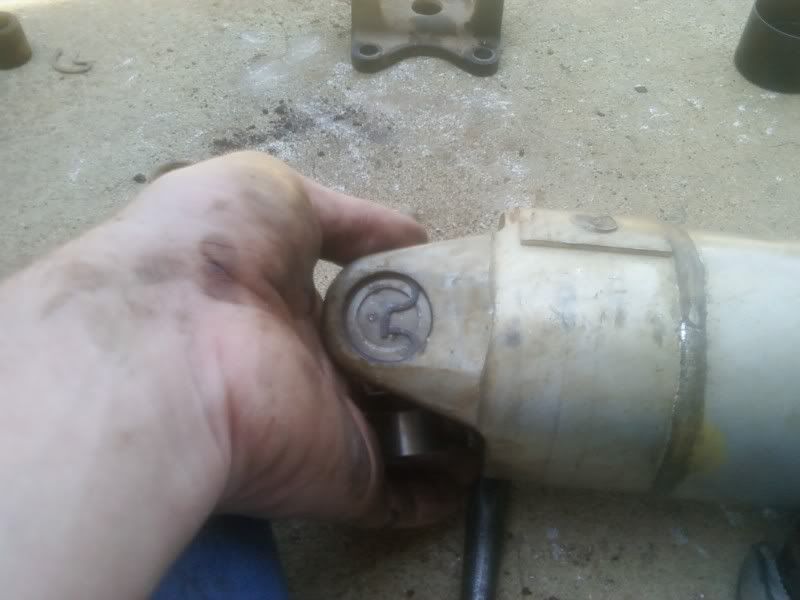
Figure 4. Race C-Clip 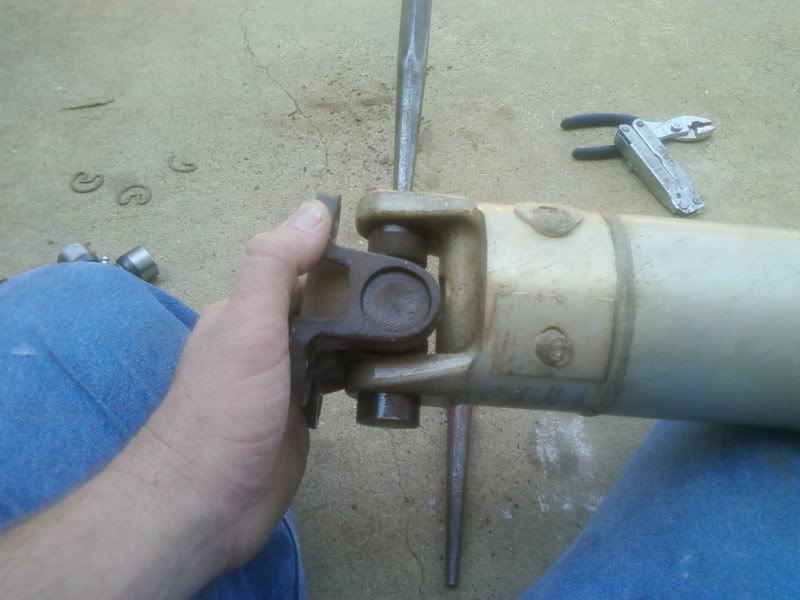
Figure 5. Punching Out Bearing Race
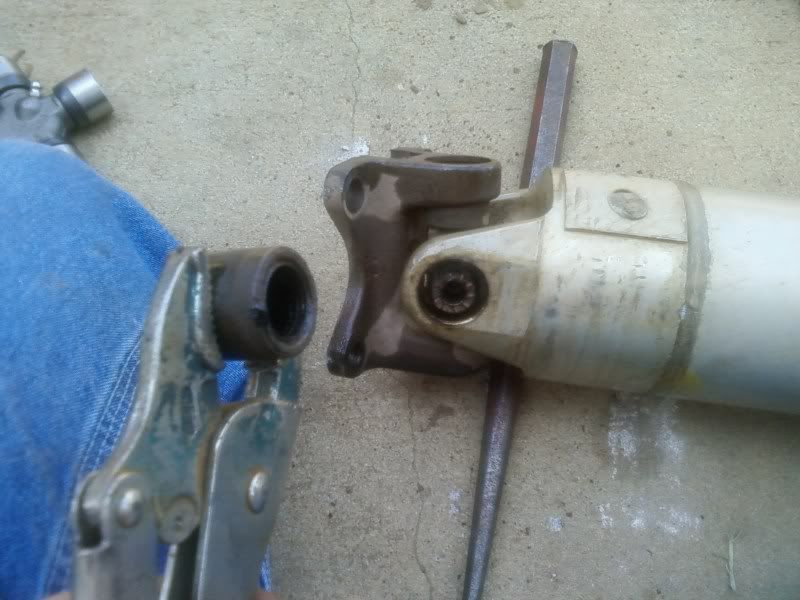
Figure 6. First Bearing Race Removed 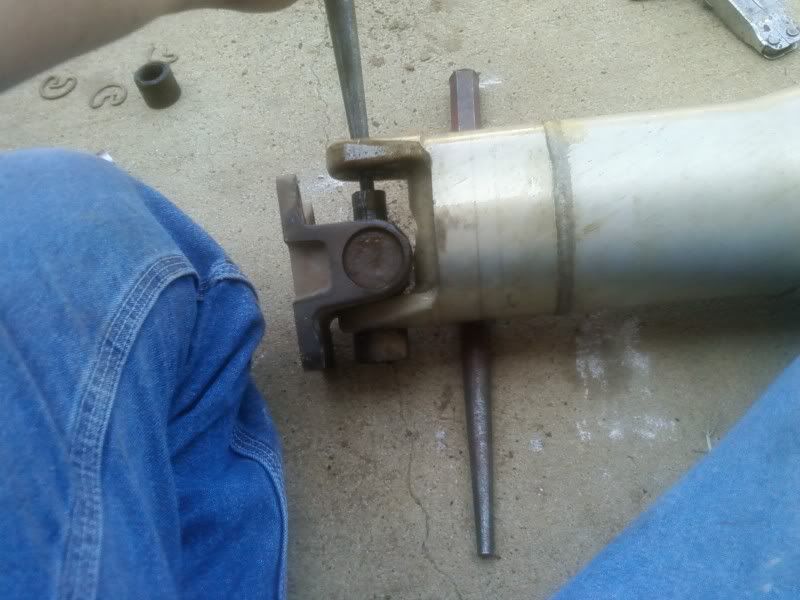
Figure 7. Removing Second Race 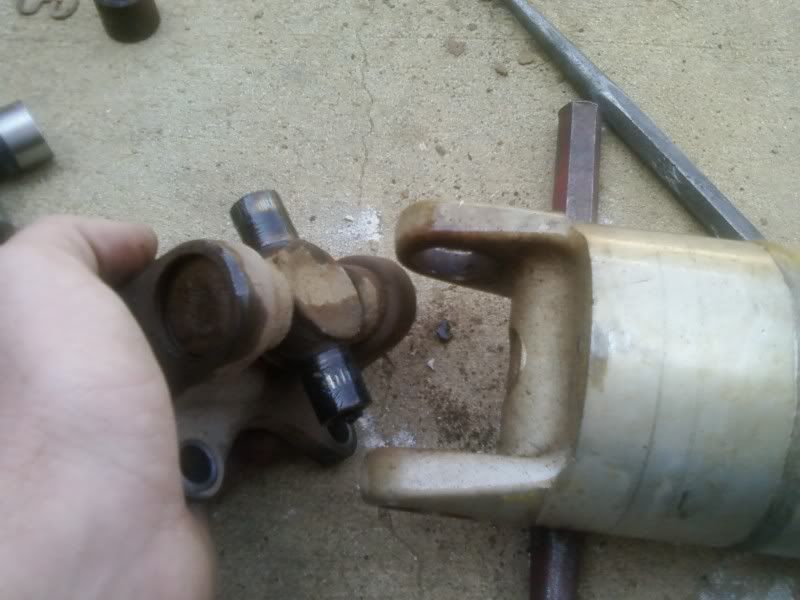
Figure 8. U-Joint Removed
Step 4 - Install new u-joint
Again, this step is only required if you removed a u-joint in the previous step or your replacement driveshaft didn't come with new u-joints installed. This step is tedious and takes a lot of patience, they're may be some steps you need to redo a few times, don't worry it happens to the best of us. Two people can make this process much, much easier as well.
- Remove two opposing races from the new u-joint. Holding the u-joint with one hand in position in the yoke, use your other hand to very,very carefully push the first race into place. You must take care not to dislodge the needle bearings in the race. If you do, you'll need to pull the race out and re-align the needle bearings (as in Figure 10 below). You'll know if they're misaligned if the race won't slide into place easily.
- Holding the u-joint in place in the race, lightly tap the race into place on the yoke where you will be able to install the c-clip, but don't install the clip yet.
- Make sure the u-joint race on the other side is clean, carefully align the new race for the other side and press it firmly into place. See Figure 11.
- This is the hardest part. Using the hammer, give the race a nice hit to knock it into place. If all goes well, it will slide into place perfectly. If it doesn't, you'll need to pull that race out and re-align the needle bearings again.
- Tap the race into place until it aligns with the c-clip groves, then install the c-clips on both sides. See Figures 12 and 13 below.
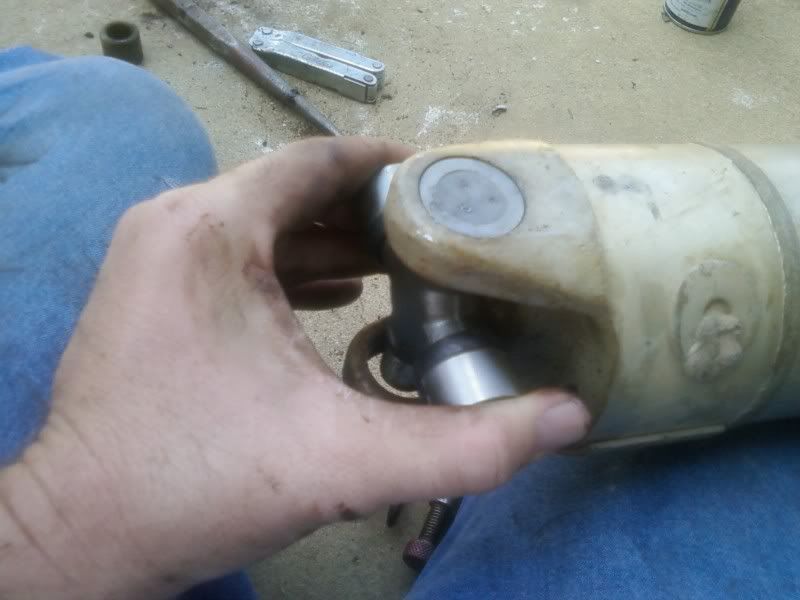
Figure 9. First Bearing Race In Place 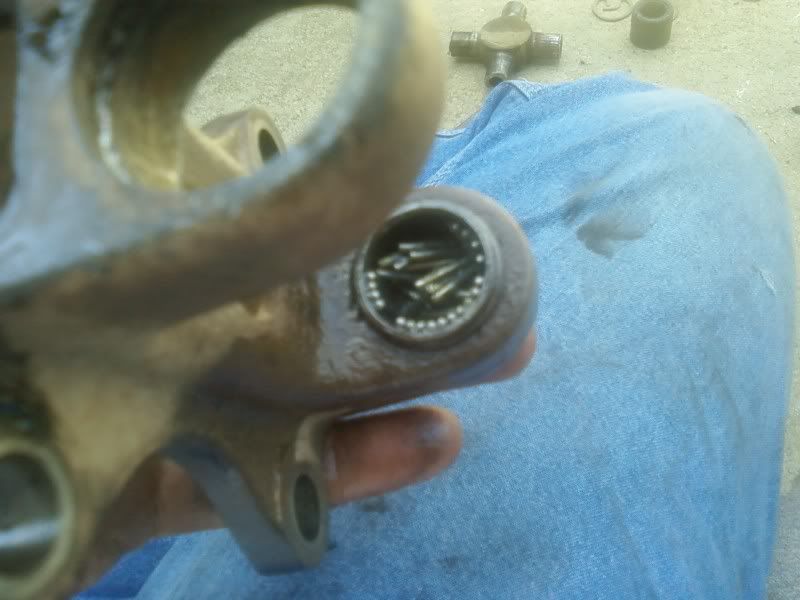
Figure 10. Misaligned Needle Bearings
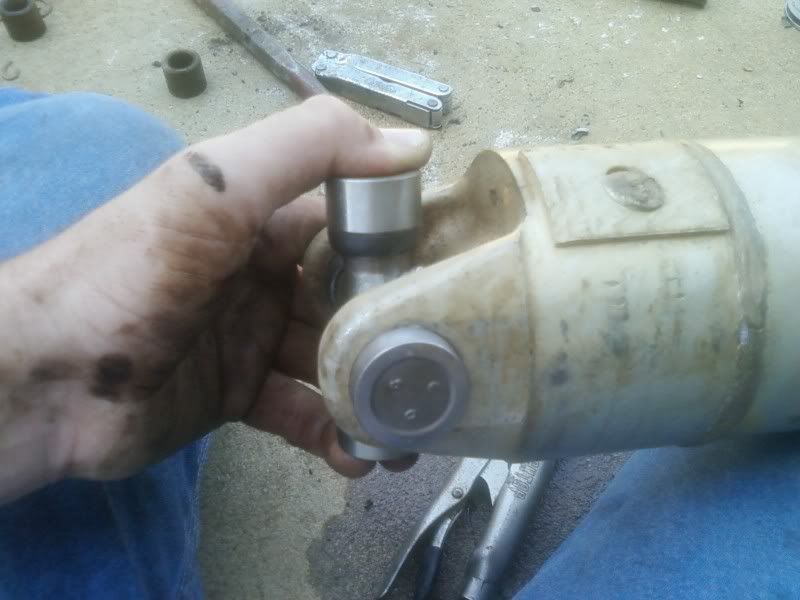
Figure 11. Second Race In Place 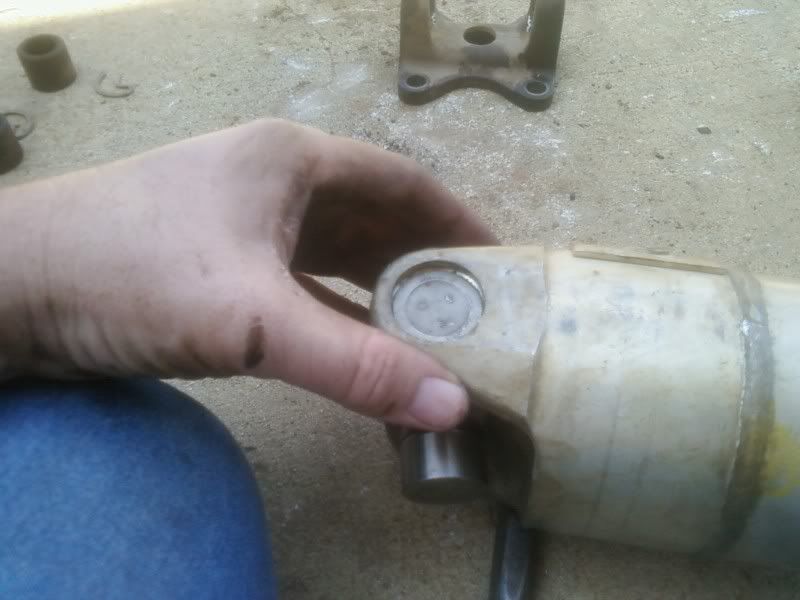
Figure 12. Race Aligned With C-Clip Groove Figure 13. C-Clips Installed
Pro Tip
- Take care not to get the races dirty on the new u-joint during install. If you do get them dirty you'll need to clean them with brake cleaner. Use a pair of cheap nitrile gloves to prevent any dirt on your hands getting on them.
- Align the zerk fittings on the new u-joints so that when you have to grease them you don't need to move the truck.
Step 5 - Install drive shaft
Installing the drive shaft is the reverse of removing it, you'll want to start with the transmission side first. If you look at the splies on the drive shaft transmission end, you'll notice there will be one tooth missing. This is used for aligned into the transmission, and thus you won't be able to push it in if it's not aligned.
On the differential end, re-install the bolts and tighten them down.
Don't forget to check your transmission fluid level from the loss during removing the drive shaft. Top it off if necessary.
Featured Video: How to Replace Drive Shaft
Related Discussion
How to Change Driveshaft and U-Joints - F150Online.com