Ford F-250: How to Change Ball Joints
Symptoms of a bad set of ball joints can include noise from your front wheels and sloppy steering. The good news is that replacing your F-250 or F-350's ball joints requires only basic tools and a moderate level of skill.
This article applies to the Ford F-250 and F-350 Super Duty (2005-2014).
Bad ball joints connect your wheels to the suspension. You can tell when they start failing by the noises coming from your front wheel and the lack of steering response. Purchasing new upper and lower ball joints will cost around $250-$350. If you decide to take the job to a professional, the cost will rise significantly to between $600 and $900. With a moderate amount of skill, you can easily save a ton of money in the process.

Tools Needed
- Floor jack and jack stands
- Ratchet and socket set (sizes vary by model)
- Needle nose pliers
- Breaker bar
- Grease gun
- Ball joint removal tool (can rent for free from most auto parts stores)
- Torque wrench
- Hammer
- Pry bar
Step 1 - Lift the truck off the ground and remove wheels and brakes
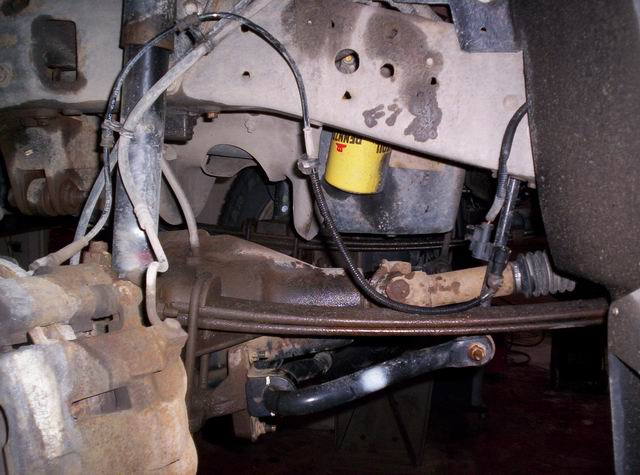
Use a floor jack to lift up the front of the truck and support it with jack stands. Remove the front wheels. Unplug the ABS sensor located behind the inner fender liner, then unclip it from the frame and brake hose. Pry the caliper away from the caliper mount to compress the pistons in the caliper, then remove the bolts that hold the caliper mount in place. Remove brake rotor.
(Related Article: How to Remove Brake Caliper - Ford-Trucks.com)
Step 2 - Remove the wheel bearing and hub assembly
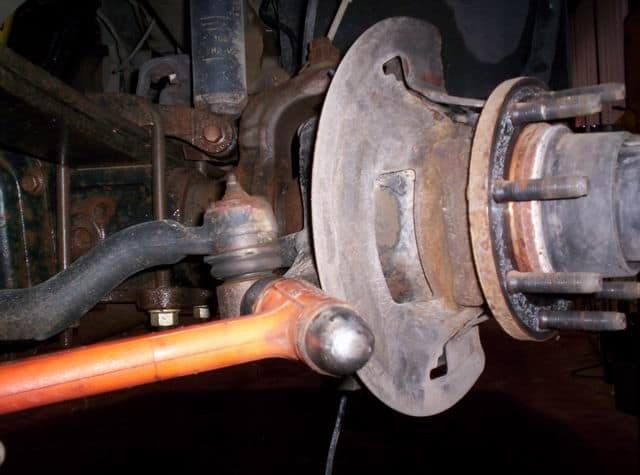
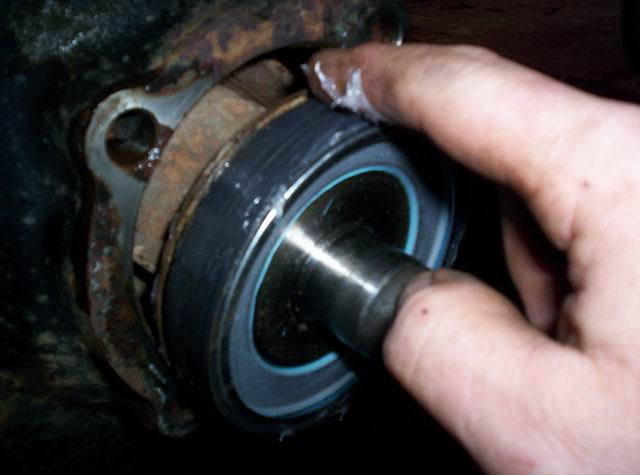
Remove the cotter pin and nut that attach the tie rod end to the knuckle. Remove the outer hub by squeezing the retaining ring. Remove the snap ring and thrust washers from the axle. Remove the bolt that holds the ABS sensor to the knuckle. Remove the four nuts that hold the wheel bearing and hub assembly to the knuckle and remove the assembly.
Step 3 - Remove the axle
Remove the thrust washer from the axle and then the axle itself. This can typically be done easily with a pry bar. Remove the knuckle seal and examine the axle for any wear. Make sure the u-joint moves freely but isn't loose.

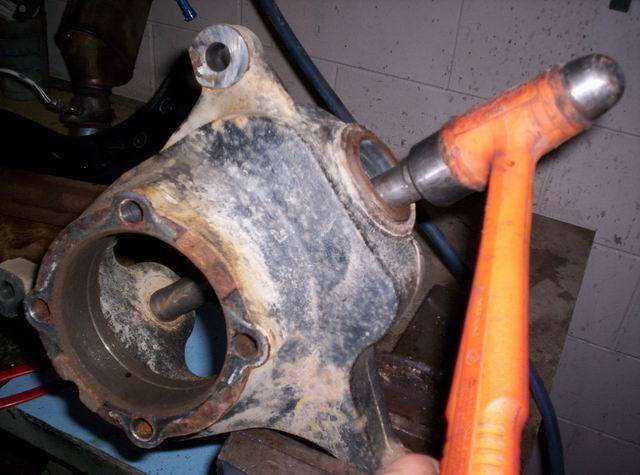
Step 4 - Remove the upper and lower ball joints and replace with new ones
Remove the upper and lower ball joint nuts. Knock each ball joint out of the housing and remove the knuckle. Remove the snap ring from the lower ball joint. Remove the old ball joints with a press or a hammer. Use a ball joint press to install new ball joints. Reinstall the knuckle into the housing and loosely install the nuts on the ball joints. Tighten each to manufacturer specs.
Step 5 - Reinstall remaining components
Install a new knuckle seal on the axle, as well as a new dust seal. Lube the outside of the knuckle seal with a good quality grease and reinstall the axle. Lightly grease the thrust washer and install onto the axle. Clean and lube the needle bearing and replace the yellow o-ring on the wheel bearing and hub assembly. Install the assembly onto the knuckle and torque the four bolts to manufacturer's specs.
Grease the outer thrust washers and install followed by the snap ring. Replace the o-ring on the outer hub and install the hub. Install the brake rotor, caliper, and mount. Reconnect the ABS sensor and vacuum hose. Reattach the tie rod end and torque to 55-75 ft-lbs. Reinstall the wheels and check the oil level in the front axle. Pump the brakes a few times, then test drive slowly to ensure proper installation.
Related Discussions
- How to Replace your Super Duty ball joints - Ford-Trucks.com
- Aftermarket Ball Joint Options - Ford-Trucks.com
- Front Seal or Axle Seal Issues: No Vacuum at Hubs - Ford-Trucks.com