When you click on links to various merchants on this site and make a purchase, this can result in this site earning a commission. Affiliate programs and affiliations include, but are not limited to, the eBay Partner Network.
Hey all, I figured I would start a build thread for my truck. More so to track my progress and have something to look back on but I'm sure I will need help with things here and there.
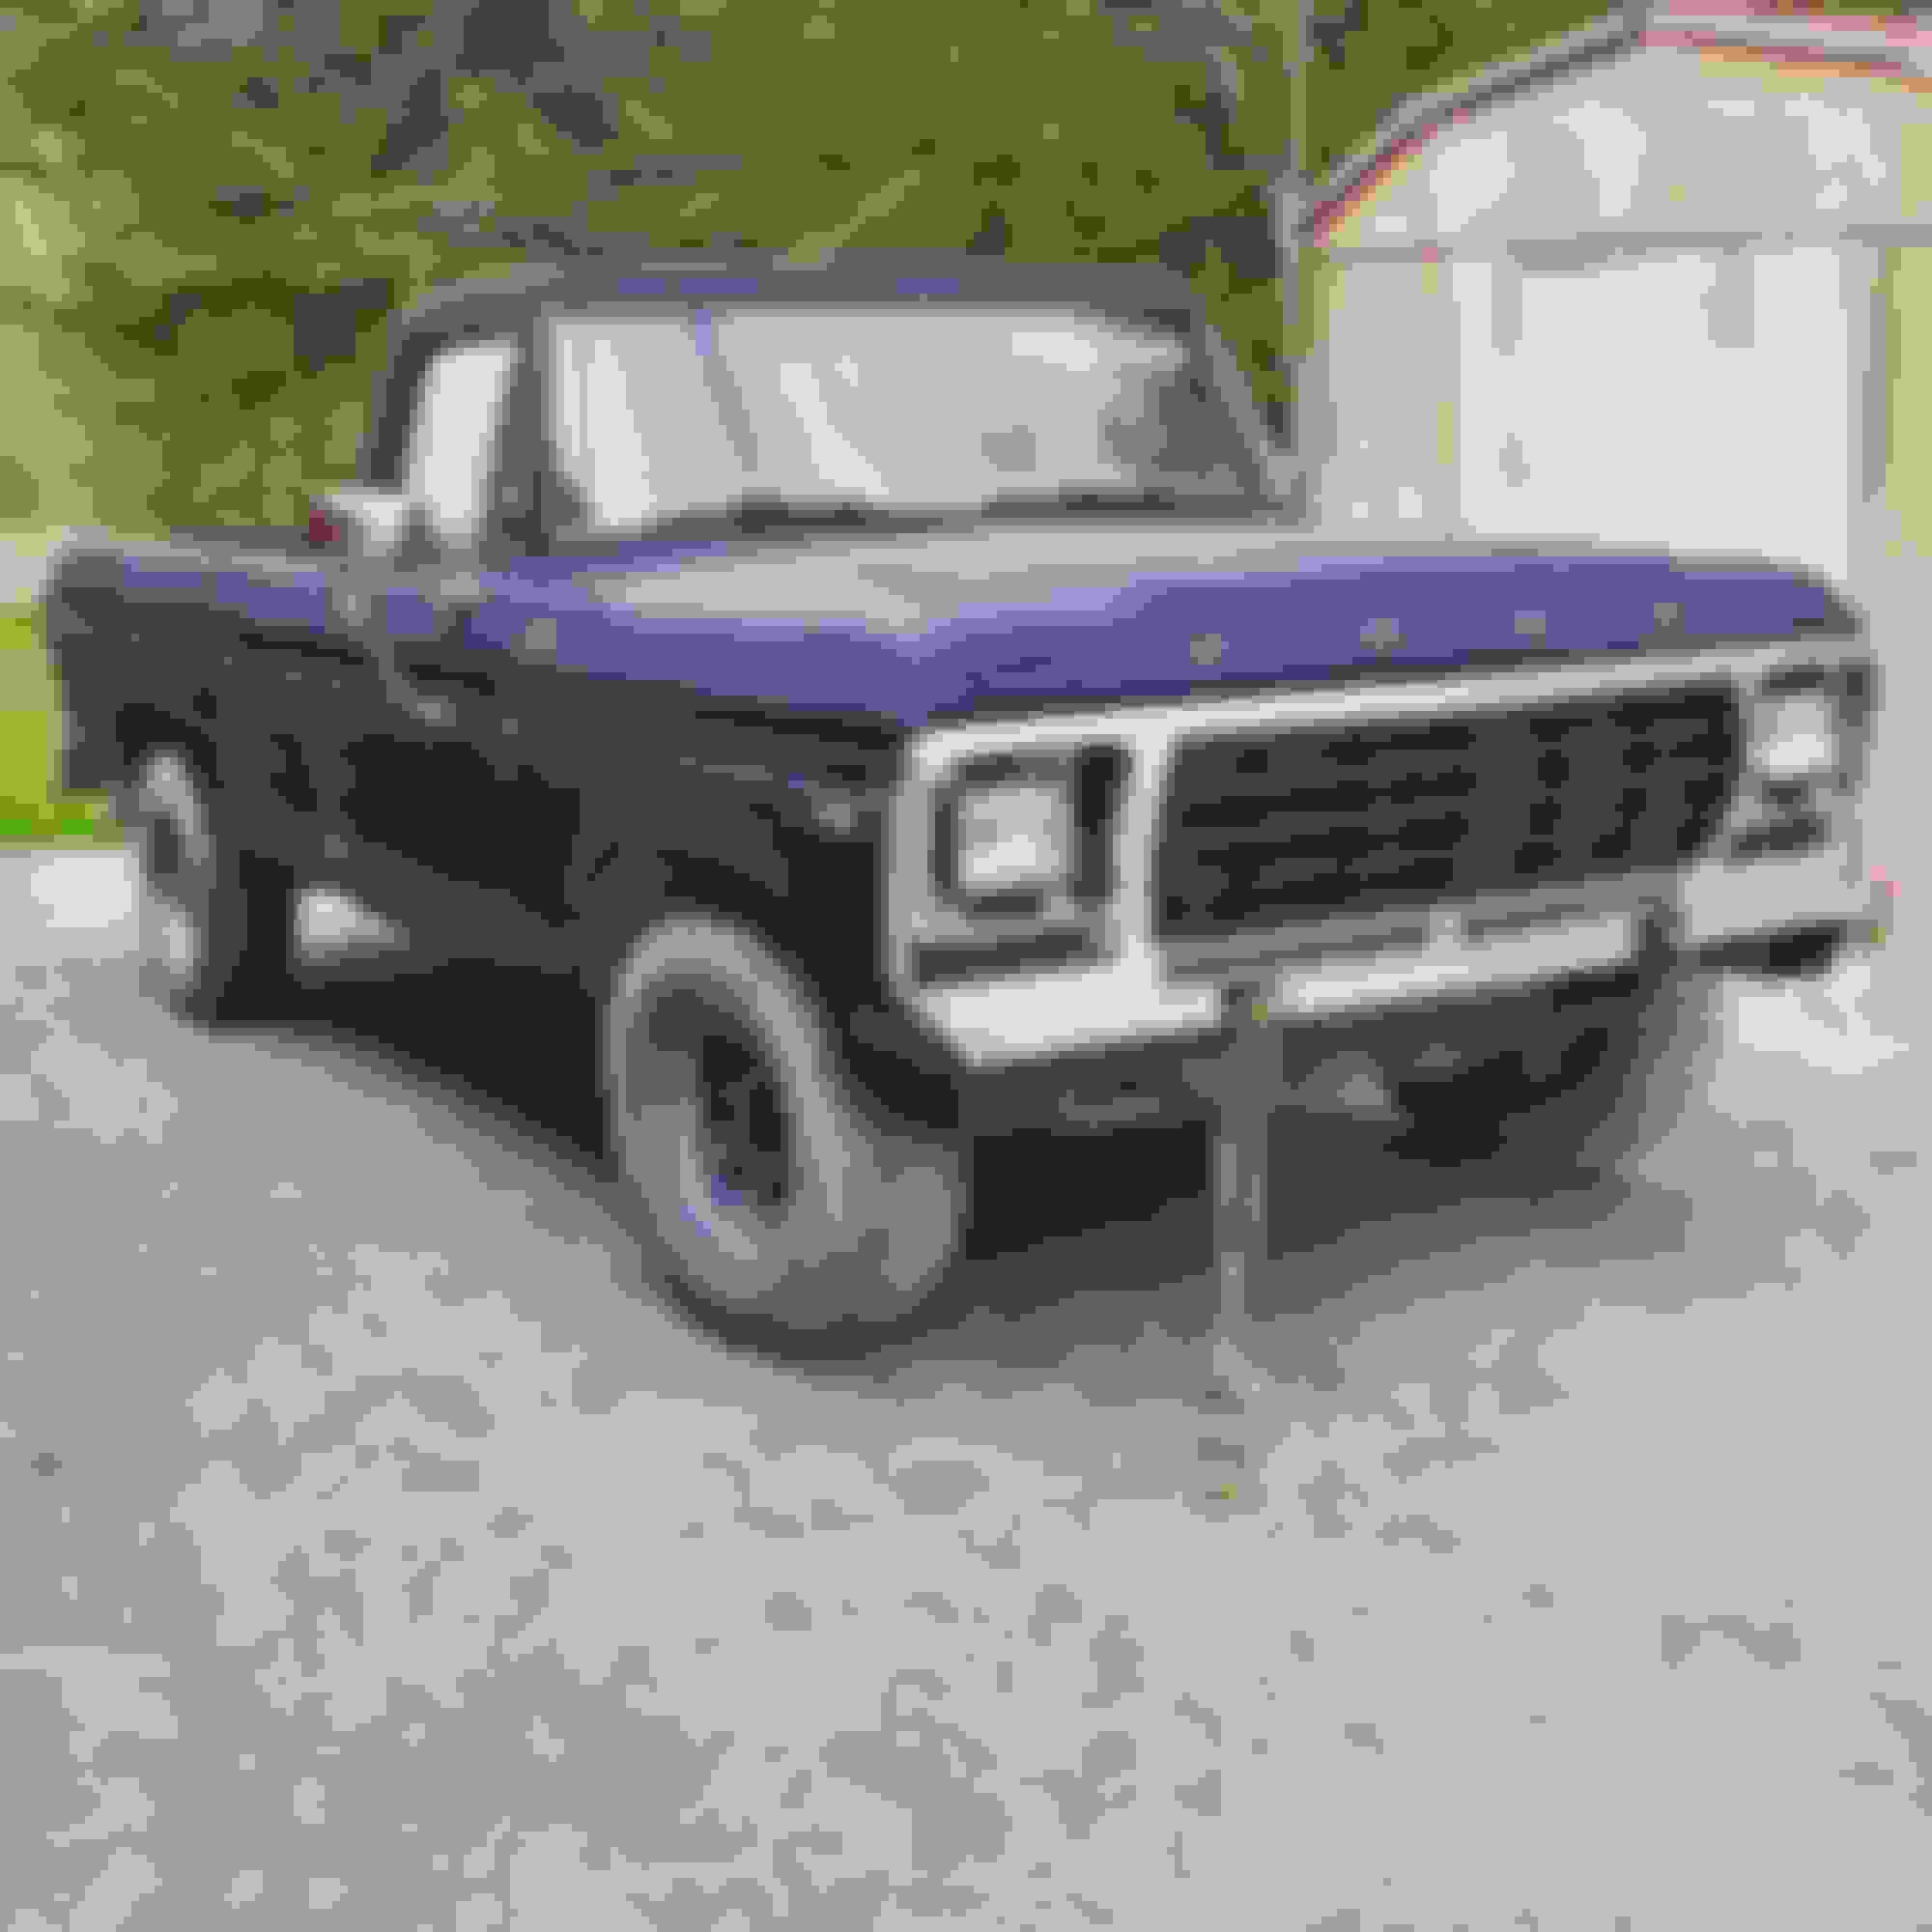
The truck when I bought it.
Got tip??
Took some of the front end stuff off, kinda needlessly but i was getting anxious to work on it while it was still winter. Going to end up changing the headlights eventually. Priority is to get it on the road. Featuring a nice tow strap!
List of MAJOR stuff it needs. The rest is tidying up little stuff.
New Radius Arm Bushings and Front Shocks.
I took apart the whole front hub. Have to redo all wheel bearings and brakes. Drove out the kingpins with a 1/2'' impact socket. Mushroomed the socket but only took about 2 hours to drive them out. Pretty good considering all of the other posts I saw about other people spending days on them or resorting to the machine shop.
I need to fix the front crossmember where they all rot out. Ended up cutting 3 of the bed bolts off between the nut and the frame so I could pop them out from the top. Ended up getting to the fourth and fifth ones (near the tailgate) and discovered I could never fit my hand grinder in there with the bumper frame in the way. Ended up getting a heavy duty grinder and grinding the tops off the bolts and driving them through.
My dad and I lifted the box off and almost broke my back doing it lol. Slightly too heavy for 2 people.
Took the spindles and new kingpin set to the machine shop and got them do press in the bushings. So far that's what I've got done, I'll keep updating as I go.
I just want to thank everyone for their wealth of knowledge on this site, I'd be lost if it wasn't for this forum.
Welcome to FTE, good looking project. Good idea for the build thread, it keeps your progress tracked and you can go to it for re-motivation. Shouldn't you have at least some threads sticking out the passenger side radius arm nut...like the other side? Did you try to rent a special tool set from a parts house to remove and replace the king pins?
Bed weighs 450 lbs ish. Own a cherry picker? Or have 2 more friends on beer and pizza payoff help speed dial? Or 2 saw horses and some PVC pipe..slide it right off.
I should have some threads sticking out but I have to retap the threads on the arm. I tried knocking it out of the bracket with a light hammer and it's pretty soft. Didn't even hit it that hard and it messed up the threads. It's just on there so I don't loose it lol.
I didn't rent any special tools to get the kingpins out. I took apart the hubs, drove the locking pin out and then sprayed some WD40 in there after taking off the dust caps. Started wacking the tops with a heavy hammer and a 5/8 impact socket. The impact socket was super sturdy but I still ended up mushrooming the head. After I got the pins out, and they came out pretty easy to be honest, I took the new kingpin set I bought with the spindles and my local machine shop pressed in the new bushings.
I don't have a cherry picker or anything. But I can see myself getting one in the future. My dad and I lifted up the box, put a couple short 2x4's on each frame rail and then just slid it off the back, lifting every so often to clear the bumper from the crossmembers underneath. I tried to enlist some friends but I guess they didn't want a couple cold beers lol, I offered!
When you have to use "force" IE a light hammer to get something out, try putting the original nut back on to protect the threads. Or use a piece of wooden 2x4, rubber or rawhide mallet.
Hope you have some local to you FTE members that are willing to lend a hand.
Thank you! I'm still learning as I go, kinda got a bit excited and didn't put the nut on lol. It's ok just minor setbacks.
Update:
Replaced the 2 rear shocks now that the box is off, super easy! Also got my spindles with the kingpin bushings installed from the machine shop and got that all tidied up today. Wheel bearings should be coming in soon but I can reassemble some of the front end and put my steering box back in the meantime.
Frame is in minty shape! Sandblast then POR15 before the bed goes back on.
looking good. NOW is the time to put new fuel tank sending units in. BEFORE the bed goes back on.
Absolutely, have to fix it anyways as it reads half on the fuel gauge when it's actually empty. Same with the thermostat, it reads at C when it's warm. Any idea on how to fix the thermostat? I think I read a thread on here for the fuel tank...
Also while you are at it insp the inside of the tank, now is the time to replace the tank itself. And renew the anti-chaff material on the lower support straps.
Thanks for all the advice and info! If the fuel tank is ok I can probably just get away with replacing the sending unit right? I do plan on getting the auxiliary tank in the future as my box does have the dual fuel doors. I'd like to get a cap and a little fishing boat so the more fuel I have the longer I can go, but right now my main concern is to get it on the road for as cheap as possible.
Aaron I'm located in Peterborough, Ontario. About 2 hours northeast of Toronto.
Update: Last night I got off work early, decided to put in a couple hours work in the daylight. Put on the new rag joint in preparation for the steering box. Did I do it right? My old rag joint didn't have the extra metal piece.
This is the metal piece. What i did was put the bolt through the joint, then through the flange on the steering shaft, then through this brace. At least that's what I think it is lol.
Took a picture of minor stuff as well. Tried to mark costs of all the parts down before I started so I would have a ballpark guesstimate of the $$ I'd be investing. I know I'll find more stuff as I go lol.
Made a little progress today after work. Put the steering box back in and bolted to the frame, removed the sway bar end links, and ordered the new sway bar. I think I am going to do the wheel bearings and stuff tomorrow, as well as disassemble the rear brakes and figure out what parts I need for that. I think I may have messed up the threads on my tie rod end adjusting sleeve so I need to order a new one of those. I'm getting there slowly but surely.
Lots of progress the past couple of days! I had Thursday and Friday off so needless to say I worked on the beast both days. I got both wheel bearings done and rotors on in the front, now ready for pads and the front end is pretty much done. Tore apart some of the old wiring underneath the box, I need to rewire it all. I also got the drums off, took measurements of the pads. All of them have lots of meat left but the one is scored up pretty bad. Everything is in good shape though besides that for rear brakes which is a big bonus. I also tore up all the carpet and sound deadening material.
Progress is being made!! Just the really big stuff left which I may have to "hire" out. I've never welded before so it will be a learning experience for me if I decide to do it. The tops of the door jambs need to be welded and a new crossmember (support rail) fabricated for the box.
I peeled up all the carpet and sound deadening material and it looks like someone half tacked new sheet metal for the floors. There are minimal tack welds and the majority of it is held in by screws to the old floor (which is actually still in really good shape). I'm confident I could learn how to do the floors but the tops of the door jambs scare me lol. I think someone used POR 15 (not sure, I've never dealt with it in person yet) or some sort of tar to seal the floor after they put the screws in. Needless to say that doesn't fly too well for a safety.
Hopefully starting on the minor side of to-do's soon!
Progress has been pretty slow, been working most of the week during the daylight hours and then busy on the weekends. All of my parts have come in, I have like 5 boxes of parts strewn about in my room lol. Did manage to get new brake pads on the disc brakes and the calipers back on. So front end is almost done, just have to center the steering box, then I can put the tie rods back in and try to align them as close as possible.
Rear sway bar came in, I was super bummed that I had to pay 500 bucks (272 from the states plus shipping) for it, but after getting it man is it beefy. Everything is high quality, it's a hellwig sway bar, best one I could find.

 05-27-2017, 07:17 PM