LFD - Stock 51 quad gauge question?
#16
 01-08-2010, 11:23 AM


Post Fiend
OBTW, I just ran a new power wire from my alternator through everything, to the starter solenoid. And I made note of the direction the wire has to run through the "induction loop current directional sensing charge/discharge indicator!"
On a 12 volt negative ground system, it needs to go through that loop such that the end of the wire that supplies power from the alternator/generator enters through the drivers side of the loop, and the end of the wire that continues out to the starter solenoid exits the loop on the passenger side.
Hey DV I'm not sure why youare replacing all your gauges. Are they rusted up or something? Why not use the existing fuel gauge with original sending unit and the Am meter, and either convert the temp/oil to mechanical like "R" did here or use Voltage reducers?
I have a set that has a reducer on it and is ready for 12 volt installation. If you are interested, let me know.
Rokclrn, send me an e-mail to babbiebuddie@***.net with your address and I'll send you the bezel.
#17
01-08-2010, 01:57 PM

Hey Julie,
Yeah, I already bought the voltage reducers, but I later decided that I really wanted all new gauges for the same reason that you really wanted mechanical (instead of electrical) temp and pressure gauges. I just want the piece-of-mind of having all new gauges and sending units. I plan on using my F1 as a daily-driver, and I don't want to have the fuel gauge go out on me when I'm 200 miles away from home. I probably should have tried reusing the original fuel and amp gauges, but I just thought "while I had the thing torn apart" I might as well replace all of them.
-DV
#18
01-08-2010, 04:04 PM

Join Date: Sep 2006
Location: Winters Ca
Posts: 423
Likes: 0
Received 0 Likes
on
0 Posts
Thanks for the loop direction info but when I was looking at my gauge this morning to figure this out I noticed some damage to the mechanics of the gauge and just went ahead and swapped in a new volt meeter instead. I took good pics of all the steps as it is a bit more involved then the other two gauges and I will add the info tonight.
Kevin
LFD Inc.
Kevin
LFD Inc.
#19
01-08-2010, 05:07 PM
Join Date: Sep 2006
Location: Winters Ca
Posts: 423
Likes: 0
Received 0 Likes
on
0 Posts
So here is the pics I took along the way to get the Volt meter installed. I removed the new factory face from the gauge and drilled the old face so it would bolt on because their was too much material build up with all three layers. I also ended up cutting away the lower section of the F1 face mounting plate/stand so now the old face plate is directly on the new gauge. With the two F1 plates it still was a bit to think for my liking so I cut the bracket and epoxied the face to that. Once that was dry I started cutting away the backing plate until it all fit and after bending the 4 little mounting tabs back over I gave it a good layer of epoxy just to make sure nothing moves down the road as I am hooking up wires and what not.
This was a Napa volt gauge part #510-1737
Kevin
LFD Inc.
[IMG]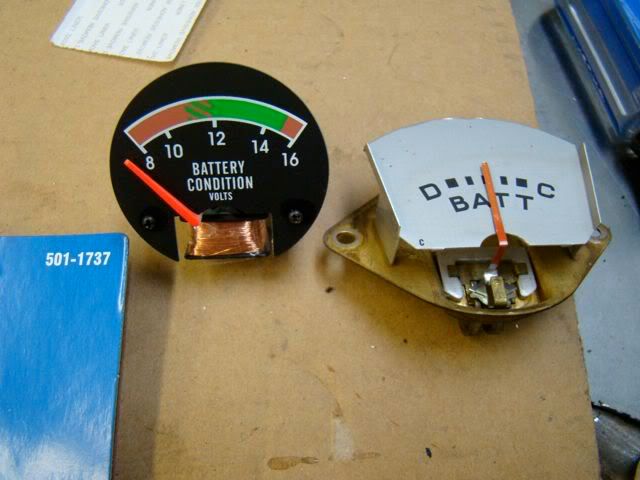 [/IMG]
I used the new face plate as the templet for drilling the holes in the old face plate and bracket. Note I did slide the new face plate down just a bit so I had just enough material for the mounting holes in the old plate.
[IMG]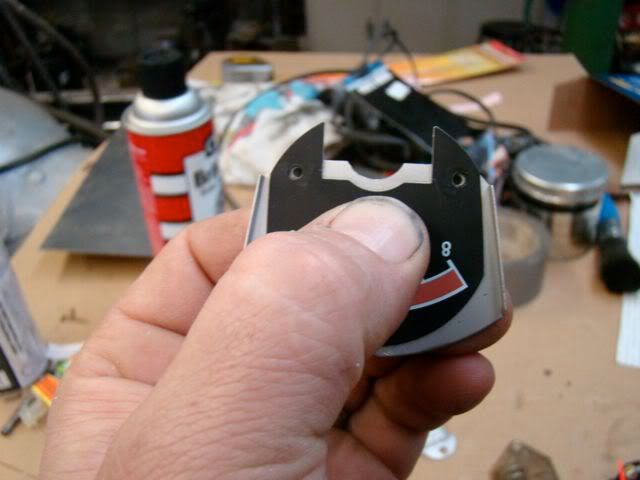 [/IMG]
I drilled the holes in the bracket first to double check fitment before drilling the face plate. I had to enlarge the "mouse hole" notch to allow for the movement of the gauge and once it all worked I just copied that over to the outer face plate.
[IMG]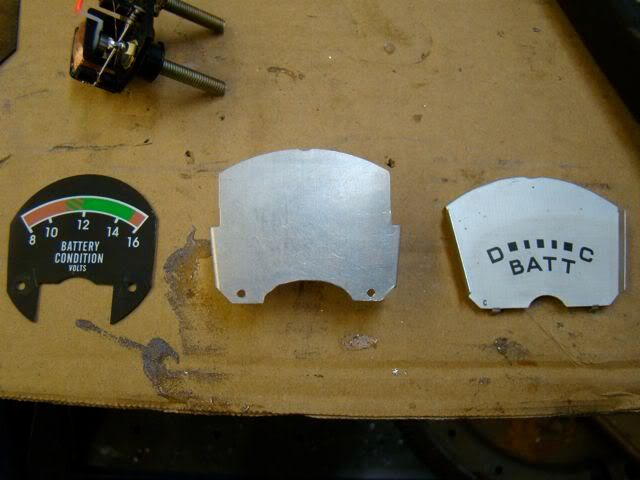 [/IMG]
[IMG]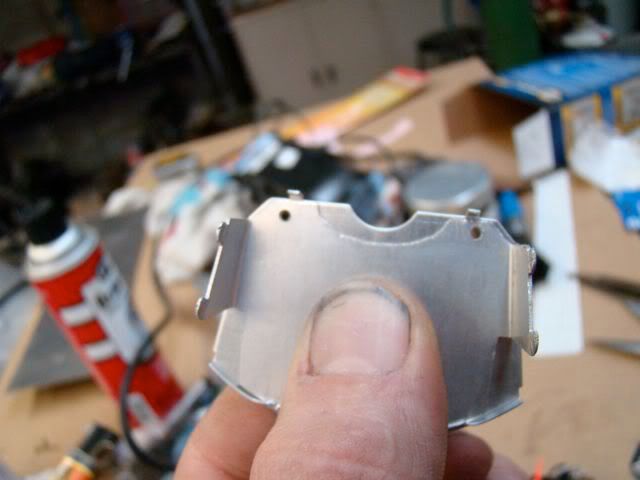 [/IMG]
The hole in the middle is for clearance of a post on the new gauge so the outer face plate sits flat when it is all back together.
[IMG]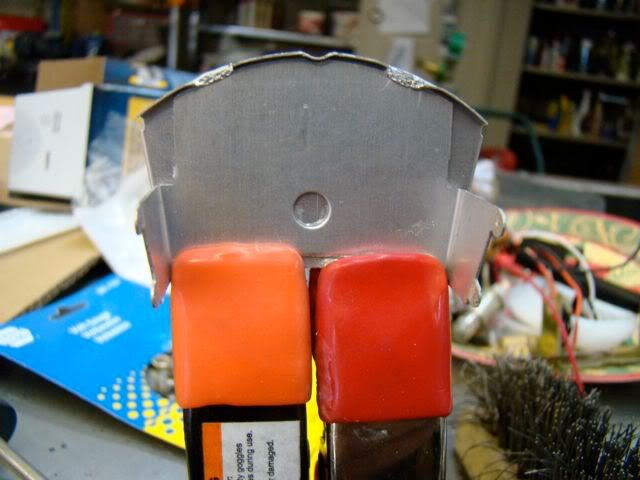 [/IMG]
[IMG]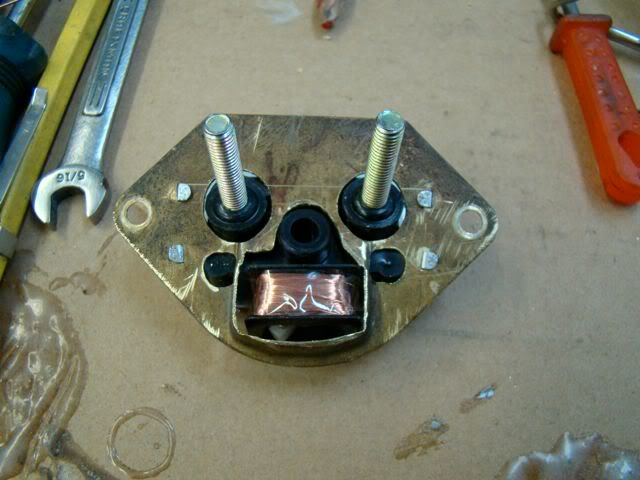 [/IMG]
I re-used the new gauge +- plate so I would not forget next time I or my son is working on it.
[IMG]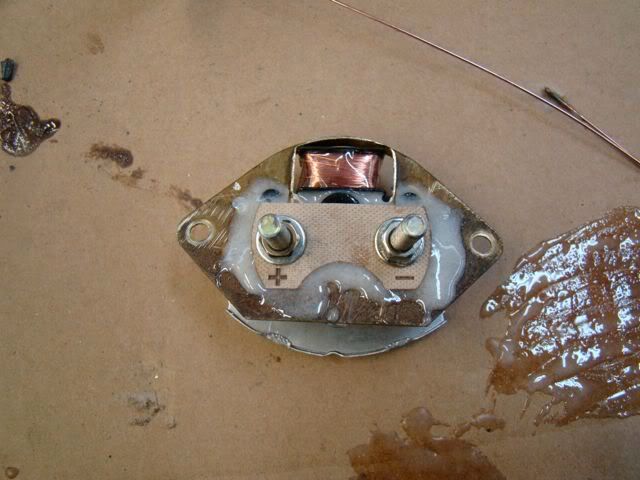 [/IMG]
[IMG]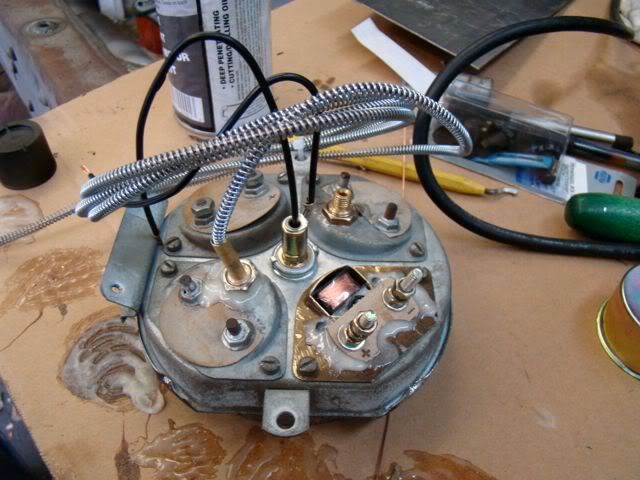 [/IMG]
Yes the needle does not match the best but I really do not think it will be pointed out from most folks. Also 12V is right in the middle of the through of the gauge so if it is past center it is charging and below it is not.
[IMG]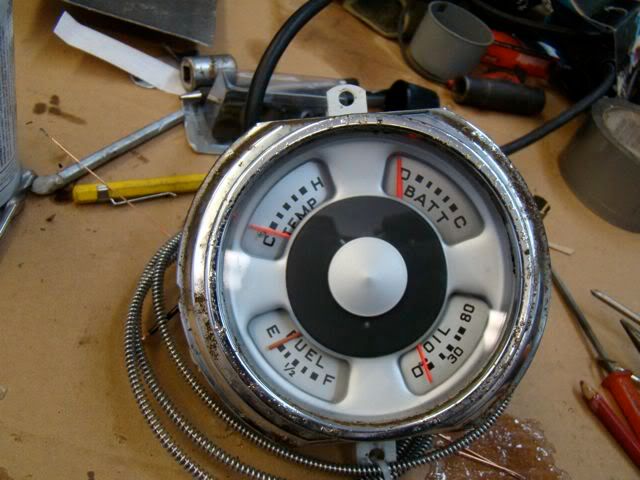 [/IMG]
This was a Napa volt gauge part #510-1737
Kevin
LFD Inc.
[IMG]
[/IMG]I used the new face plate as the templet for drilling the holes in the old face plate and bracket. Note I did slide the new face plate down just a bit so I had just enough material for the mounting holes in the old plate.
[IMG]
[/IMG]I drilled the holes in the bracket first to double check fitment before drilling the face plate. I had to enlarge the "mouse hole" notch to allow for the movement of the gauge and once it all worked I just copied that over to the outer face plate.
[IMG]
[/IMG][IMG]
[/IMG]The hole in the middle is for clearance of a post on the new gauge so the outer face plate sits flat when it is all back together.
[IMG]
[/IMG][IMG]
[/IMG]I re-used the new gauge +- plate so I would not forget next time I or my son is working on it.
[IMG]
[/IMG][IMG]
[/IMG]Yes the needle does not match the best but I really do not think it will be pointed out from most folks. Also 12V is right in the middle of the through of the gauge so if it is past center it is charging and below it is not.
[IMG]
[/IMG]
#20
01-08-2010, 08:29 PM
Post Fiend
Wow, my doctor should be so talented. I think you are going to find that the volt meter points up around 14 volts whihc wil be showing a charge. And if your alternator dies, it will drop down to 12 which will be slightly off center. So I think you are in good shape.
I wish you would have let me know about your gauge, I have a couple of them and would gladly have given you one. Se la Vi!
I could have sent it with the bezel (address please).
I wish you would have let me know about your gauge, I have a couple of them and would gladly have given you one. Se la Vi!
I could have sent it with the bezel (address please).
#21
01-08-2010, 09:31 PM
Join Date: Sep 2006
Location: Winters Ca
Posts: 423
Likes: 0
Received 0 Likes
on
0 Posts
Thats ok I kind of like the surgery to get the new one in the cluster. I did the same conversion on my 70 SWB C10 when I rebuilt it. As for the gauge trim thank you very much for the off but I will pass for now. Upon closer inspection my speedo really needs to be re-chromed as well so I will just do both of them at the same time next time the truck comes apart.
SO I put the cluster in the truck tonight and after hooking up my braided steel Oil PSI line the headlight harness would no longer fit onto the switch. So I ended up swapping the fuel and oil gauges to fix my little problem. I have all new light sockets coming in the next day or so and then the cab wiring will be finished.
Kevin
LFD Inc.

Thread
Thread Starter
Forum
Replies
Last Post
Rokcrln
1948 - 1956 F1, F100 & Larger F-Series Trucks
30
01-10-2014 12:21 PM
Rokcrln
1948 - 1956 F1, F100 & Larger F-Series Trucks
15
03-25-2013 03:43 AM
Rokcrln
1948 - 1956 F1, F100 & Larger F-Series Trucks
33
09-11-2011 09:27 AM
Rokcrln
1948 - 1956 F1, F100 & Larger F-Series Trucks
3
05-03-2011 08:02 PM