When you click on links to various merchants on this site and make a purchase, this can result in this site earning a commission. Affiliate programs and affiliations include, but are not limited to, the eBay Partner Network.
I was parked on the street and got hit hard at the left taillight. Tailgate was not on. I thought I would begin a thread about how I am removing the old and installing the new q.panel. While the bed is off I'll be taking out the dents on the wheel houses, replacing the gas tanks, replacing the leaf spring bushings, and painting the frame with Por-15.
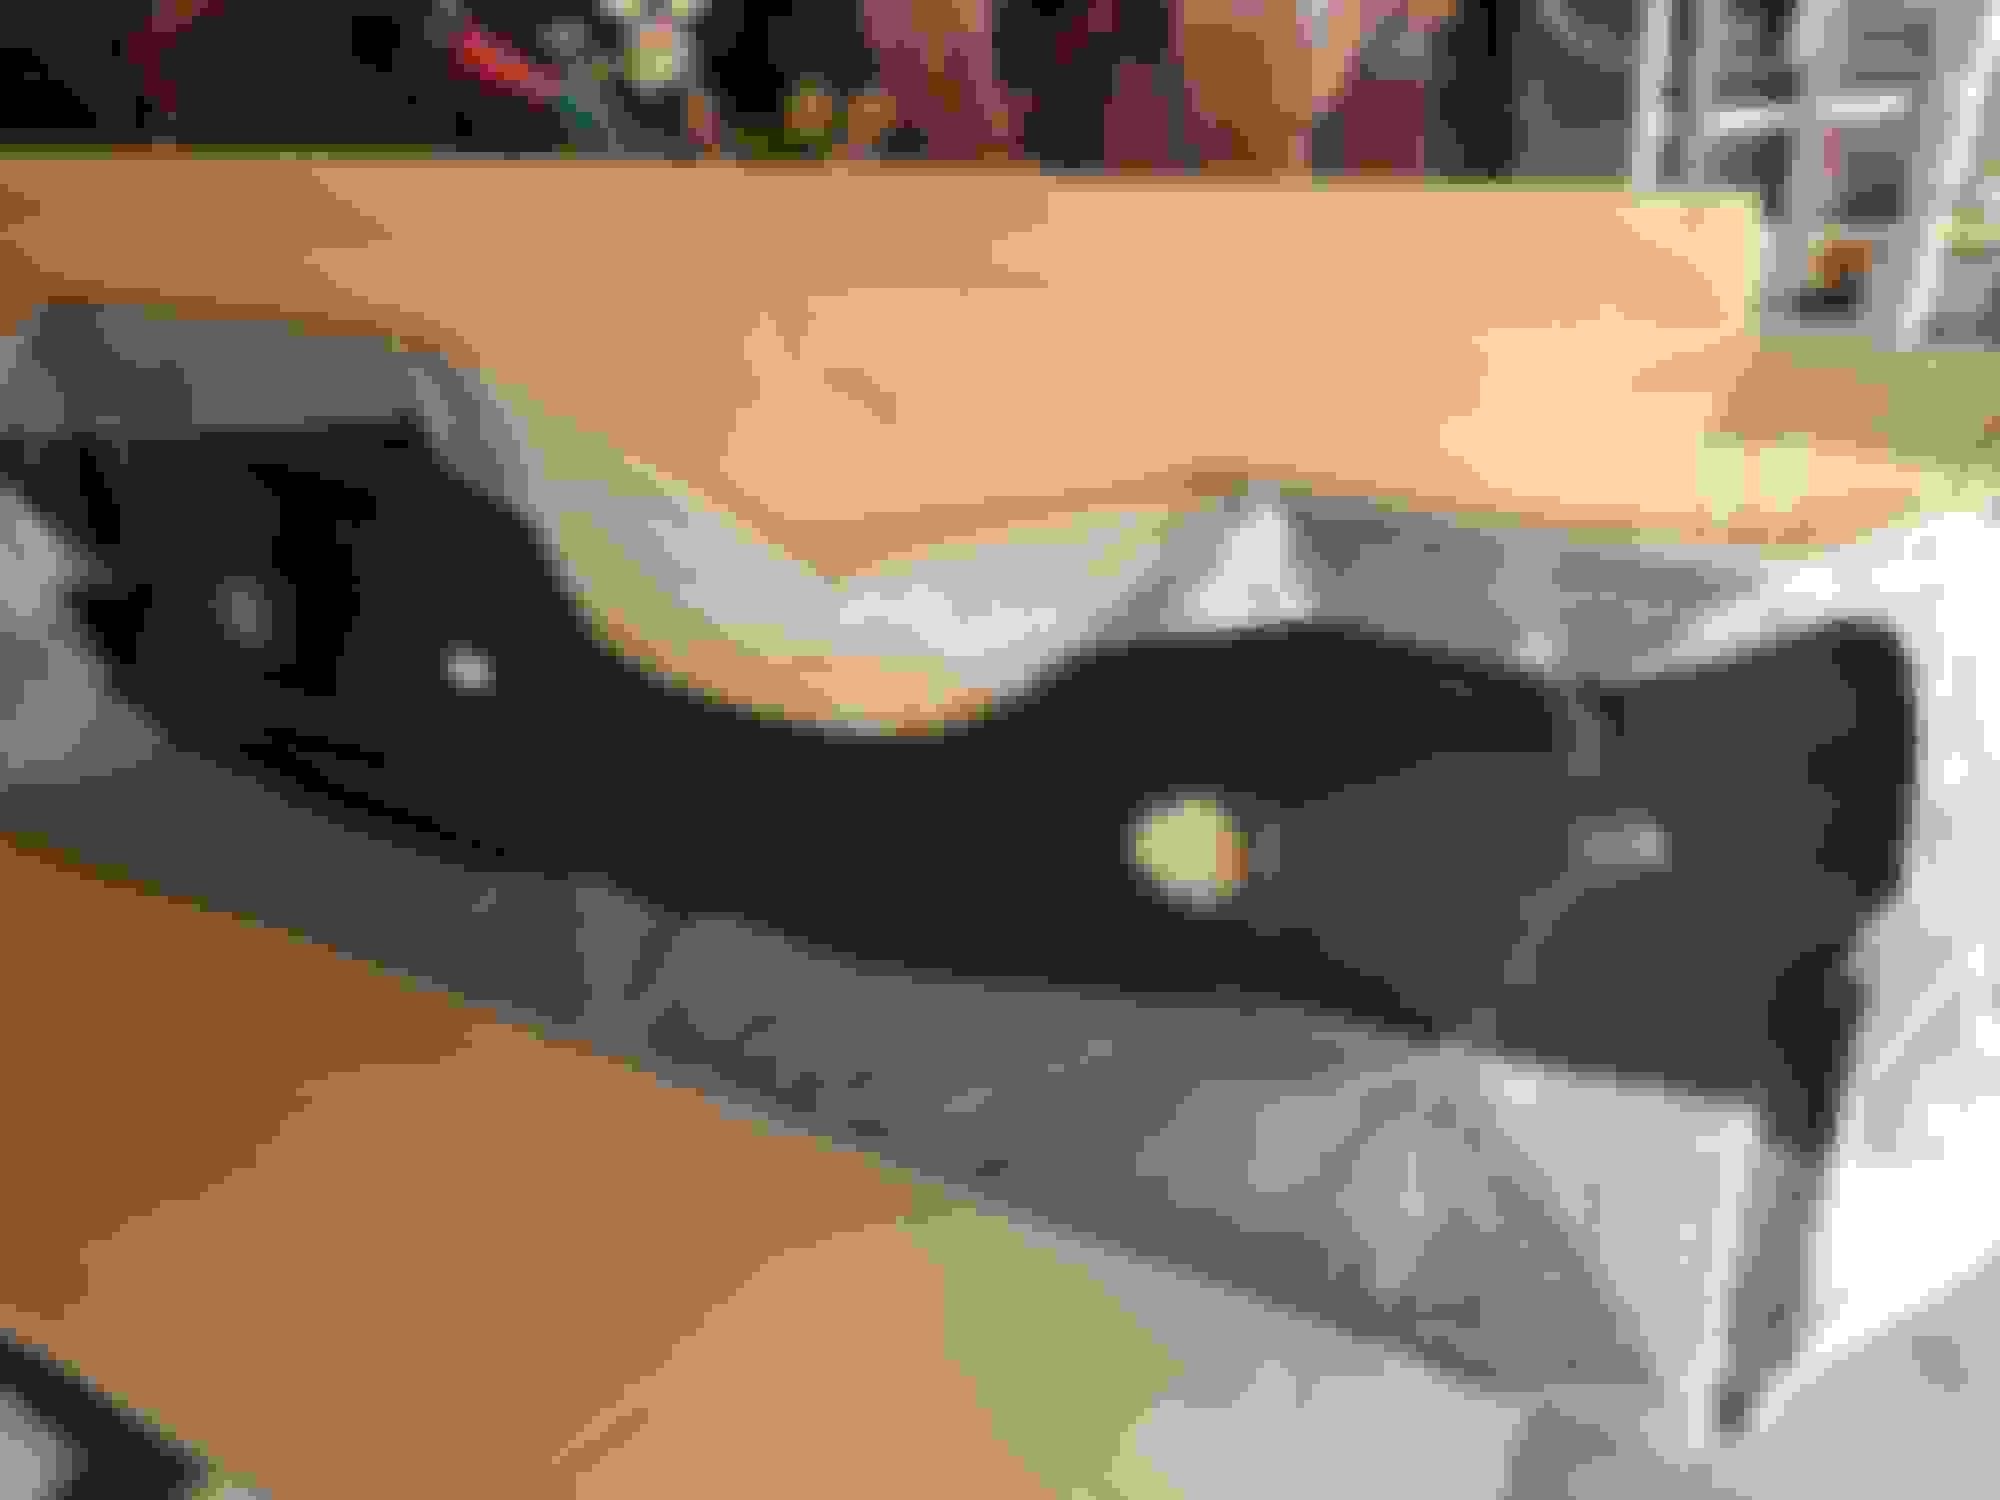
I ordered a new q. panel from Jegs, also a step bumper. I ordered the two items on the 10th of April. The bumper came on the 15th. The q. panel is due on the 20th. Below is the old bumper. You can see how thick the reinforcement was: 1/2"! I feel sorry for the late model Toyota that hit me. That truck just exploded in a shower of plastic and coolant. You can see the reinforcement steel on the old bumper. 1/2" of solid steel!
The new bumper, a FEY, has steel half as thick, but ... what can you do?
I also bought new taillights from LMC. And treated myself to new turn signal lights, even though they are not year correct for my 75. But I like the yellow lens, so I got them.
I needed to get at the sub structure braces in the rear, but found that they were smashed to badly to repair.
I've decided to remove the tailgate post and sub structure from a junkyard truck and weld it onto mine. It is either do that or purchase an entire left side of a bed, and since I already have a new bedside coming, I don't want to do that. Hopefully my 4 battery packs will be enough to get the job done.
I also noticed that it is difficult to find these old trucks in the yards. I will have to drive 45 miles one way to get what I need.
Now I have to cut our the spot welds on the remaining pieces to remove them in preparation of installing the new panel.
I was parked on the street and got hit hard at the left taillight. Tailgate was not on. I thought I would begin a thread about how I am removing the old and installing the new q.panel. While the bed is off I'll be taking out the dents on the wheel houses, replacing the gas tanks, replacing the leaf spring bushings, and painting the frame with Por-15.
I ordered a new q. panel from Jegs, also a step bumper. I ordered the two items on the 10th of April. The bumper came on the 15th. The q. panel is due on the 20th. Below is the old bumper. You can see how thick the reinforcement was: 1/2"! I feel sorry for the late model Toyota that hit me. That truck just exploded in a shower of plastic and coolant. You can see the reinforcement steel on the old bumper. 1/2" of solid steel!
The new bumper, a FEY, has steel half as thick, but ... what can you do?
I also bought new taillights from LMC. And treated myself to new turn signal lights, even though they are not year correct for my 75.
But I like the yellow lens, so I got them.
Yellowparking lamps: 1976 F100/350 from serial number C50,001 & 1977 F100/350
Tail lamps are the same: 1974 F100/350 from serial number T80,001; 1975/79 F100/350; 1975/91 Econoline; 1978/79 Bronco .
The Bronco/Econoline lamps have a weather seal that just peels off.
Today is a big day. The new body panel arrives on a truck from Gainsville, Georgia. I also go my new body work hammer, and a Blair spotweld cutter kit. I'm looking forward to using the proper tool. I've been using a 3/8" drill bit, and that is difficult and slow going. I'm hoping that the cutter will work much quicker, even though the directions say not to spin it over 500 rpm. I also bought extra bits to drill pilot holes. I wanted carbide bits, but they are difficult to find in a brick and mortar store around here. Today I should be able to remove the remaining panel strips from the post assembly I took from the j/y, and tack it into place. If I can get that done today, I will consider that a good day's work.
I also have two gas tanks to swap in, a new exhaust to mod up and weld, and a rear end to swap�from 3.31 to 3.73. With my zf5 I get a terrible lag or bog when I shift into 3rd and have to wait for the rpm's to climb. I'm sure the 3.73 will take care of that. It should also create a bit more pep off the line.
I got the rest of the old panel removed from tailgate brace, so it is almost ready to be installed.
I will weld two heavy panels together. It is the end panel where the floor of the bed meets the base of the tailgate. Can someone tell me how to weld that? Should I leave a 1/16" gap to fill? Do I just do a series of spot welds and fill the gap? What is the best way?
Also, when I weld the new panel to the bed, should I drill holes so I can weld the panel to the one beneath? and then fill the hole with weld?
New panel arrived. I thought, hoped, that it was going to be made in USA, since it was from AMD (auto metal direct) a co. in Georgia. But the boxes were labelled Taiwan.
Great. It had been so long since I used my air chisel, I almost forgot that I had it. That tutorial is really going to speed up the process. Can't wait to get back at it. Thanks again. That is the power of the forum.
Using the air chisel really helped and made the removal of the old panels go a lot faster. FWIW, the Blair tool works very good for cutting the spot welds, but be sure to buy several extra cutting heads. I went through 3 very quickly.
This is the damaged piece that I removed. There are/were a lot of spot welds holding it in place. Here you can see where I attached the new piece. Here is the 'new' piece tacked into place.

 04-16-2023, 12:59 PM