When you click on links to various merchants on this site and make a purchase, this can result in this site earning a commission. Affiliate programs and affiliations include, but are not limited to, the eBay Partner Network.
I attached the instructions PDF file, it will show up at the very bottom of this post.
This particular kit is for use with the Reece universal 5th wheel mounting brackets.
^^^^^ Which looks like this ^^^^^^
Box as shipped from Amazon, not inside any other boxes
Opened up box, lifted the paper off top of the contents for better pictures
Example of instructions page with parts diagrams
The gooseneck hitches or the 1 piece no drill vehicle specific Reece mounts have different kits, check which one you need
Also since I'm "lazy" and use my truck as a daily driver as well as my tow rig, I don't want to have to check my air bag pressure every day b4 I leave the house in pitch black and sometimes in a rush, so I went with the internal jounce bumpers that don't require the 5psi minimum like the bags without the jounces do to prevent bag damage.
Pictures courtesy from @F350towing showing the internal bump jounces
F350towing says the bump stops measured approximately 2.5" tall at the place he went to and got the the cutaway pictures from for us
The instructions are actually quite good, and I expected such basic instructions to have that "gotcha" moment during install, like remove this bolt before proceeding to step 4, only to find out that particular bolt was behind the heater core inside a metal box that was welded and riveted shut, but no. Surprisingly this is one of the very few times on these trucks where I've run across an add on product where the instructions are quite simple and the job is actually as straight forward and simple as stated in them. There were even no obvious foreign language translation grammatical errors to laugh about or stumble on. The instructions were actually even illustrated well.
The first thing I did before install was dry fit the bags, mounting plates, and frame/spring brackets together and loosely bolt together the upper and lower bag bolts so the entire left or right assembly was loosely assembled off the truck in my living room. And every last nut/bolt/lock washer was accounted for.
The bracket's are nice 1/4" thick steel with part numbers stamped on them and left and right stamped into the upper mounts, and all powder coated. The push locks are nice and stainless steel. And you even get their fancy sticker to slap on your tool box.
Entire assembly dry fit very loosely in place. In this picture the nylocks are on loose before using any wrenches, and the bottom airbag mount isn't centered up on the spring pack u-bolt plate yet
You may notice a lack of "installation" pictures during this write up. The darn process was actually so straight forward and simple there really wasn't much to document that wasn't in the instructions. The pictures I included will give you a better sense of depth and size on our trucks than the instructions will tho. But I just didn't feel the need to clutter the thread with a lot of pictures of me tightening this bolt or that bolt or a you tube video of me drilling holes.
Two tool sets you'll definately want for this install are transfer punches (you may call them center punches) and good welding style C clamp vice grips
I would also suggest getting an age appropriate 6 pack of some type of beverage for your helper. Whether they are 12 or 80. You'll want them for about 10 minutes of actual work, otherwise the 4-5 hrs for install time is pretty much a one person deal, a second set of hands to clamp the vice grips or tighten the nuts on the opposite side of the frame on the truck on the creeper aren't required but would make the process much easier.
The instructions say to remove the tires. I had plenty of room with mine on, and as long as your drill is short enough to drill the 3/8� bottom hole in the side of the frame without hitting the tire and tilting your bit out of a perpendicular line you can skip that part.
I would however recommend removing the spare tire. It will give you more room to access your 5th wheel mount bolts and for routing your air lines. Although I didn't even do that, afterwards I wish I would have as many times as it ended up being an inconvenience.
So, next up I removed the E-brake cable bolt that's directly above the DS axle in the middle of the frame. As the instructions say, just flip it around so the longer end with the nut is on the inside of the frame so you don't rub your airbag on it once installed. Easy as can be.
So next you'll want to unbolt and remove the spline bolts from your 5th wheel bracket and frame. Replace them with the appropriate replacents later on
Next I set the complete airbag assembly on the spring pack. ( Yes I put the picture in up above a little before the steps order, but I didn't take any pictures of the whole assembly before I started the install )
Overload springs don't require the 1" riser spacers if you do have those springs. I don't have overloads. So since my axle u-bolts were contacting the bottom airbag mounting plate I had to use the included 1" spacers, and the longer supplied u-bolts.
I centered the assembly up on the spring pack u-bolt plate and torqued the u-bolts evenly to 17 foot pounds. Which means their supplied u-bolts are only a weak grade 2 material. Granted in theory they just hold the assembly in place and the mounts take all the real force in use but come on. I'd like to see at least a grade 5 with 33 ft pounds of nut torque, 17# just feels like I left it loose for that size of hardware. All their included nuts are nylocks by the way.
Next up I lined up the top mounting bracket to the 5th wheel bracket. If needed loosen the top or bottom mounting bolts and slide the airbags in their slotted groves until the top bracket contacts the frame at the front mounting ear and at the 5th wheel bracket on the rear side. AirLift says to give your bags 5-7 inches of distance between top and bottom mounting brackets.
So.... When I installed my Reece universal mounts years ago the bracket's bolt holes weren't quite centered on the frame. The bottom of the lower hole was just barely above the minimum of 3/4" above the bottom of the frame web and the top hole was just above center. I debated it then, and again during this install. I wanted to drill the Reece 3/8" thick mounting bracket holes father up to have the 1/2" bolts in the middle of the frame, but drilling new 1/2" holes in the bracket in the spot for centered up bolts back then wouldn't give me enough meat left between holes on the bracket to sleep well at night or tow with confidence. Since it was in the acceptable area I went with it.
However, now that means I wasn't able to put the bags closer to the 7" mark of distance between bag mounting brackets, so in effect it lowered my range of axle movement before I begin to engage the internal jounce bumpers in the bags.... I was still well within their stated 5-7 inch range, but I lost potential travel for a smoother ride before the bags begin to bottom out on themselves. Tho in theory I've got a full tank of fuel and all the crap in my bed tool box during install so "maybe" I actually had an extra 1/4� of travel without all that weight on the truck. It is what it is tho.
So once I had the top air bag mounts positioned where the bottom 5th wheel bracket holes would leave me 1/4� of meat left under the holes I'd be drilling in the rear yet un-drilled holes in the air bag mount I had my helper (dad) clamp that side in place. Then I remeasured the distance at that side of the mount and pushed down on the opposite/front of the bracket until my distance was the exact same and dad clamped the front of the bracket in place. Then we remeasured and adjusted a few times to get it 100% dead even
I measured both sides of the mount again to ensure it was even and then grabbed the transfer punches. The front of the airbag mount used a 3/8� punch thru it to mark the frame for it's new bolt holes. Then I rolled under on the creeper and unsuccessfully tried to mark the back side of the rear airbag mount flange thru the frame and 5th wheel bracket. I ended up using a punch 1/64� smaller. I'm not sure if the 1/2" punch was hanging up on the grooved frame from the spline bolts, or maybe the 5th bracket had shifted a minute amount to not be perfectly aligned with the frame holes, but something hung up the 1/2" punch. After the bracket was successfully marked I rolled out and we unclamped the bracket.
Brackets clamped in place and transfer punched for drilling
Then I removed the top mounting bolts in the air bags and slid the top mounting bracket off the bag assembly. I used my drill press to punch the 1/2" holes thru the bracket while at the same time my dad volunteered to drill the 3/8" holes in the frame. Once drilled we took a file and cleaned up the burs on the back side of our holes and I hit all the fresh metal with some black paint. Because I'm **** and hate the sight of rust, ok?
This is the side of the top airbag mount flange right after drilling the 1/2" holes. It is at least 3 times as large as the pre drilled side so that you have plenty of real estate for drilling your holes wherever your 5th wheel bracket's bolts ended up from your individual truck's install
Next I put the air bag mount back on top of the air bag, loosely threaded in the top bolts and then tightened down the 90⁰ push lock fitting into the air bag.
A crazy thing happened. When you measure a lot, and use good strong clamps, and transfer punches, things tend to line up exactly. All the bolts went in every hole perfectly. Granted the spline bolts took a little finessing to get lined up with their groves in the frame, but everything went together smoothly.
The included front mounting bolts are 3/8" grade 8 and got torqued to 34 foot pounds. The 5th wheel hitch 1/2" spline bolts got torqued to 85 foot pounds. And wouldn't you know it, they had 1 full thread sticking out past the lock washer and nut, so adding the airbag bracket thickness didn't require a different length bolt.
Front mount on the driver's side
Driver's side bag installed and ready for the airline. Not sure why the bag looks skewed, I assure you everything is very straight and square in this picture, the bags are just un-inflated and slightly compressed from their full height at this point
Next just center up the air bags and make sure you have 1" of space all around the air bag so when it's inflated and swollen up/out it won't contact anything while driving. The very easy way we checked the clearance was we grabbed my sockets and my 3/4� socket was just a hair more than 1" diameter. So we stuck that socket back in there behind the air bag and moved it all around everywhere and made sure it didn't contact anything. We slid the bag back towards the frame some in it's slotted mounting holes so it would be closer in towards the frame on the top and bottom bracket and not exerting it's forces on the farther out end of the top bracket away from the stronger point where it's bolted to the frame. In theory. I'm sure it was engineered to be fine out on the extreme of it's mounting points but hey, we had more than 1" of clearance all around so why not do it.
Once the bag was in position I rolled under the truck and tightened up the air bag bolts. A gear wrench is worth it's weight in gold in places like this. Just don't go full Arnold on the torque here. I imagine the threaded inserts inside the bag are just a nut molded into the rubber of the bag. You're just holding it's position with these bolts. When inflated and doing it's job there's plenty of force to hold it in place.
And that was the driver's side air bag install. When you drill thru the frame there is the rear brake's line and trailer light wiring harness behind there that you "could" hit with your drill bit; but just use some common sense and move them over out of the line of fire for a few minutes. Otherwise it's actually a super easy and straight forward process.
The passenger side install was the exact same, except there is no E-brake cable mounting bolt to flip around, or brake line and wires behind the frame. The exhaust pipe is on this side and makes it difficult to get nuts on or bolts in but it's not really in the way enough to worry about.
After the bags were mounted it was time to plumb the air lines. I'm boring and simple. Currently no on board air system so I routed the air lines out back to the tail gate. Where, wouldn't you know it, there happens to be 2 holes of the exact size needed for the valve stems to fit in the bottom of the bed flange, that are out of the way of tail gates opening and closing, feet climbing into the bed, and trailer hitches if you actually use your bumper for very light trailers with super high tongues.
Driver's side valve stem mounting location in a factory hole right above the spare tire lowering hole in bumper Passenger side valve stem in a factory hole same as the driver's side
Once the valve stems were mounted and air lines zip tied out of the way and ends snapped into the push locks I put some air in the bags.
Yes, I plumbed the bags individually. I don't buy into the just T them together and run one supply line crowd's argument. I've read too much of that setup just pushing air from one bag to the other when loaded unevenly, or in cross winds; which in my case would negate the purpose of the install. The bags held pressure for a few minutes with no bubbles when hunting for leaks. So I put in a certain amount of air and parked the truck for the rest of the day. Tomorrow after it's sat for 24 hours I'll check the air again and if it's held air without any loss I'll call that a success for now. Of course after I've driven it around a week or so I'll check air again and see if there's been any loss as well. Then I'll trust it to hold air on our trips.
Nice install. I have the 1 piece vehicle specific 5th wheel mounts (not the universal). I'm still not sure which bolt-on (not weld-on) kit I would need for my 5th wheel mounts (other than the crappy setup Sous and myself have right now that we are trying to do away with). I ordered the PMF Suspension lift block / airbag tang / Traction Bar all-in-one kit. I'm hoping it will be the resolution to my airbag setup at the same time of giving me a beefy traction bar setup. I'm thinking it "should" give be a solid lower bag mount unlike the sh**ty, flimsy setup I have now. Upper mount should stay the same. Crossing my fingers......
Well time for a follow-up. After an embarrassing 2 months of time I finally had my 1st heavy tow after install. The first thing I did during my vehicle checks was to check bag pressure. Both were 20# which would explain the harsh empty ride for so long. Sorry Eric, I should have had 5# if any in them for the drive to dinner when you were passing thru. However that means after 2 months I haven't lost any air pressure, so definitely no slow leaks to worry about.
So today I hooked up the train of 5th wheel and 4x8 trailer for possibly our last camping trip b4 winterizing this year.
Choo choo, before hooking up to truck or loading the bikes
Then I backed the truck up and hooked up the 5th wheel. Sorta. I extended the landing gear some more so i had a gap between the kingpin and hitch so no weight was on the truck yet, but I was in position to to transfer weight onto the truck. Then I measured my wheel well gap to the ground for my "empty" weight height. I've got a good 180# of known weight in the toolbox, and the freaking heavy 5th wheel hitch and a full 38gallon tank
Then I retracted the landing gear and finished hooking up the E-brake cable and 7 pin connector. Next I remeasured my wheel well to ground height and came up with 1 3/8� of squat. So, next I grabbed my bicycle pump (it's good quality you haters) and gave it about 6 pumps till my ride height went up 1 3/16� I grabbed my good pressure gauge vs going off the higher scaled built in gauge on the pump. I came up with 52 pounds on the left and right side and settled with trying 50# for now.
Unfortunately today's tow had very little cross winds, or if there was I didn't feel it. Semis on the other hand didn't push me away then suck me in as they passed me like they did on our long trip this June. It was very much subdued and a 1 handed driving experience when it wasn't 1 lane construction. Bumps in the road were gentler than I expected them to be when we hit them. Bridge expansion joints didn't give me that damp taco feeling of the axle bounding and rebounding 5 or 6 times. Not that they used to be large bounces, small ones being the driver I would notice.
Overall I like em. The front end still seems a little light, and the rear tires seem to have a little more squat and a bigger contact pad on the ground hooked up now, but my brain can't figure out how that could be since the rear bags would be transferring some weight to the front axles by raising the rears. Maybe if I can remember I'll measure that and front axle wheel well height when we get back home.
When I first set my bags for each of our RV trailers, I would go off measurements from all four corners of the truck, then find the happy place. For my truck, 45 PSI in the bags gives me a ride that is stable and comfortable similar to what you describe. Even across MT, WY, etc...
I told you that they would be great and I am glad they are!
After the GTG on the 23rd, my truck goes under the knife. Thanks to you and @F350towing , I have an abundant amount of advice that the install should go well when I swap in the over the leaf brackets.
Thank you for the update and we are very pleased to read your results!
I was amazed at the ride quality improvement both loaded and unloaded. But to be perfect honest this was a bust year for us when it came to travel. I only have about 150miles of loaded tow time on them vs. a regular season north of 3500.
The front end still seems light, and therear tires seem to have a little more squat and a bigger contact pad on the ground hooked up now, but my brain can't figure out how that could be since the rear bags would be transferring some weight to the front axles by raising the rears. Maybe if I can remember I'll measure that and front axle wheel well height when we get back home.
This is worth exploring.
Two physical observations:
A. Light front end steering feel
B. More rear TIRE squat and loaded section distension (as opposed to rear bed squat)
One assumption:
C. "the rear bags would be transferring some weight to the front axles by raising the rears."
But would they?
Or could they "jack" and thus bear the weight directly to the axle, bypassing some load path through the front rear spring hangar that would otherwise transfer load forward to involve the front axle?
Lifting the end of the truck frame from the rear, some four feet behind the axle, such as with spring bars on a conventional bumper pulll towing set up, is different than placing an air spring directly above the axle.
The height, pitch angle, and fore and aft placement of the air bag "jack" above the axle can potentially impose different effects on how weight is distributed between support points.
I don't know the answer to why you find that your front steering is light and your rear tires are squatting more, but I am curious and interested in the question.
Since steering traction and tire overheating are important concerns, it seems like a worthy topic to ask/think about with supplemental air helper springs, and the positioning of the same.
Y2K, tho the front steering still feels light, it does feel much less light than before the bag install. My 5th kingpin is approximately 4" in front of the rear axle, so in theory the weight applied to the truck is in front of the bags on your diagram
There is a big improvement when I have the bags at 55#, steering as well as an even more solid feeling and anti sway properties of the rear. Made that 12 mile stretch of construction way less stressful. Got pretty nervous at a few turns with the Jersey barriers on each side, and all the pre construction warning signs saying loads over 10' wide exit now. Many places had black rubber marks and scraping damage done to barriers. That was a crazy stretch. Wife followed behind us an hour later due to kid's sports schedule, and said she was nervous driving her tiny little narrow car thru there. My parents camped with us that trip and were about 30 minutes ahead of me on road. Dad has a '17 6.7 and was towing our old "little" 5th wheel we sold them and he didn't like that stretch either. We both slowed to 40mph at the bendy narrow spots.
On the last tow back from campground I dropped bag pressure on the drive home to 45# and it was horrible, like there was no air bags at all. So I'll have to experiment with the pressures some more till I find what works best. So far 55# is pretty darn good, but the tinkering side of me wants to find out if a better is able to be had.
Oh, one more follow up thought on my install. So during the install I had 5 5/8� of distance between my bag mounts. The stated install range between the mounts for the bags with jounces ( 5000 Ultimate ) should be 5-7 inches, vs the bags without jounces ( 5000 ) have an install range of 5-8"
So, I'm at 5 5/8" but, I can gain another 1 1/8" between my mounts if I want to. All without redrilling any holes. How you might ask? Well, if you look here at my lower airbag mount you'll see
There it is
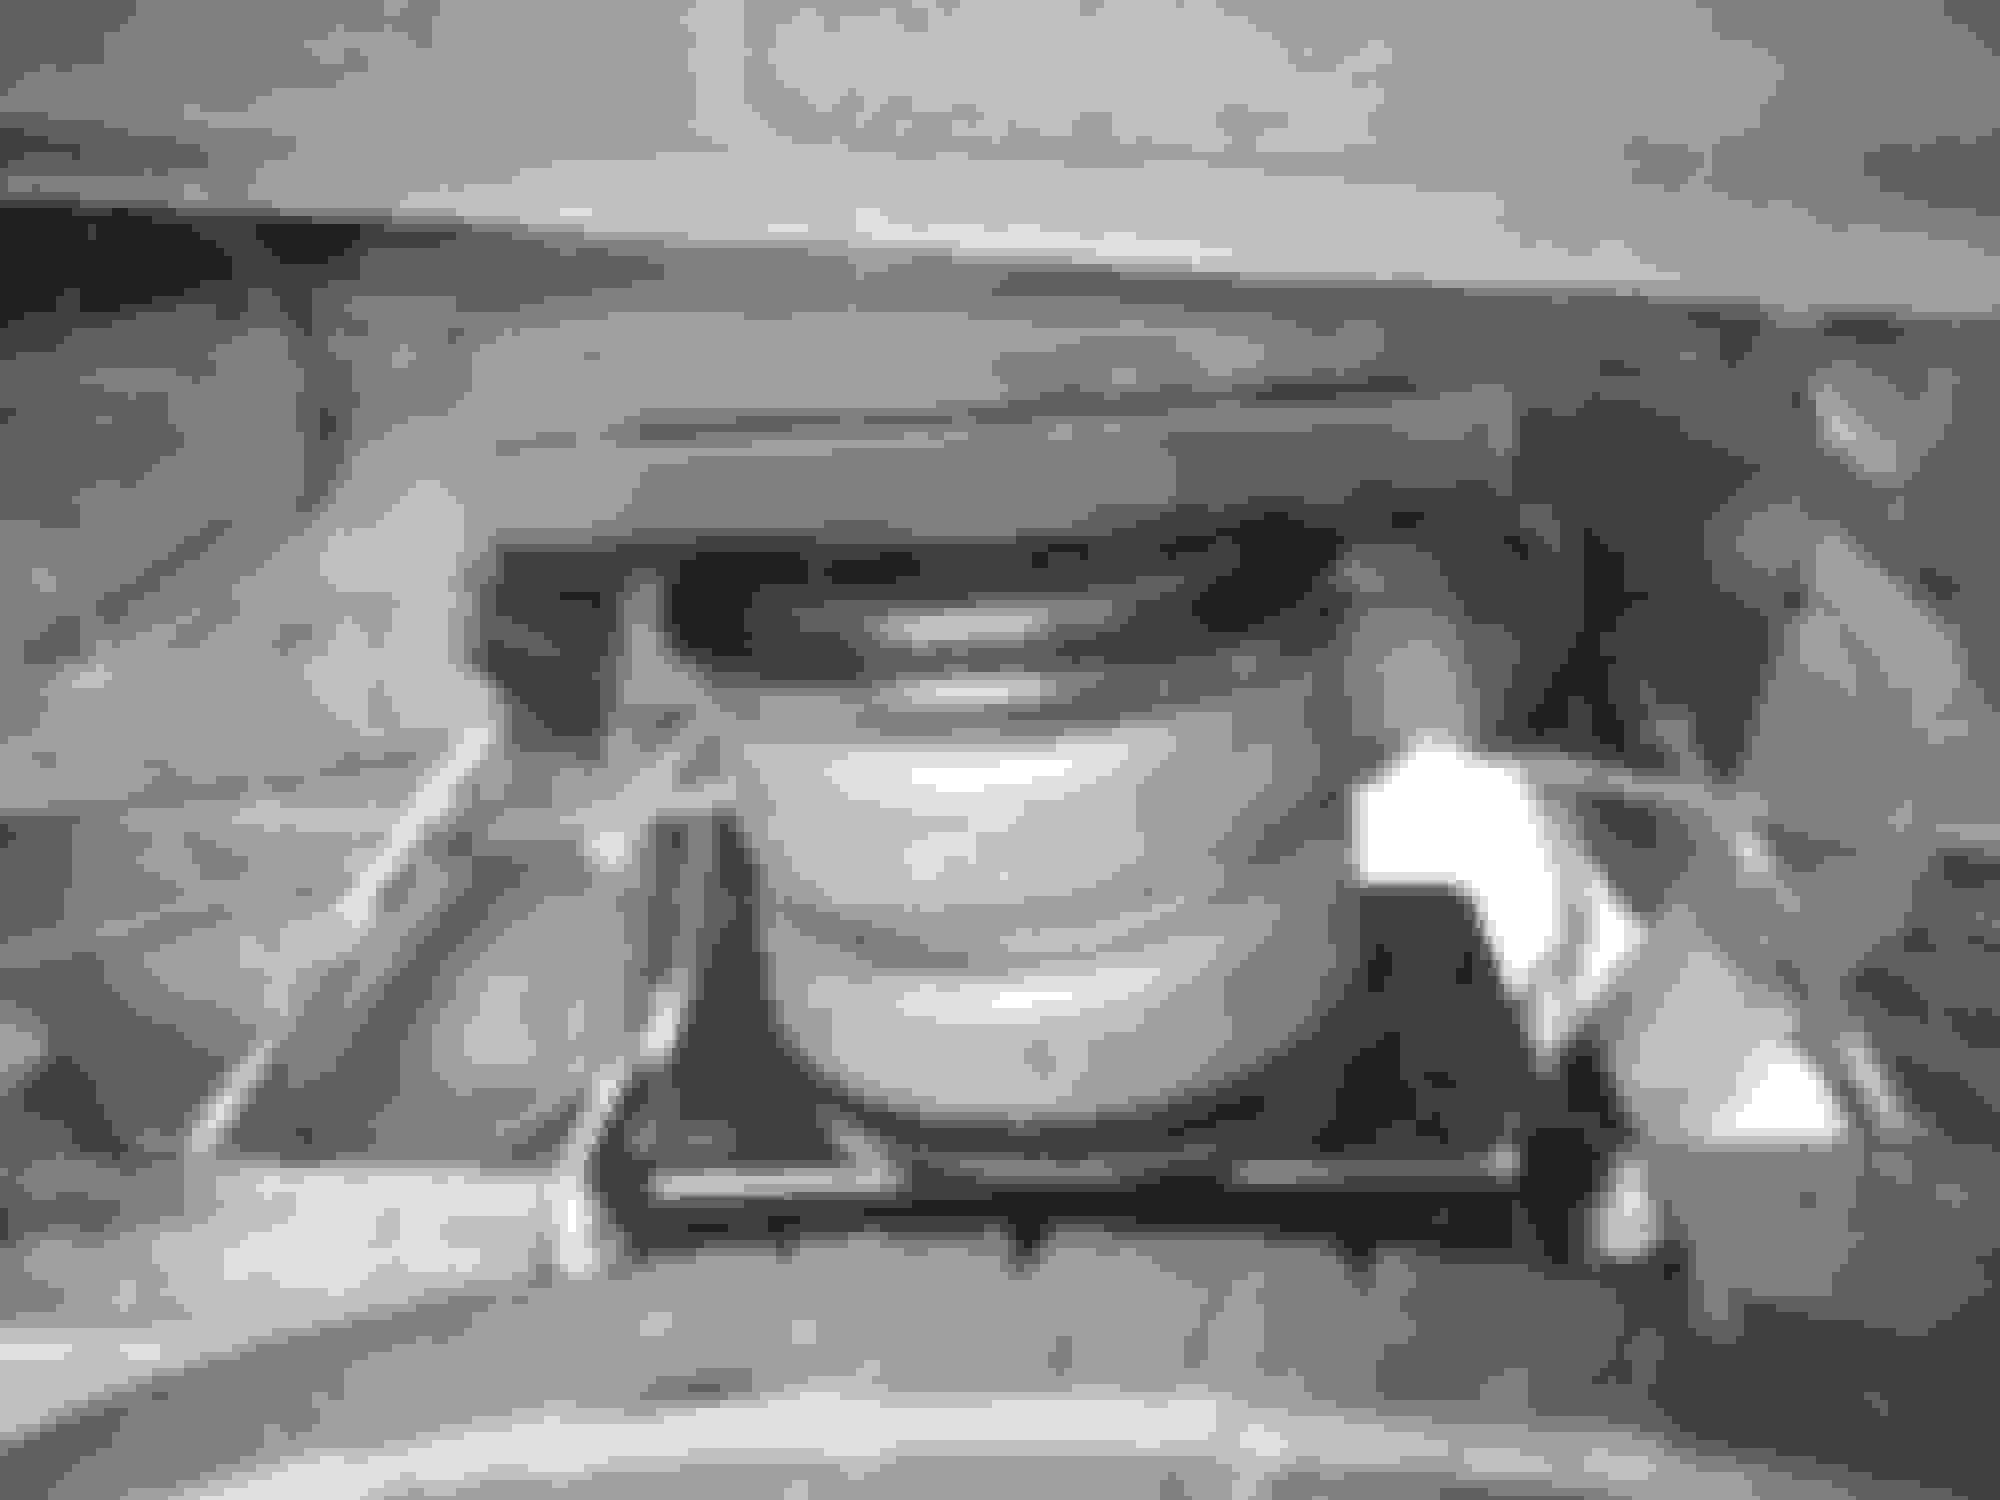
So, the reason I used the lower airbag spacers is my axle ubolts stick up so high they contacted the lower airbag mount. As you can almost see in this picture, if I get some new axle ubolts that are a little shorter in length my lower airbag mount would not contact the ubolts, and I could remove the mounting plate spacers, which are 1 1/8� tall.
So, if I remove the lower airbag spacers, yet leave my upper airbag mounts bolted in the same place they are I'd go from 5 5/8" of distance between my airbag mounts to 6 3/4� There by increasing my air bags travel distance before they begin to engage the internal jounces.
So that now has me wondering if when mine were installed without the spacers if either the stock U-Bolts were cut down to create the clearance, or were replaced.
I will have a look when I get home and snap a picture for follow up.
Heres the picture. If I was a betting man I�d say they were cut down.
It appears that @Wes444 does not have a Ford OEM overload leaf spring on his F350.
If you do, then some of the threads of the U bolts will be consumed by the spacer block between the main spring pack and the overload spring, as well as the thickness of the overload spring itself.
Your photo is too close up to determine if you have an OEM overload spring or not.

 08-18-2021, 11:49 PM