When you click on links to various merchants on this site and make a purchase, this can result in this site earning a commission. Affiliate programs and affiliations include, but are not limited to, the eBay Partner Network.
I thought I'd launch the story my adopted F100. She is a 1955 F100 I recently acquired from gentleman in northern New Mexico. I have not been posting here at FTE so I’ll have to start with some “catch up” posts summarizing what I’ve done between purchase in January 2019 and now. Some of this was done “live” over at FordBarn: https://www.fordbarn.com/forum/showthread.php?t=273280
My aim is to restore her to a driver in a condition more-or-less true to what Ford built. What I know right now is that the original 239 (by the VIN stamp) motor was swapped out in favor of a later 292. the block casting is EDB 6015E. Carburation is Ford 2100, C3TF-H. The power plant looks to be attached to a T98 transmission. The body looks to be “pretty good, considering”. The history I was told by the son of the gentleman who last kept this truck was that it sat in his front yard neglected for many years. Then the gentleman assembled her to workable condition and the son has memories of riding around Springer NM in her, with him.
The test drive was fairly exciting as the choke cable broke and she was stuck at fast idle with full choke. But she ran and drove and I brought her home. These photos show her that day after the flat bed dropped her off. The I rolled her inside and she sat for a bunch of months.
Last edited by AllenV; 06-24-2020 at 01:28 PM.
Reason: correct motor size according to VIN
Close inspection revealed pretty much original body work with a number of ragged edges on the panels. But I don�t think anything that can�t be fixed. The tires are rotten and the 4 wheels are of three different sizes, one of them cracked. The sort of low, skewed stance up front seems to be due to 2 broken front leaf springs. So, the first order of business was to fix the obvious safety issues. A set of 15x7 steel wheels, painted white, was ordered. Eventually I may invest in 15x5 wheels with bias-look radials. A pair of new, Eaton Detroit, front leaf springs was ordered. The springs are of stock configuration as I plan to keep at stock ride height with drum brakes.
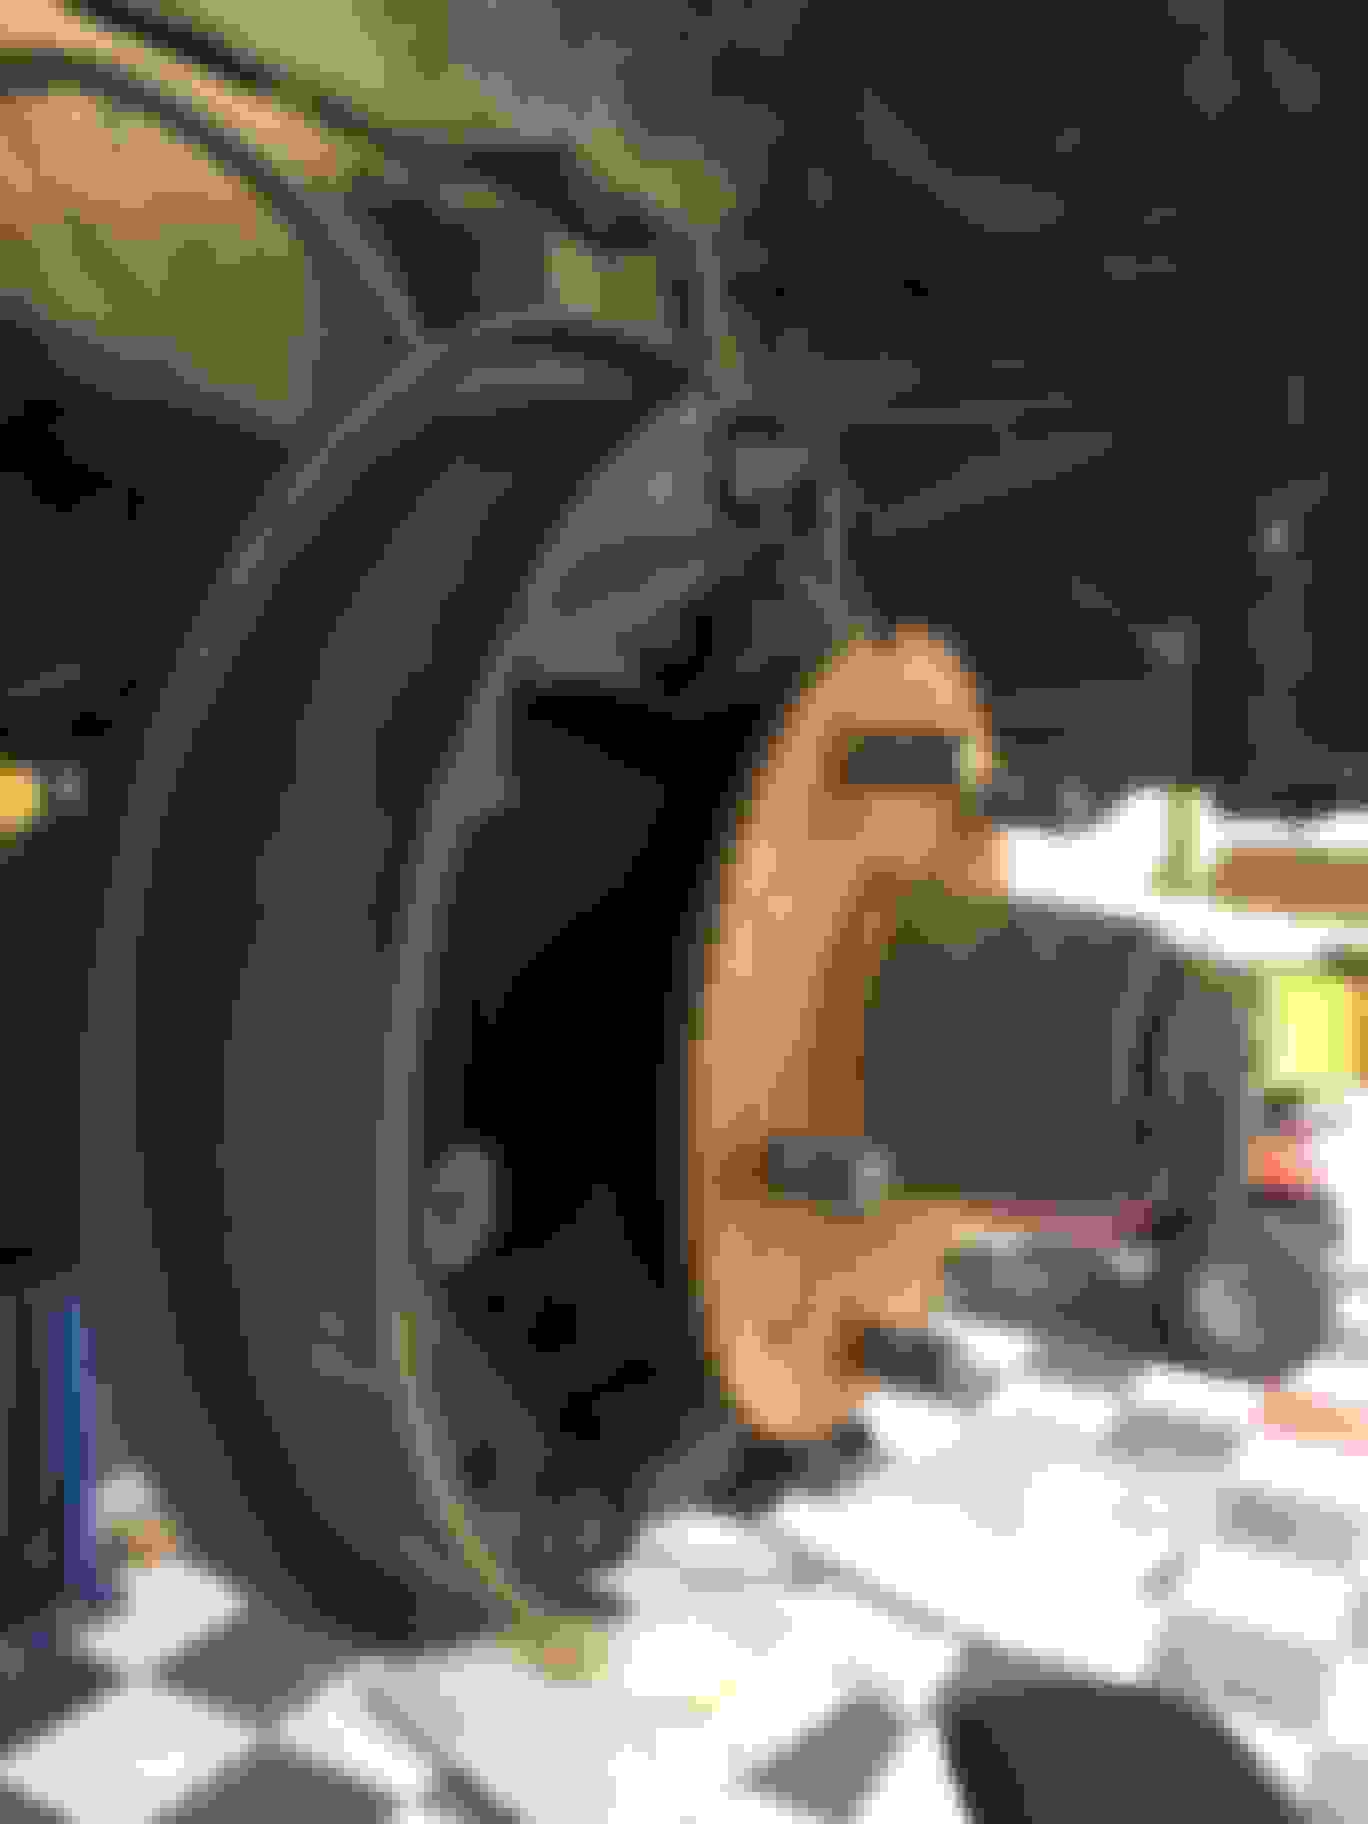
The motor is grungy but looks good. I installed a new choke cable. The original fuel pump has been disconnected in favor an aftermarket electric one. In these motor pictures the distributor is out and the white pipe at the rear is a 1.5 inch plastic pipe serving to keep debris from falling into the open distributor hole. The rocker covers have the add-on oiling modification. The rubber hoses are cracked and removed for replacement. Generally, triage is on-going. I believe the motor is solid. But I have not yet done a compression or leak-down test.
Electrically she has been converted to 12V with a Delco-style internal-regulator alternator. The original dash panel has been abandoned and is not functioning. The same is true of the heater. I suspect the previous owner did a partial conversion to 12V by disconnecting the original dash and heater and then hanging some aftermarket fuel, oil, water, battery gauges at the bottom lip of the dash. I have found numerous household wire-nuts in the harness and at least one disconnected, exposed wire with full battery volts on it. The wiring will need to be re-done.
The speedometer is not functioning as the drive cable is missing.
One of the 2 broken springs. Note the top leaf is separated and extra U-Bolt has been added hold it in place.
With the new choke cable installed I tried to start the motor and failed. Working through the fuel, air, spark triad I first had no faith in the fuel pump, so I installed a simple in-line fuel pressure gauge and clear plastic fuel filter. I was able to confirm fuel and air but still could not get her running. Time to inspect the distributor. I pulled it off and found the usual sort of rusty mess inside. More important, the shaft play was way out of spec. The cam lobes looked pretty worn. And the vacuum diaphragm broken. To me, this was an opportunity to install an electronic ignition. To keep a long story short, I settled on a new distributor from FBO Systems. This has Pertronix III ignition inside. Don at FBO has worked a good vacuum and mechanical advance profile for these old Y-blocks and I really wanted to get this old motor onto a modern implementation of vacuum and mechanical advance. The FBO distributor needs full manifold vacuum so installation required closing off the ported vacuum at the base of the carb and teeing a vacuum advance line into the base of the large tube used for PCV. The image shows the plan to relocate the vacuum pick-off.
This picture was taken AFTER I removed the original distributor. This post is about the motor with the original distributor in-place.
Last edited by AllenV; 06-22-2020 at 01:06 PM.
Reason: annotate the image
While waiting of a distributor I was on to replacing the broken front springs. And new wheels and tires all round. At that point, and with a new distributor, she ought to move under her own power and I planned take some time to get to know her.
The new FBO distributor with the Pertonix III ignition is installed along with the flamethrower III coil and a new set of plug wires and plugs. See the images of the installation. Recall, that to get the manifold vacuum wanted by the new distributor I tapped into the manifold port used by the PCV, just forward of the carburetor. Then I plugged the ported vacuum on the carburetor.
After some fiddling of chokes and verifying of fueI, air, and spark she lit up! Very first operation since I flat-bedded her home. The uploaded picture is taken with the vacuum disconnect and vacuum line run to a vacuum gauge. The low RPM timing has only just been set at 14 degrees BTDC. It has only been running a few minutes. It is ticking along at some low idle RPM, as yet not measured. The chock is off. That vacuum needle is bouncing only less than 1 needle width.
Sounds decent, oil pressure shows okay pressure, vacuum look okay, see the attached movie. ( Let's see if I can make a movie upload...)
Idle is 950 rpm, oil pressure varies from 18psi at idle to 38 psi at higher rpm. This is at 190 F temperature.
I found a fuel leak at the pressure gauge in front of the carb. I�ll fix that and hook up the vacuum advance and finalize the timing.
Attempted a test drive. BUT! The brake pedal goes right to the floor! I don't recall this "feature" during the initial test drive.
Last edited by AllenV; 06-22-2020 at 12:59 PM.
Reason: forgot to add images
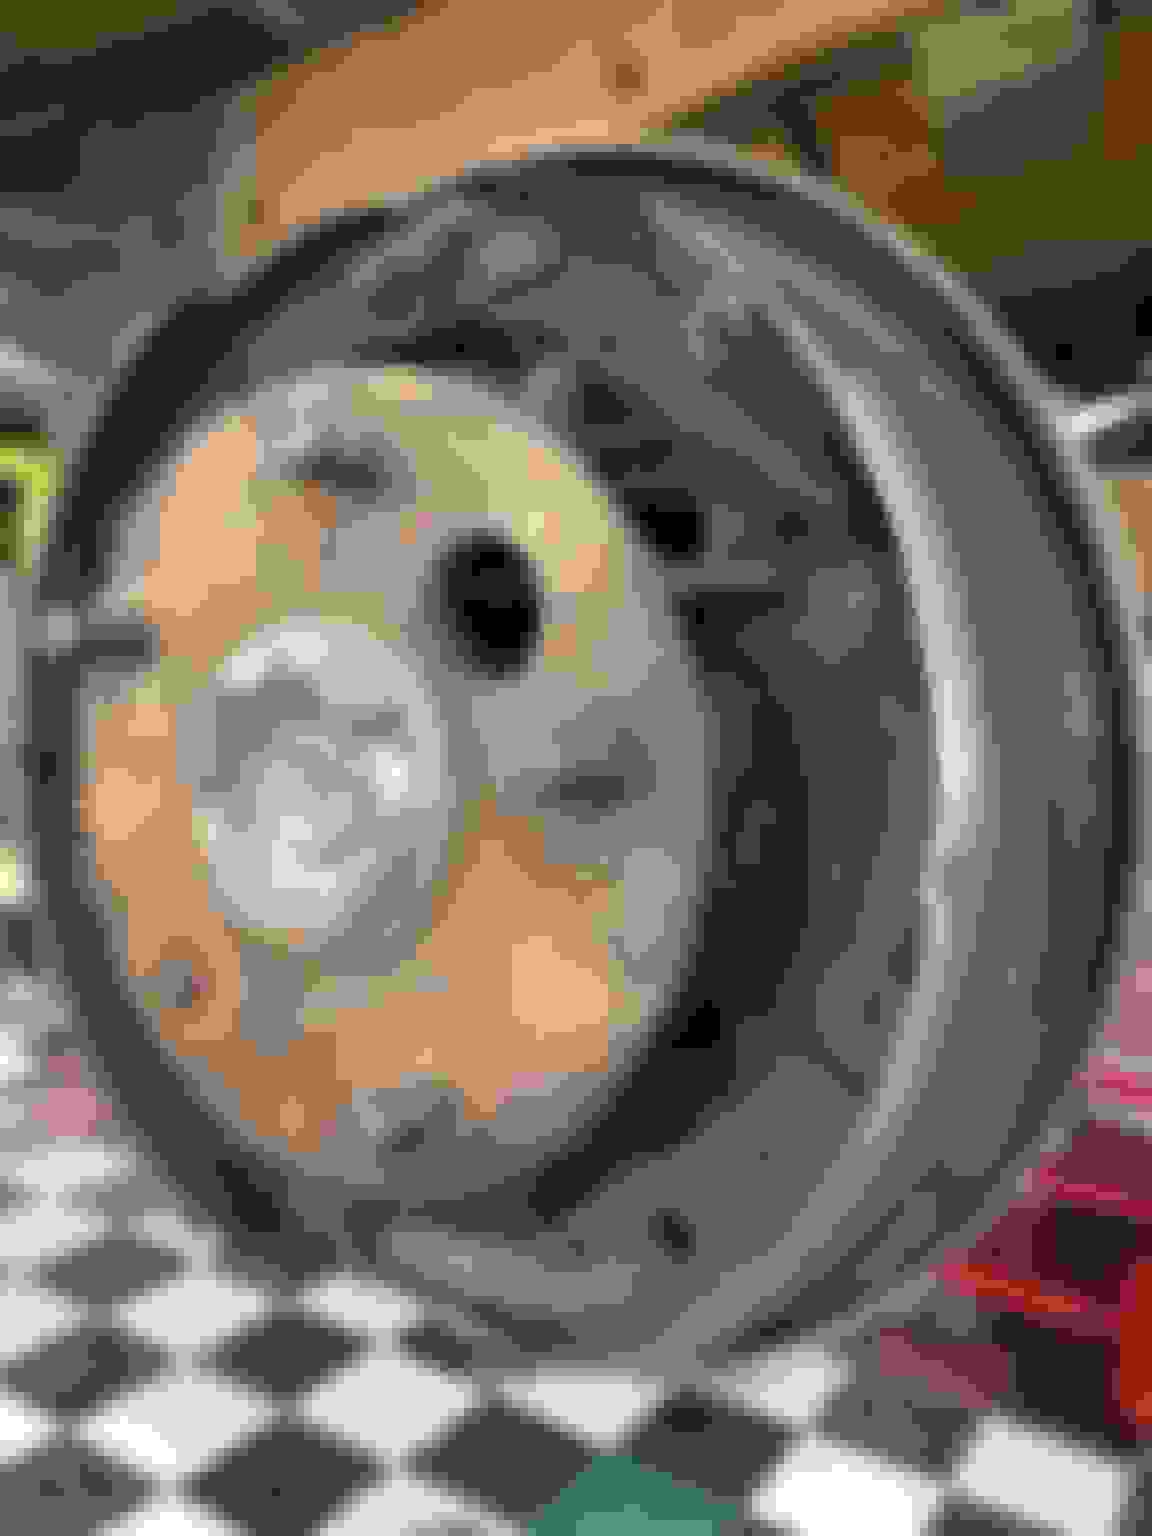
Executive Summary: Lots of gunk. Lots of cracked and broken rubber. Creative use of heavy wire on the clutch mechanism. Novel threaded-rod clutch push rod.
Front brake shoe width: 1.75 inch
Rear brake shoe width: 2.00 inch
Evidence of too-wide shoes running in narrow rear drum
Front shoes were put on rear and vice-versa
Evidence of brake fluid exiting the master cylinder.
Discussion: There is plenty of rust and gunk and most of the rubber is beyond its useful life. The shoes and drums will need to be replaced as the wide shoes in narrow drums have gouged the inner edge of the drum and the narrow shoes in the wide drums have created a wear �step� that would truly mess up operation if an attempt was made to install new wide shoes. To make it as safe as possible I will put in all new hydraulic cylinders, master and slave as well as new springs and clips. Will need to diagnose the function of the after-market heavy wire.
Well� As I was pulling the master brake cylinder I happened to spot a crack in the right side frame rail. See attached image. This is fully half-way through the frame. Location is just at the front edge of the battery box. It must be fixed, and soon. Now the brakes are on hold while I pull the cab off. My plan is to drill a hole at the lower terminus of the crack and then weld the entire length. Then add 1/8-inch doubling plates on the top and side.
Nice looking truck! But you never know what you'll find underneath, good you caught that crack and the broken springs. My truck came from the north too, they don't treat them well up there.
I'm having trouble finding the specs on brakes for that, but I'm surprised the 2" shoes would fit under a narrower drum. Later (early 60's) 9" axles had the wider rear brakes, is your axle stock?
Unless you really, really want to pull the cab, I think you could fix the frame with just disconnecting the rear cab mounts, and loosening the fronts, to tilt it forward (or maybe to the side?).
I'm just up the hill from you in RR, will shoot you a PM with my info.
Ross, Thanks for the note, and the PM. I sent you my phone number in reply.
I had imagined the truck living the high life in the high plains of northern NM. Perhaps not!. Yes, it is mainly stock. Still has the original front axle and Dana 44 rear end. The 55 F100 has 2-inch wide front shoes and 1.75-inch rear shoes. You can see in the photo of the rear brakes that the too-wide shoes have been rubbing on the drum. If they had just put the drums on backwards as well, it may have all fit. Ah, but the holes in the middle of the drums are different! Perhaps the later trucks with wider rear shoes caused confusion when these brakes were done. I have thought a lot about not pulling the cab. In the end I decided I really want to have a good look underneath. Measure the frame for straightness and flush out all the gremlins at once. Just an hour ago I found another crack in a cross member just ahead of the rear of the cab. See image. This one looks much easier to repair.
Note the wire nuts as well.
Last edited by AllenV; 06-22-2020 at 07:24 PM.
Reason: correct the text
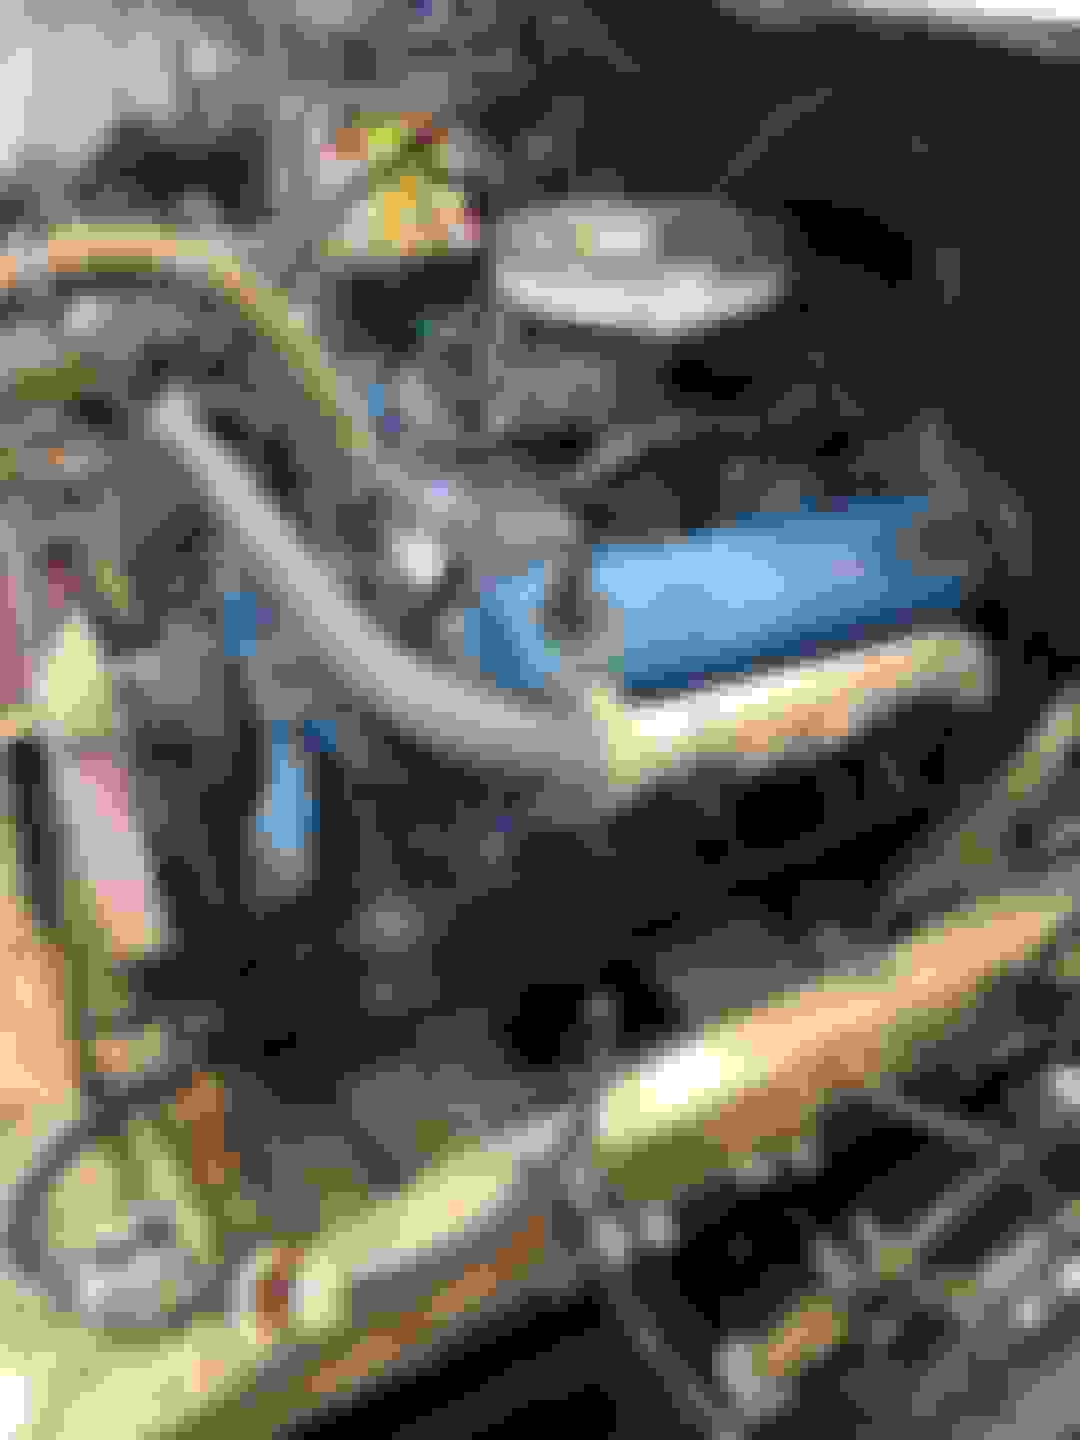
I post images for your enjoyment and to ask a question about the front engine mount.As I�ve said, this is a swapped-in 292ci y-block.Numbers suggest 1959-ish?You can see in the images that the oil dipstick is at the front-right of the motor.My newbie understanding is that his flags the motor as having come from something other than a truck.Is that right?Now let�s move on to the image of the front motor mount.What is going on here? You can see that the cross member placed just aft of the main front cross member is not supporting anything.The front motor mount has been rigged to reach forward to the forward cross member.Is this some sort of adaptation of a sedan motor mount into a truck? Can someone show me what it ought to look like?
oil plumbing and disconnected fuel pump Can someone explain this front mount to me?
Front mount should look like below, looks like someone did some "engineering". The part bolted to the engine almost looks like a (rare) '53 plate used with the older flathead V8's. Is the bolt in that plate doing anything?
interesting. Here is a sketch of what I think has been done.
Sounds like the world would be a better place if I can find the 6028 and 6038 pieces from your parts picture. That would liberate a possible rare '53 bit of hardware. And undo some sketchy cowboy engineering. Still... what is the proper function of that piece of steel riveted to the front cross-member? the one I have labeled piece "A".
I'm not that familiar with 53-56 setups. I'd check with "bigwin56f100" on here, he has a lot of parts for those trucks.
No idea what that plate would be for.
The MACS piece looks like it reaches too far forward. The correct mount sits on the crossmember right under the pulley. Hopefully one of the 53-56 guys will chime in...
 06-22-2020, 12:32 PM