When you click on links to various merchants on this site and make a purchase, this can result in this site earning a commission. Affiliate programs and affiliations include, but are not limited to, the eBay Partner Network.
I have also used a piece of copper pipe. Cut it to length, cut a notch out the side of it, and slid it over the battery post It worked great until I could find time to replace the terminal end
If tightening the bolts does not clamp your cables on the battery post, do not fret!! This is an easy fix.
The fast way is to use a cutoff wheel to open up the inside of the clamp. You can do this with a narrow file or even a razor blade/utility knife.
Now it will tighten up on the battery post!! Easy fix.
Fast and easy way to atomize and inhale lead.
(For model years up to 2001, before Ford changed to lead free battery clamps in model year 2002).
Probably the quickest and easiest way to absorb lead into the body's bloodstream... from friction heated fumes and lead dust.
Might be even faster than a speeding bullet, as it might take more time for the body to break down and absorb the lead slug of a bullet.
Whenever using a cut off wheel on a grinder, personal protection goes without saying... but whenever using it on lead... a word of additional caution is warranted.
(For model years up to 2001, before Ford changed to lead free battery clamps in model year 2002).
Probably the quickest and easiest way to absorb lead into the body's bloodstream... from friction heated fumes and lead dust.
Might be even faster than a speeding bullet, as it might take more time for the body to break down and absorb the lead slug of a bullet.
Whenever using a cut off wheel on a grinder, personal protection goes without saying... but whenever using it on lead... a word of additional caution is warranted.
My first thought was:
Grinder + lead = OH NO!
Go to plan B on this mod.
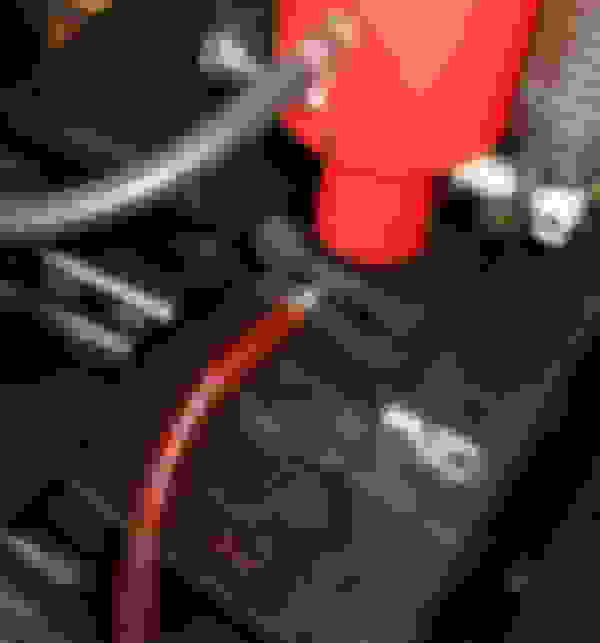
Before spending any time and contortions repairing the terminals take the time to determine whether the cable itself is defective. The one in the pic looks hinky. This is called a "voltage drop" test.
Set your voltmeter to the lowest scale (2 volts) place one probe right directly on the NEG battery post, the other probe on a clean, unpainted part of the engine starter case housing. Crank the engine over for a few seconds. Note that the voltage drop will actually be displayed as a positive number.
The voltage drop limit for ground circuits is 0.2 volts. Ohms resistance tests are not practical in a high current, low voltage electrical circuit. So a voltage drop testing is done to infer excessive resistance.
It isn't just the starter that is affected by voltage drop. Charging, headlights, accessories and ignition output are all horked by grubby connections and old cables. There's no way to visually determine this, because the corrosion is inside the crimp, or under the insulation. Even a paper thin, invisible layer between electrical connections is enough to cause problems.
It doesn't take much of an increase in resistance to cause trouble. Let's say a 120 amp alternator operates in a circuit that has a normal resistance of 0.11 ohms. If that resistance were increased to 0.17 ohms because of a bad wiring connection, the alternator's maximum output would be limited to 80 amps. In other words, an increase of only 0.06 ohms (almost nothing!) would reduce the alternator's maximum output by almost a third! Under light load, the drop in charging output might not even be noticeable. But in a high load situation, the alternator wouldn't be able to keep up.
I don't know what you guys do to your batteries but this is one area where I have had no problems with any of my vehicles in all my years. Oh, and to top it off, I grease my posts and connections that I open up with whatever grease I can find in the shop. I never get battery post corrosion either.
I don't know what you guys do to your batteries but this is one area where I have had no problems with any of my vehicles in all my years. Oh, and to top it off, I grease my posts and connections that I open up with whatever grease I can find in the shop. I never get battery post corrosion either.
In my case the Infiniti battery was replaced by road assistance as I was out of town and it died on my wife. A few weeks later it wouldn't start and I noticed the clamps would not tighten onto the posts of the battery that AAA installed so I had to get shims.
I recently replaced my whole positive cable, which was not cheap and Ford has discontinued most of them, I am assuming because of the lead terminals. My local parts counter guy found 1 NOS laying around in Alaska and sold it to me for around $140 plus shipping and tax. Figured it was still the cheapest and most straight forward way to fix the little mess I had that needed fixed without having to buy any special tools or anything. The negatives I will probably get around to doing later. Terminals are a little beat up but I think they are still working okay and not a dire emergency at the moment.
Whole thing lead terminal
terminal fine but can see the corrosion that has snuck in under the cable jacket Not much to say here. starter-relay cable was loose and actually caused a no-crank a couple times until it was jiggled back into position.
Since this is turning into a battery cable thread has anyone used one of these? There is a large variety of brands that all look identical but Forney says #6-3/0 size range while all the other identical looking brands claim #8-4/0. I happen to have the Forney and it worked great on #6 lugs last night, I am going to try some #8s today, I really can't see anything different among the various brands after close examination except for the claims. By the way I used it in the vise instead of a hammer.
I use a crimping anvil contraption similar in concept (but not in execution) to the Forney imaged above...
The gradually applied pressure of a hydraulic press allows the individual wire strands to wiggle into their most space efficient nestled position, reorganizing themselves following the path of least resistance in the displacement of any air spaces. prior to permanent deformation into the compressed lug.
A hammer hit may deform the strands immediately, prior to them having a chance to arrange themselves more compactly. Enough hammer hits will render any self rearrangement moot, but the tell tale signs of how well a multi strand cable has been compressed are only available to see with destructive testing, where a cut away crosssection is examined to see if the strands have melded as one, or if there are tiny dark spots (voids).
Since this is turning into a battery cable thread has anyone used one of these? There is a large variety of brands that all look identical but Forney says #6-3/0 size range while all the other identical looking brands claim #8-4/0. I happen to have the Forney and it worked great on #6 lugs last night, I am going to try some #8s today, I really can't see anything different among the various brands after close examination except for the claims. By the way I used it in the vise instead of a hammer.
Probably fine for casual wrenching in your own garage, but I'm guessing a professional would tell you not to do it that way. (Me not being one that is merely a guess though.)
The best affordable tool is probably this one...a $150 Chinese knock-off version of a $1500 USA made professional quality one, but a pretty good one.
I was considering buying an FTZ 94284 and needed parts to fix my existing one, but after cross shopping a whole new one from Ford I got lazy and took the practical way out. A fine solution since I don't have any extra toys hooked to the batteries. (otherwise the military style terminals are better). Other people might also decide buying them pre-made from the Custombatterycables.com guy is a more practical solution also.
I use a crimping anvil contraption similar in concept (but not in execution) to the Forney imaged above...
The gradually applied pressure of a hydraulic press allows the individual wire strands to wiggle into their most space efficient nestled position, reorganizing themselves following the path of least resistance in the displacement of any air spaces. prior to permanent deformation into the compressed lug.
A hammer hit may deform the strands immediately, prior to them having a chance to arrange themselves more compactly. Enough hammer hits will render any self rearrangement moot, but the tell tale signs of how well a multi strand cable has been compressed are only available to see with destructive testing, where a cut away crosssection is examined to see if the strands have melded as one, or if there are tiny dark spots (voids).
I like that, where do you get the dies or do you make them?