When you click on links to various merchants on this site and make a purchase, this can result in this site earning a commission. Affiliate programs and affiliations include, but are not limited to, the eBay Partner Network.
How to change / replace/ swap / R&R / DIY the hydroboost brake booster in your 7.3 power stroke.
Hey guys, I swapped my hydroboost ("HB") a couple of days. I only found one set of instructions by Im_Strokin_ur_Cummins on the PowerStroke.org forum (Replacing hydroboost) which had some basic instructions but I thought I'd add some more pics and details.
This is pretty simple job guys. Dont be afraid to tackle it. You need a few basic wrenches and sockets. You'll need a little ATF fluid to replace whats lost.
I used a remanufactured unit from ACDelco unit from RockAuto ($130 plus a $20 core charge). Motocraft makes a new one for an $317.
I also changed my master cylinder ("MC") and all 4 hydraulic lines because at 16 years of age, Im sure the master was on its way out and I like to do preventive maintenance. BTW now is a great time to change the hydraulic lines, 4 in total.
I used Motorcraft lines but you can get Gates brand at NAPA for 1/3 the price. The high pressure lines are known to burst eventually and any rubber line can degrade over time and let chunks of lining loose into the fluid and clog the hydroboost, so now is a perfect time to change those lines. I did. Its only your brakes afterall!
Here are the 4 lines I needed. Includes the feed and return lines to the steering cooler. Mine were very rusted.
These lines go to the power steering cooler and were pretty rusted so I changed them.
You'll need to remove your driver's side battery and battery tray in order to be able to move the MC forward enough to remove the HB as the MC almost touches the tray. MC almost touches the battery tray
Once the battery tray is removed, I believe you can pull the master cylinder (MC) forward enough to get the hydroboost out without disconnecting the 2 brake lines into the master cylinder. If you cannot, and you need to disconnect the MC completely, you're gonna need to bleed the master cylinder afterwards so try and avoid touching those brake lines.
If you're not gonna change the master cylinder at this juncture, take off the two hard lines into the hydroboost, closest to the firewall (they look like brake line fittings). Do not disconnect the large flexible lines that meet a hardline right next to the MC because you will ruin the teflon o-ring and those things are expensive and a pain to find.
DONT touch this fitting unless your changing the hydrualic line into the hydroboost. You'll ruin the teflon o-ring and need to run to the dealer or a parts store for a $3 teflon o-ring. (Side note: Those rings should be soaked in warm water to soften them as they are hard to get on when cold.)
Sorry about the angle, my phone barely fit in the space to get the pic. This hardline at the top of the photo, into the back of the hydroboost is the one you want to remove. There is one high pressure line on each side of the HB.
Their is also a low pressure rubber line from the HB that you need to remove.Note: If you wanna install a magnetic in-line filter, now is a good time. It fits on this low pressure line. Fluid is flowing out of the hydroboost under low pressure, so make sure you install the filter with the arrow pointed away from the hyrdroboost. I dont remember which one I bought but it looks like this:
After you''ve disconnected the two hard lines into the back of the hydroboost, take the two nuts off that join the MC to the HB.
Note: My remanufactured HB had very poor threads on the 2 studs so if you need to you can pull the studs off your HB and replace the one's on the remanufactured unit. They are REVERSE THREAD into the back of the HB. Very unique bolt. It has two sets of threads of different diameter and direction.
These are the studs Im referring to. They hold the MC to the HB. Obviously the MC isnt shown in this pic as Ive removed it. You can also see the third low pressure nipple that accepts the rubber line, at 2 o'clock in the pic.
Remove this low pressure line coming out of the HB. Now look to the high pressure fitting on the top left of the pic. See the black o-ring at the end of it? You'll need to change it. Each high pressure line has one and the ACDelco unit comes with replacements.
Also, the brackets that hold the hard lines in place go on AFTER the MC not in between the MC and HB. See pic:
I'm referring to this bracket which bolts to the stud on the hydroboost, AFTER you install the MC.
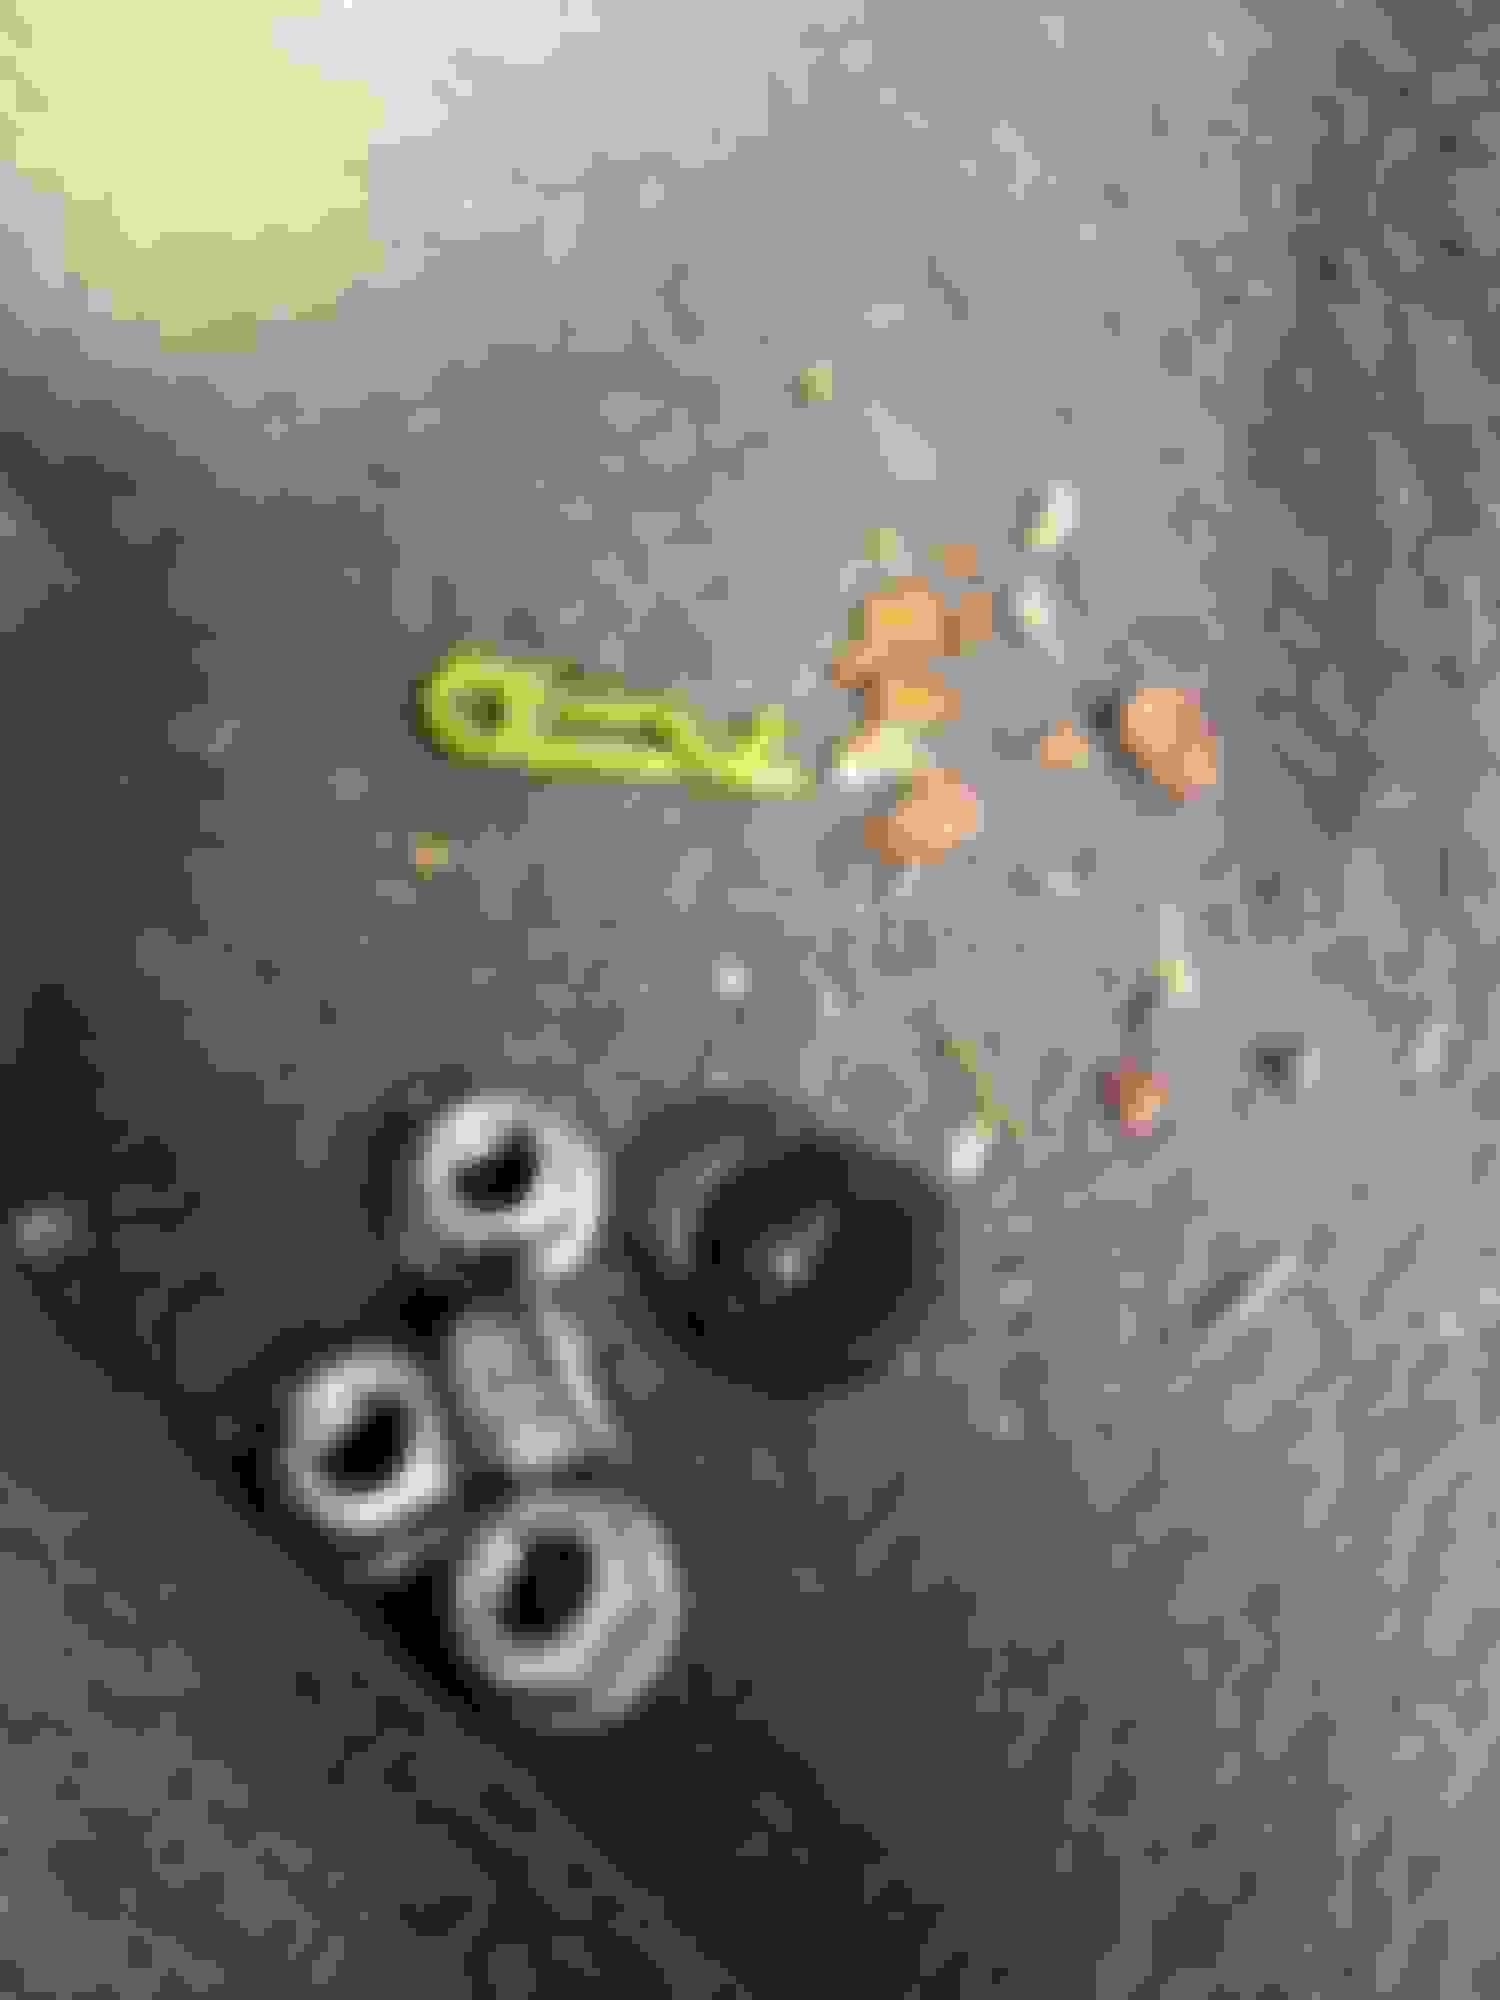
Next go to your brake pedal and look for a yellow cotter pin. You'll need to pull it out. BUT FIRST NOTE the orientation of the electrical sensor. This little unit has a black plastic bushing/sleeve which you'll need to put back on. As you pull the sensor from the brake pedal, NOTE THE LOCATION of the black bushing. Yellow cotter pin in-place Yellow cotter pin. Sensor removed.
Next remove the 4 nuts holding the HB to the firewall. The 4 nuts that hold the HB to the firewall.
Here are the 4 bolts, the yellow cotter pin and the bushing/sleeve.
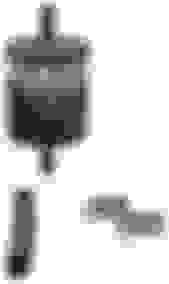
Now you can pull the HB out from the engine bay. Here are the new and old units side by side.
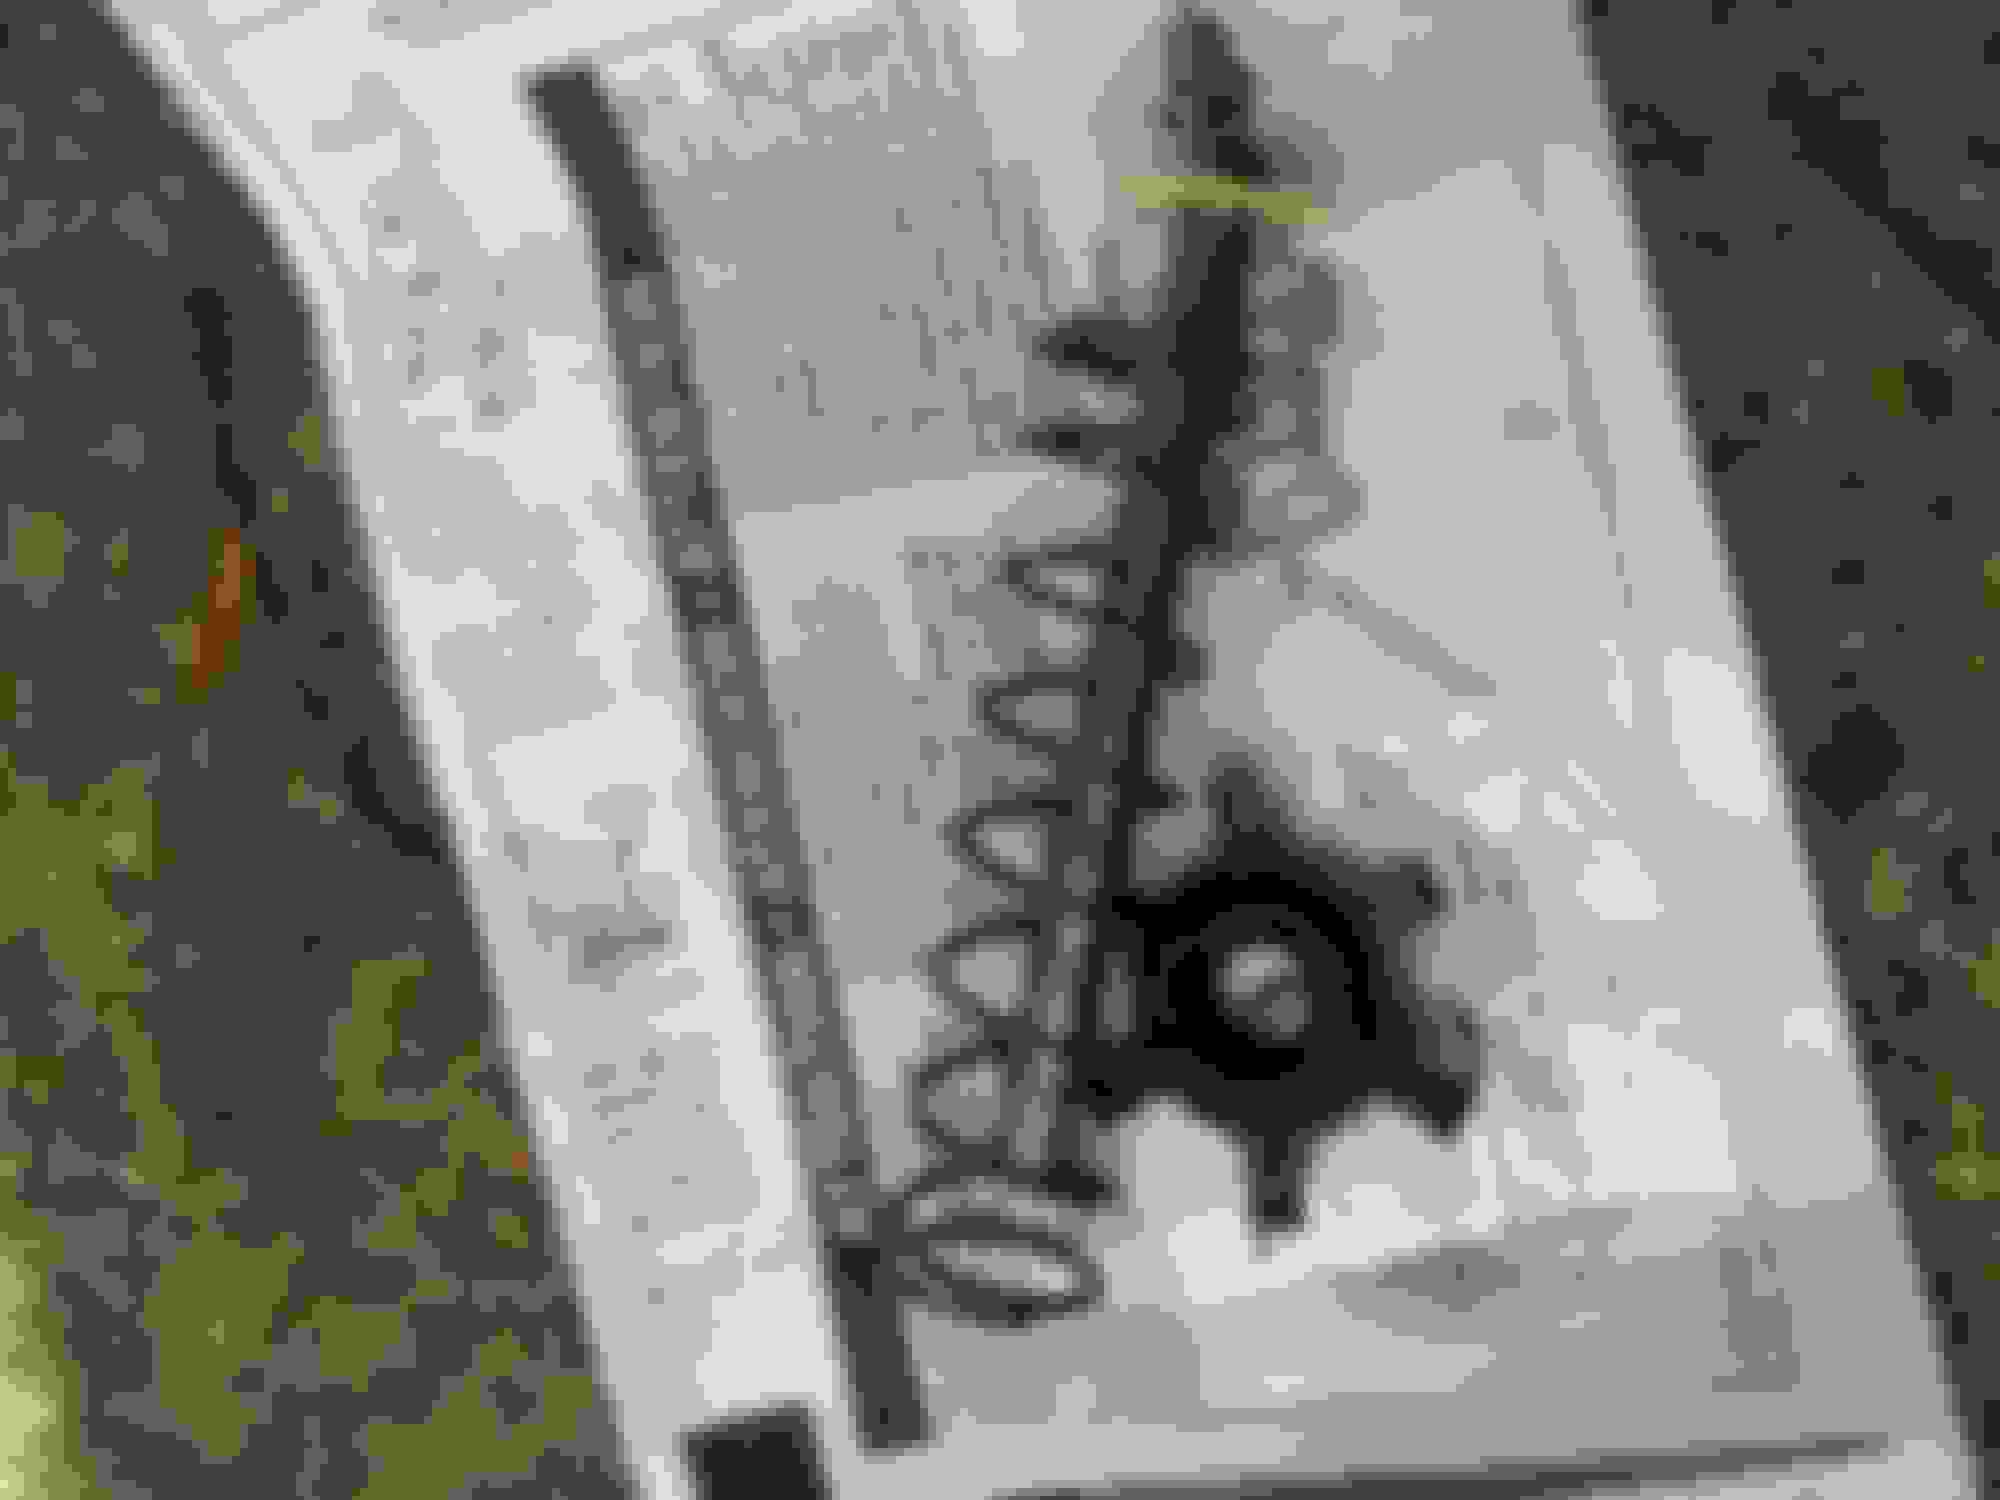
See the rod and star-shaped metal spring holder in the old unit? You need to take them out. Its EASY.
The star-shaped spring retainer is a piece of cake to remove. You just spin in around until one of the arms comes out of the lateral goove and then you pull it out along with the rod and spring which it holds in place.
Spin the star-shaoed retainer until one of the arms enters this open groove and then just pull it free. The entire thing comes out very easily.You can also push one of the arms back down and tilt it to release it. Here is the retainer. Here is the rod and spring you'll need to transfer to your new unit. Just drop it into the new HB with the yellowish plastic waster down into the HB and put the star-shaped retainer in. Make sure each arm of the star-shaped retainer is inside the groove.
Note: You may want to put some silicone paste on the rod. I forgot to do so and instructions make no mention of it, but doesnt seem like it would hurt.
When you're done it will look like this. The same as before...duh.
Here is the star-shape retainer in the new part. See how the arms fit into the groove? The one at 7 o'clock isnt properly in the groove. Oops. I fixed that before I installed.
See how I spun the star-shaped retainer so that none of the arms is in the vertical groove? That's so it cannot come loose.
Now you reintsall the new HB through the engine bay, then go back to your footwell and install the the 4 nuts and reattach the black plastic bushing/sleeve, the sensor and the YELLOW COTTER PIN! No cotter pin = sudden death.
See the bushing in place here:
See the black bushing in place? See the hole in the short rod?...that's where the cotter pin goes after you have the sensor back on.
Note: You may want to put some silicone paste on the black bushing. I forgot to do so but sure doesnt seem like it would hurt.
Then you reattach the MC to HB and put on the two bolts.
Sorry I dont have any torque specs.
Finally you re-attach the two high pressure lines and the low pressure rubber line.
Now you have to follow the instructions for bleeding the system:
They want you to disable the ignition and turn the engine over, but I didnt know how to do that. I just did as below:
With the cap off the the power steering pump reservoir (add a little ATF if its low) you start the truck and turn the steering wheel from one extreme to the other without holding it at the extremes if possible. Do this 4-6 times.
Then turn off engine and discharge pressurized fluid from the accumulator (That's the blue cylinder on the original unit. The remanufacured units get painted all black) by pushing the brake pedal 4-5 times. I believe that this accumulator gives you the ability to brake if the engine or HB looses power, but only for a few stomps of the pedal.
Then start the truck's engine again and turn steering wheel again, right to left, but not holding at extremes, 4-5 times and check fluid again.
If you have froth in your steering pump reservoir, wait an hour for the foam to clear with the engine off. I had no foam in mine.
IF you did your MC at the same time, or if you took it off to have more space, youll need to "bench bleed" it. Search for that info elsewhere. Its very easy if you have on of these:
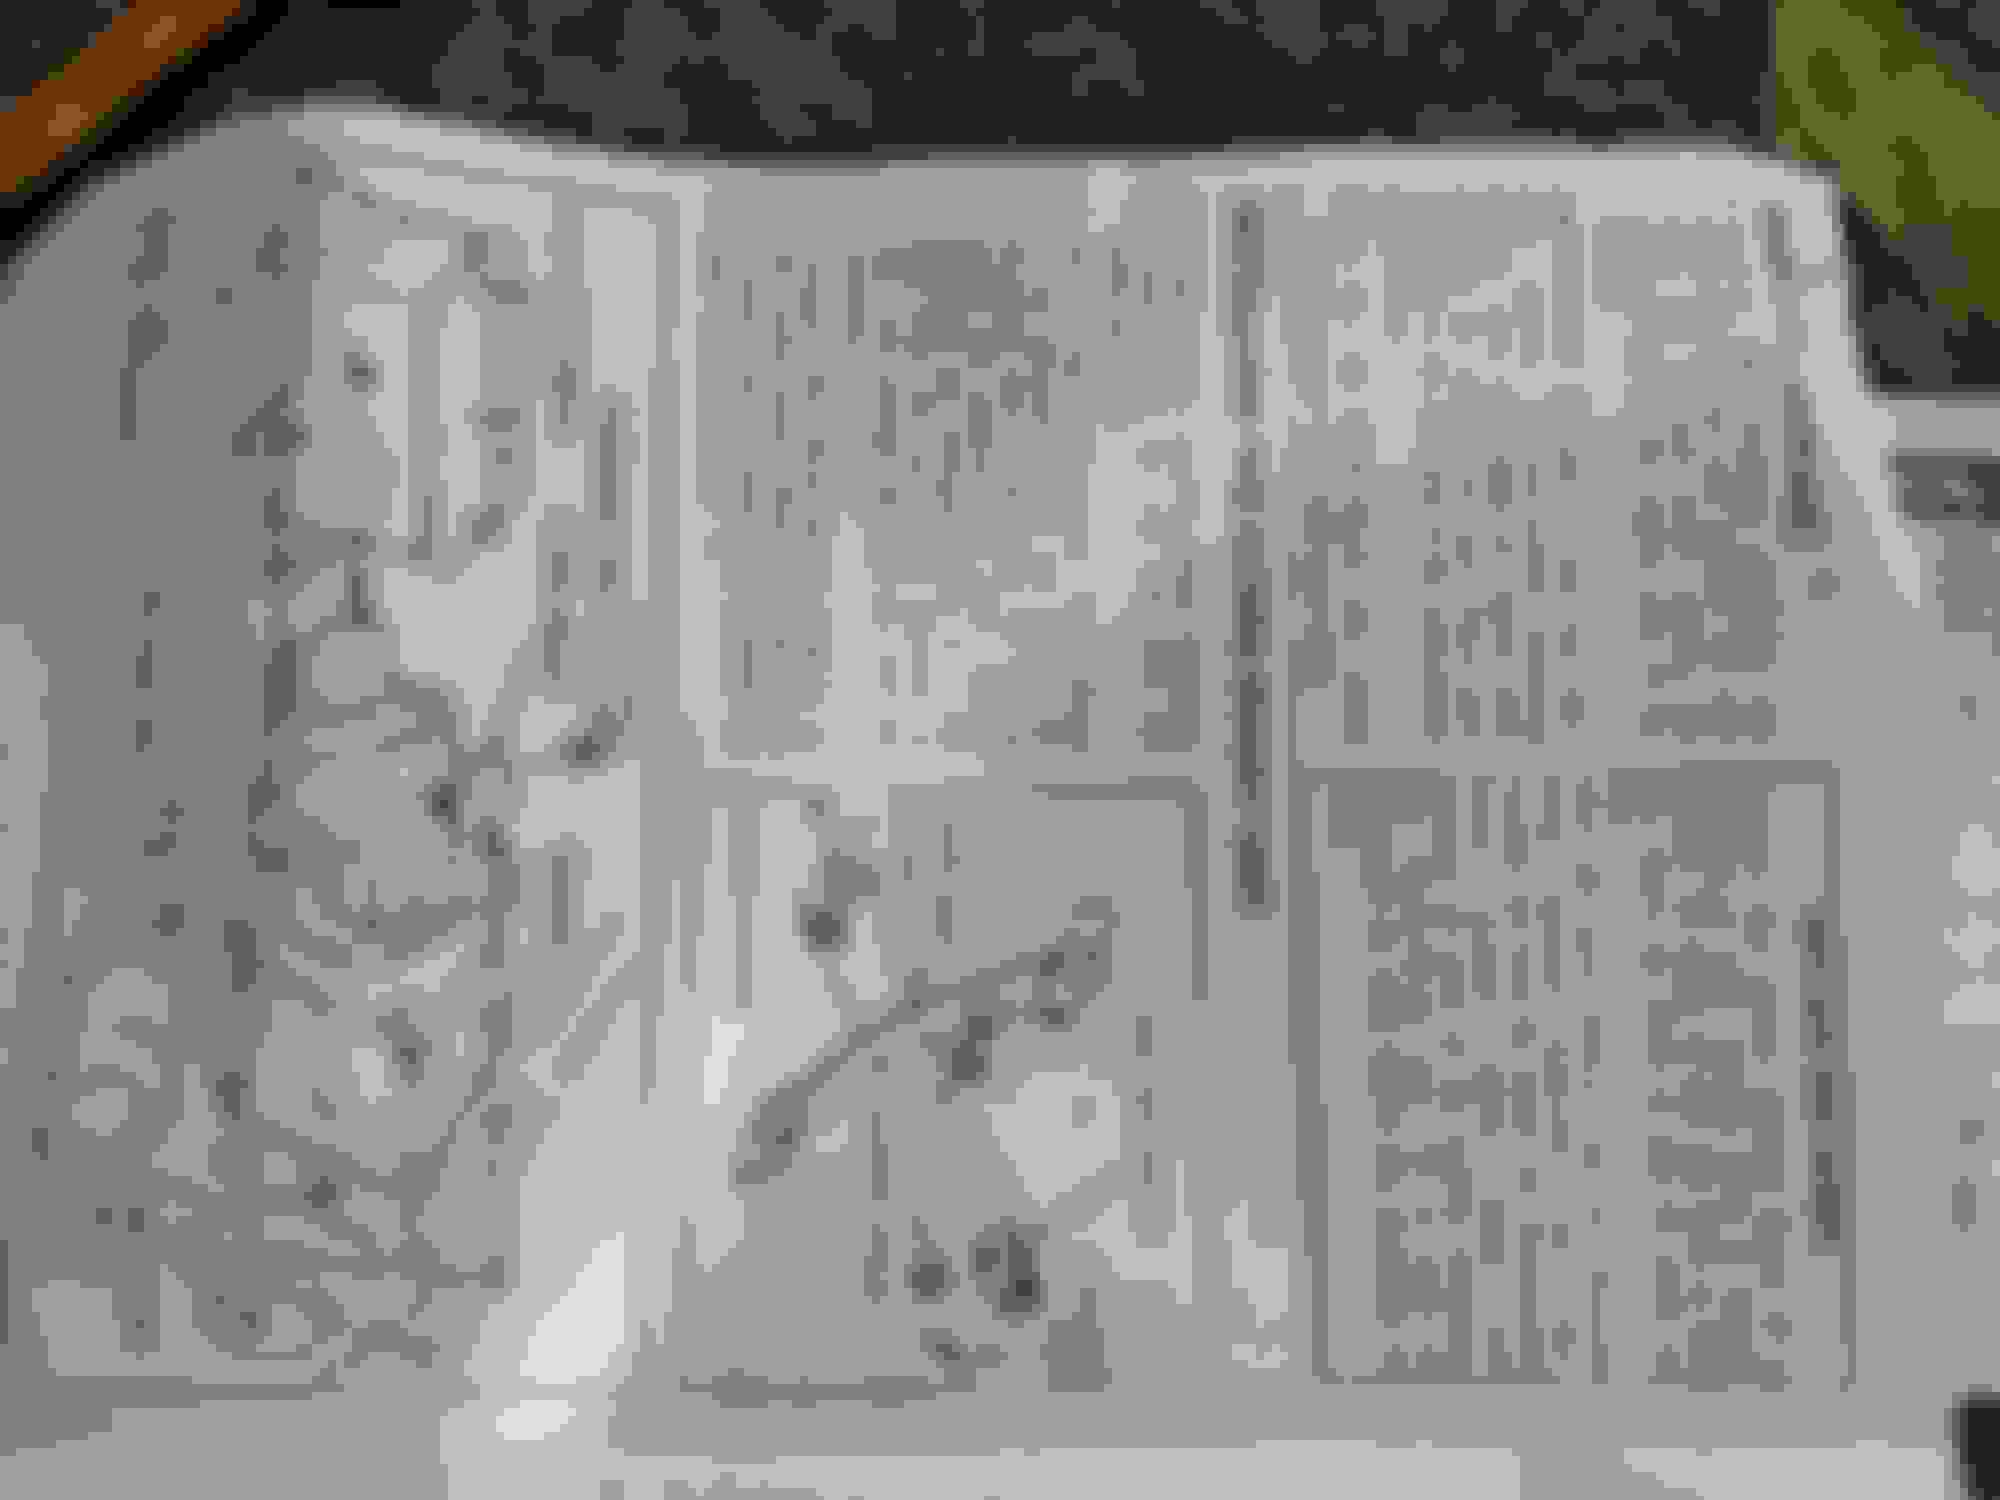
Here are the installation instructions from ACDelco.The also include 2 new o-rings so you can replace the old o-rings on the high pressure fittings that go into the HB.
yeah, dine it a few times. Real easy but the pita is the brake switch asdy that you have to snorkel off the hydrorod..that was fun..
..edit...yeah, what Sous said. .ur pics/more posting didnt show up the 1st time reading
Hey guys, I swapped my hydroboost (HB) a couple of days. I only found one set of instructions on another forum (Replacing hydroboost) which had some basic instructions so I thought I'd add some more pics.
I used a remanufactured unit from ACDelco unit from RockAuto ($130 plus a $20 core charge). Motocraft makes a new one for an $317.
Its a relatively easy job. Youll need about a bottle of ATF fluid and some basic open ended wrenches and sockets. I also changed my master cylinder and all 4 hydraulic lines because at 16 years of age, Im sure the master was on its way out and I like to do preventive maintenance. BTW now is a great time to change the hydraulic lines. 4 in total.
Reps sent to you sir for a well done write-up with pictures and sources.

 11-13-2018, 03:41 PM


 ..lol
..lol ..
..

