When you click on links to various merchants on this site and make a purchase, this can result in this site earning a commission. Affiliate programs and affiliations include, but are not limited to, the eBay Partner Network.
Disclaimer: Like anything on the internet that you read or follow it is at your own risk, FTE nor I will be responsible if you screw up, it is up to your discretion if your able to perform this job with your skill level and tools.
If your in my situation where your hydroboost is leaking from the power piston and running out from between it and the master cylinder and a reman unit is $500+ and tax on top of it or you got a junkyard unit (like I did) and want to freshen it up for around $50, read on.
This guide should be applicable for all hydroboost units, not just Ford as all units seem to be the same design with a few little odds and ends changed here and there.
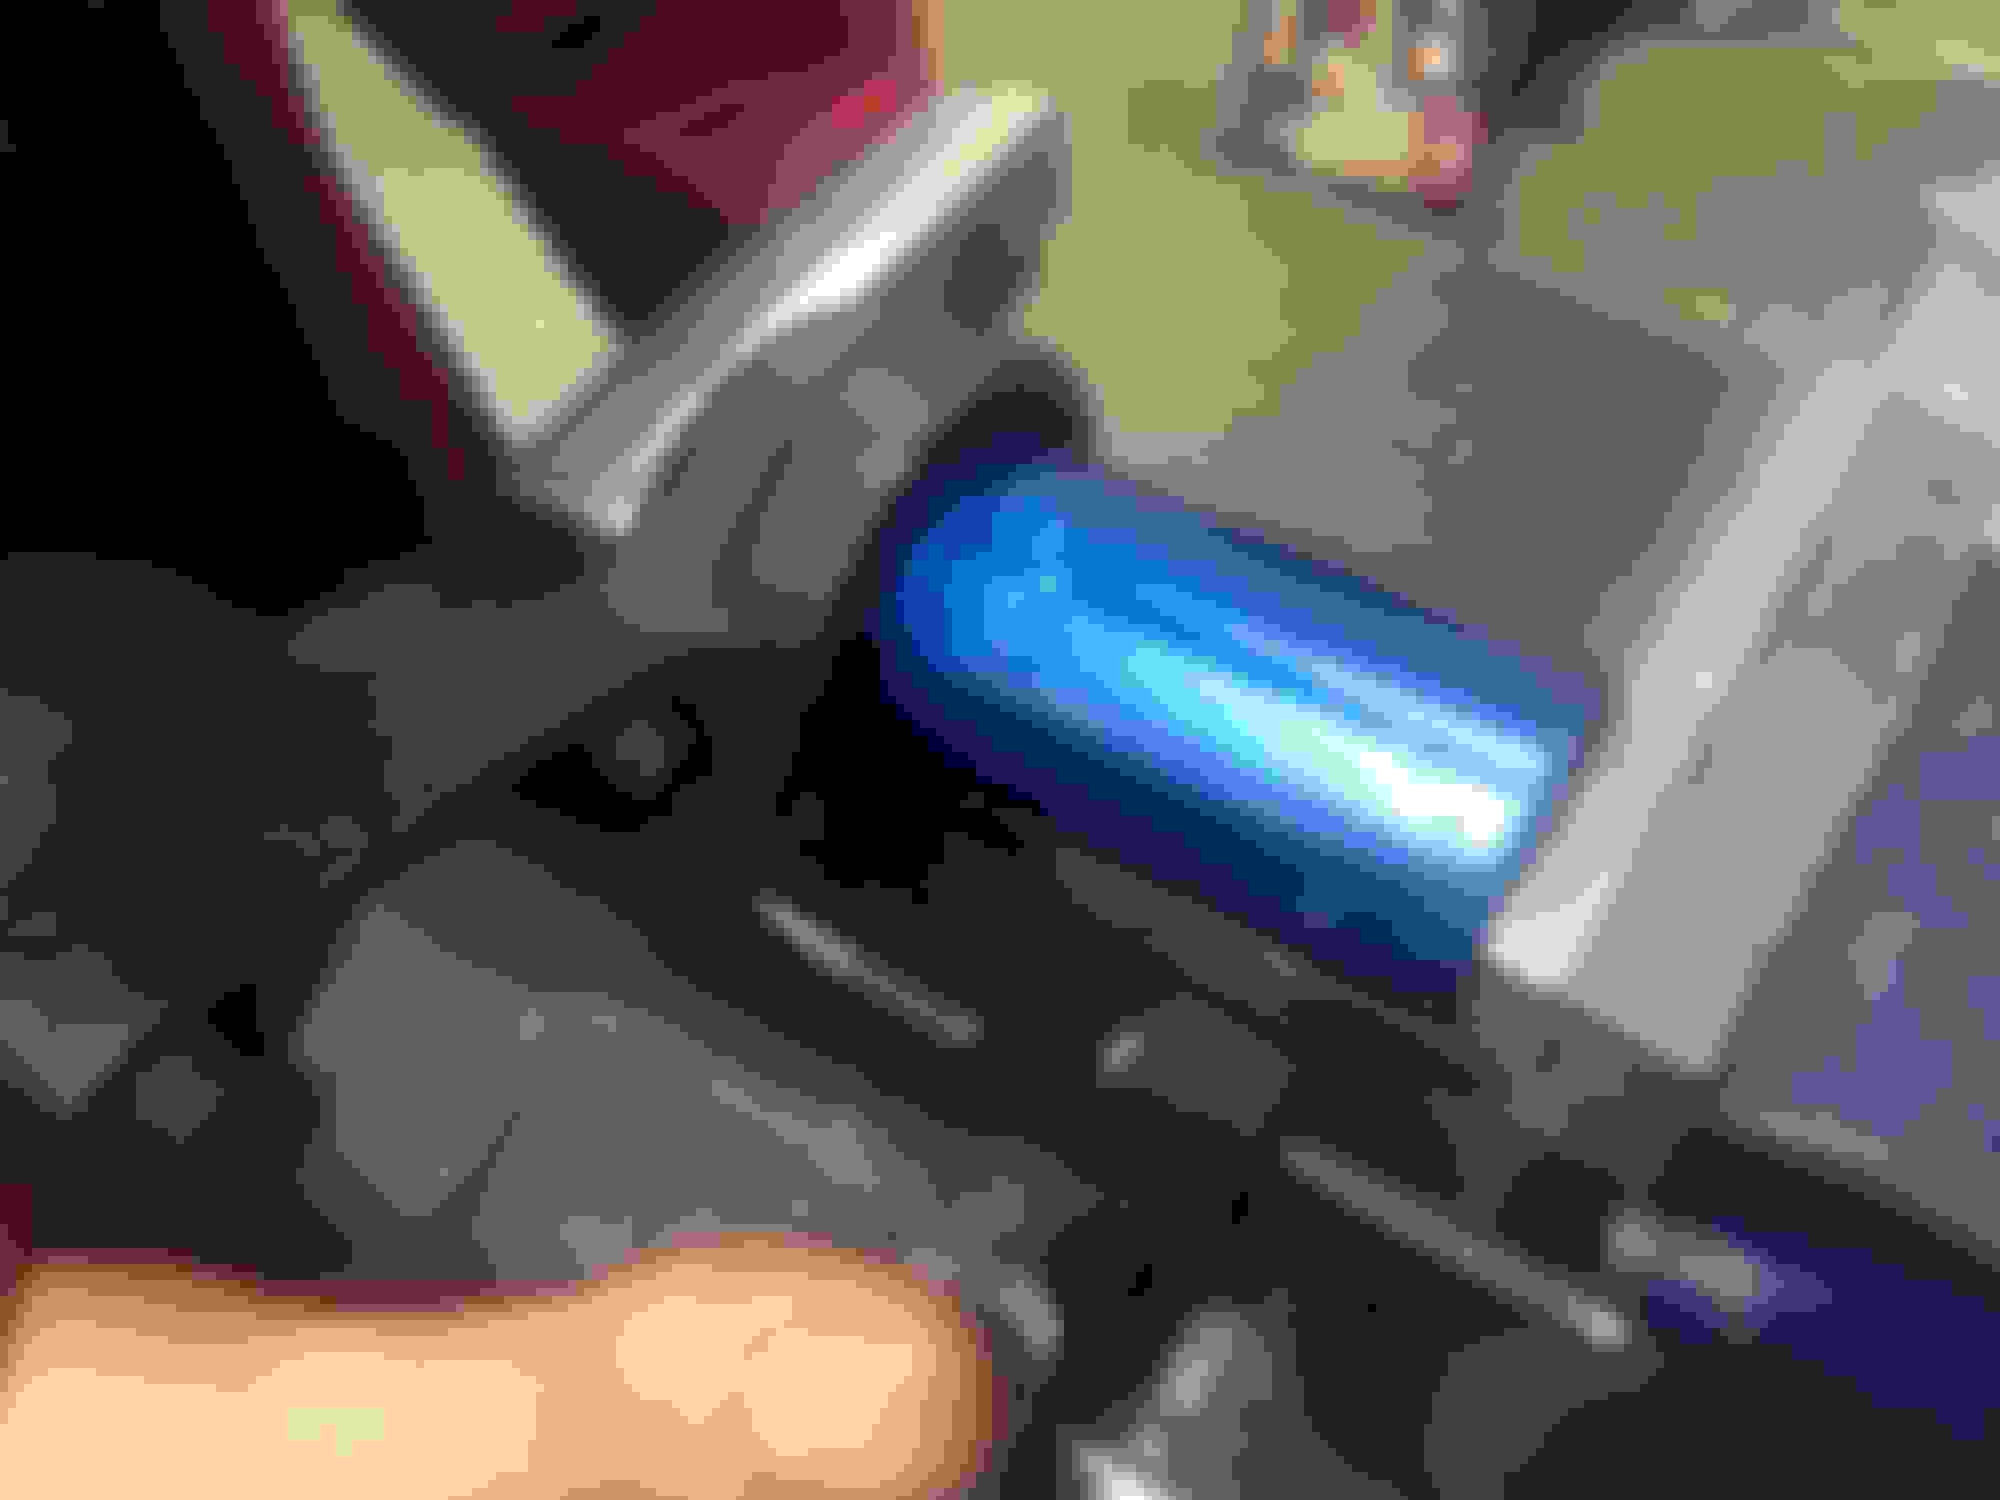
Note: If your accumulator is loose (the blue or gold canister on the side of the unit) I have no idea where you can get new ones but you can rob one off of any unit in the junkyard thats tight on it's unit. Blue and gold have different pressures from my research, so only use blue in blue applications and gold in gold applications. (Mine was toast and I stoled one off a chevy truck somewhere in the 2000 ish year range)
I had a relatively stiff peddle which felt like manual brakes but with ***** when you pushed hard enough on it, the leaking power piston was the cause of this as now it feels closer to how vacuum assists feels and no more leaks!
Note2: If your brake pedal sucks right to the floor when you start your truck up and you HAVEN'T taken the unit apart yet, this most likely will NOT fix it. If you did take it apart and it worked properly before but doesn't now, you more than likely don't have the lever assembly hooked up to the spool valve properly or at all.
The parts:
I order: http://www.ebay.com/itm/NEW-COMPLETE-HYDRO-BOOSTER-HYDRO-BOOST-REPAIR-REBUILD-KIT-2771004-ALL-MODELS-/151636320685?hash=item234e3aa1ad&vxp=mtr There are other cheaper kits out there but they only come with seals, no spring retainer or check valves and other non used parts for this unit.
A clean well lit work space is essential for this repair, no working on the lawn, you'll loose everything. A bench vise is recommended but not absolutely required, a big c-clamp will work also to remove the accumulator, brake clean or solvent to clean the parts and your basic wrenches and picks are all you need.
To begin, pump your brake pedal 5 to 6 times to discharge the accumulator, place some rags under the booster and the power steering pump.
You should be looking at this now:
Now take a 9/16" or 14mm wrench or socket and remove the 3 nuts holding the master cylinder on (the left stud has 2 nuts on it, one holds a bracket holding the brake lines, you may or may not have this)
Nuts removed, master cylinder starting to separate.
Pull the master cylinder away and set it out of your way without bending the lines. ( you can see the relief in the boost thats full of atf)
Reference pic, nothing to do here.
Now disconnect the two high pressure lines using line wrenches, one is 5/8" and the other is 11/16" and the low pressure return line from the booster. The remaining fluid in the low pressure line drained back into the power steering pump on my truck and over filled it, it may not do this on yours.
Now heading into the cab, you'll have 4 nuts to remove on the firewall, they are 9/16" or 14mm
Now looking at your brake switch, remove the red clip and slide everything off to the left, you can do this before removing the last nut on the firewall. (yes I know the brake switch is upside down in this pic, I did put it on correctly when reassembled)
Remove the unit from the truck and place it port side down in something suitable to drain the remaining fluid, theres a fair amount left inside.
Placing it top end up you can remove the lower boot retainer strap and the boot if it's flexible enough.
Now comes the fun part, according to the instructions this is a stake pedal rod that is non serviceable and unit replacement is the only alternative, that does not vibe in my books so I used a 3/8" extension and some sockets stacked to make a leaver through the eyelet end to pull it out of the stake (sorry no pic of the setup) If you can not get the rod off it just means you can't replace the input shaft seals which if their not leaking and don't get banged up/cut while you do everything else you probably be alright.
Rod removed.
You do NOT need to do these next few steps as removing the mounting plate is not necessary or needed unless your swapping plates or making your own custom plate.
Remove snap ring.
Using a hammer pound out 2 of the studs to make room for your wrench.
Crescent wrench removing nut with serrations on the bottom, this is torque to 100 ft-lbs so it's tight.
What you should be left with now.
Now if you didn't remove the mounting plate, continue on from here.
Removed parts in line up of removal.
Now were going to remove the accumulator, put it in a vise or c-clamp and tighten it down snug, DO NOT crush it, it's under high pressure, what your doing here is pushing the casing in to remove pressure on the retaining clip. The accumulator is a sealed unit thats non user serviceable and stays together as an assembly.
Using a punch, push the clip down and use a pick to draw it out.
Clip removed, you can now take the unit out of your vice or c-clamp, do not drop the accumulator it will want to fall off so hold on to it.
Pull the accumulator off and let the extra fluid drain out. Then put the accumulator aside for now.
Now the kit comes with a new spring retainer so you can bend this one up to remove it but don't wreck the black rubber center part, it doesn't come with that. You can remove it without bending it, thats what I did, just push it cockeyed and work it out, careful it's under spring pressure so don't get shot in the face by it.
Spring clip removed.
Now remove the spring.
And the pushrod.
Now using a 3/8" wrench or socket remove the 5 housing bolts.
Pull the back side off and you should be left like this.
Now if you were able to remove the input shaft push rod you can now remove the power piston assembly and spool valve, DO NOT scratch the spool valve or sealing surface on the power piston.
Parts removed.
Remove and toss the old housing seal.
Now we are going to remove the power piston seal, as you mite be able to see on mine, the seal is almost level with the case, it has no tention left on the power piston.
Using a pick, pry out the old seal, don't scratch the boer!
Using a 7/16" wrench remove the return line fitting.
And it's o-ring.
Now we are going to remove the accumulator check valve assembly.
Using needle nose pliers or a pick pull out the check valve case.
Remove the little pin.
And using a needle remove the other part of the check valve assembly.
And last is the o-ring at the very bottom thats going to be rock hard.
The check valve parts laying in order from top to bottom on how they were removed.
Last part to remove is the spool valve plug, push it in a ways to allow room for you to pry out the retaining clip, don't loose the clip the kit doesn't come with the right size replacement. (this clip can be stubborn to remove)
And spool valve plug and clip removed.
That covers the disassembly of the booster, take sometime and clean everything up before reassembling.
Skip this step if you didn't remove the input rod
Starting off remove the old seals from the input shaft, I used needle nose pliers to pull the edge of the seal until it broke off the shaft, do this for both.
Note: the kit has 3 different size input shaft seals, we need the middle size for are booster.
Using a piece of packaging plastic cut big enough to fit around the end and tapper, lube up your new seals with atf or ps fluid and your plastic seal installer and slide the first seal on into the first grove, then do the second one into the farther grove, lip side TOWARDS the power piston.
Both seals installed, you can see both seal lips pointing down, toward the pressure side, if you put these on backwards you'll have ps fluild all over your feet in the cab.
Picture for reference, do not install yet.
Picture for reference, do not install yet.
Now were going to install the power piston seal, the kit comes with 2 sizes, we need the bigger one of the two. Lube up the new seal and the boer where the seal sits, you have to start with one end first and slowly coax it into place, be gentle as you don't want any tears at this point. NOTE: lip side pointing AWAY from the master cylinder.
Seal installed and you can see how much more this seal sticks out compared to the old one.
Now time to reinstall the accumulator check valve assembly, start with the beveled seal, bevel up towards you, lube and install.
And now the new yellow piece of the check valve. It just sits onto of the seal.
This picture shows you which way you install the little pin into the check valve (yes I'm holding everything upside down for the picture)
Lube up the o-ring and put it into the case. You should be left with the solid end of the pin facing up and the shaped end against the yellow piece.
Make sure the spool valve is super clean and same goes for it's boer, put a coat of oil on both and test fit, if it slides in nice and gentle your good to proceed, if it sticks or is ruff, remove, reclean and try again.
Now to install the power piston assembly, lube up the seal in the boer that you put in earlier and the power piston, slide the piston in till it touches the seal, put a lite amount of pressure on it while you either use your finger or a plastic tool to gently push the lip around the piston on the back side of the booster where the master cylinder goes, if you just ram it in there you'll either roll the seal or cut it up and everything up till now is wasted, go slow and be gentle! (sorry no pic, not enough room)
After you get the piston in, pull the spool valve out and engage it with the lever on input rod.
Push everything down.
Make sure your input shaft is lubed and it's boer, put the new case seal (the figure 8 seal) into the front half, you can use one finger to hold the power piston back in it's boer so you can have the back housing upside down and slide it into the front half, this makes keeping the case seal in place a breeze and just bolt it together (20ft-lbs for the case bolts).
Now put the spring into the back of the spool valve (I believe if you forget this spring the pedal will suck down to the floor right away or not come back after the first application), put a new o-ring on the spool valve plug and put a small dab of grease on the o-ring, I tried oil but it seemed to just want to cut the o-ring so I ditched that idea and used just what ever grease i had around, your using so little it won't hurt anything.
Using your punch from earlier, use it to help hold the plug in the boer as you put the snap ring back in, DO NOT hammer the plug in, if it's too tight you either don't have it lube enough, the boer where the seal has to slide over has rust build up or you got the wrong o-ring, a medium push and it should slide right in. (Note: this clip is also stubborn to go back in, an extra hand comes in handy)
Put the push rod back in.
And the spring.
And lastly the spring retainer, legs up.
Try to get all the legs under the ledge.
Now put a new o-ring on the accumulator and oil it and the case up, slide the retaining ring onto the accumulator and put it into your vice or c-clamp and snug it down, DO NOT crush it!
Position the clip so the gap is AWAY from the pin hole so you can get it out next time. Using a small flat head or picks, push the clip in all the way till it clicks or you can see it fully seated.
Put a new o-ring on the return fitting and tighten it down snug.
Skip this if you didn't remove the mounting plate.
Place the mounting plate back onto the front lining the key up with the key way, tighten the nut down to 100Ft-lbs or very tight, then using a socket and one of the mounting nuts as a puller, pull the two studs back into place.
Lastly position the output rod on a block of would and tap the input rod back into staked pocket, I used side cutters (wire snips) to pinch the stake back down so the rod can't get pulled out by the break pedal being pulled on. Install the boot and using a zap-strap or equivalent to hold the boot on
All thats left is to reinstall in the reverse of removal. Make sure you have the relieved side of the push rod against the brake pedal and the open ear of the brake switch goes toward the brake pedal, if you have it the other way you'll have the rod misaligned with the boost and excessive pedal effort will result, if the brake switch is on upside down, your brake lights will be stuck on. you should now be back to this point.
Last thing is to bleed it.
1 Fill Power steering reservoir
2 Crank engine for several revolutions (do not allow engine to start, unplug power feed to injection pump)
3 Check reservoir level. Add fluid if necessary.
4 Start engine. Turn steering wheel to left stop, then right stop.
5 Shut off engine and discharge accumulator. Depress pedal 4 to 5 times
6 Repeat step 4
7 If fluid is foaming, shut engine off and wait for one hour.
8 Repeat step 4
9 Check reservoir. Add fluid if necessary.
Hopefully if you did everything right you should have a leak free booster and possibly even better pedal feel.
Rezvani's Latest Post-Apocalyptic Monster Is a Ford F-150 Raptor Underneath
Slideshow: Called the Fortress, the 850-horsepower pickup combines Raptor underpinnings with military-inspired features, survival equipment, and a starting price of $285,000.