When you click on links to various merchants on this site and make a purchase, this can result in this site earning a commission. Affiliate programs and affiliations include, but are not limited to, the eBay Partner Network.
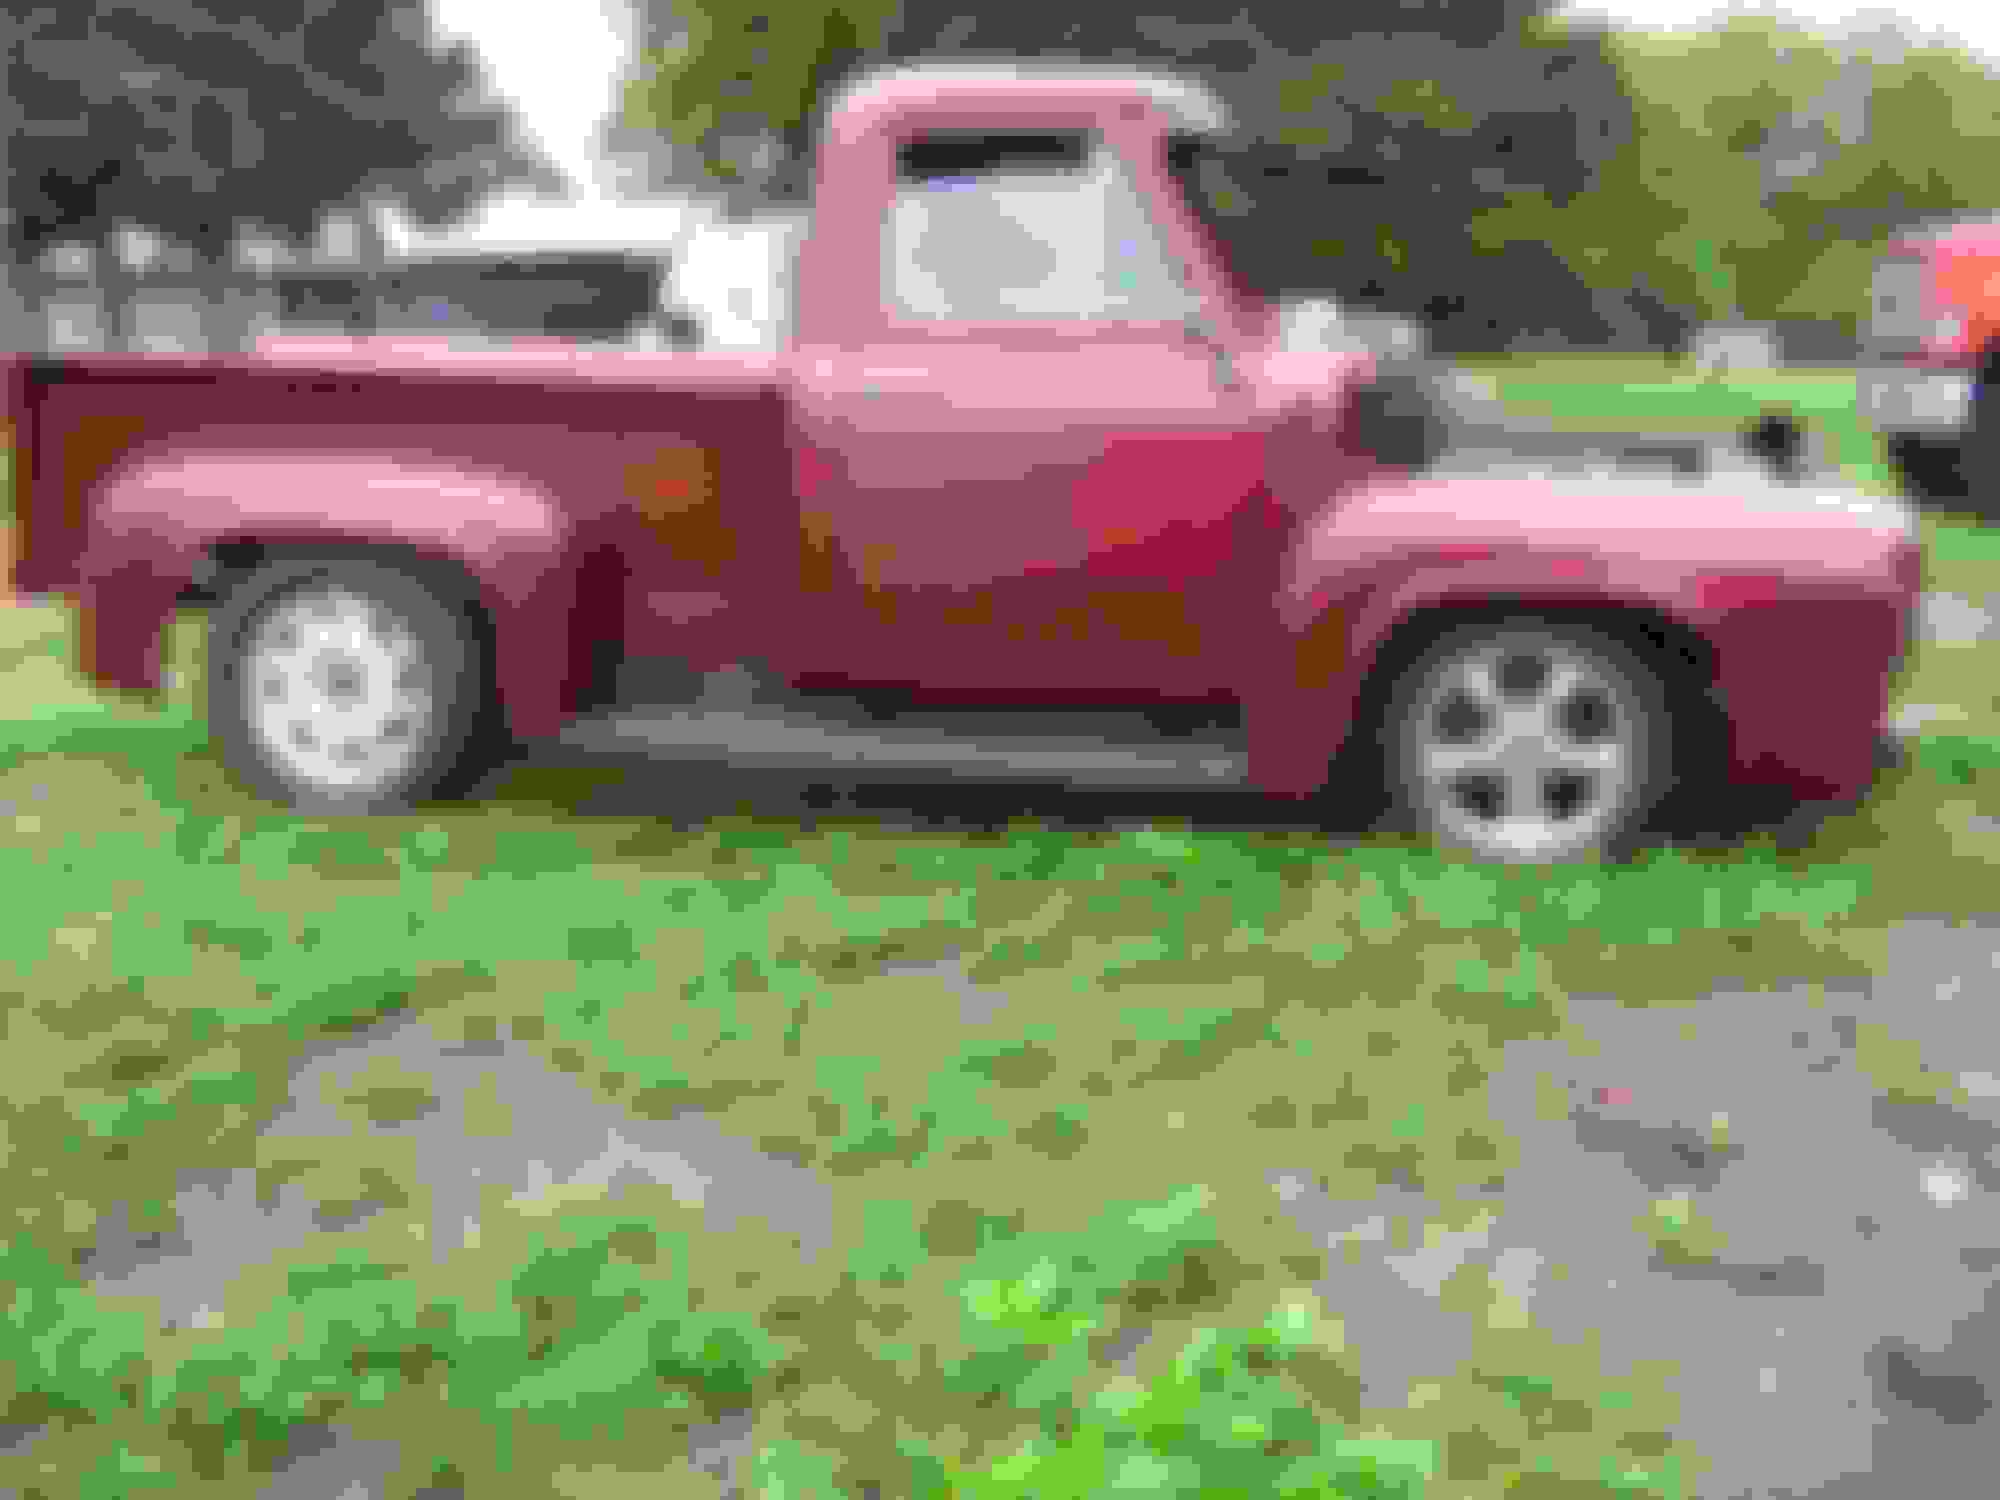
Ok hear we go . This should have been done some time ago . At this time I am trying to recoup the original as purchased pics from my old laptop so they may or may not be available . Now for those of you expecting a nice organized meticulous build I will warn you now , not happening . My truck was purchased from Washington State as an unfinished project . The corvette suspension ( flat out kit ? ) was installed and the engine - trans from an 85 vette were set in and mounts made with none of the accessories , wiring , fuel injection or much of anything else . It had been body worked and painted to what I would classify as medium home job . My intentions were a budget build but thanks to the fine people on here " with all of the great ideas " and my own vision it has turned into something else , budget not a word that applies . As many already know the engine and trans have been shelved in favor of a 408 stroker windsor AOD combo . I will try to take pics as I progress " not one of my strong points ".
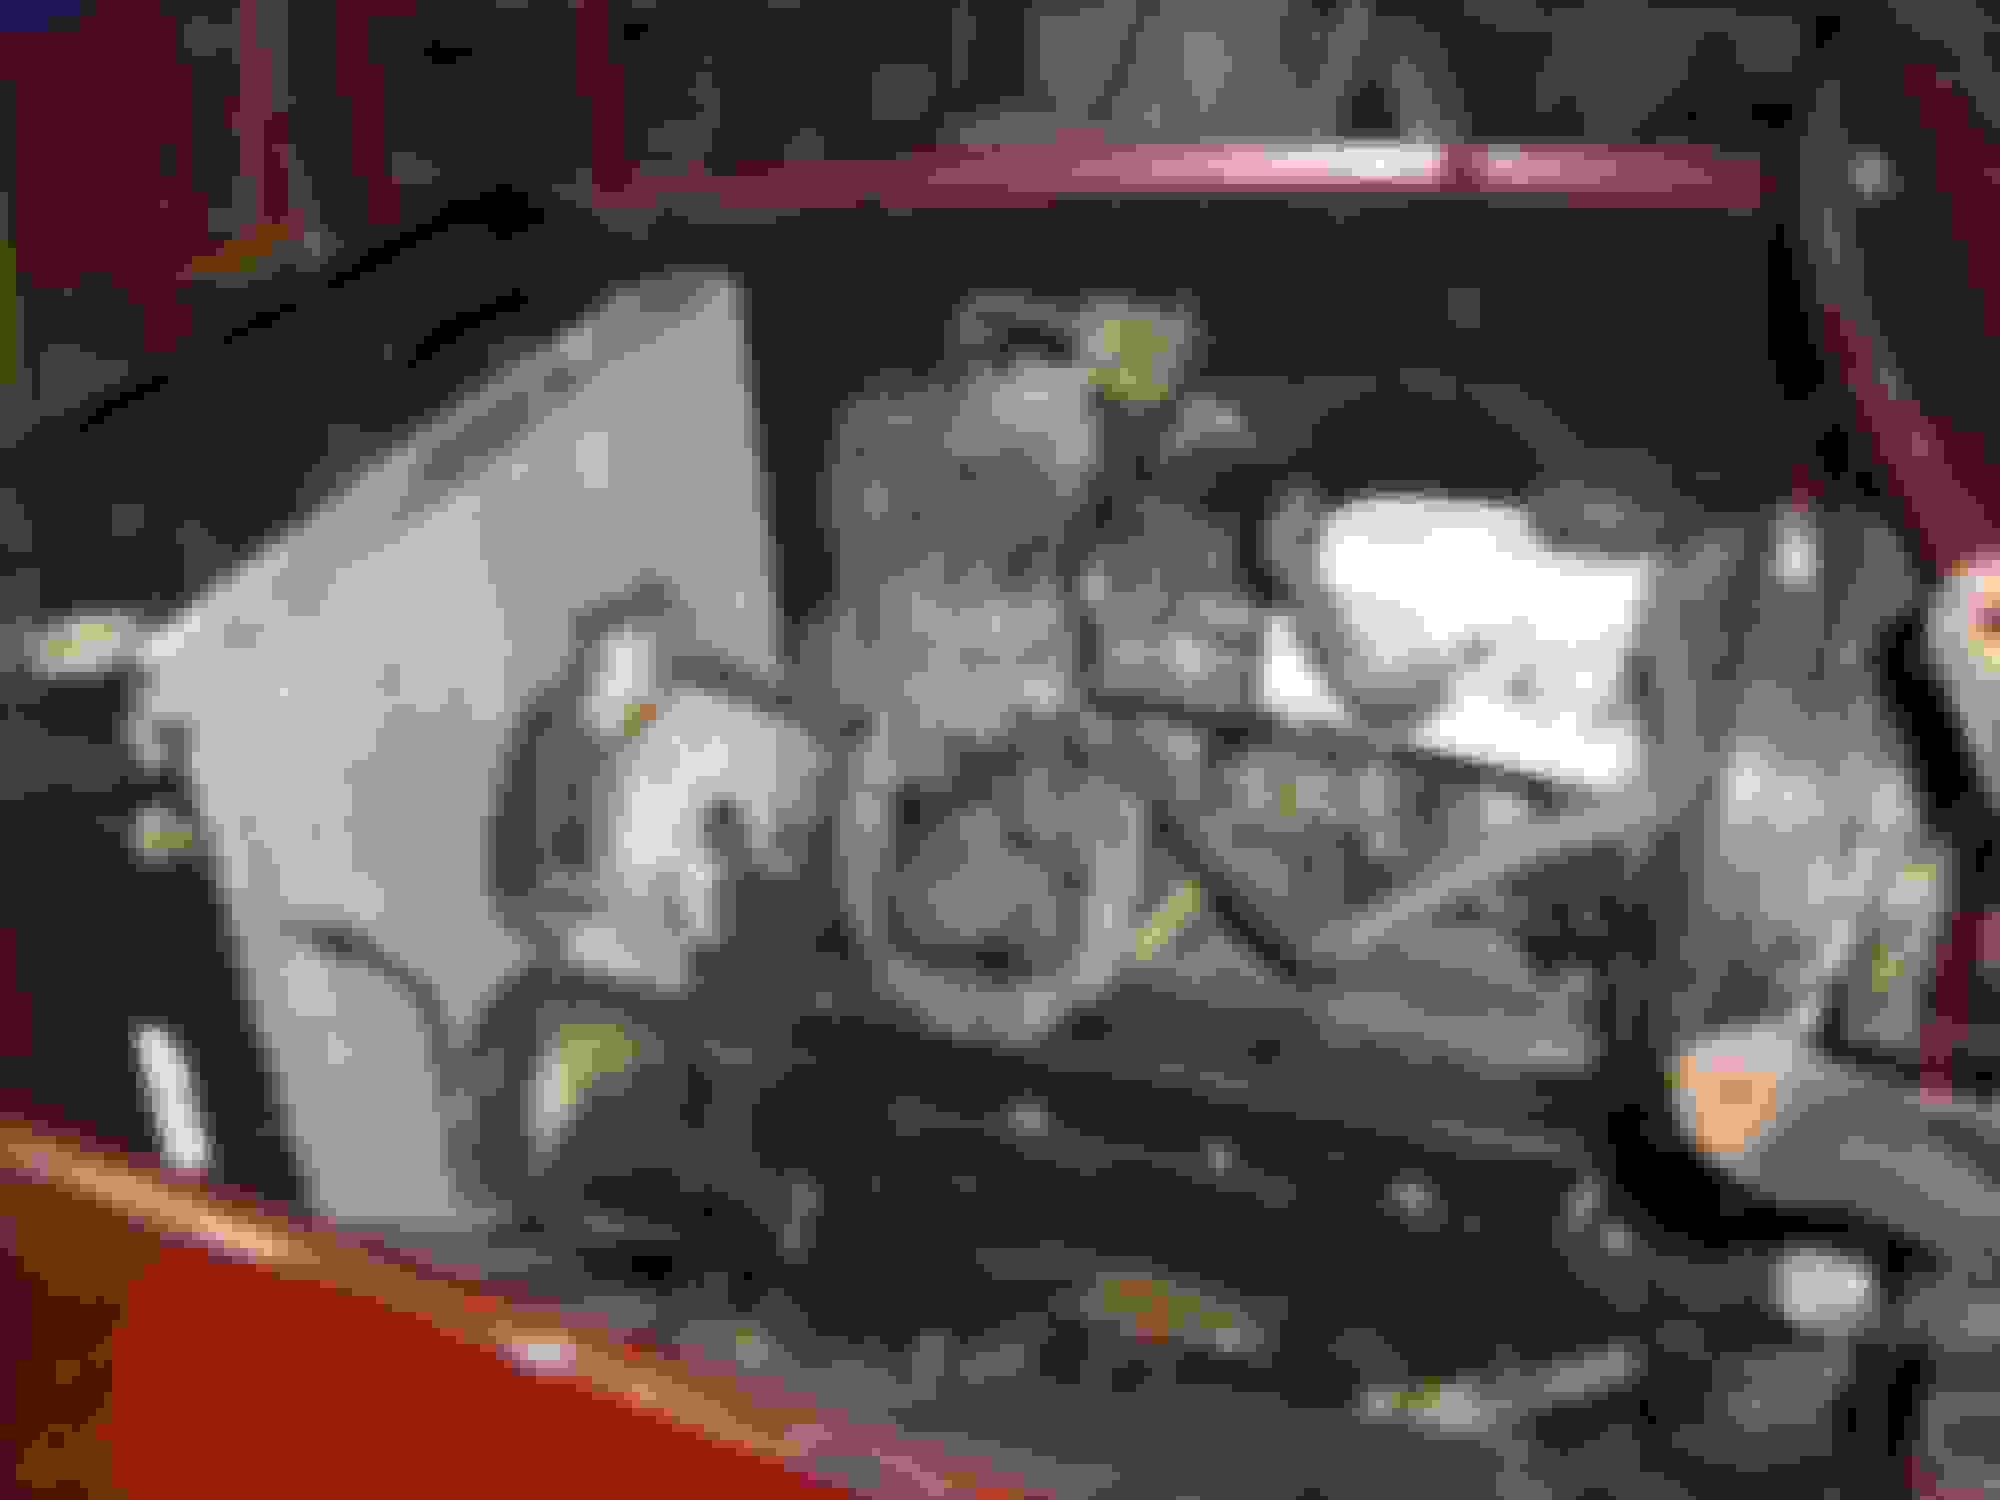
Using a 302 aod to build motor-trans mounts fit headers and steering .
Test fitting Windstar seats and Cadilac steering column .
allot thicker
Another small bonus . The rolled 92 vette I purchased for all of the things that were missing turned out to have a freshly installed PBR C5 vette front brake upgrade " approx $ 1,600 US " . Not that the 85 vette brakes wouldn't have been sufficient but there's quite a difference dual piston calipers and bigger thicker rotors .
Definitely some room but I would really like to run a mechanical fan if possible
Well this week has been a little forward and allot backward , due to my using a 302 block for motor-trans mounts and later discovering that the much shallower 302 oil pan will not fit on the 351 block . This in turn has made a number of things no longer fit due to having to raise the engine-trans 2+ inches . The mounts , brake booster - pedal assy , exhaust now aims at the X frame , trans hits firewall and trans cover and I hope that's all . I did however correct the mounts , move the booster-pedal and install the engine-trans . My project right now is to decide whether I should try to use the rad that came with the donor truck or order a proper rad . I did get it to fit temporarily and there is about 3 1/2 inches of clearance but without knowing the distance a stock rad would have I don't know how much I would gain .
pedal , seat and steering column all work well together .
Well the last 2 days were more productive . I finished re building the brake and gas pedals , mounting the booster , got my brake lines run , test fit my drivers seat ( to check for pedal placement ) , rebuilt and installed my steering column . I got my new lower rad hose and rear universal , so as it sits I'm getting short or reasons that I can't start it and drive it around the yard .
Ya I'm sure the stock c4 vette brakes would have been more than adequate but it's a nice bonus .The seats are out of a 2000 ford windstar van and are the correct height with the factory bases so no building .And believe it or not the steering wheel is almost identical in color but for some reason the camera flash shows it allot lighter .
I’m sure you did but just to be on the cautious side you did tighten down that forward u joint hardware? Just see the aft one in the last picture looks secure but not the fwd.
I have lost track but at least $ 6000 into this engine and this could have been the end of it .
Well a few more days and a few more challenges . Yesterday was my out of things to do before I start this thing day . This is a scary day , thankfully I had a manual oil pressure gauge installed . I decided to crank it with no ignition until there was oil pressure , there was none . Not good . Pulled the distributor and put a drill on the oil pump full speed on the drill 15 lbs oil pressure and about 30 seconds an the pan was dry " could hear the pump sucking dry " definitely not good . After a sleepless night and a morning coffee shop discussion I decided to pull the intake . As it turns out the machine shop forgot one small frost plug " engine destroyed if I didn't use a manual gauge " which is is the oil pressure gallery . After repair and re timing WOO HOO .This is me being happy .
So my great plans for winter have not materialized but I have made some progress . I dismantled the truck and put the cab in my shop hoping to get the cab done . Didn't even get close but have had a little time lately . I needed to enlarge the trans tunnel so I opted to build the front part and retain the rear half ( I wanted it removable as I have not finalized my shifter yet ) after running it through the english wheel to give it some hump . Next was the horrible mid fiftey gas filler patch . Again to the english wheel to try to make it usable . I wanted the hole sealed from the bottom also so I made a round patch , tacked it in and sealed it before welding the outer .
Rezvani's Latest Post-Apocalyptic Monster Is a Ford F-150 Raptor Underneath
Slideshow: Called the Fortress, the 850-horsepower pickup combines Raptor underpinnings with military-inspired features, survival equipment, and a starting price of $285,000.