When you click on links to various merchants on this site and make a purchase, this can result in this site earning a commission. Affiliate programs and affiliations include, but are not limited to, the eBay Partner Network.
I have removed the up-pipe on the driver side from under the truck and have a clear view of 2 out of 3 parts of the clamp now, getting closer.
Originally Posted by NzDarkStroker
...if things get ugly - pb blaster penetrating oil has always been a very loyal friend to me. Good luck with the progress...
I used PB Blaster and sacrificed a long thin screwdriver to drive in there under the clamp pieces with a hammer then pry up. When I popped the 3rd section loose the rest was easy.
I should have started by saying I was replacing the clamp so I did not care if it got destroyed on removal.
Still fighting with it, although I managed to get 1 of the sections free from the butt and turbo. The DP will have to wait until tomorrow because I am just about done for today.
I need to figure out how to remove the MBRP down pipe from the rest of the exhaust anyway. I am open to tips and suggestions on how to remove the DP from the exhaust after (obviously) removing the 4" clamps.
I was thinking drilling a hole through the DP then using a ratchet strap looped around the front axle or leaf spring shackle, but have not looked that close to see what may be in the way. This would allow me to use the strength of the ratchet strap, kind of like how people are putting the oil cooler back together, something like that.
Done for today with a battle victory, still fighting the war though. Also, if you have any tips on removing the MBRP down pipe from the exhaust where they are slipped into each other, I am open to suggestions and ideas.
EDIT: I fought that thin piece of circular metal for 2 hours... The OEM up-pipe clamp came off in a few moments. I wonder if the IH up pipes clamp like the Dorman pipes do.
On the lighter side of things, no signs of exhaust leaks at any of the connections to the manifold, collector or turbo, so I am pleased with that out of Dorman. Also, the pipes appear to be in good condition still, a bit dirty and weathered, but no structural concerns at all.
Is your exhaust under the truck welded together or clamped? You may need to remove a bit of the exhaust from under the truck to create leverage for the DP. You mentioned where they slip together so I’ll assume that is clamped, I’d start with soaking it with PB Blaster.
Is your exhaust under the truck welded together or clamped? You may need to remove a bit of the exhaust from under the truck to create leverage for the DP. You mentioned where they slip together so I�ll assume that is clamped, I�d start with soaking it with PB Blaster.
They are clamped pieces with the slip joints made by MBRP. I went back out to look things over after getting cleaned up from today's adventure. I think I may just cut the downpipe where it starts to go horizontal, then cut the downpipe and exhaust slip joint just toward the rear of the slip joint. That should get me enough space that I need to mount the flex pipe and the new downpipe into place.
The MBRP joints seem to be held together very well and I think my chances of getting them apart underneath the truck are slim. The slip joints are about 4" in length, so there is a lot of friction there holding them together even after removing the clamps.
Really starting to get excited now for the new turbo to go in. Also, very happy that I will never have to remove the Garrett turbo ever again.
What happens is that the u-bolt muffler clamp distorts the pipe to a degree....oh, you'll get it loose enough to twist, but it will take more to get it out. I heated mine with a acetylene torch, massaged the OD of the slip joint with a smooth faced hammer, (while red hot) and finally some corrosion and other nasty fell out....more heat, more hammer....lather rinse repeat. Finally a squirt of PB providing some lubrication for the dry joint to come apart. It wouldn't need to be PB at that point, some light oil would have done it. A band clamp there would have helped immensely.
After talking with Akcooper9 on the phone for a few moments, I have a course of action.
I plan to cut the downpipe where it starts to go horizontal towards the exhaust to make the parts I want to keep easier to work with. Then cut just in front of the slip joint that mates the downpipe and exhaust, then cut the remaining piece of the downpipe out of the slip joint which should only be a few inches. I will have to make a perpendicular cut, which might be a bit challenging but perfectly doable.
I don't have the resources that Dan has, even though his option seems better, I will take the path that I know I can accomplish in my garage laying under the truck.
For the up-pipe collector to turbine housing clamp, I have found that smacking it from the SIDE of the v-band clamp is effective at shaking it loose. My preferred tool is a length of rebar poking into the edge of the flat portion of the clamp and then tapping on the other end of the rebar with a hammer. Don't hit so hard that you dent the clamp. The idea is to transmit a shock into the clamp to rattle it off the collector/turbo much like how an impact wrench shocks a stubborn screw loose. Work your way around the clamp. The twang when it springs open is such a satisfying sound.
As for the MBRP DP, use one ratchet strap to pull the aft portion of the exhaust backwards, then clamp one end of another ratchet strap with a hose clamp onto the DP as close to the slip joint as possible. Hook the other end of the ratchet strap to an appropriate anchor point and apply tension. Tap the slip joint all the way around with a mallet to facilitate separation.
As mentioned, the OEM clamp to OEM up-pipes took me less than a minute to remove 3 years ago next month. Although, this time the new OEM clamp and new Dorman up pipes had a death grip on that thing. I fought for just over 2 hours with it, but I won...
Today is removing the pedestal, down pipe and prepping the exhaust to receive the new plumbing and cleaning the engine valley up a bit. Reseal the CCV with new o-rings and clean the valve covers exterior. I also plan to check the glow plugs for their ohm resistance even though the truck has no problem at all starting in cold weather.
See you all soon.
�Where is this cold weather you speak of Sous? Glad you you finally got it, I guess the positive side of this battle is that the Dorman pipes definitely secure properly.
�Where is this cold weather you speak of Sous? Glad you you finally got it, I guess the positive side of this battle is that the Dorman pipes definitely secure properly.
I was going to put "low 20's", but didn't want to make anyone upset with putting a number on cold. I have lived in frigid climates like Alaska and am old enough now to not have to. 70 degrees and sunny today...
As for the Dorman pipes, every joint was tightly sealed and not one problem with them that I saw from an initial inspection. I will clean them up before listening them in the classifieds though.
Down pipe is out, that took about 30- 45 minutes. Not too bad considering.
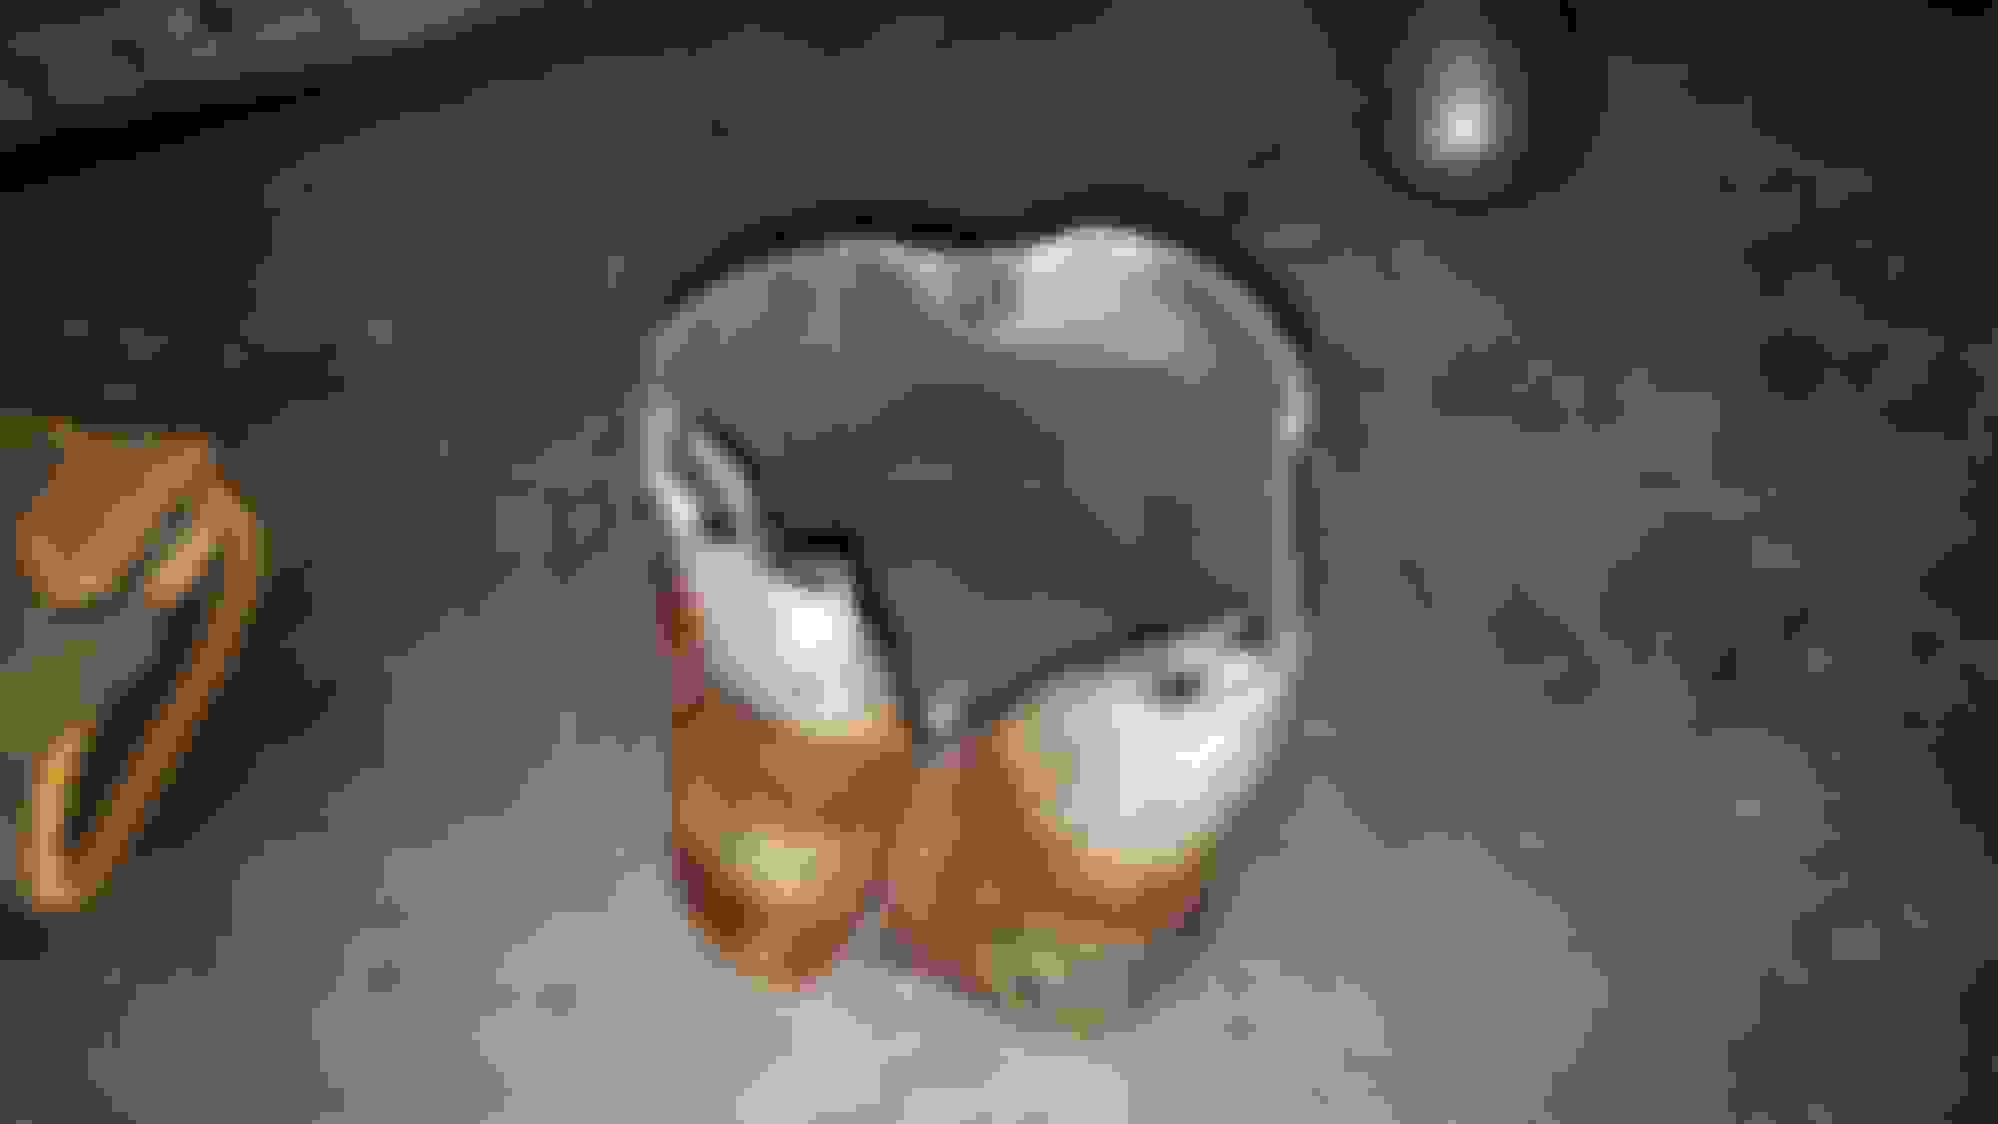
The slip joint for the down pipe to exhaust was a hitch, but I won.
I tried all of the tricks mentioned (except the torch because I don't have one) and nothing was budging it. I have to give it to MBRP, their system is robust and well built.
Details on how I got the slip joint out, but the exhaust side is still round and accepts the adapter very well.

 10-30-2018, 12:02 PM


 Glad you you finally got it, I guess the positive side of this battle is that the Dorman pipes definitely secure properly.