When you click on links to various merchants on this site and make a purchase, this can result in this site earning a commission. Affiliate programs and affiliations include, but are not limited to, the eBay Partner Network.
Picked this up a couple weeks back and have slowly been dismantling it. Below are some pictures after removing; bed, rear fenders, rear bumper, windshield, rear window, and driver's side window and regulator. Someone had welded in a sheet of steel after the bed wood had been done-for. It was a pain to remove, at least 14 gauge, and folded up near the cab and welded to the bed front. The bed was also with its typical lower rust, but exacerbated because of the heavier gauge metal welded up to everything.
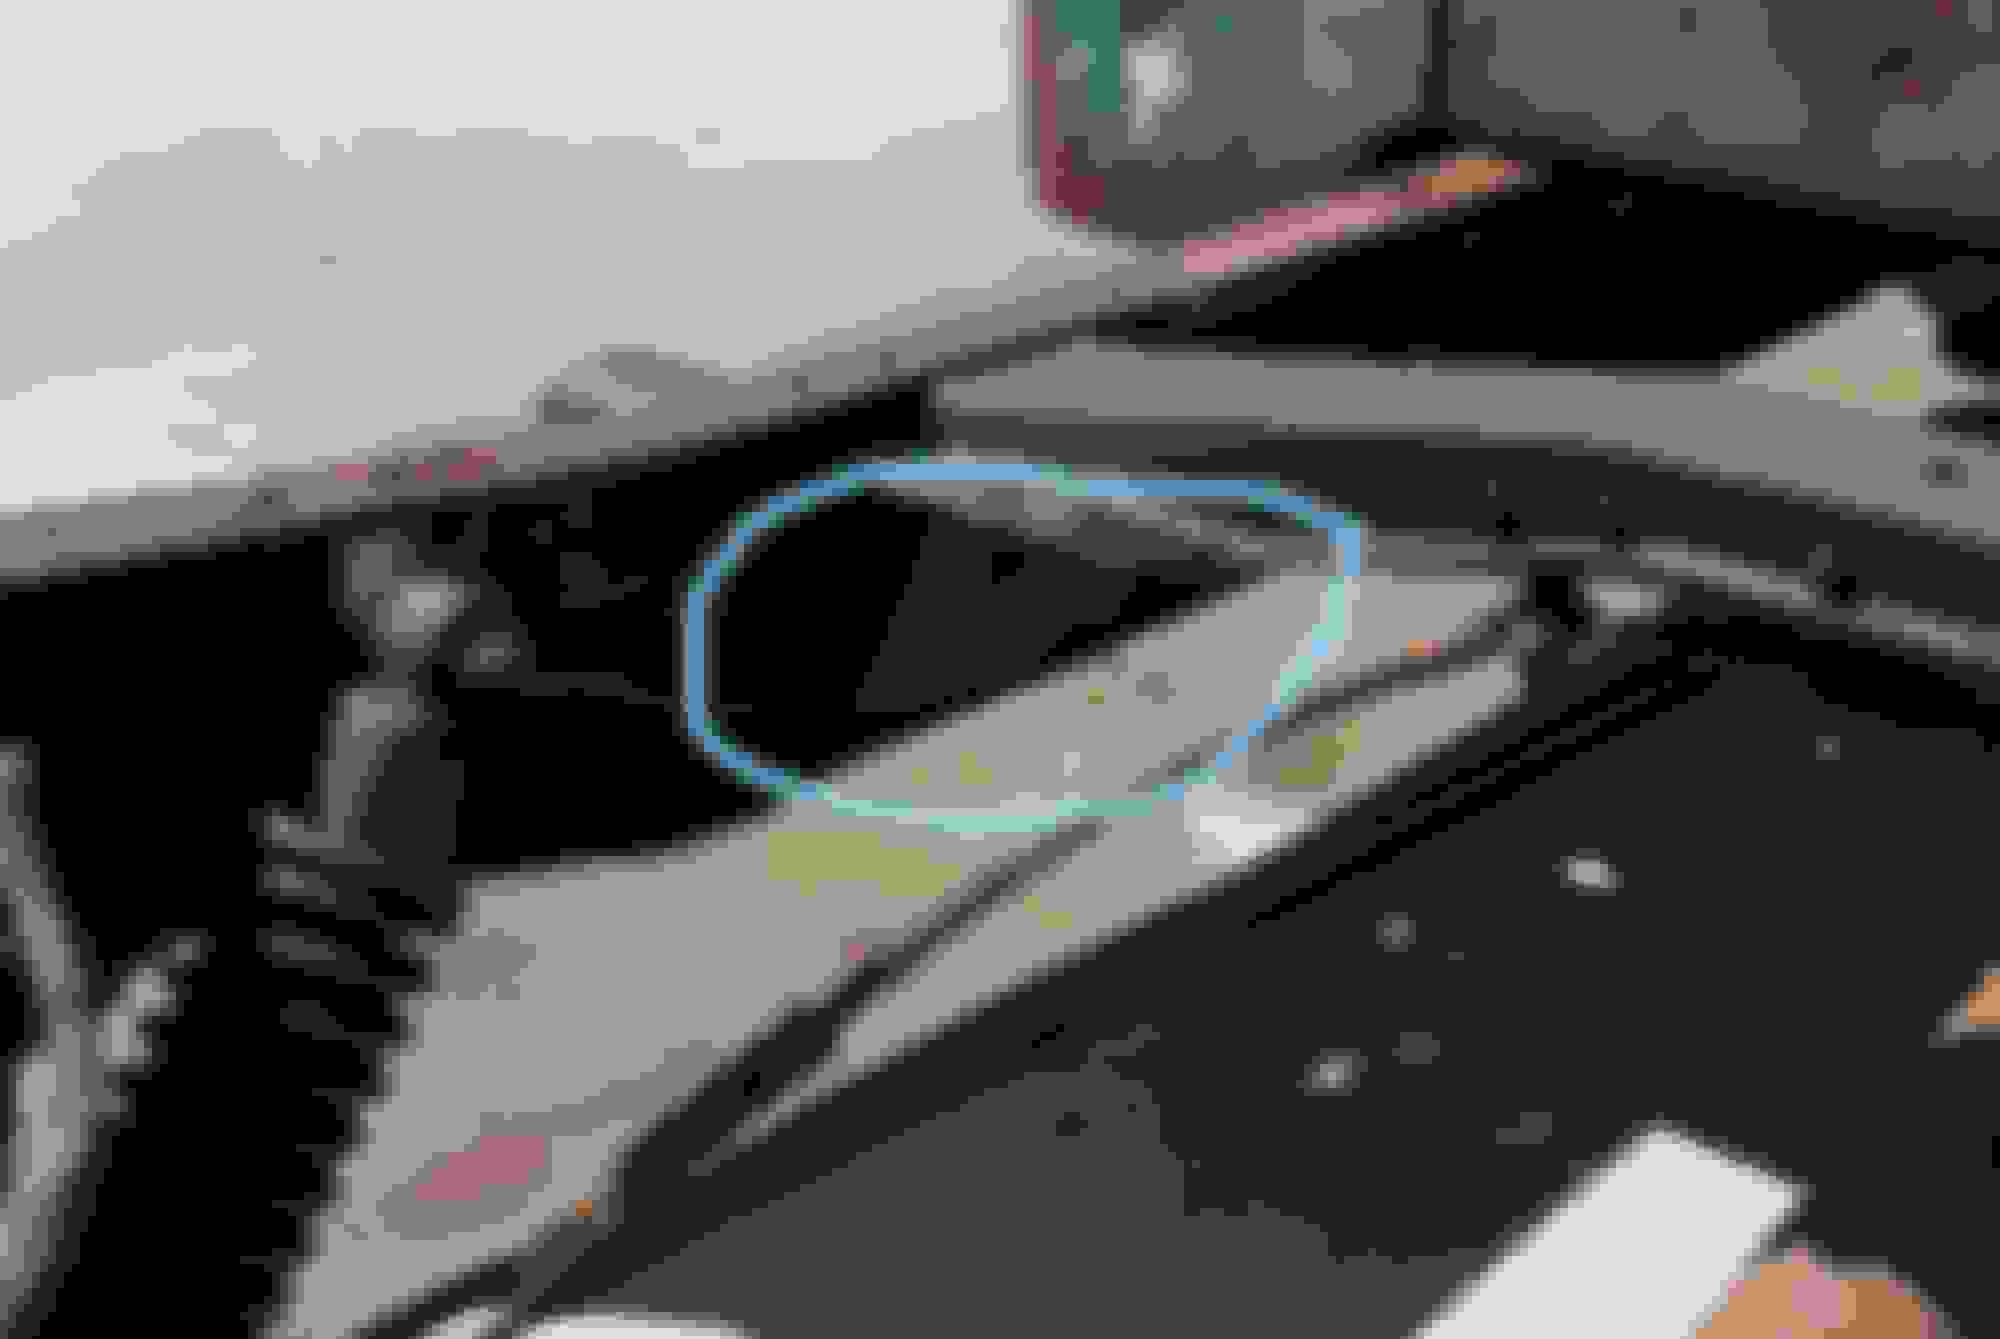
I started removing the front fenders but took a break from cutting out all the rusted bolts. Almost every bolt in this thing is rusted/corroded to the point that the only way to remove is cutting/grinding out or using the impact wrench to bust the nut off. And that is only when the nut/bolt head has any shape left.
I have some pictures of the inside, but not many. I have boxes of parts in there now after removing most of the dash and gas tank.
Truck was missing the seat and that was pretty much it. It has a Mercury flathead in it, which I'm guessing was replaced at one point, or Ford did they're "slap whatever we have in it" thing. Going by the GA tag's registration sticker this thing has been sitting since '79.
My plans are to get it back to as close to original as I can. I'll be fabricating a ton of sheet metal for stuff that just isn't made, and stuff that is. I had planned on just buying the sheet metal for rusted out parts, but after getting LMC's joke of lower cab corners I'll make most of it. They are way too short, and they don't have the flange that drops down to spot weld to the inner cab corner. Why would you even bother having the Thailand company make them if you don't have that part? Are people supposed to weld a 3/4" strip to the edge to make them actually work?
I did get EMS corners and they are very sturdy. I might buy the EMS fender rears as well. The only thing I don't like about EMS' stuff is the horrible creasing on the lower flange that gets tacked to the inner cab corners. And the 16 gauge they seemingly used instead of the 18 they say they do. Also they don't include the door "tab" that gets spotted to the B pillar.
I also picked up the lower front fender extensions off of eBay. They are rock solid and seem to fit up so far. I'll know better when I get to the piecing back together stage. The biggest piece I'll have to fab, unless I do the entire bed sides myself, is the back of the cab. It has three grooves that I'll be flowforming (by hand if the electrical company never gets back to me with a quote for two 240 and one 120 drop in the garage!) with a routered out piece of oak.
There are also a few spots near crossmembers and the c-channel frame that I'll have to patch.
That should be enough gabbing for now?
Few extra holes to weld in, but mostly decent.
This is going to be fun to fab up.
Started removing this and stopped to take a break from all the grinding.
Homemade brush guard it seems.
Old owner decided to start slathering on about a 1/4 inch of Bondo. ?!?
Almost forgot; has anyone ever had to fab up the rear crossmember supports? I'm going to attempt it, but if someone has already built the wheel, I'd like to not have to scratch my head any more than I have to.
Good luck with the build!
The crossmember supports are just flat steel so not hard to make, but if they are rotted out I would get a good look at the rest of the frame before making repairs.
A good frame is the foundation of the truck, make sure yours isn't going to fold up on you.
The supports are actually quite formed. A slight 90ish bend with a channel formed in the middle. If it was just a straight piece I'd have no questions except what to bend 10 gauge with.
Thanks for the well wishes. It's going to be quite a bit of work before I get her back on the road. Stock wheels are my next adventure to find. Got a mix of innies and outies, and one rogue rim.
I would just make them out of 3/16" plate with a triangulation brace down the center to keep them from folding, pretty simple way to duplicate what Ford did. The bulge is just to keep the piece from folding over. Put the steel in a vice, heat at the bend line with a torch, and a few hammer blows to bend to the correct angle.
Welcome! You have a fairly typical rust repair project. From the sounds of things, this isn't your first fab rodeo. The sheet metal bolts are usually not cooperative and tend to need a cut-off wheel wrench. It is often easier to remove the front clip as a single unit and then disassemble off the frame.
Quite a project! Does it have any of the stock drivetrain (engine, trans)?
It has all of the stock drivetrain. Hopefully in decent shape. Though I think I'll want a diff with something a little lower than the 3.92 that is purported to be in there, at least what my vin tag is telling me. But who knows? Though the engine is actually a Mercury.
Welcome! You have a fairly typical rust repair project. From the sounds of things, this isn't your first fab rodeo. The sheet metal bolts are usually not cooperative and tend to need a cut-off wheel wrench. It is often easier to remove the front clip as a single unit and then disassemble off the frame.
Thanks for sharing.
Thank you! And it is my first time fabbing anything up. I'm a VW guy, so this is a new frontier for me. Especially the engine, which is why I *might* farm that out but haven't decided yet. But I'm technically and mechanically inclined so I'm not afraid of the work. I've always enjoyed making stuff by hand. This is just a different medium to do so.
Baby steps. Got the gas fill tube patch made today and tacked in. Had some issues with fitment, but I should be able to weld it in good enough and use some filler to smooth it out. Hoping that a tablespoon or less should make it presentable. Had to start somewhere and this was as easy as it comes.
I would just make them out of 3/16" plate with a triangulation brace down the center to keep them from folding, pretty simple way to duplicate what Ford did. The bulge is just to keep the piece from folding over. Put the steel in a vice, heat at the bend line with a torch, and a few hammer blows to bend to the correct angle.
I might have to do that. I was planning on making it as exact as possible, but that seems like a lot of extra work just for support. As minimal as it is.
I might have to do that. I was planning on making it as exact as possible, but that seems like a lot of extra work just for support. As minimal as it is.
The older I get the less I care about exact details. I want it strong, safe, functional, decent looking, and done. Did plenty of projects that took way too long because of worrying about stuff that would never be seen when the car was done. My goal now is to drive it and not stare at it in progress for ages.
You are keeping the in cab tank? Rear mounted gas tank is a easy and popular upgrade.
Making some progress. Had a little bit of a layoff while dealing with engine issues. Original flathead has some issues and will be scrapped. 347 will be going in with 4R70W and 8.8 rear w/ 3.55. So I'll be tackling the frame after all the cab work, which is extensive. Put in the EMS cab corner on the pass side. Still need to do the driver's side and fab up a rear panel piece. Also in this picture is the junk pieces that LMC calls cab corners. If you are thinking of getting them I would definitely pass. You'll be piecing in portions for the door jamb and the tab that mounts to the floor. Also, they are just a curved piece of flat steel with no crowning whatsoever. Their doorskin replacement panels aren't bad, and I'll hold judgement on their cowl sections until they get in.
 09-13-2017, 12:22 PM