When you click on links to various merchants on this site and make a purchase, this can result in this site earning a commission. Affiliate programs and affiliations include, but are not limited to, the eBay Partner Network.
I took some pictures of the install of my seat flap brackets, at the request of another member. It's fairly self explanatory, but I'll add some notes for little things I noticed while installing it.
What I used:
- seat back brackets from a Ford Expedition
- Phillips head screw driver
- cordless drill with 1/2" drill bit
- Dremel w/ spiral cutting bit and drum sander bit
- Sharp razor blade
- Rasp
- Sharpie
- Ruler/Tape measure
- Black spray paint
If I were to do it again there are a couple things I would have on hand.
1) An oscillating saw as opposed to a dremel. The dremel tends to just melt the plastic rather than cut.
2)Some double sided tape for the reinstallation of the carpet.
Please excuse the messy carpet. It's November in the Pacific Northwest, I was lucky to get the passenger side done this morning without getting soaking wet. Hopefully it clears up enough this afternoon to do the driver's side and then I can vacuum.
The brackets I scavenged didn't match my EB black carpet so I decided to paint them. They won't get much use, so I'm not too worried about the paint rubbing.
The carpet covering the flap just sticks to the bottom with some double sided tape and some velcro fasteners.
The carpet slides right off the top of the flap.
Carpet removed exposes the depression where the brackets should have been installed at the factory.
When measuring for the cut out, remember to measure to this tab on the left side of the bracket in this picture.......
........and to shoulder on the right side the bracket in this picture. I measured to the round tabs that make the connection to the other side of the bracket initially, this caused me to have to enlarge my original cut out.
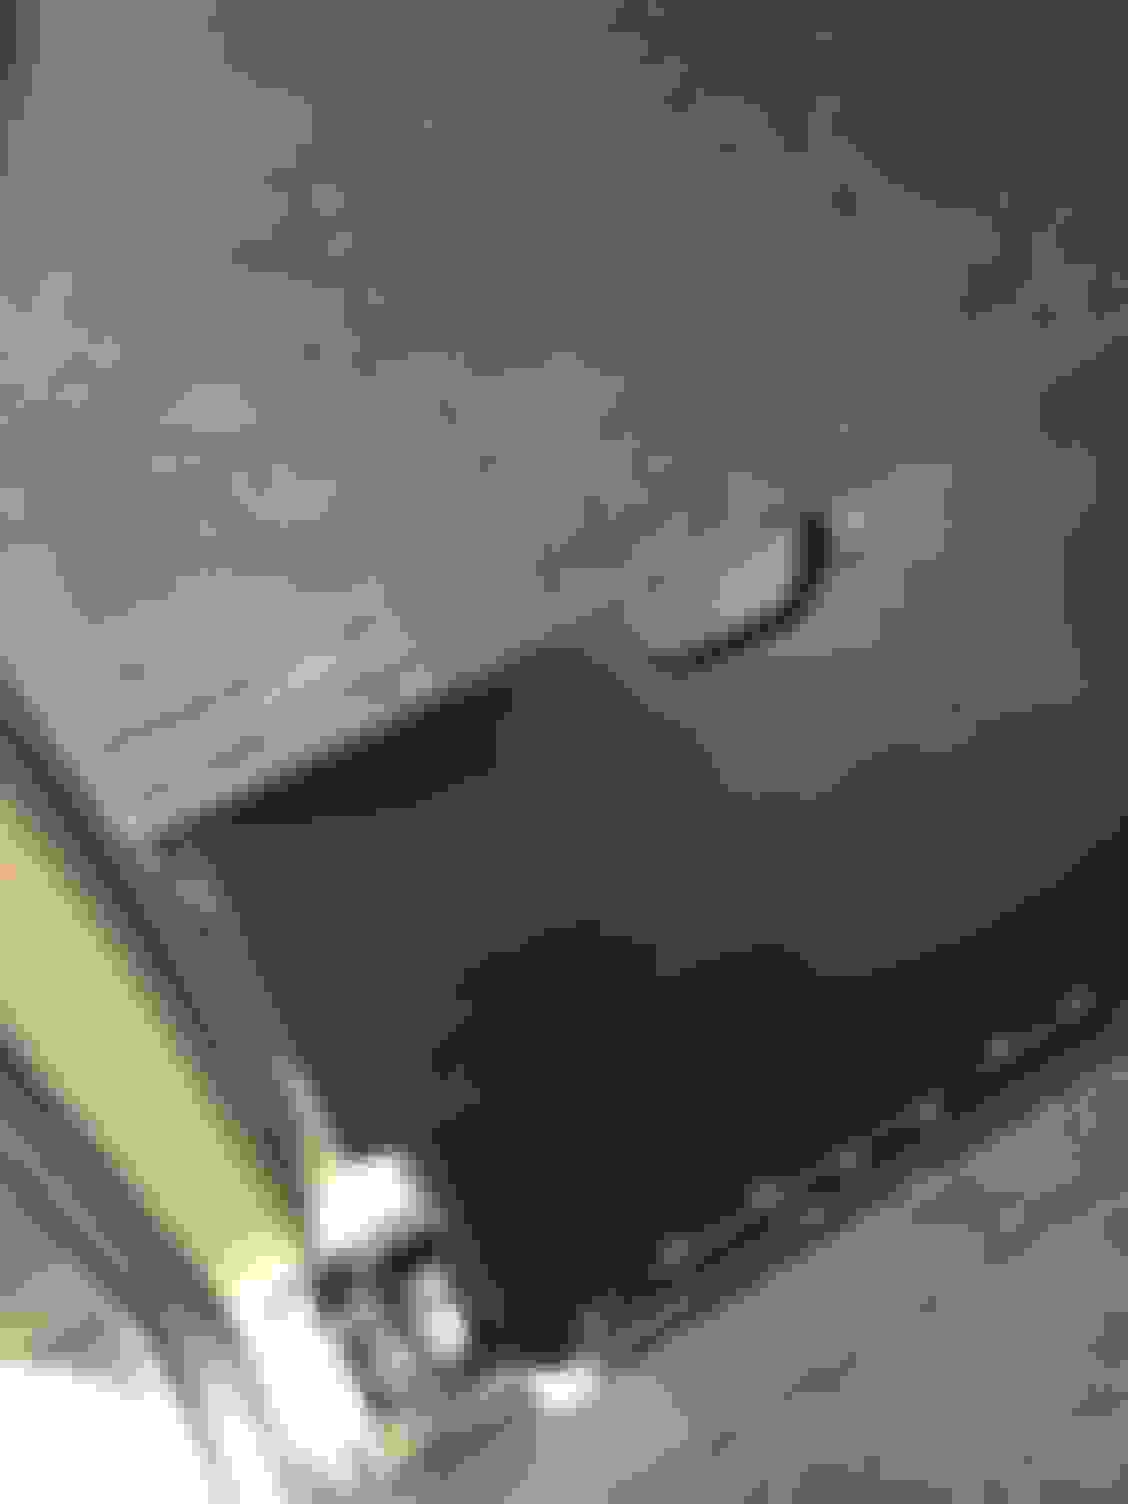
Cut your hole out making sure to leave the necessary lip, otherwise the bracket has nothing to clamp onto. I used a drill to open my corners and connected them using my dremel. I would use a different method if doing it again, the dremel makes quite a mess of melted black plastic curls. As stated earlier I had to enlarge my original hole, I did this using a rasp.
Place the carpet back on the plastic flap and commence to cutting a hole in your perfectly good carpet. This is when you would place a strip of the double sided tape on the bottom of the flap near the hinge to provide a secure hold for the carpet.
Make sure to only cut to the opening edges to allow for the carpet to be sandwiched between the two bracket halves.
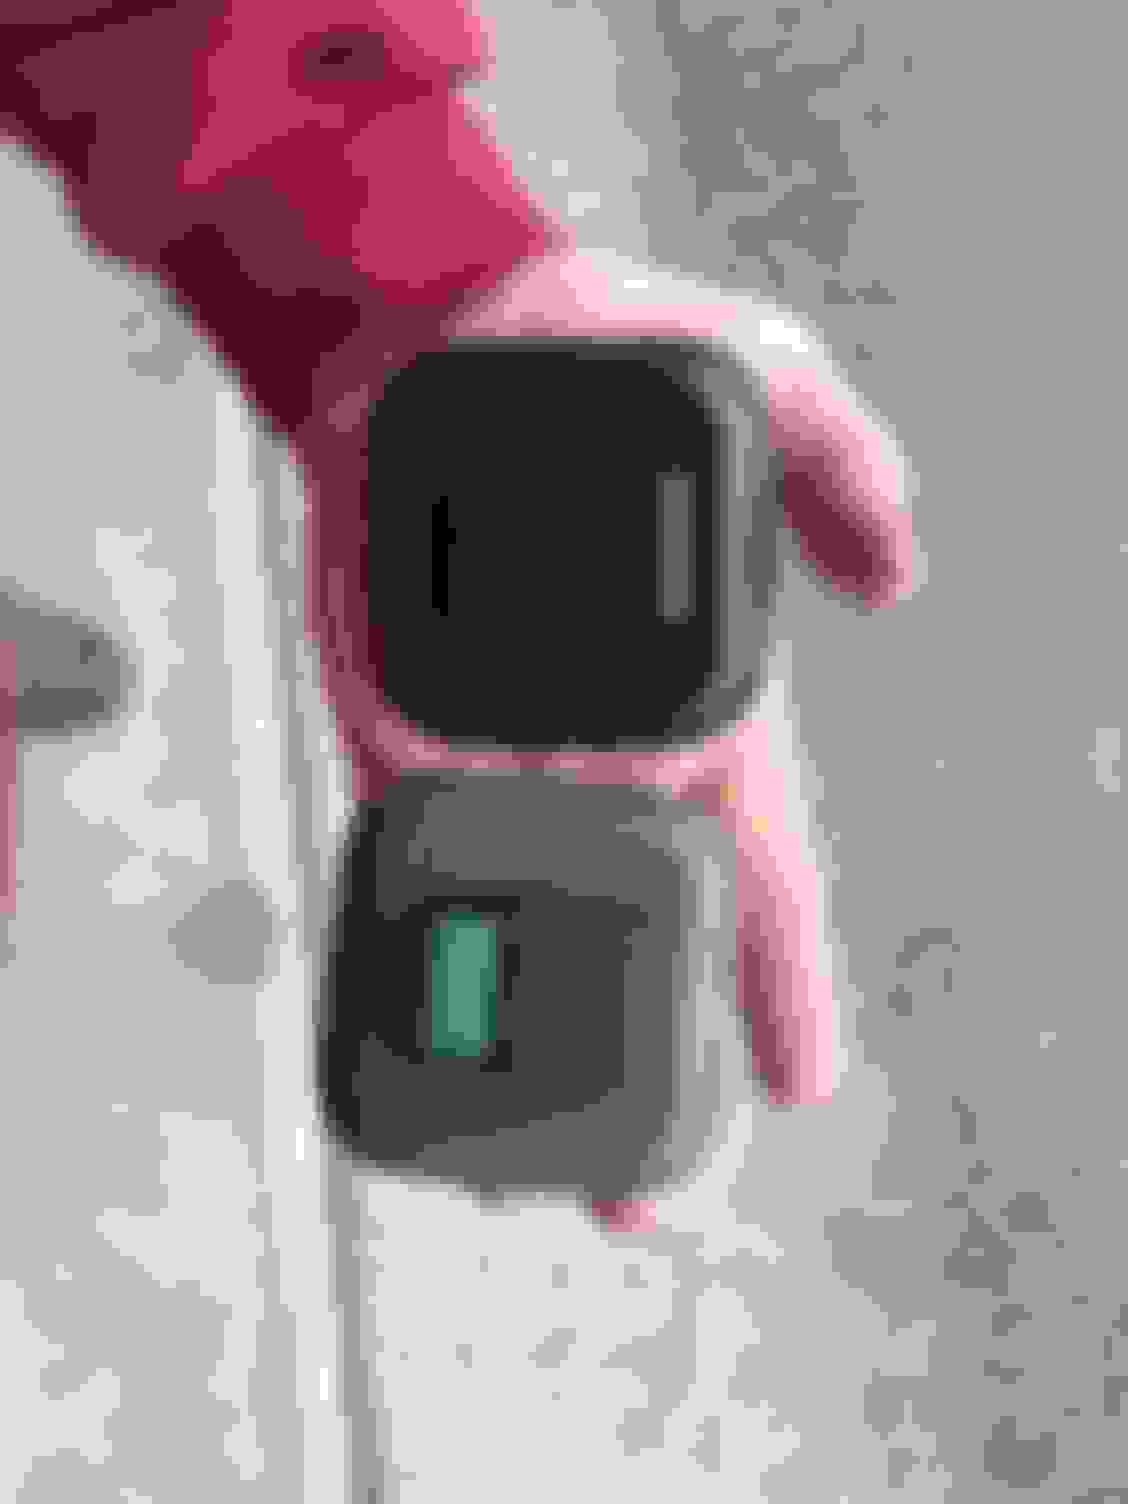
This piece is the half of the bracket that is accessible from the passenger side of the flap.
This piece goes on the inside of the flap. They connect together by just snapping them together.
This is the piece that attaches to the back of the second row seat. I lined this up by snapping the latch into the bracket, folding the flap into the stored position, and then released the bracket and opening the flap again. This left the latch in the exact place it needed to be. Secured it with the phillips screws that came out of the donor vehicle.
Now I just need to take my wife's seam ripper and remove all the old Velcro.
Man I have to do this! I can't believe they used velcro on our seats instead of this. Thank you very much and I vote this to be in the tech folder too!
Rezvani's Latest Post-Apocalytic Monster Is a Ford F-150 Raptor Underneath
Slideshow: Called the Fortress, the 850-horsepower pickup combines Raptor underpinnings with military-inspired features, survival equipment, and a starting price of $285,000.