Patching56
#17
Lots of great information here, you'll be fine with all the advice and experience. As mentioned on another thread some time ago by some one I can't remember, it was said to make sure you weld a cross brace in the cab so the sides of the cab don't separate and also door openings. You will want your doors to fit after all that work. Happy metal working...it can be done. 

#19
Hope some of the good sheetmetal/body guys chime in I am not one of them just a cheapskate. I checked and made the doors fit close made some marks on the door and jams for weld-filler got the hinges repaired and then welded bracing in the cab so that the doors could be hung and I could get in the cab and work at repairs at that point I started cutting out the rot, repair that area on to another working small areas. Make sure when bracing that you remember it needs to hold in all directions good luck
#20

Do the rockers first . . . and do not cut the floor pan out at the same time. You may want to install the doors closed and weld in some bracing before cutting anything if the floor is not structurally sound. Then remove the doors.
Now the purists may not like this . . . mig weld where ever you can but if you find that there are some locations where the metal is so thin or pitted (not perforated) after rust removal where you have trouble welding good metal to it then you might try what the OEMs and aircraft industry have been doing for years which is use construction adhesive with HD steel rivets (3/16 are best). Areas like the toe boards where they meet the floor pan and rust has travelled part way up the toe board and you need to add a flat patch. Or the front ends of the rocker panels where they connect to all the layers of metal at the bottom of the A pillar.
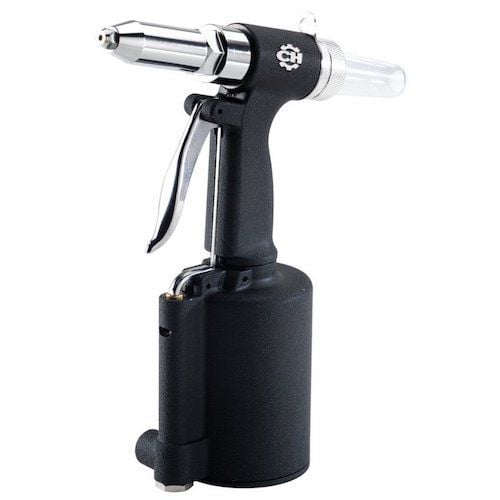
For those HD rivets you will need an air rivet gun like this.

Campbell Hausfeld Pop Rivet Gun (CL153900AV) - Amazon
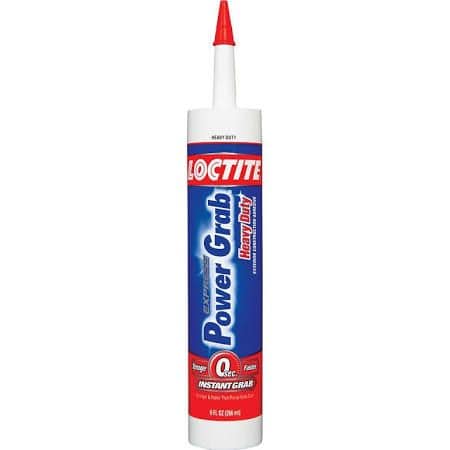
For adhesive use Locktite Power Grab

Available at Home Depot and others
This makes a very sound joint providing that you have a 2" overlap onto reasonably sound metal. Better IMHO than overheated and compromised metal.
#21
Metal set is another one to use on rivet shanks to keep from fretting. Solid bucked rivets are by far the most ideal, but cherrymax is a solid rivet with a locking ring in it. Through if you want to remove them you have to grind out the locking ring in the center and punch the center pin out otherwise it will damage during removal.
Thread
Thread Starter
Forum
Replies
Last Post
56panelford
1948 - 1956 F1, F100 & Larger F-Series Trucks
824
06-29-2022 03:07 PM
4x484150
1980 - 1986 Bullnose F100, F150 & Larger F-Series Trucks
3
06-08-2018 06:03 PM
bootmaker
1987 - 1996 F150 & Larger F-Series Trucks
3
05-24-2013 08:09 AM
asemastermech
Paint & Bodywork
4
10-03-2011 01:33 PM
dustybumpers
Maryland Chapter
49
05-03-2011 08:54 PM


 for the pointers. I was wondering about bracing but didn't know where or why but your post helps.
