


48-50 gauge cluster customization
Thread Starter
|
Fleet Mechanic


Joined: Oct 2011
Posts: 1,891
Likes: 103
From: Birdsboro PA
48-50 gauge cluster customization
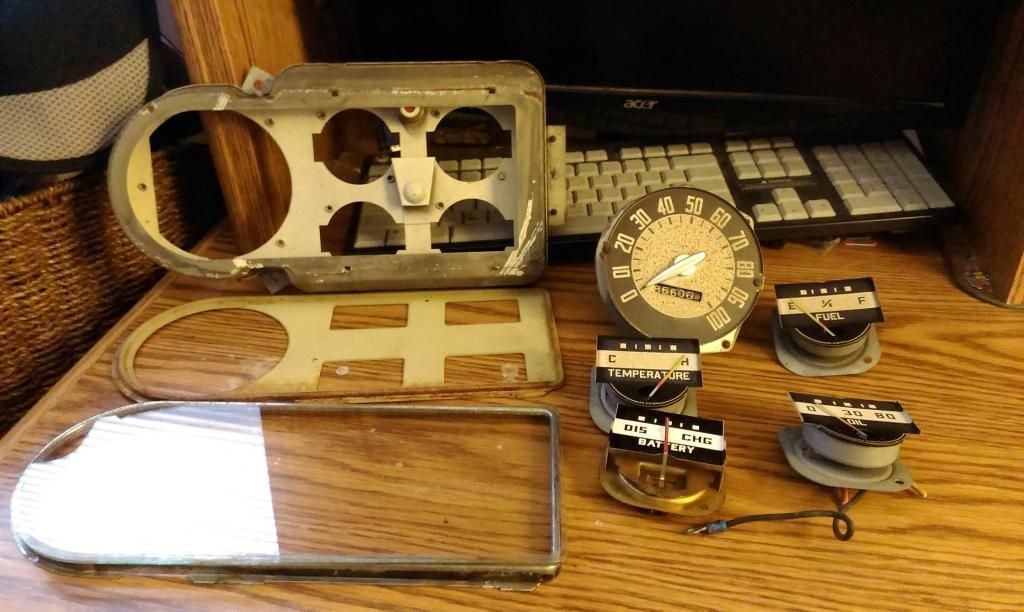
So I have been going back and forth on how I want to do my gauges in my truck. I never really liked the look of those aluminum inserts so that was pretty much out from the get go. I also dont like the look of a modified dash so that brought me to modifying the stock gauge cluster. I have seen where guys take gauges from a later model ford and place them in the gauge opening, but i would like more precise readings that just "hot" and "cold" or "high" and "low" oil pressure. So i decided to try and fit some autometer gauges in the stock cluster. I bought an arctic white temp gauge to try it out on. I had a gift certificate for jegs so if it doesn't work out, I'm only out twenty bucks. I going to try and keep the same placement as the stock gauges where the needle pivot point is below the windows. This will require some kind of filler since the windows are 2 inches across and the gauge will be 2 inches at its widest point. I'm going to try to make this filler piece black or at least partially black to recreate the two tone apearence of the stock gauges. I also have some ideas on recreating the cross hatching on the face of the cluster. I will update this thread when the gauges gets here.

Hotshot


Joined: Oct 2004
Posts: 15,882
Likes: 88
From: Durham NC
Note that the OEM gauges are actually round, so using round gauges to resemble the stock cluster should not be difficult. A mask could be cut from 1/16" or 1/8" opaque black plexiglass (or ABS if you want a mat finish).

Senior User
Joined: Dec 2008
Posts: 280
Likes: 0
I am watching this with interest as I have the same view on these gauges. My 1949 F-1 had the aluminum panel and aftermarket gauges installed when I bought it, but I did score an original (well-used) cluster at a swap meet last summer.
Thread Starter
|
Fleet Mechanic
Joined: Oct 2011
Posts: 1,891
Likes: 103
From: Birdsboro PA
Thanks for the interest and ideas guys. Another idea i had would be to make a new face plate and have the holes be half circles. That would eliminate any filler pieces I would need to add around the gauges. What do you guys think?
Hotshot
Joined: Oct 2004
Posts: 15,882
Likes: 88
From: Durham NC
How good are your cad skills? If you can draw it accurately you can have a machine shop with a CAM mill mill it out for you. Once you have proven the file, you can cut as many as you want.
Trending Topics
Thread Starter
|
Fleet Mechanic
Joined: Oct 2011
Posts: 1,891
Likes: 103
From: Birdsboro PA
FTE Stories
Ford Trucks for Ford Truck Enthusiasts

Top 10 Most Expensive Ford Trucks Ever Sold on Bring a Trailer
Joe Kucinski
2027 Ford Super Duty Buyer's Guide (Every Model, Engine, & Package)
Brett Foote
Top 10 Ford Truck Tragedies
Joe Kucinski
AEV FXL Super Duty - the Super Duty Raptor Ford Doesn't Make
Brett Foote
Lobo Vs Lobo: Proof the F-150 Lobo Should Be Even Lower!
Michael S. Palmer
Ford's 2001 Explorer Sportsman Concept Looks For a New Home
Verdad Gallardo
10 Best Ford Truck Engines We Miss the Most!
Joe Kucinski
2026 Shelby F-150 Off-Road: Better Than a Raptor R?
Brett Foote
2027 Super Duty Carhartt Package First Look: 12 Things You NEED to Know!
Michael S. Palmer

Thread Starter
|
Fleet Mechanic
Joined: Oct 2011
Posts: 1,891
Likes: 103
From: Birdsboro PA
It would be a face plate to go in place of just the original beige face plate. The original gauges are 2 in round as well so they should fit in the stock location.
Cargo Master

Joined: Sep 2010
Posts: 3,426
Likes: 48
From: Hot AZ (Phoenix Valley)

Solidworks is a great modeling software and great job on your design. Want to follow and see how yours turns out.


Thread Starter
|
Fleet Mechanic
Joined: Oct 2011
Posts: 1,891
Likes: 103
From: Birdsboro PA
Ok so the gauge came in and i made some progress.
Here it is fresh out of the box. I felt bad about taking it since it was brand new, but that was why i bought it.
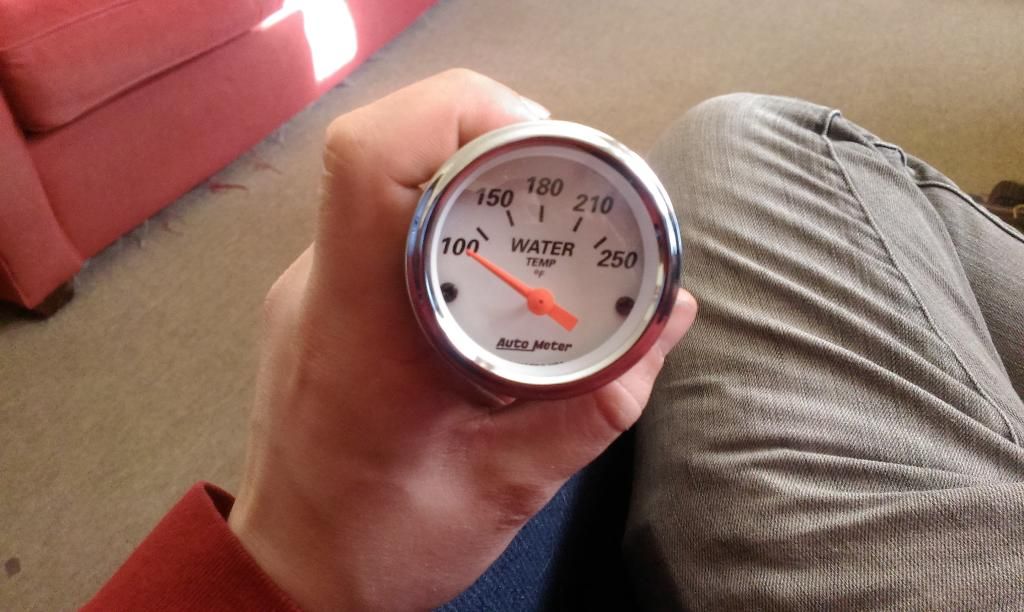
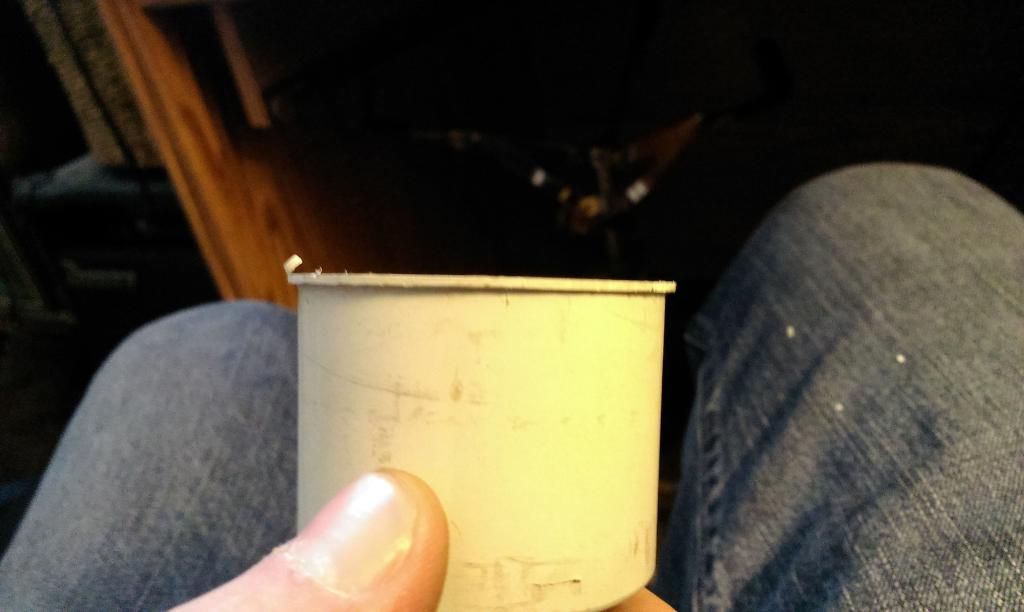
The chrome bezel is crimped on from the back. To remove it, you have to pry on the back of it until it opens up enough to pop it off. Since the gauge body is plastic, you have to be careful not to break it by prying on it too hard.
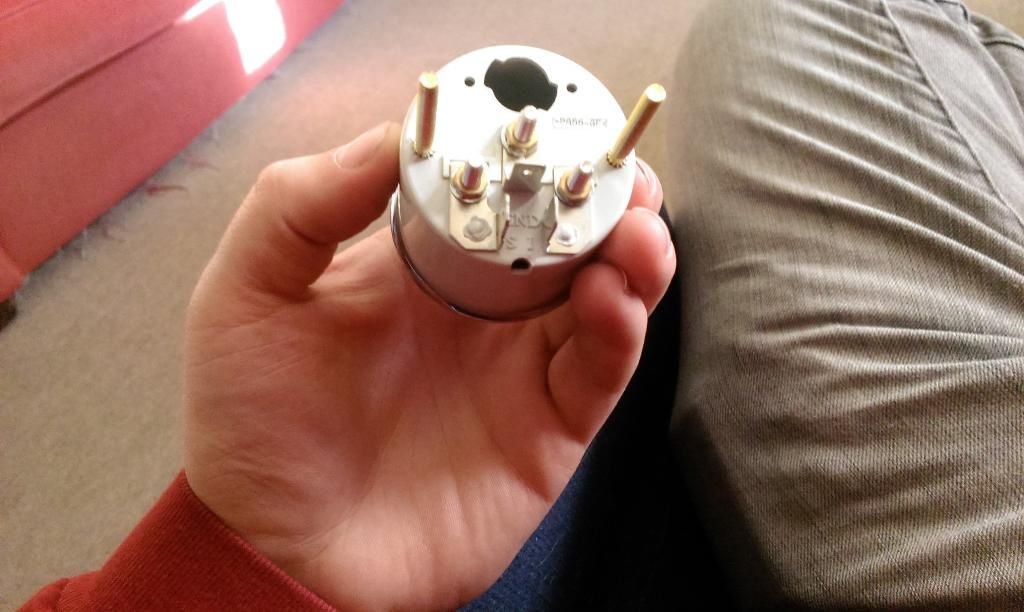
Here is what it looks like with the gauge body off. You could mount it without the body, but im going to keep the body since it has the back light built in and it is so close to the original hole size.
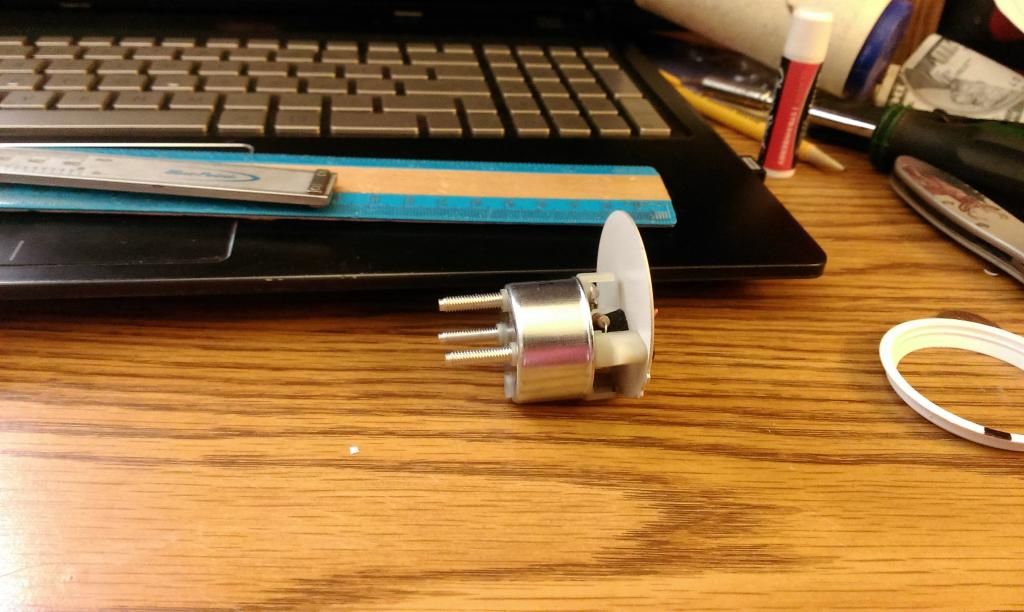
The original holes are just slightly smaller than the plastic body, so i had to file them a little bigger to get the gauge to fit.
Since the bottom two holes are partially covered by the cluster body, the gauge has to be put in from the back. This required removing the plastic lip on the front of the gauge body.
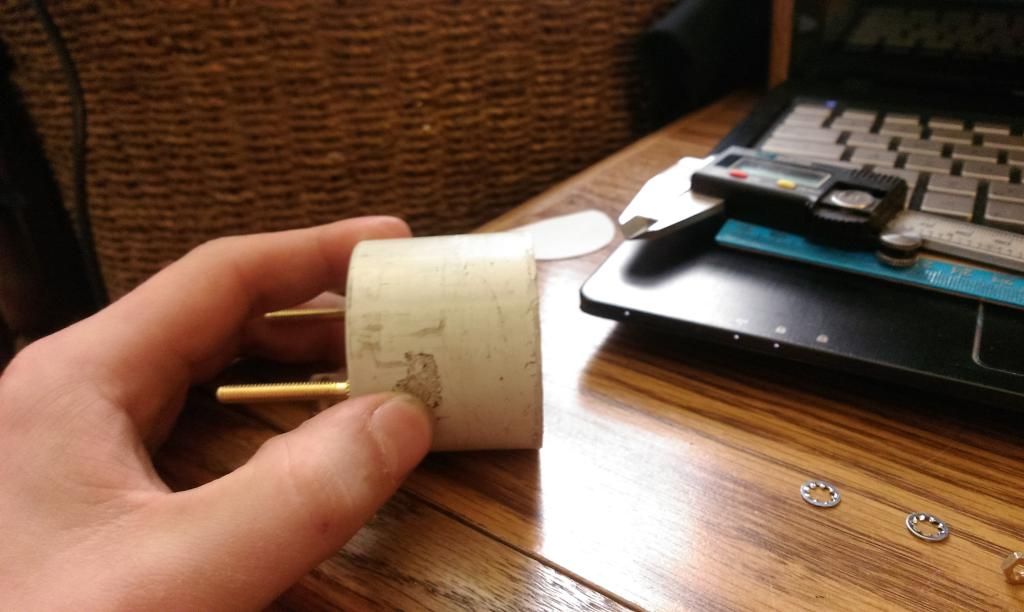
Also, since the OD of the gauge body is actually bigger at the front than the back, the gauge has to be squeezed slightly to get it to fit into original hole. I left the gauge internals out of the body so I wouldn't damage them. Once the body was in, the internals can go back in.
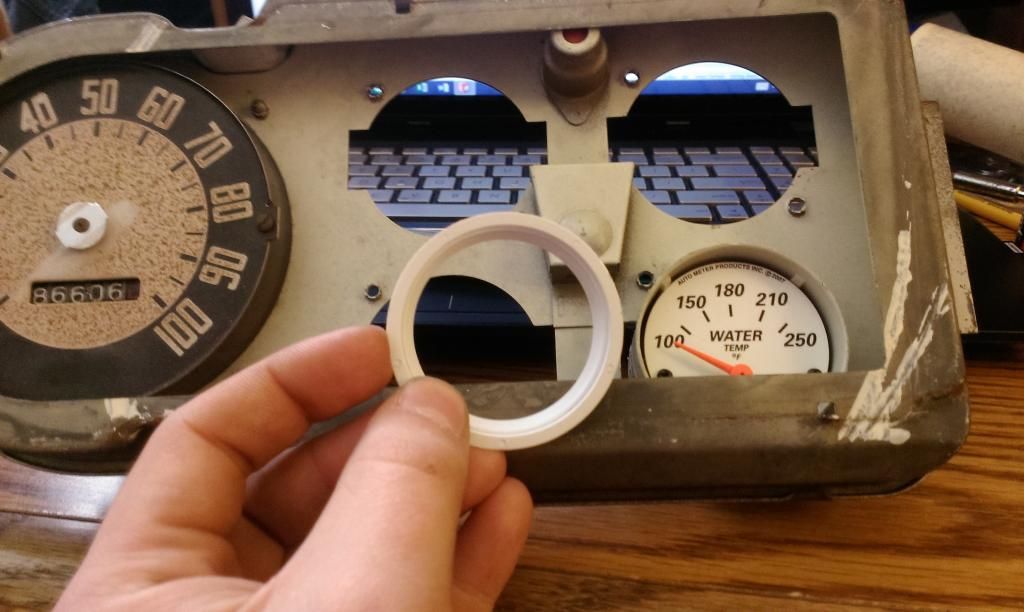
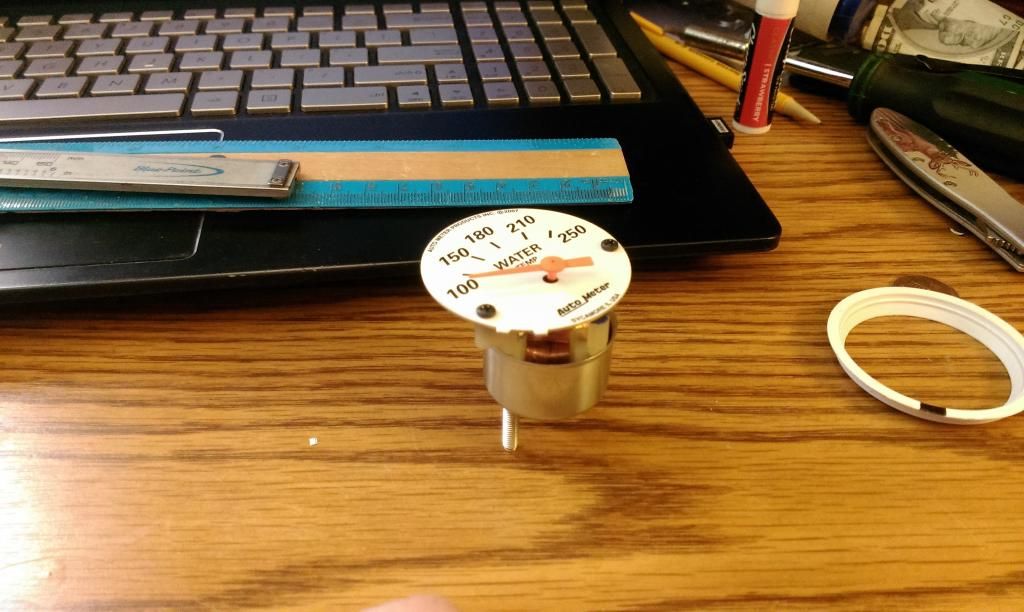
I'm going to pant that white ring black to gain the two tone original look. I am also considering painting the middle of the gauge black similar to how my hand drawing was, but im not sure if i want to loose the labels in the center of the gauge.
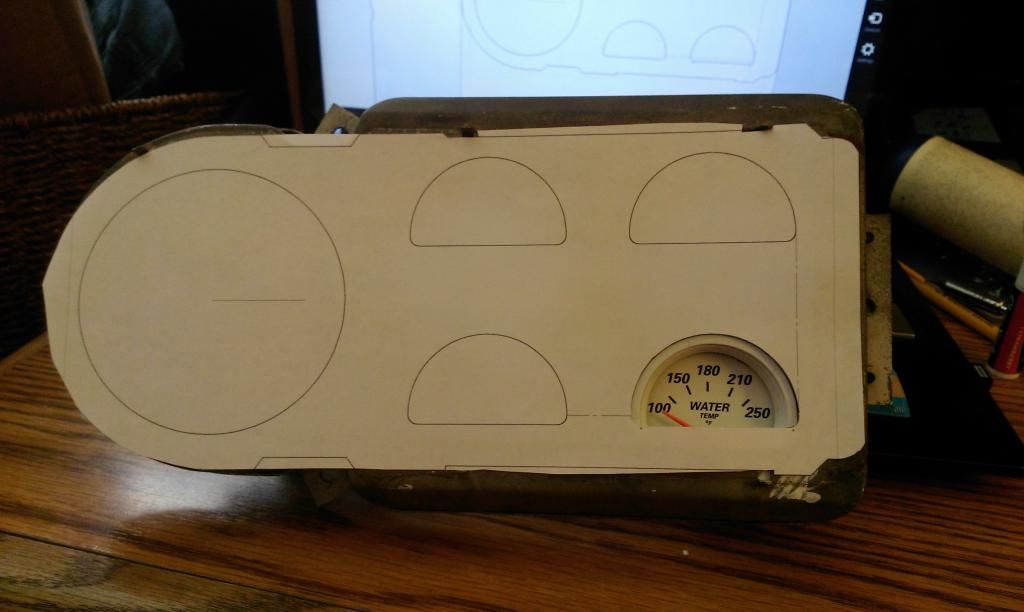
Here is the gauge and ring in with a print out of my CAD drawing. The measurement of this hole appears to be correct. My next move will be to file the upper left hole to get the gauge in and check my spacing on the holes.
Here it is fresh out of the box. I felt bad about taking it since it was brand new, but that was why i bought it.


The chrome bezel is crimped on from the back. To remove it, you have to pry on the back of it until it opens up enough to pop it off. Since the gauge body is plastic, you have to be careful not to break it by prying on it too hard.
Here is what it looks like with the gauge body off. You could mount it without the body, but im going to keep the body since it has the back light built in and it is so close to the original hole size.


The original holes are just slightly smaller than the plastic body, so i had to file them a little bigger to get the gauge to fit.
Since the bottom two holes are partially covered by the cluster body, the gauge has to be put in from the back. This required removing the plastic lip on the front of the gauge body.


Also, since the OD of the gauge body is actually bigger at the front than the back, the gauge has to be squeezed slightly to get it to fit into original hole. I left the gauge internals out of the body so I wouldn't damage them. Once the body was in, the internals can go back in.

I'm going to pant that white ring black to gain the two tone original look. I am also considering painting the middle of the gauge black similar to how my hand drawing was, but im not sure if i want to loose the labels in the center of the gauge.
Here is the gauge and ring in with a print out of my CAD drawing. The measurement of this hole appears to be correct. My next move will be to file the upper left hole to get the gauge in and check my spacing on the holes.
