When you click on links to various merchants on this site and make a purchase, this can result in this site earning a commission. Affiliate programs and affiliations include, but are not limited to, the eBay Partner Network.
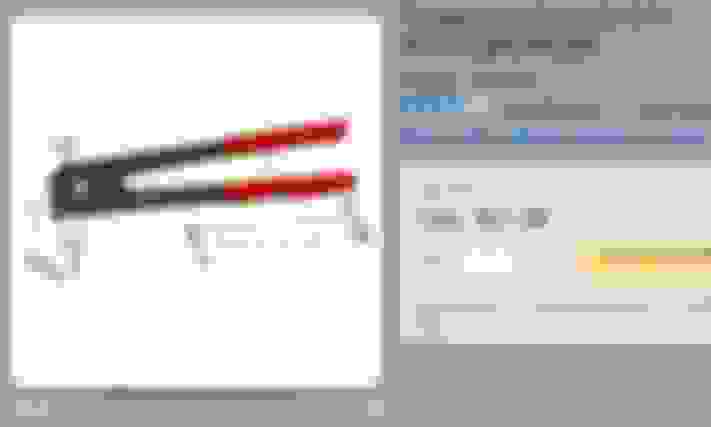
My friend Jason (HKusp) is having an issue with his 42-pin connector (above the driver-side valve cover). The bolt is stripped, and he can't pull the connector apart. While on the phone with him, I inspected the harness on an OBS engine project I'm in the middle of. My connector is broken, so I had no compunction about experimenting with it. The back of the connector came off easily enough (including the silicone insulator), then I could see the dreaded threaded insert:
My first thought was to see if I could knock the brass threaded insert out, so I took a bolt of the correct diameter and started beating on it with a hammer (the subtle approach). This was a no-go.
I then had to engage the thinking part of my inner cave man, and I started testing to see what would happen if I took it apart as opposed to beating it with a rock.
So... If one can find a blank connector, they can repair the 42-pin connector instead of replacing the harness, heating up the soldering iron, or breaking out the crimp tool. One caveat - one had better make damn sure one doesn't mix up the order of the wires. Changing the firing order or crossing up a sensor can be bad juju. Have a wiring diagram on hand before tackling this, or take very detailed notes and take pictures.
To answer the question "Where do we get the connector blank?", I found this: [LINK]
To get the old connector apart, Jason may need to drill a pilot hole in the middle of the bolt, then just use bigger drill bits until the head pops off.
I read your thread on this before I posted - very helpful. I wasn't sure we could still gain easy access to "free" connectors this late in the game - so I found another source... to play it safe.
So when we were talking yesterday, you mentioned how well the back of the connector was insulated against the elements. If end up buying that 42 pin connector how difficult is it going to be to simulate the seal they use from the factory? As we talked about, these things are subjected to a very large range of temperatures as well as moisture and vibration. I would hate to think I compromised this connection as it has the potential of opening up a can of worms that I doubt I would ever be capable of or willing to resolve at that point.
Unless you have someone nearby that has these? $22 is a lot just to fix one connector.
FYI. I've found when drilling out metal inserts in plastic that the metal usually ends up spinning in the plastic as it heats and spins. Use the new one with epoxy smeared in the hole (None in the threads ) One option
I've had many a metal in plastic insert slip and start to spin and won't tighten or remove. But not many strip the actual threads.
Now this part is entirely up to you and may not be appropriate for this situation, but this is what I've done in different situations.
A cordless drill with a socket driver and a wide screwdriver.
Spin the bolt counterclockwise at a slow rate. This heats up the plastic as the metal spins.
You can either stop after it heats a few seconds and remove the drill and stuff and wait for it to cool completely and it *may* harden to hold the insert.
Or, if you have my luck, the bolt is seized in the insert that caused the problem in the first place and you need to spin it a bunch while prying up on the head of the bolt (insert screwdriver under the head and twist while turning) and "melt" your way out of the connector.
It can destroy the connector, but many times it's nothing that epoxy can't fill- as long as it doesn't compromise any of the electrical connector sockets.
I don't know about these connectors, but most of the similar type inserts I've had trouble with were simply knurled on the outside. You might be able to cut some grooves in the outside, then do the epoxy thing. The grooves may or may not give enough extra hold (lips/wings/ledges) to keep it from spinning?
It's your choice how you handle it, use your head based on what you see and the options you have. It's not a perfect situation by any means.
Good luck and let us know what you do!
It will be interesting to see what other options are offered, too
Most of the cheaper ones are more like a shallow checkering, but you can understand how spinning can heat and melt/grind/bore their way out of a hole.
It the connection was physical instead of an electrical connector, you could try a heavy soldering iron to heat the connector until it gets loose, then let it cool while holding in place to "repair" the sheared off plastic in the grooves, but don't think that is an option here.
If I put a 10mm socket and ratchet on the bolt head, you get feedback like it is loosening, but it will spin for 10 minutes and never come apart.
I'll bet the bolt is seized a bit and the insert is spinning.
Try the cordless with the socket adapter. Not too much, and hold it perfectly straight, you don't want to wobble.
If you can get it warm for about 20 secs (guess!), then let it cool all the way, you *might* be able to get it to grip enough to break loose the bolt and remove the plug. Then you can deal with whatever to repair the connector after it is removed.
Again, use your own judgement. Sometimes I go with, "It's broken now. Either it will let me fix it or break it more," approach
Thank you for sharing that technique. I will give it a try, might be a while before I do,(maybe this weekend) but I will look this thread back up and report back what happens.
So when we were talking yesterday, you mentioned how well the back of the connector was insulated against the elements. If end up buying that 42 pin connector how difficult is it going to be to simulate the seal they use from the factory?....
The new blank comes with the same seal. The old seal should fit in the new blank, this would have the added benefit of not needing to disturb the order of the conductors. Your call.
The new blank comes with the same seal. The old seal should fit in the new blank, this would have the added benefit of not needing to disturb the order of the conductors. Your call.
Good call, Rich.
With a 42 pin connector, it's best to eliminate all the chances of a mistake...
Rezvani's Latest Post-Apocalytic Monster Is a Ford F-150 Raptor Underneath
Slideshow: Called the Fortress, the 850-horsepower pickup combines Raptor underpinnings with military-inspired features, survival equipment, and a starting price of $285,000.


 ) One option


