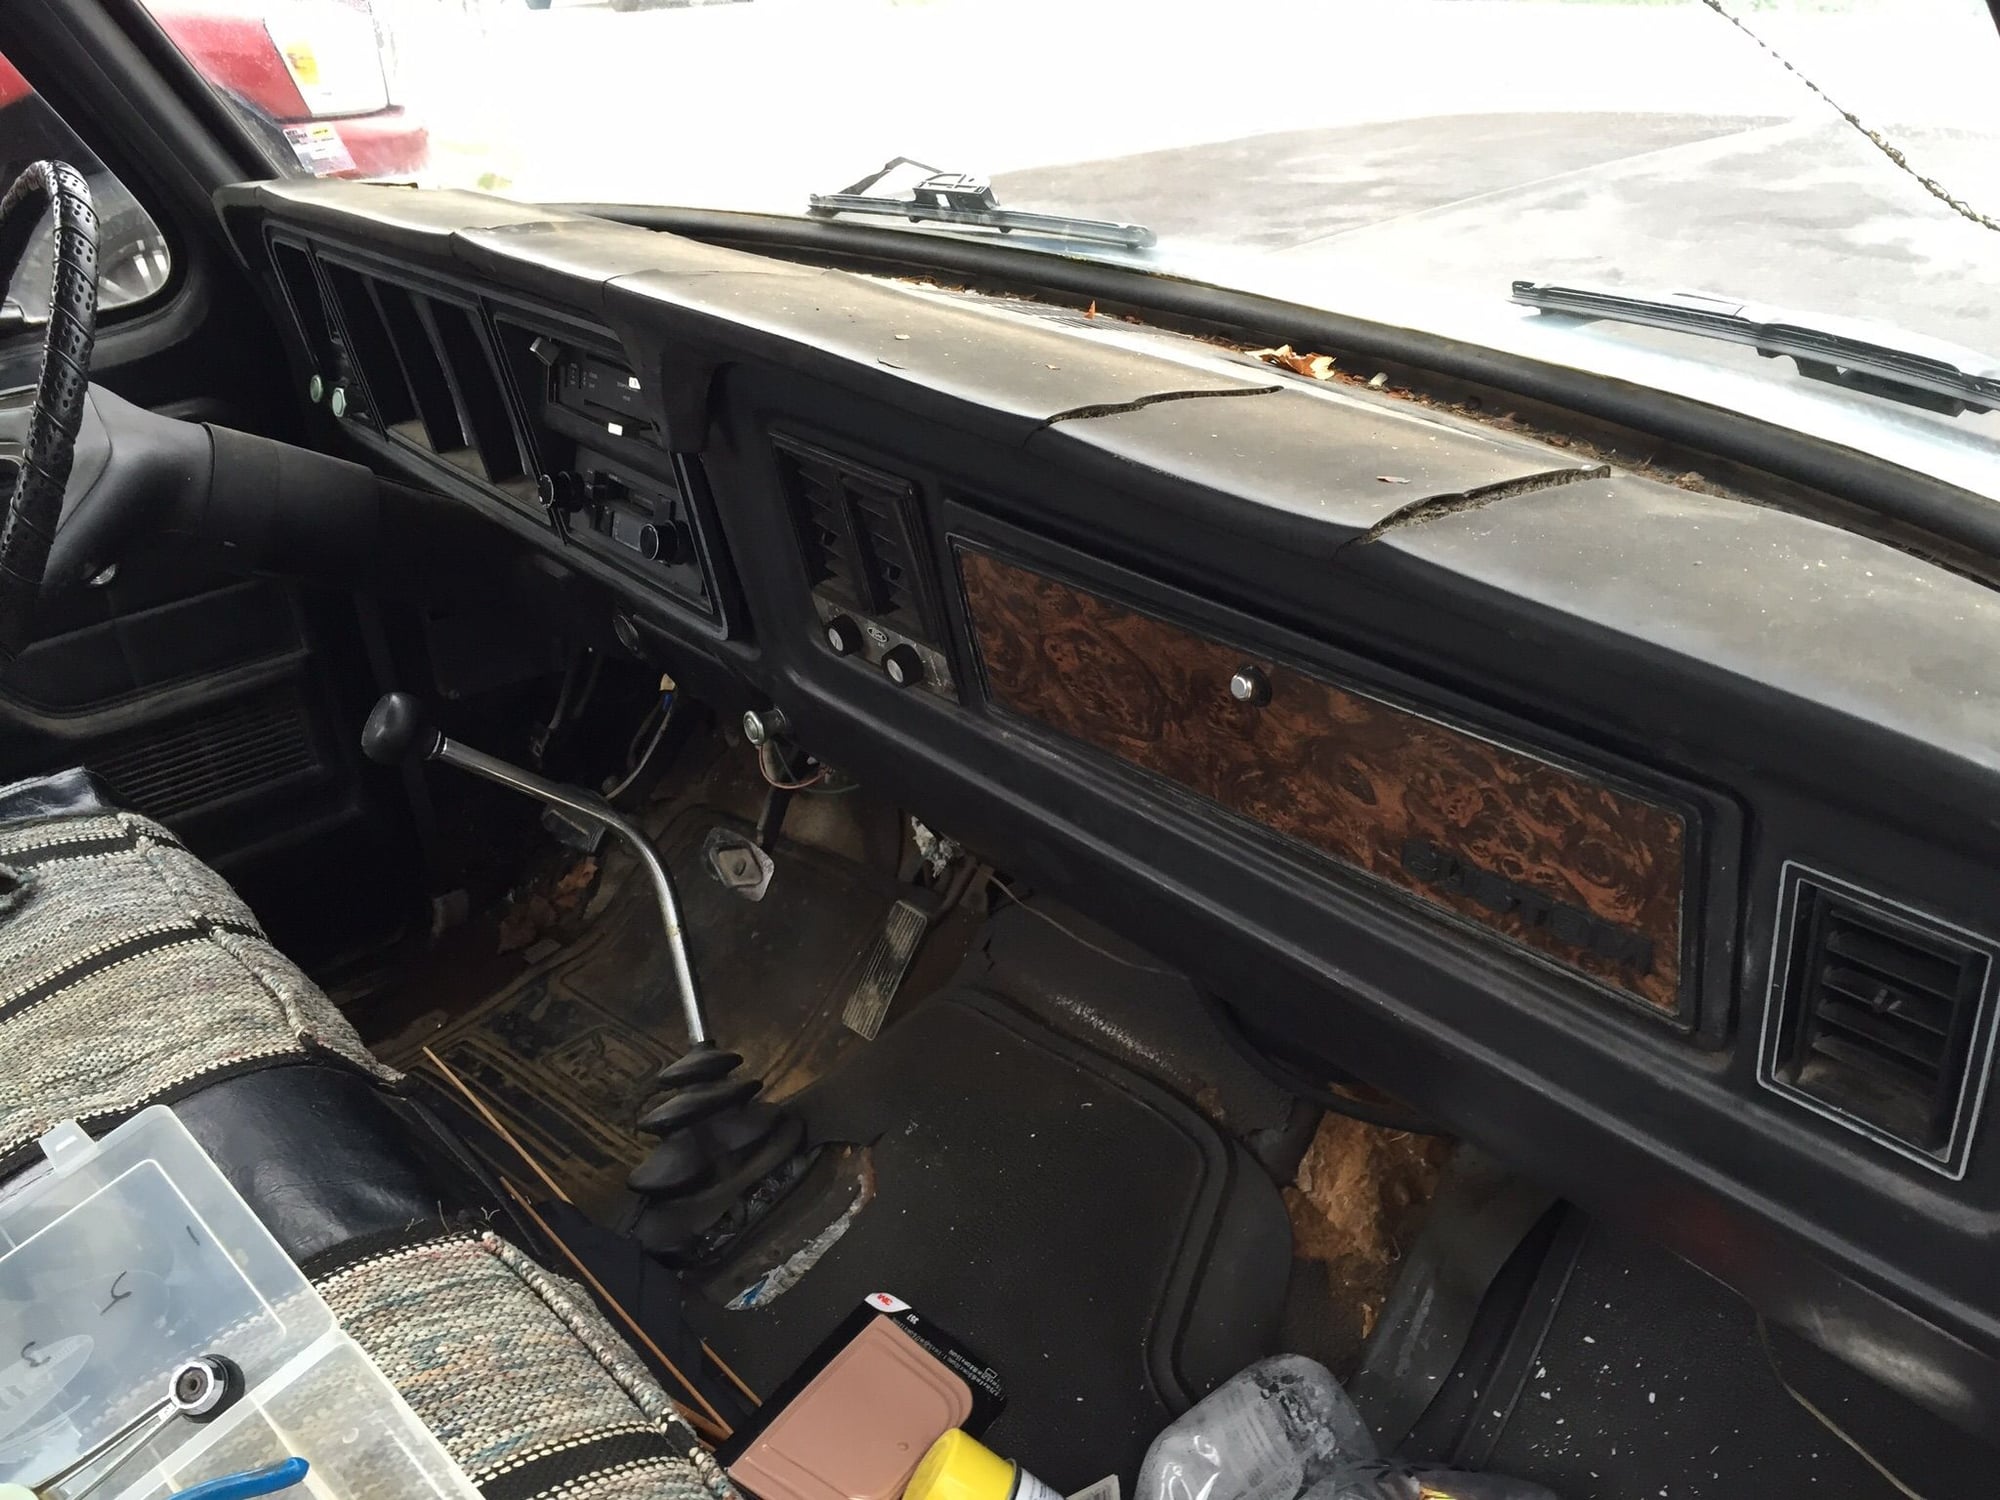
Grill shell removal 1979 F150
#2
https://www.ford-trucks.com/forums/8...ill-shell.html
This should help some.
Doing an advanced search should yield all the info you need.
This should help some.
Doing an advanced search should yield all the info you need.
#3
https://www.ford-trucks.com/forums/8...ill-shell.html
This should help some.
Doing an advanced search should yield all the info you need.
This should help some.
Doing an advanced search should yield all the info you need.
#4
Remove front bumper. 4 bolts.
Phillips screwdriver or battery powered drill
Remove the inner one piece insert. Screws
Remove the head light bezels. Plastic outer part only. Screws
Remove front fender park light lens and twist disconnect the bulb piece out of the lens. Trust me for later on.
Look up in behind the plastic fenderwell liner to get an eye on the bolts, it might be easier to remove it all together to have easy access to the bolts.
Start on the bottom and work your way up.
Use the park light lens hole to get to the very top one, go in the hole with a swivel joint and an extension.
Open hood, inner and outer flat brackets leave on the core support.
Push out the black air deflector rubber piece mount buttons.
Turning signal bulb brackets twist and remove.
Best I can remember.
Of course with a 2 piece grill insert, you have to do a little more. Parts were flying off that truck.
#5
Phillips screwdriver or battery powered drill.
Remove front bumper. 4 bolts
Remove the inner one piece insert. Screws
Remove the head light bezels. Plastic outer part only. Screws
Remove front fender park light lens and twist disconnect the bulb piece out of the lens. Trust me for later on.
Look up in behind the plastic fenderwell liner to get an eye on the bolts, it might be easier to remove it all together to have easy access to the bolts.
Start on the bottom and work your way up.
Use the park light lens hole to get to the very top one, go in the hole with a swivel joint and an extension.
Open hood, inner and outer flat brackets leave on grill shell and remove bolts the hold the flat brackets to the core support.
Push out the black air deflector rubber piece mount buttons.
Best I can remember.
Thats where I had to stop today. I'm going to have to cut those bolts, which is no big deal since I'll be ordering a new bumper.
This started out as simply putting a new thermostat in today and I was going to wait for consistent warmer weather to start the engine bay restoration. But it hit 55 degrees today and now I've pulled the inner plastic grill, headlight bezels, unused AC compressor and brackets, radiator, distributor, water pump, etc., started degreasing and cleaning up the wiring...
Funny how that happens.

Thanks again!
#6
#7
Trending Topics
#8
Yep. I had a bunch of those plastic tackle box insert boxes and zip locks. I'm putting them to good use!
#9
#10
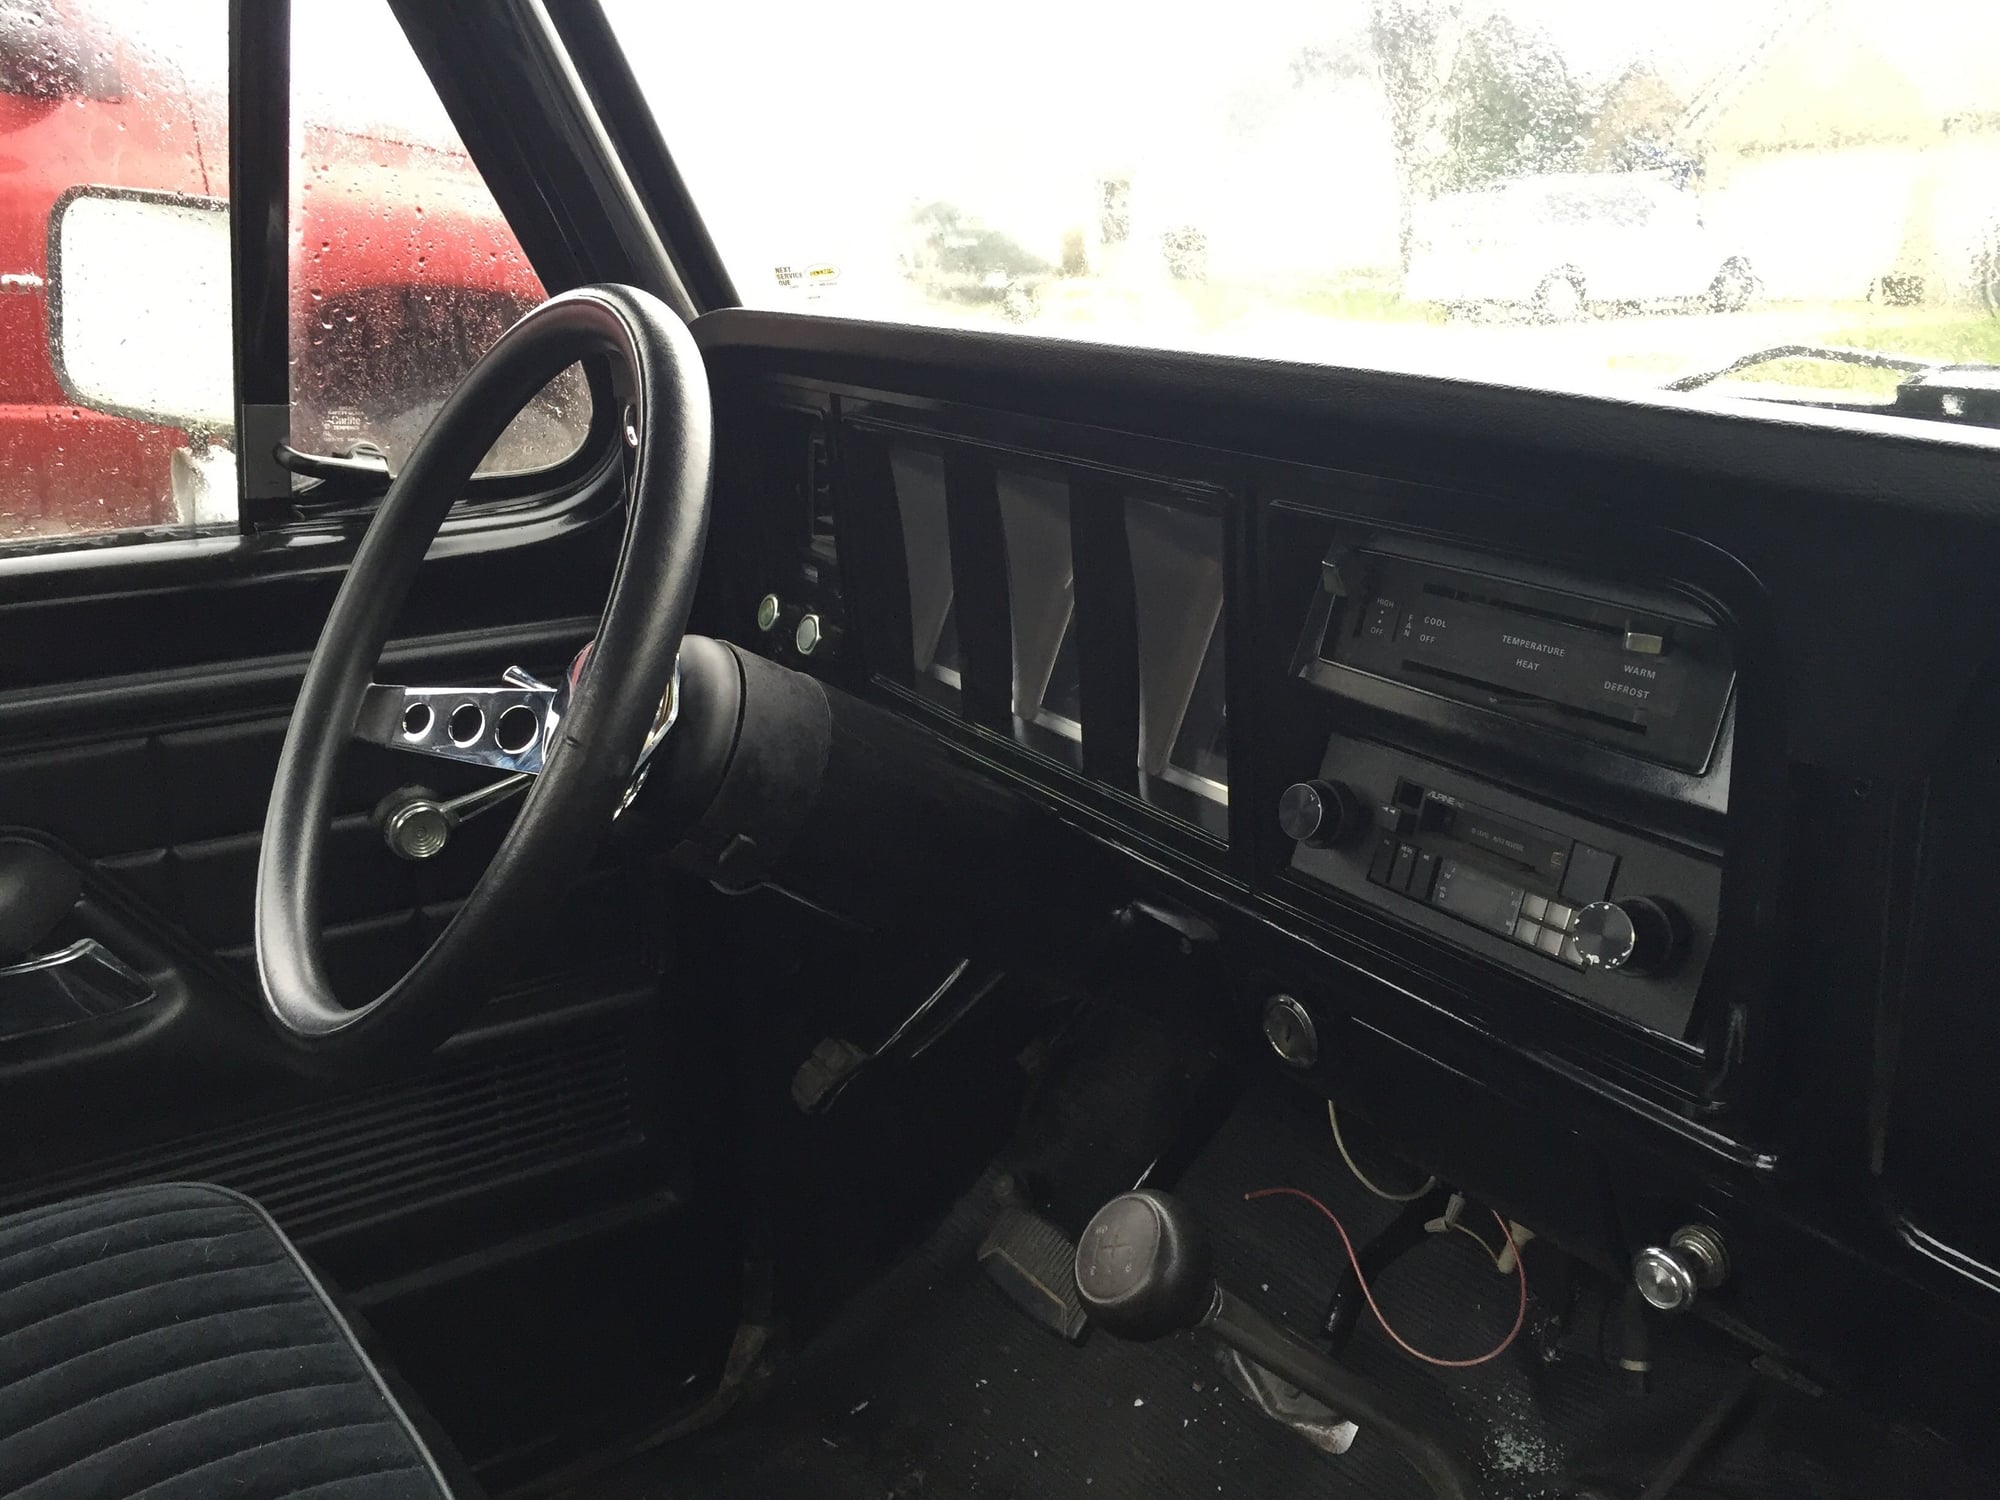
Nice, that's a beast! Mine had that Alpine in it when I bought it and I decided to keep it.
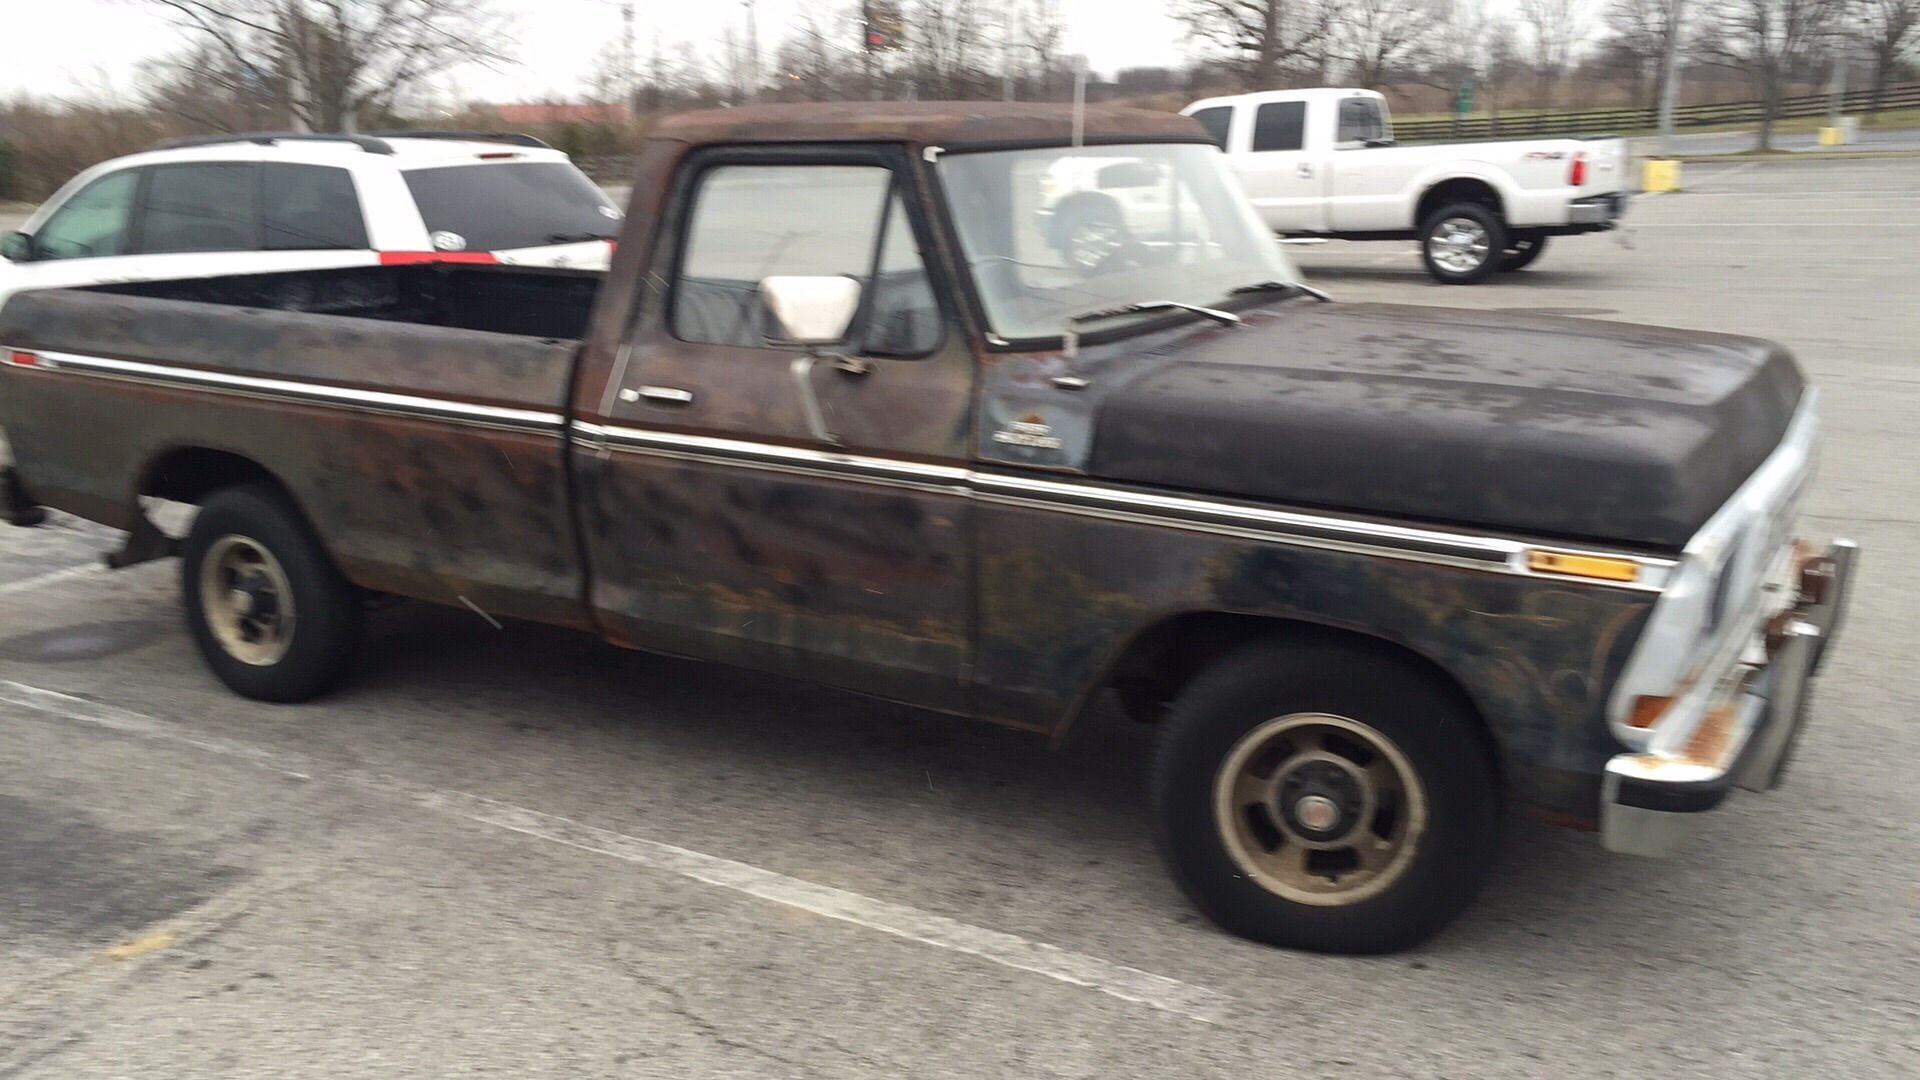
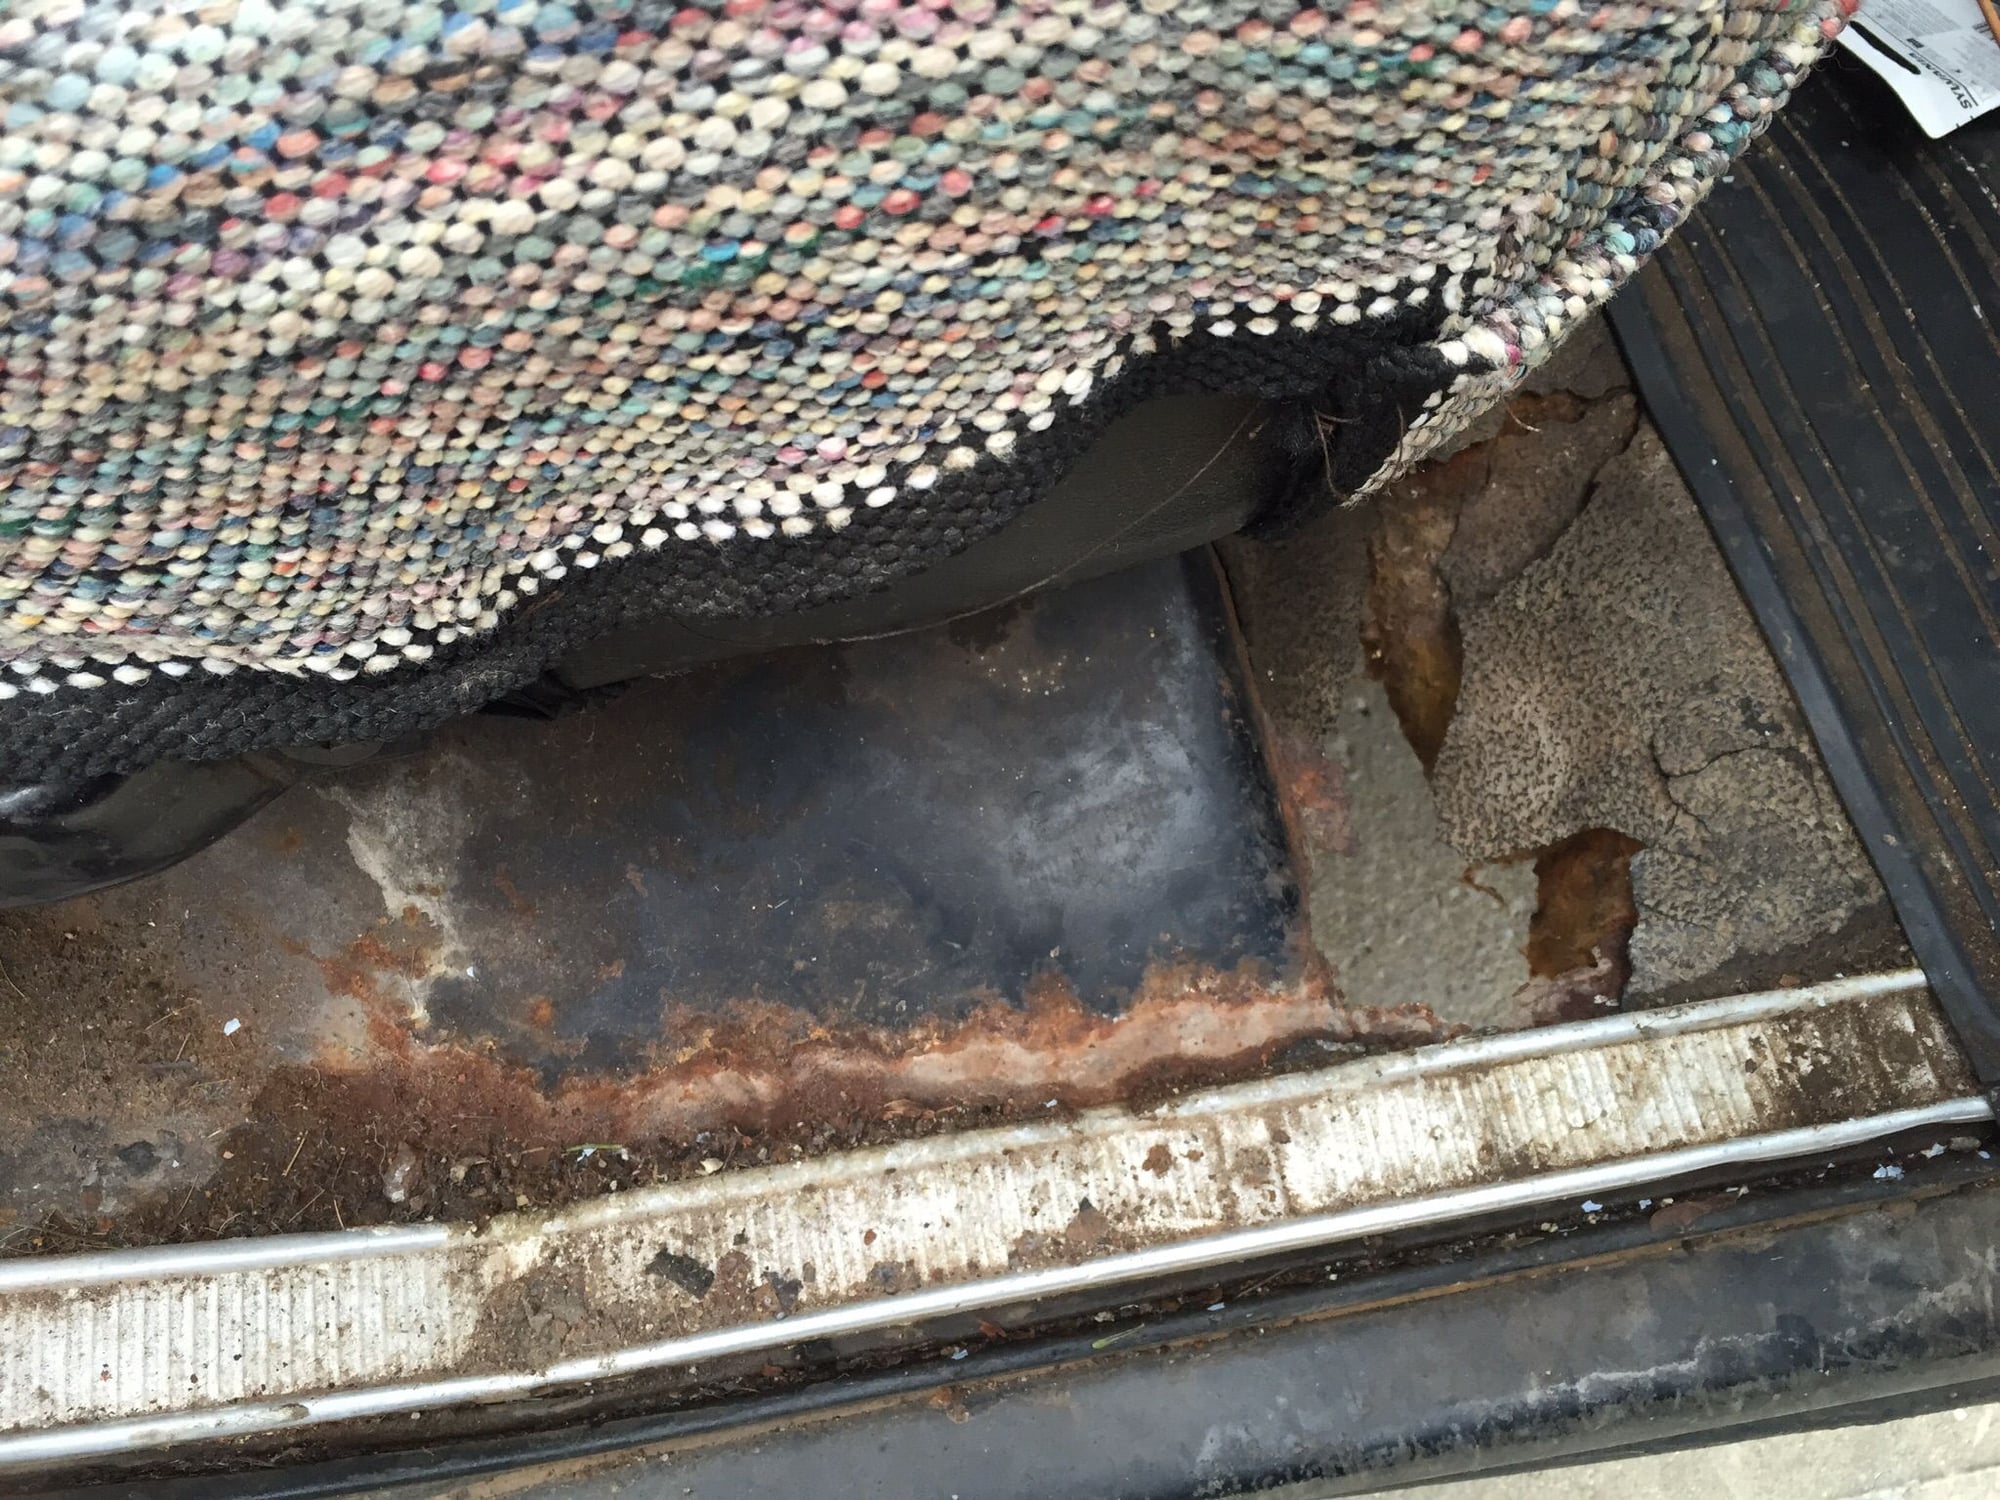
I'm not going to paint mine. The body is rock solid, even the drivers side bed panel (which is notorious for rust on these from what I hear).
I plan on cleaning off all the surface rust with CLR, painting the custom pin striping back on her and clear coating with a matte clear.
I'm not going to paint mine. The body is rock solid, even the drivers side bed panel (which is notorious for rust on these from what I hear).
I plan on cleaning off all the surface rust with CLR, painting the custom pin striping back on her and clear coating with a matte clear.
#11
Thread
Thread Starter
Forum
Replies
Last Post
John 97f350
1987 - 1996 F150 & Larger F-Series Trucks
7
03-05-2010 10:58 PM


