


Rob's new engine (Pictures!)
Thread Starter
|
Postmaster
Joined: Dec 2011
Posts: 3,860
Likes: 7
Rob's new engine (Pictures!)
My DD( http://robbiethe1st.afraid.org/image...130519_007.jpg ) has been getting a facelift for the last two months.
The motor started to go -- lack of power, puffing smoke under heavy load, sounding like it was running on 7 -- so, after replacing the IP and injectors and not improving the situation much, I got the block & heads rebuilt.
Have some pictures!
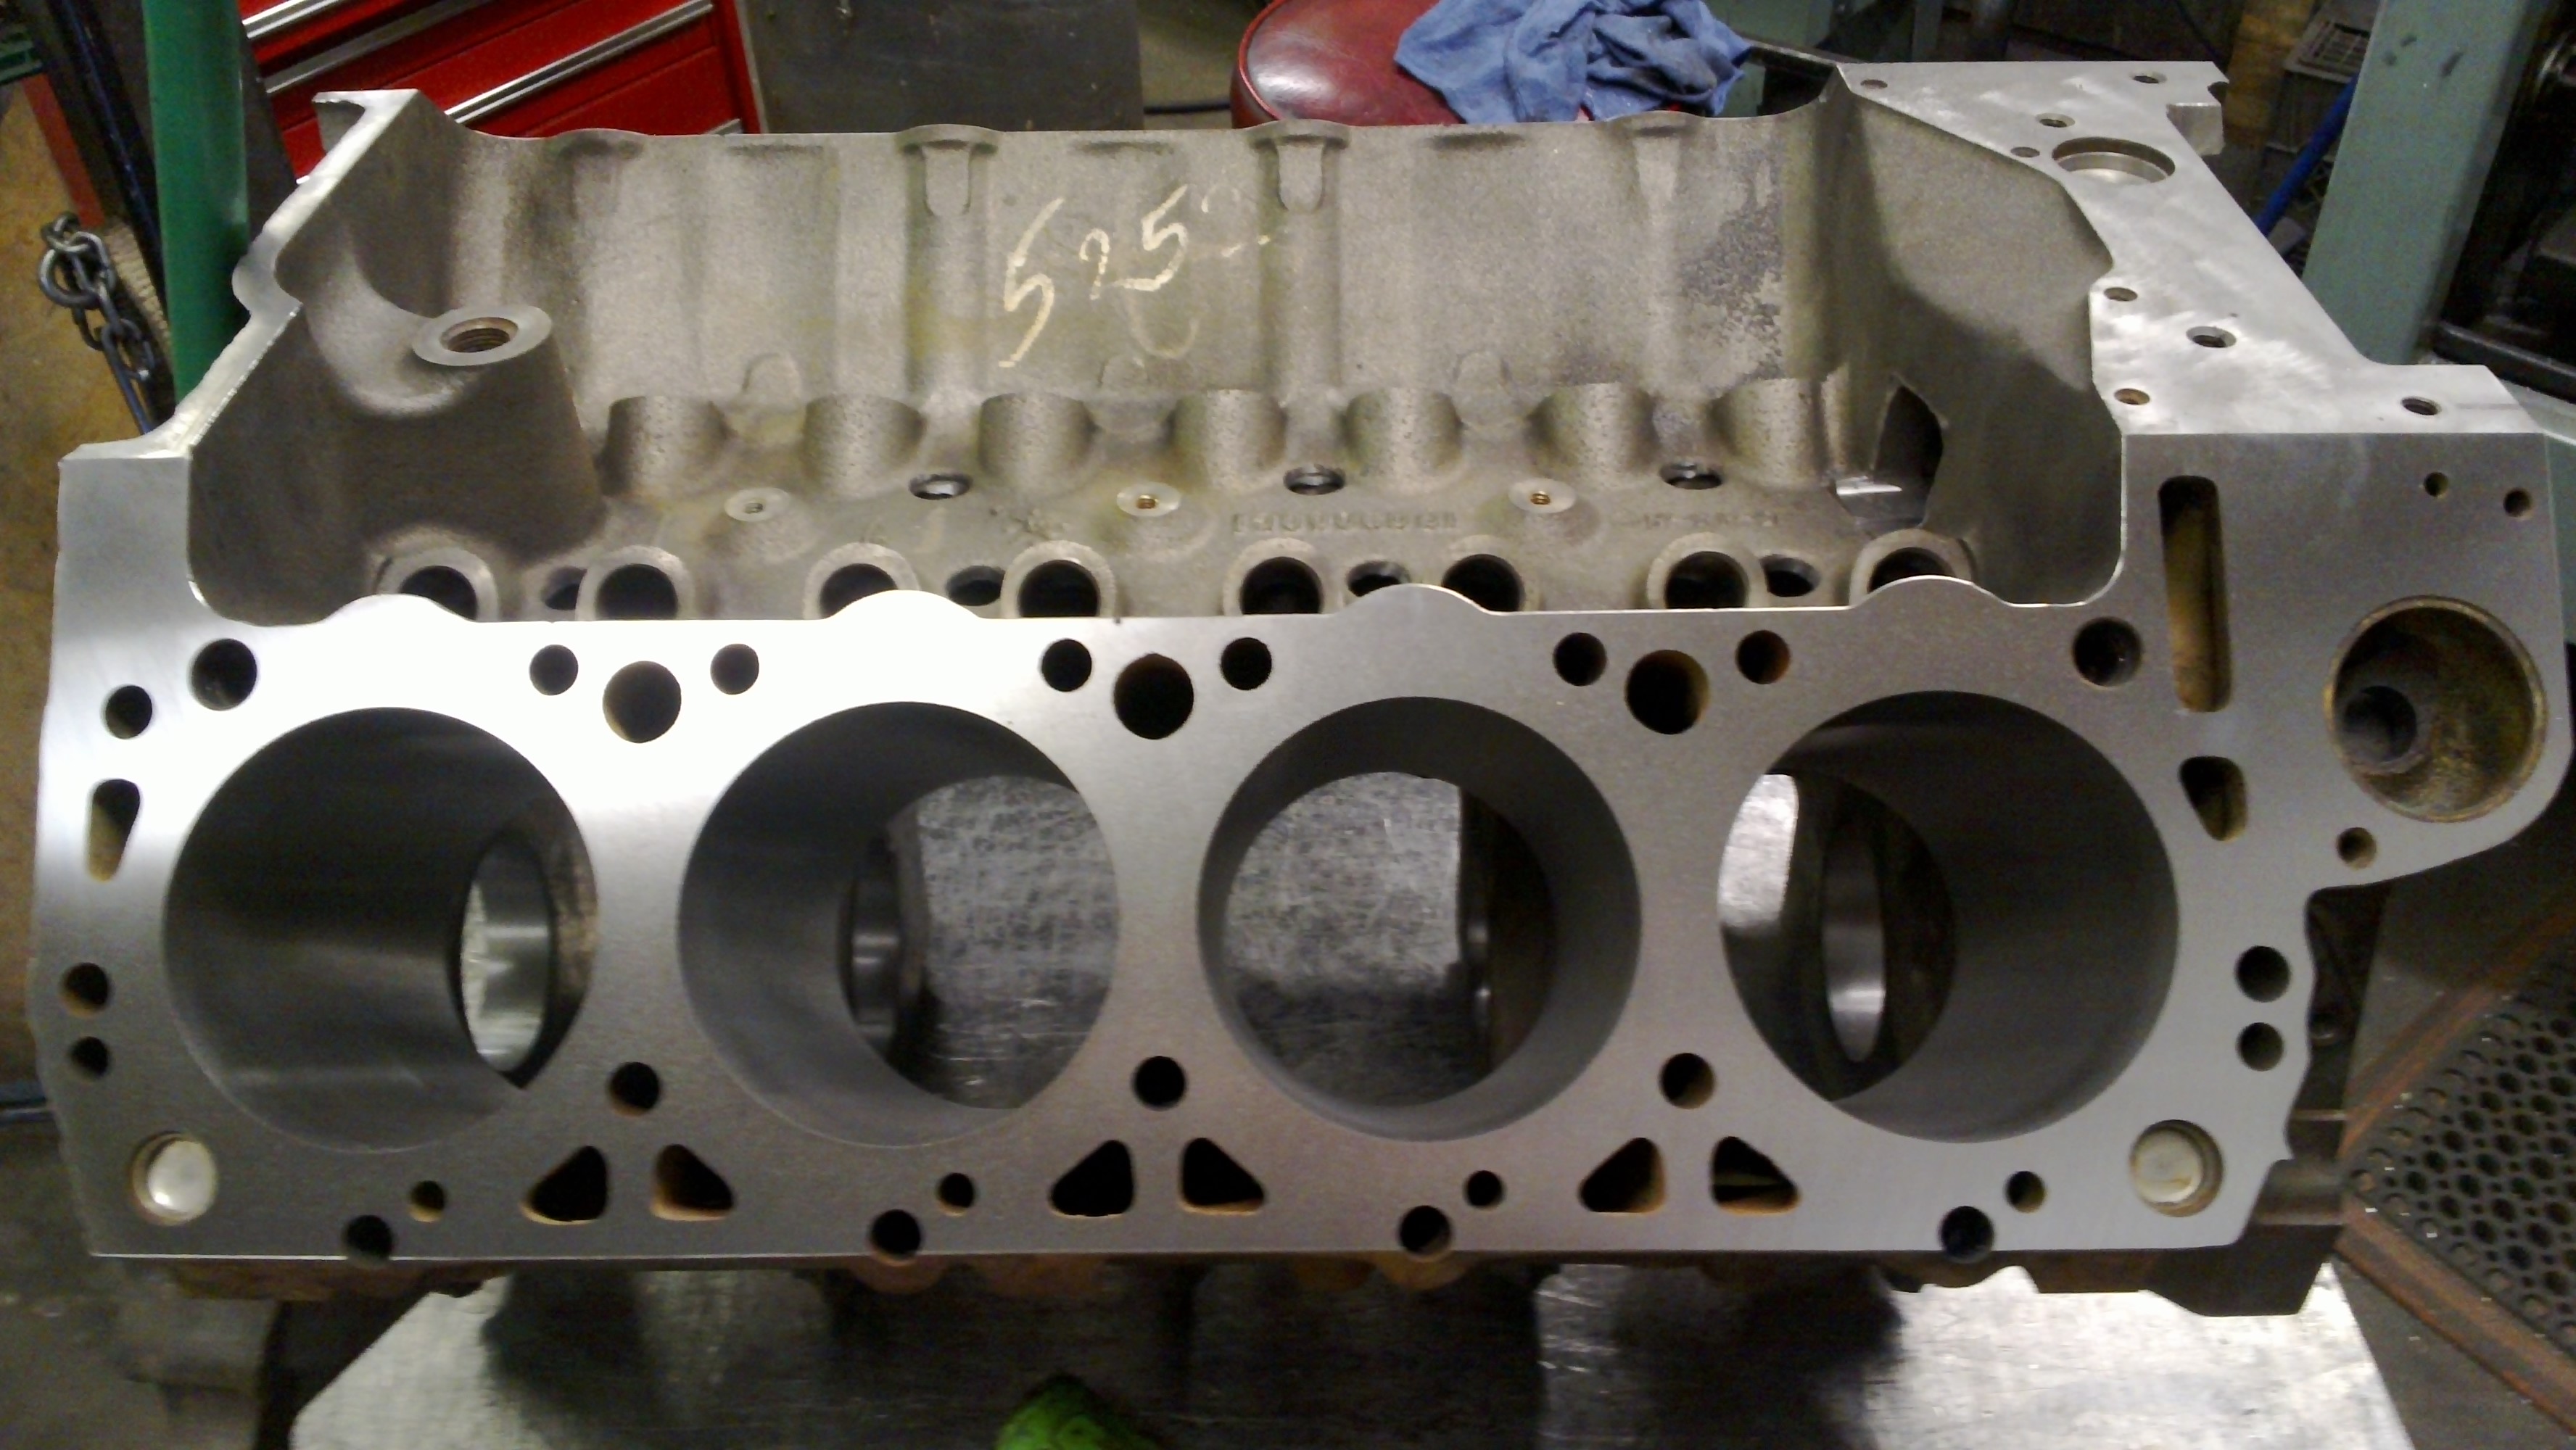
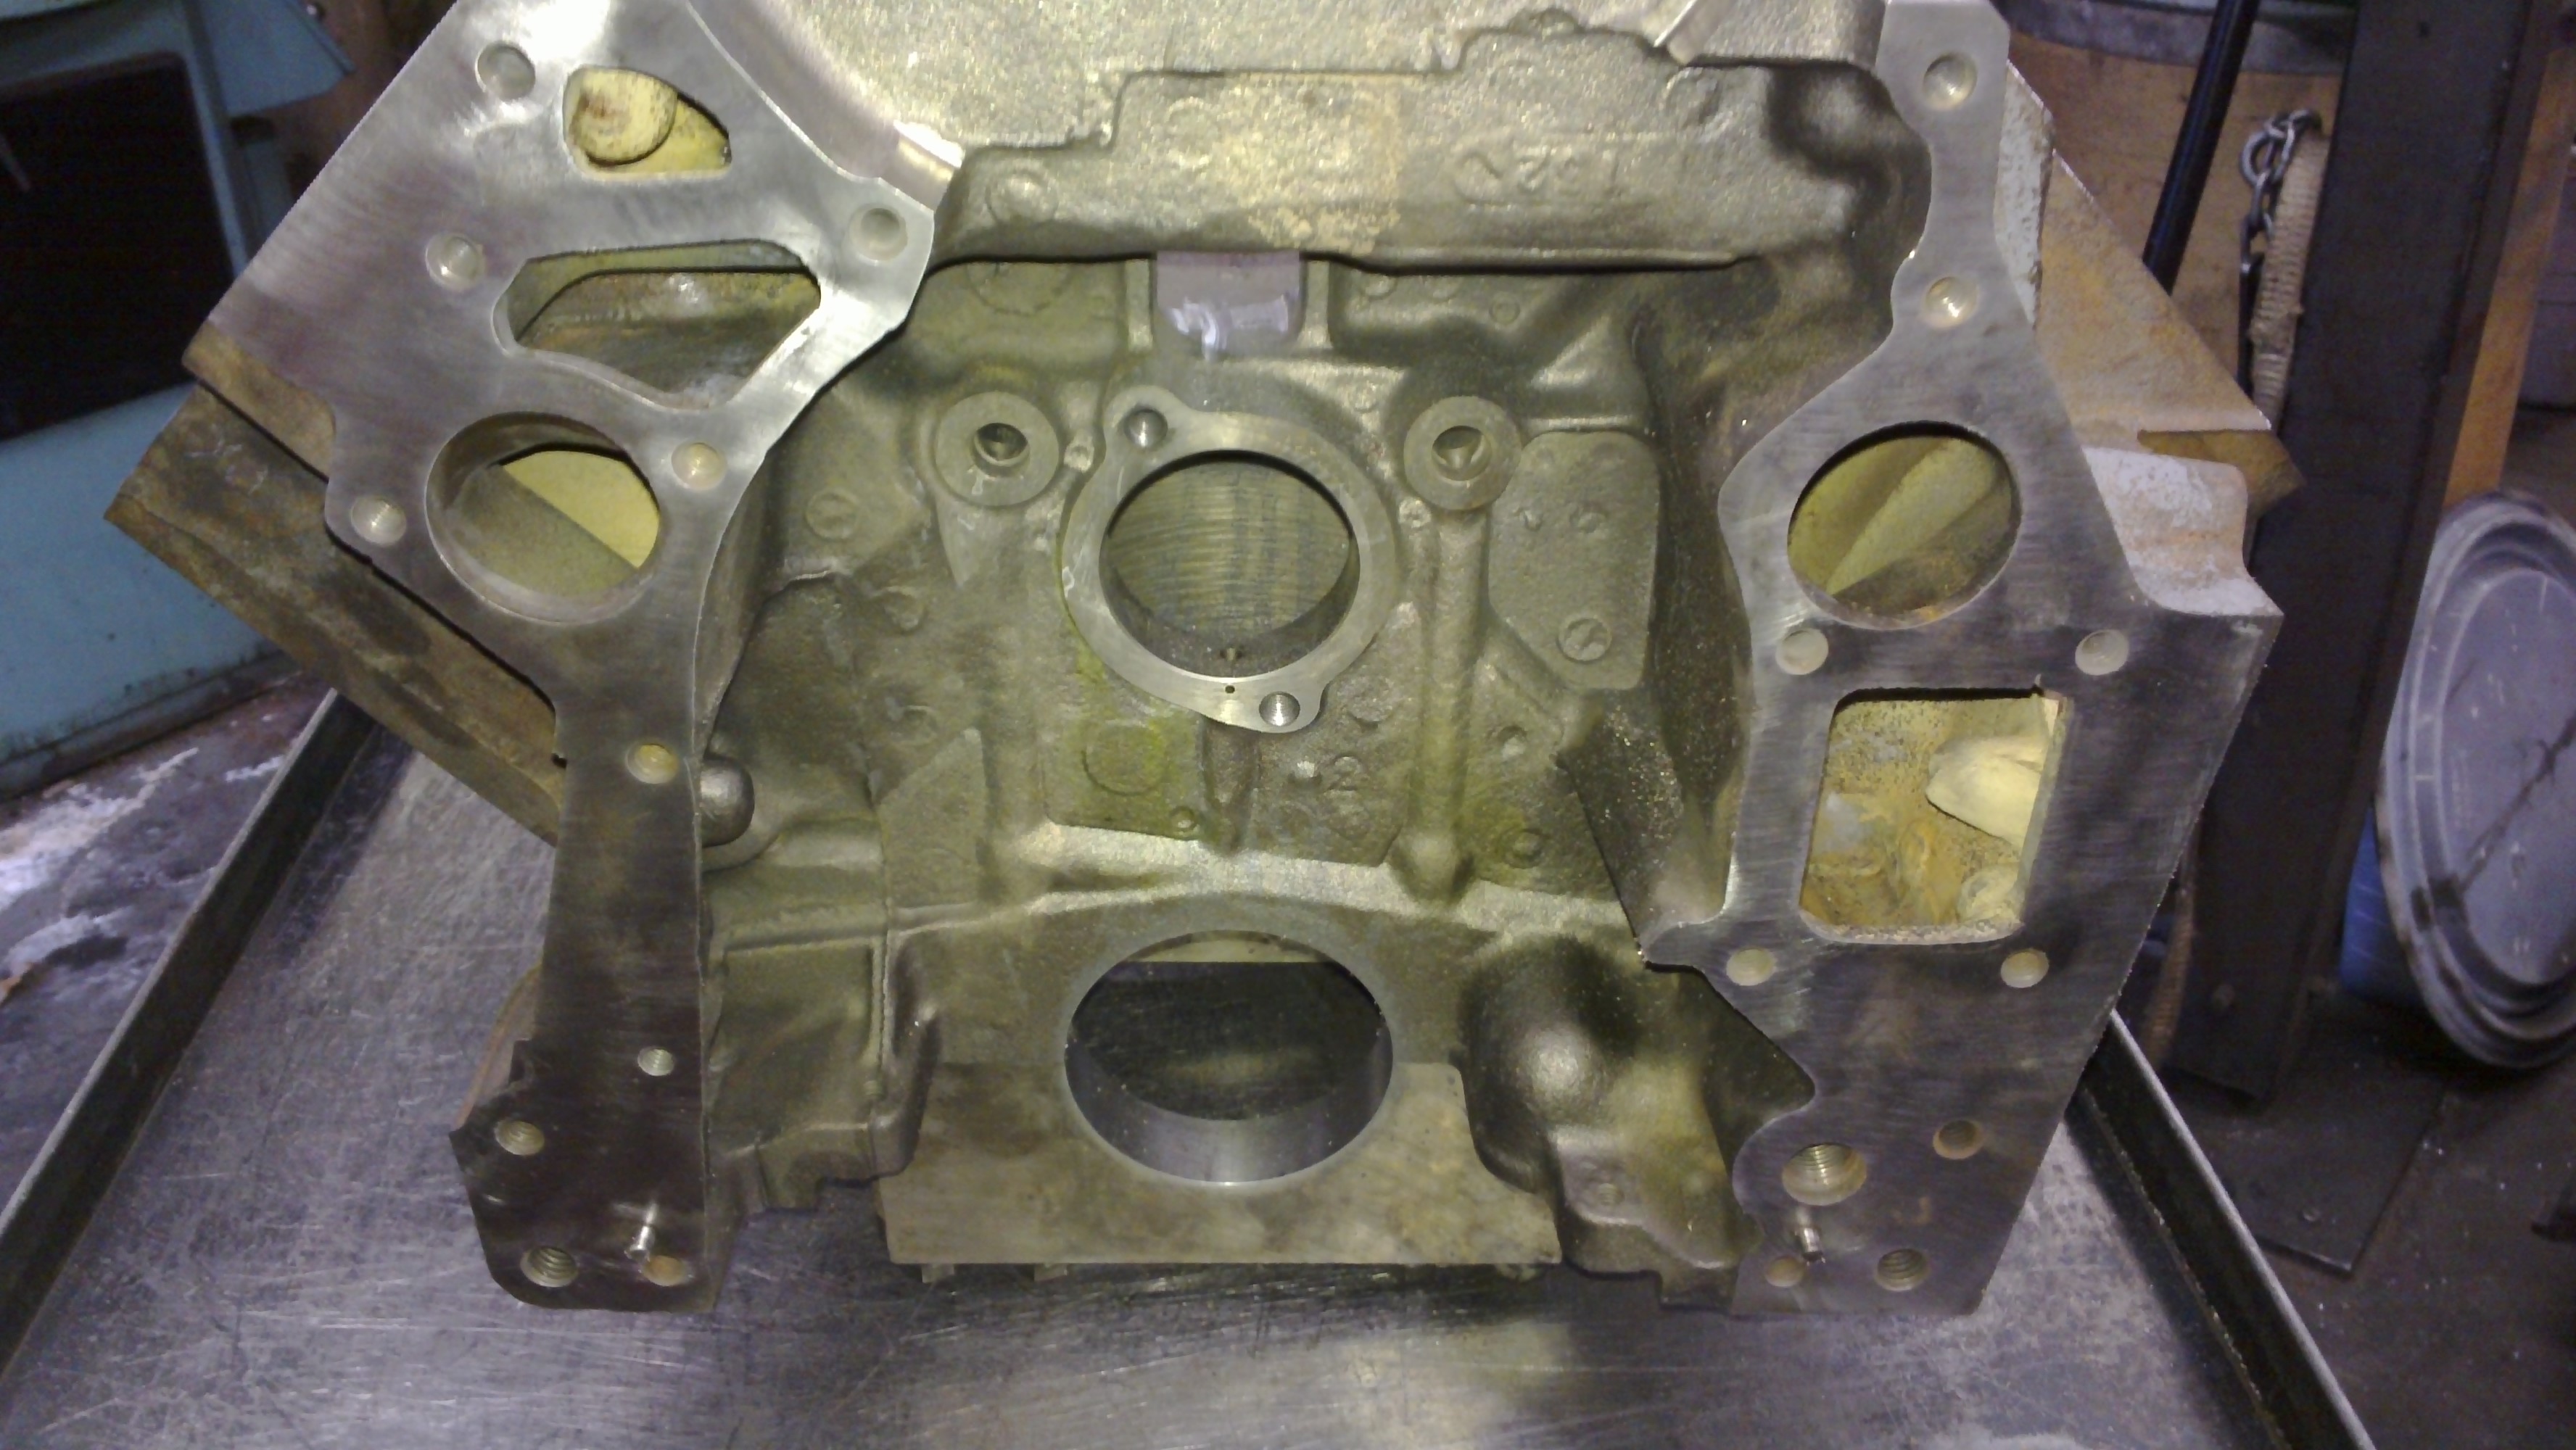
All nice and bored.
My rebuilder -- Engine Shop | Sandpoint, ID | M&S Engine Works told me that the block had about a 10-thou lip at the top actually worn into the bore. I'd thought that lip was carbon, but wow.
They had to bore them .030 over to clean them up, but they all cleaned up nicely.
No sleeves needed.
The block was decked .010, cleaned right up.
It took about a month to get from that stage to engine rebuilt and heading home with me. I only had them install the heads(that way I was sure the clearances were right); everything else I figured I could do easily.
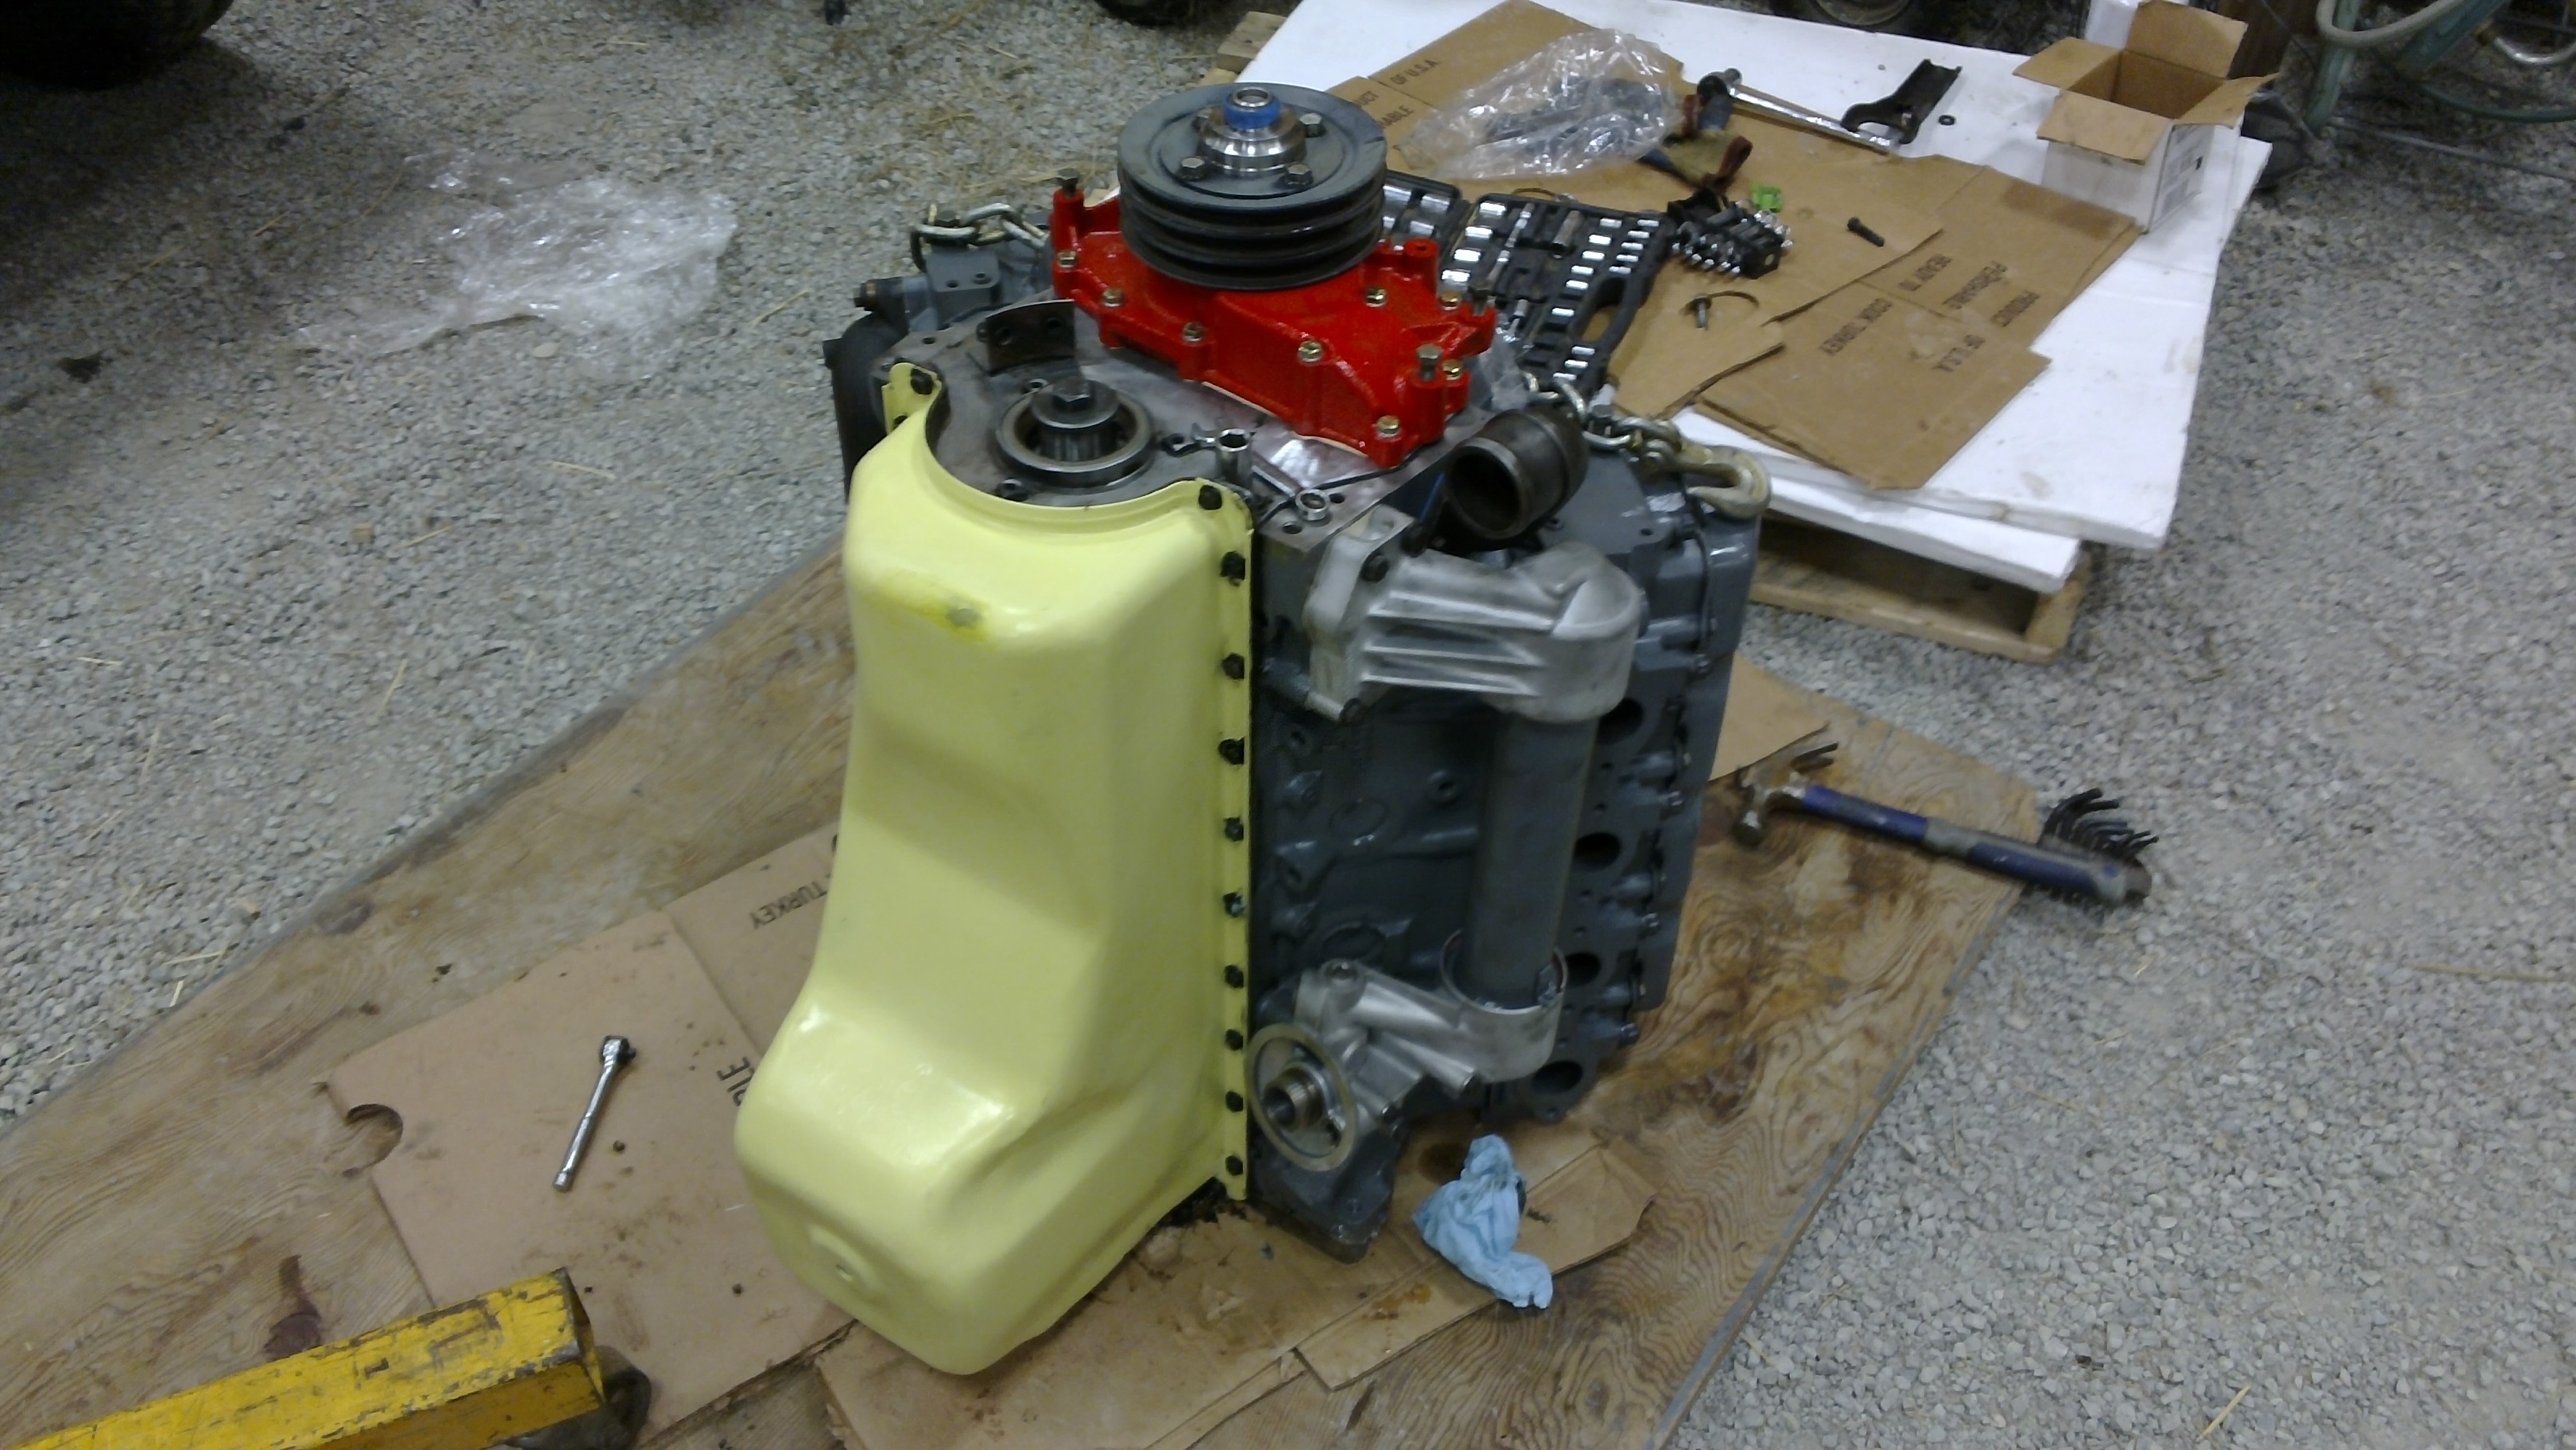
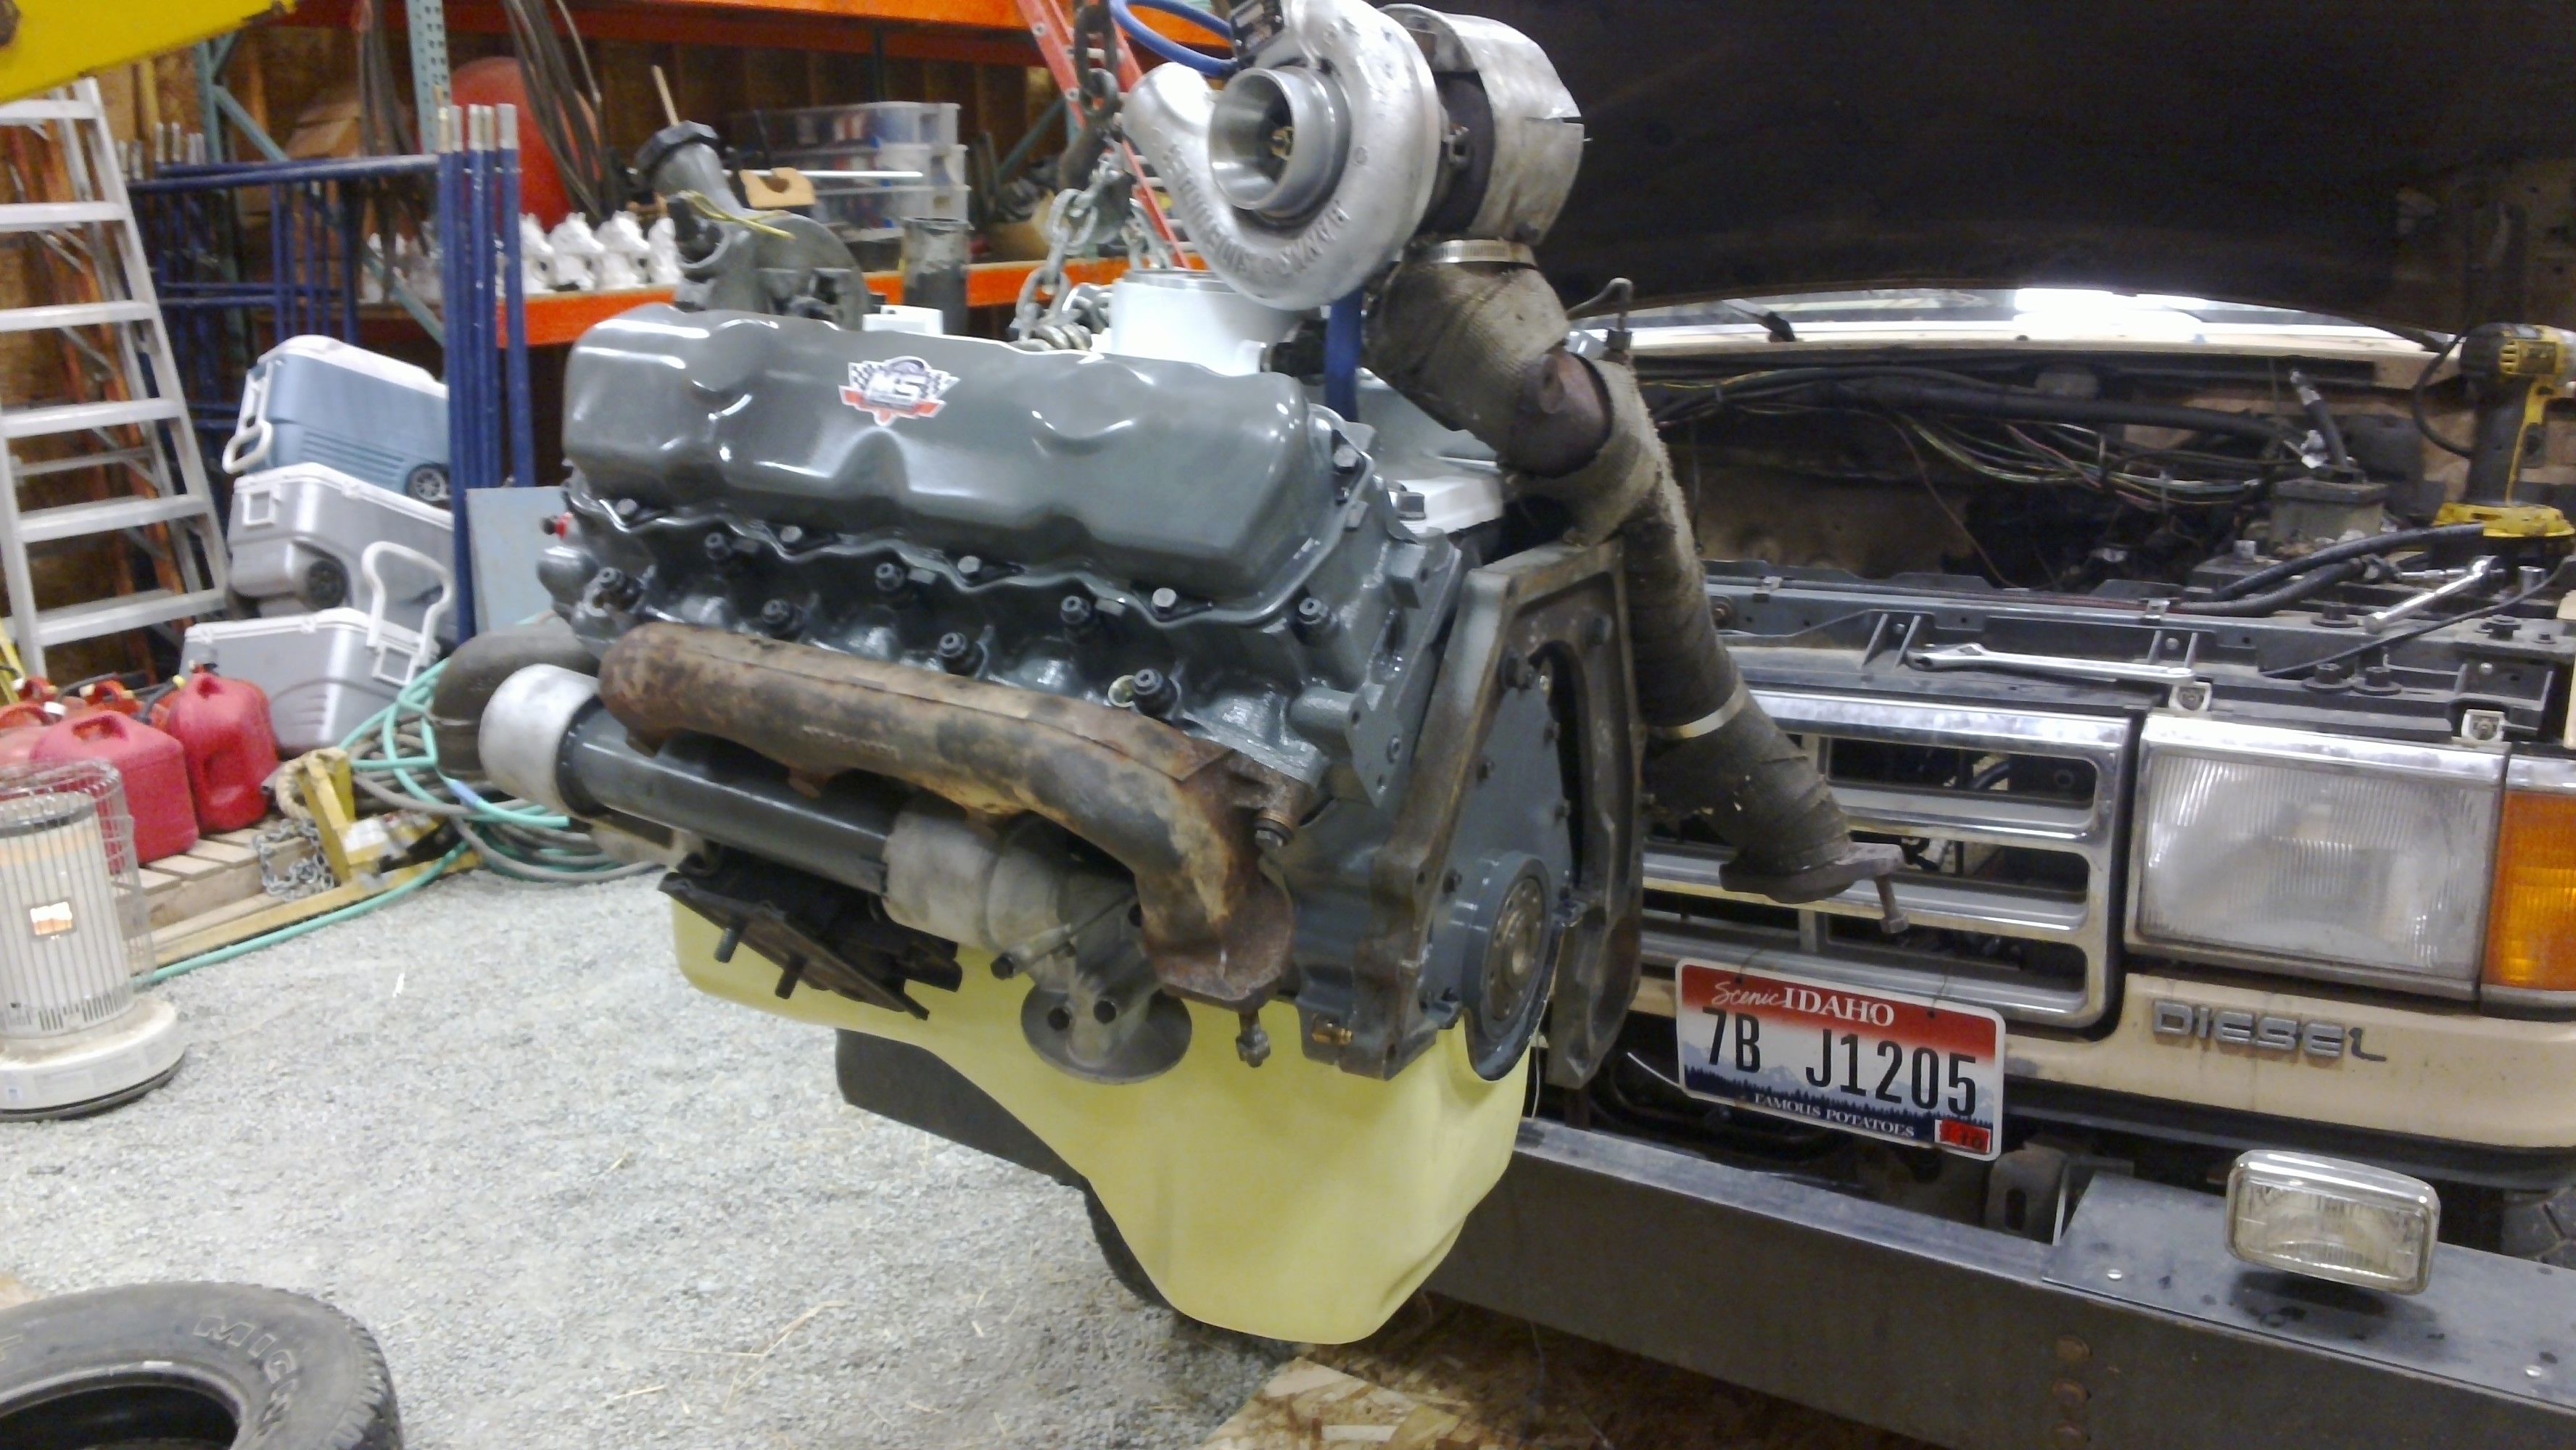
In the mean time, I'd painted my oil pan that lovely yellow color. That is Integral Fuel Tank coating for a F-35(and other aircraft) -- expired paint from my employer.
Over the next week or so, I reassembled all the extra pieces after work each day. It took a lot longer than I expected!
I have a Banks Wastegated turbo kit, but got fed up with the metal oil drain tube.
I'm now using some silicone hose, and custom adapters I made
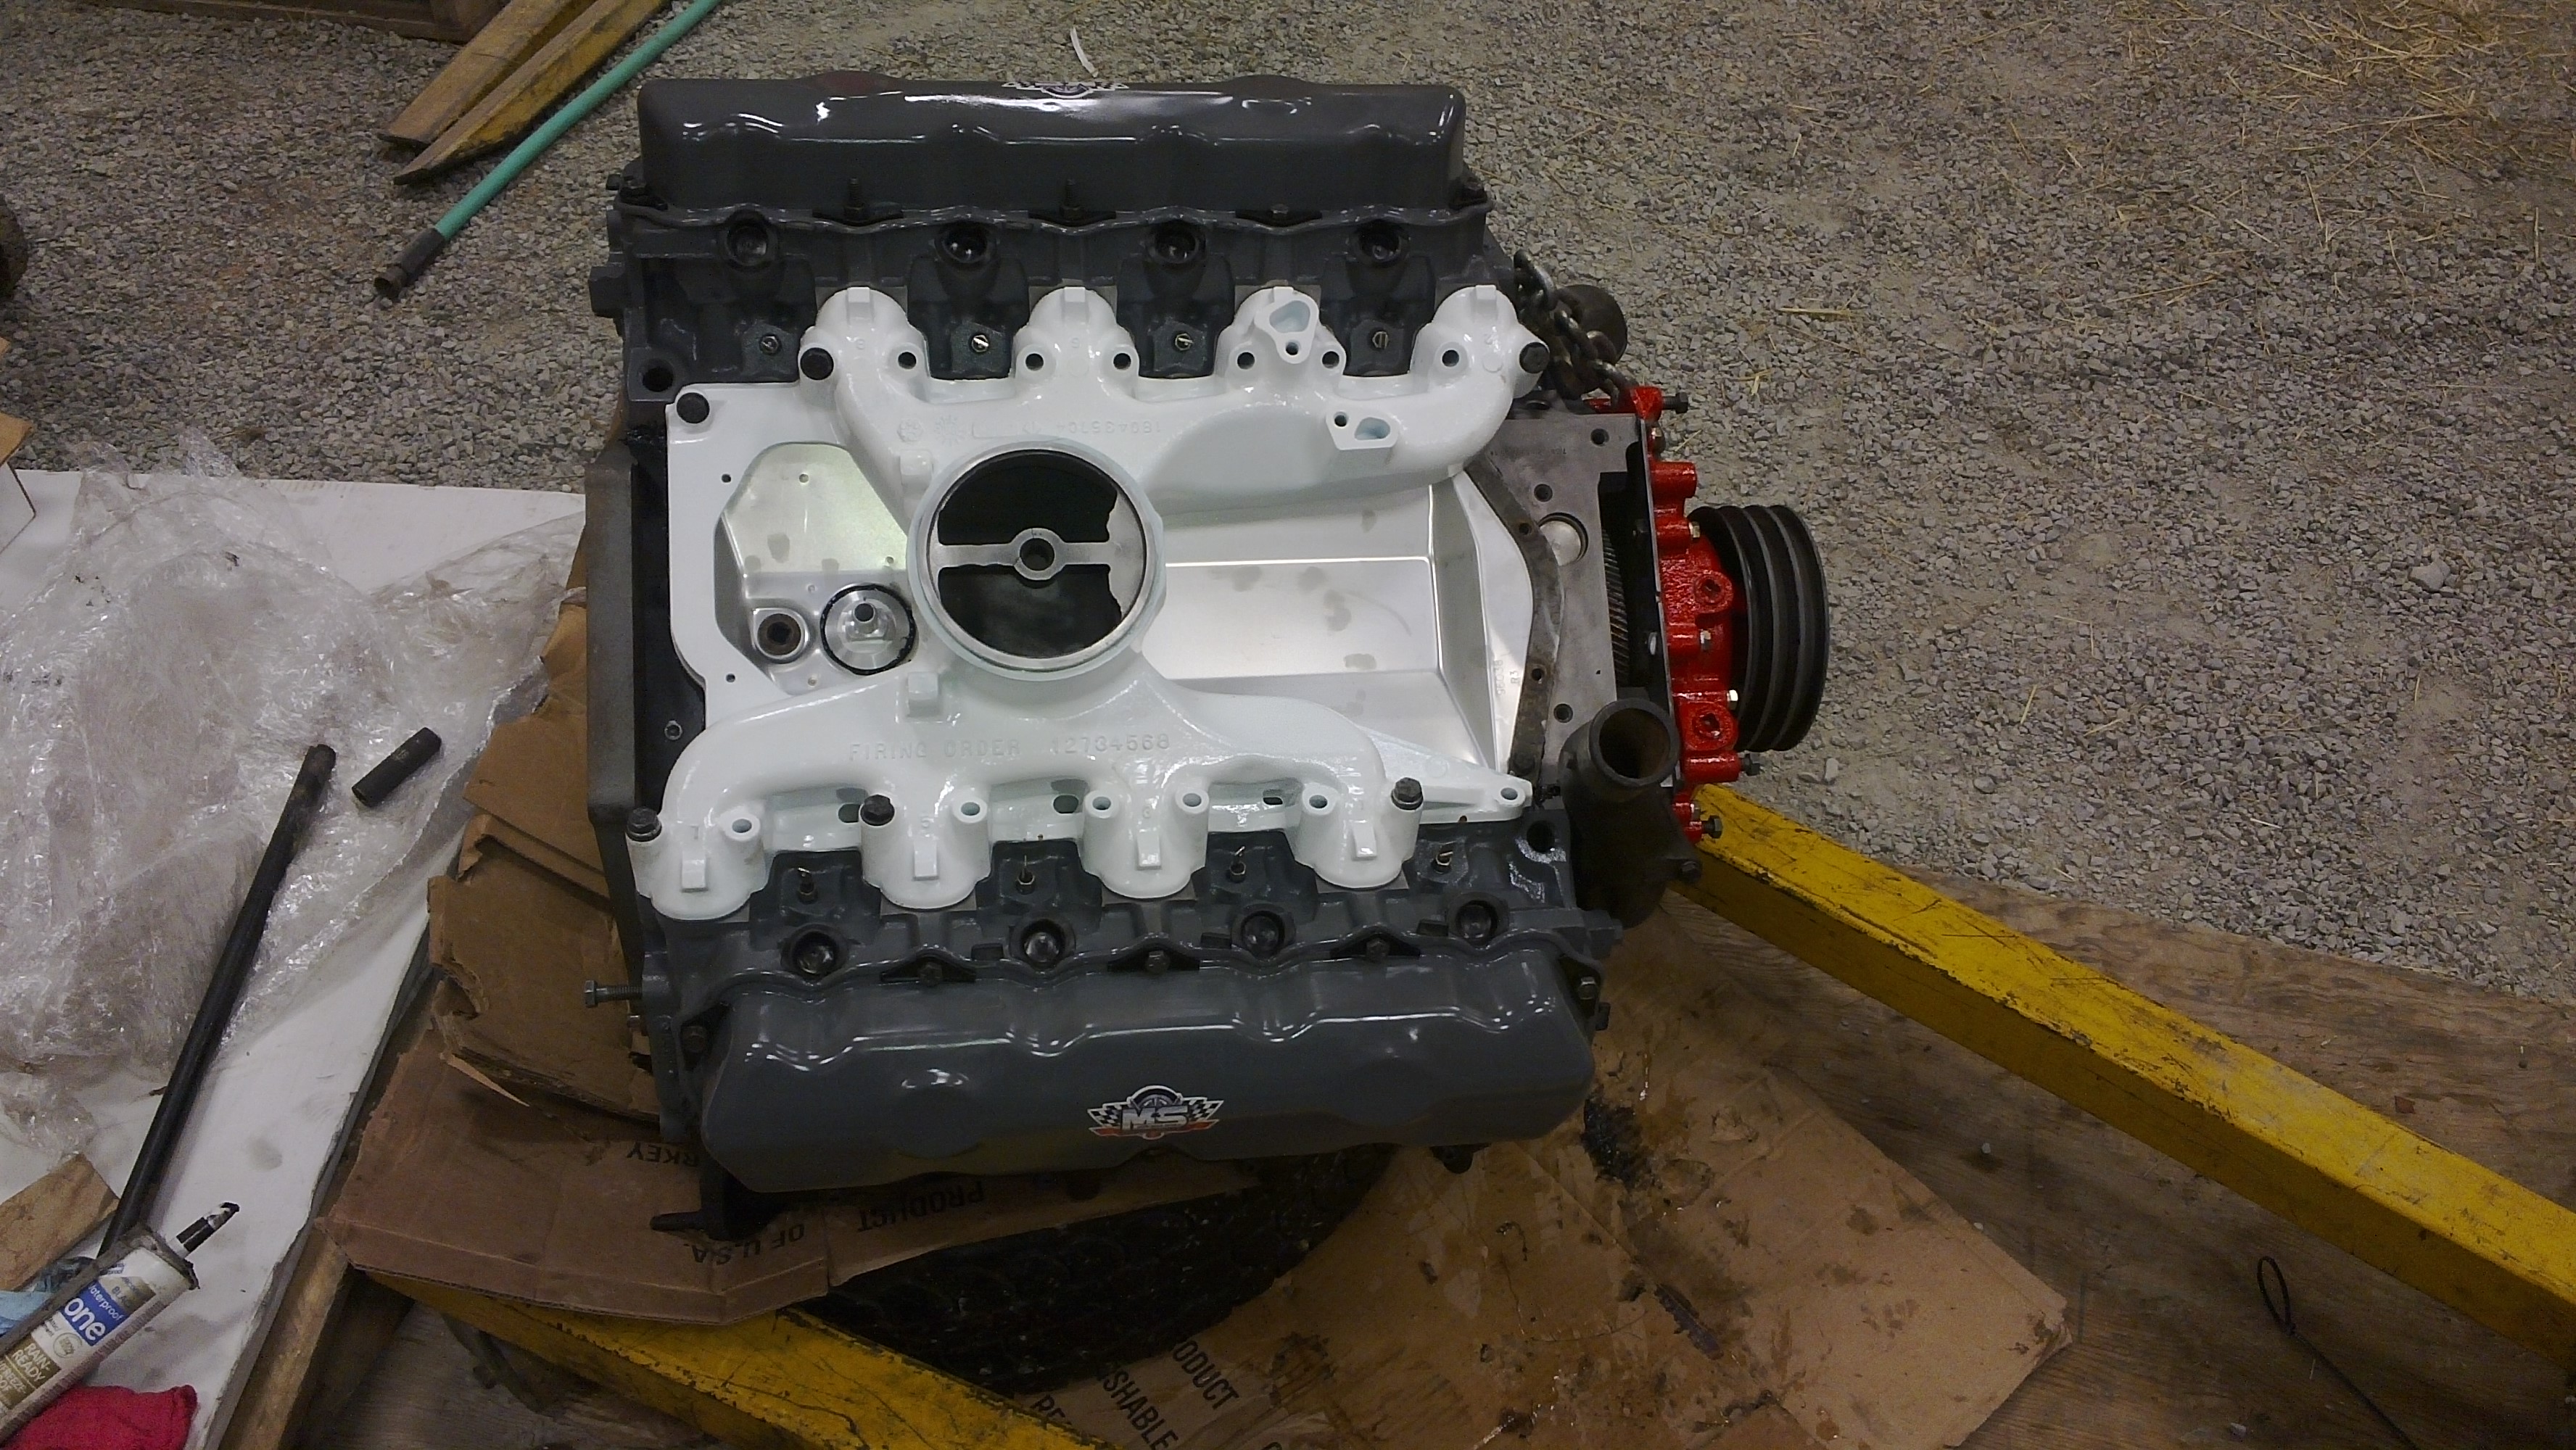
I installed the bottom half in the pan gasket with silicone, and installed the newly painted intake manifold(This is mil color #17925 white, again for F-35 aircraft -- epoxy paint and near indestructible).
All together and ready to install in the truck. Newly painted components clash with old cruddy ones.
Other pics:
http://robbiethe1st.afraid.org/image...141210_004.jpg
http://robbiethe1st.afraid.org/image...141210_005.jpg
http://robbiethe1st.afraid.org/image...141210_006.jpg
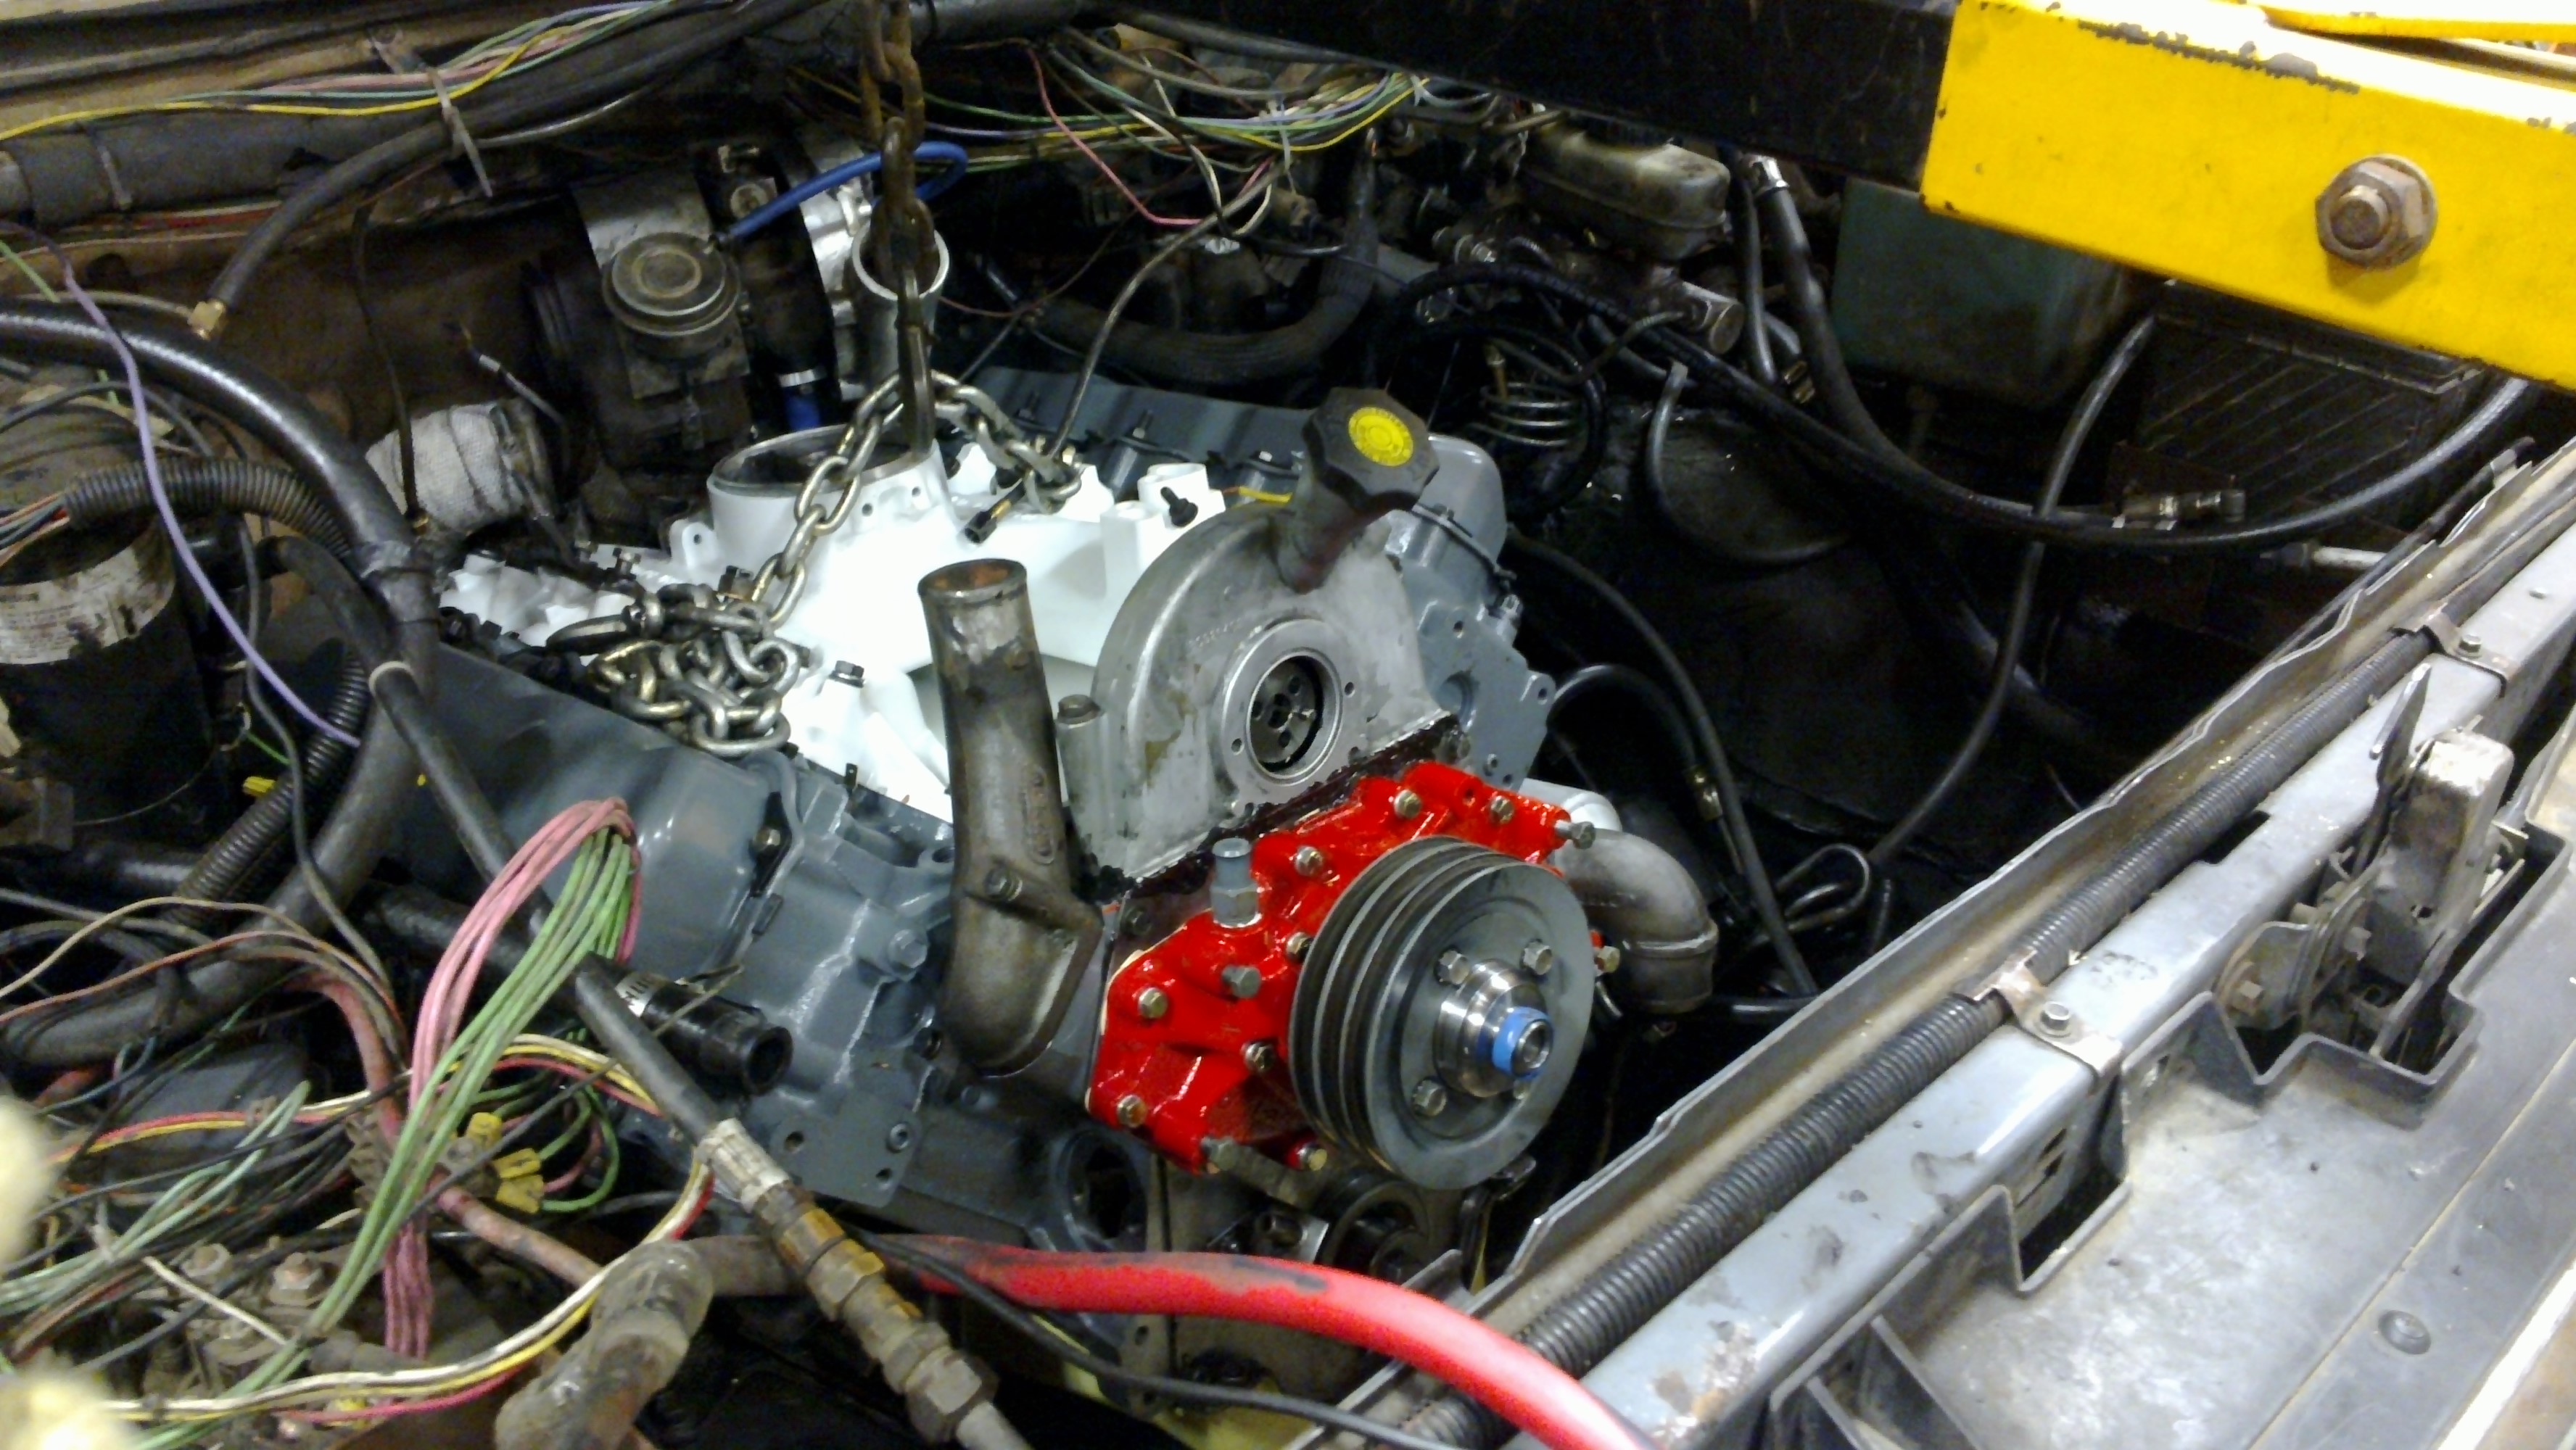
Installed in the truck, sorta -- transmission was out, so there was no rear support or anything.
I got the transmission in without issues, spent a ton of time getting the rest of the pieces together, got her started.
I realized that I was horribly retarded, so I had to pop the IP cover up and advance it a tooth. It ran a lot better after that.
But then, disaster struck. Engine ran, clutch wouldn't disengage.
I tried everything -- bleeding the lines, replacing master & slave cyls... it just didn't have enough throw. The slop was too much.
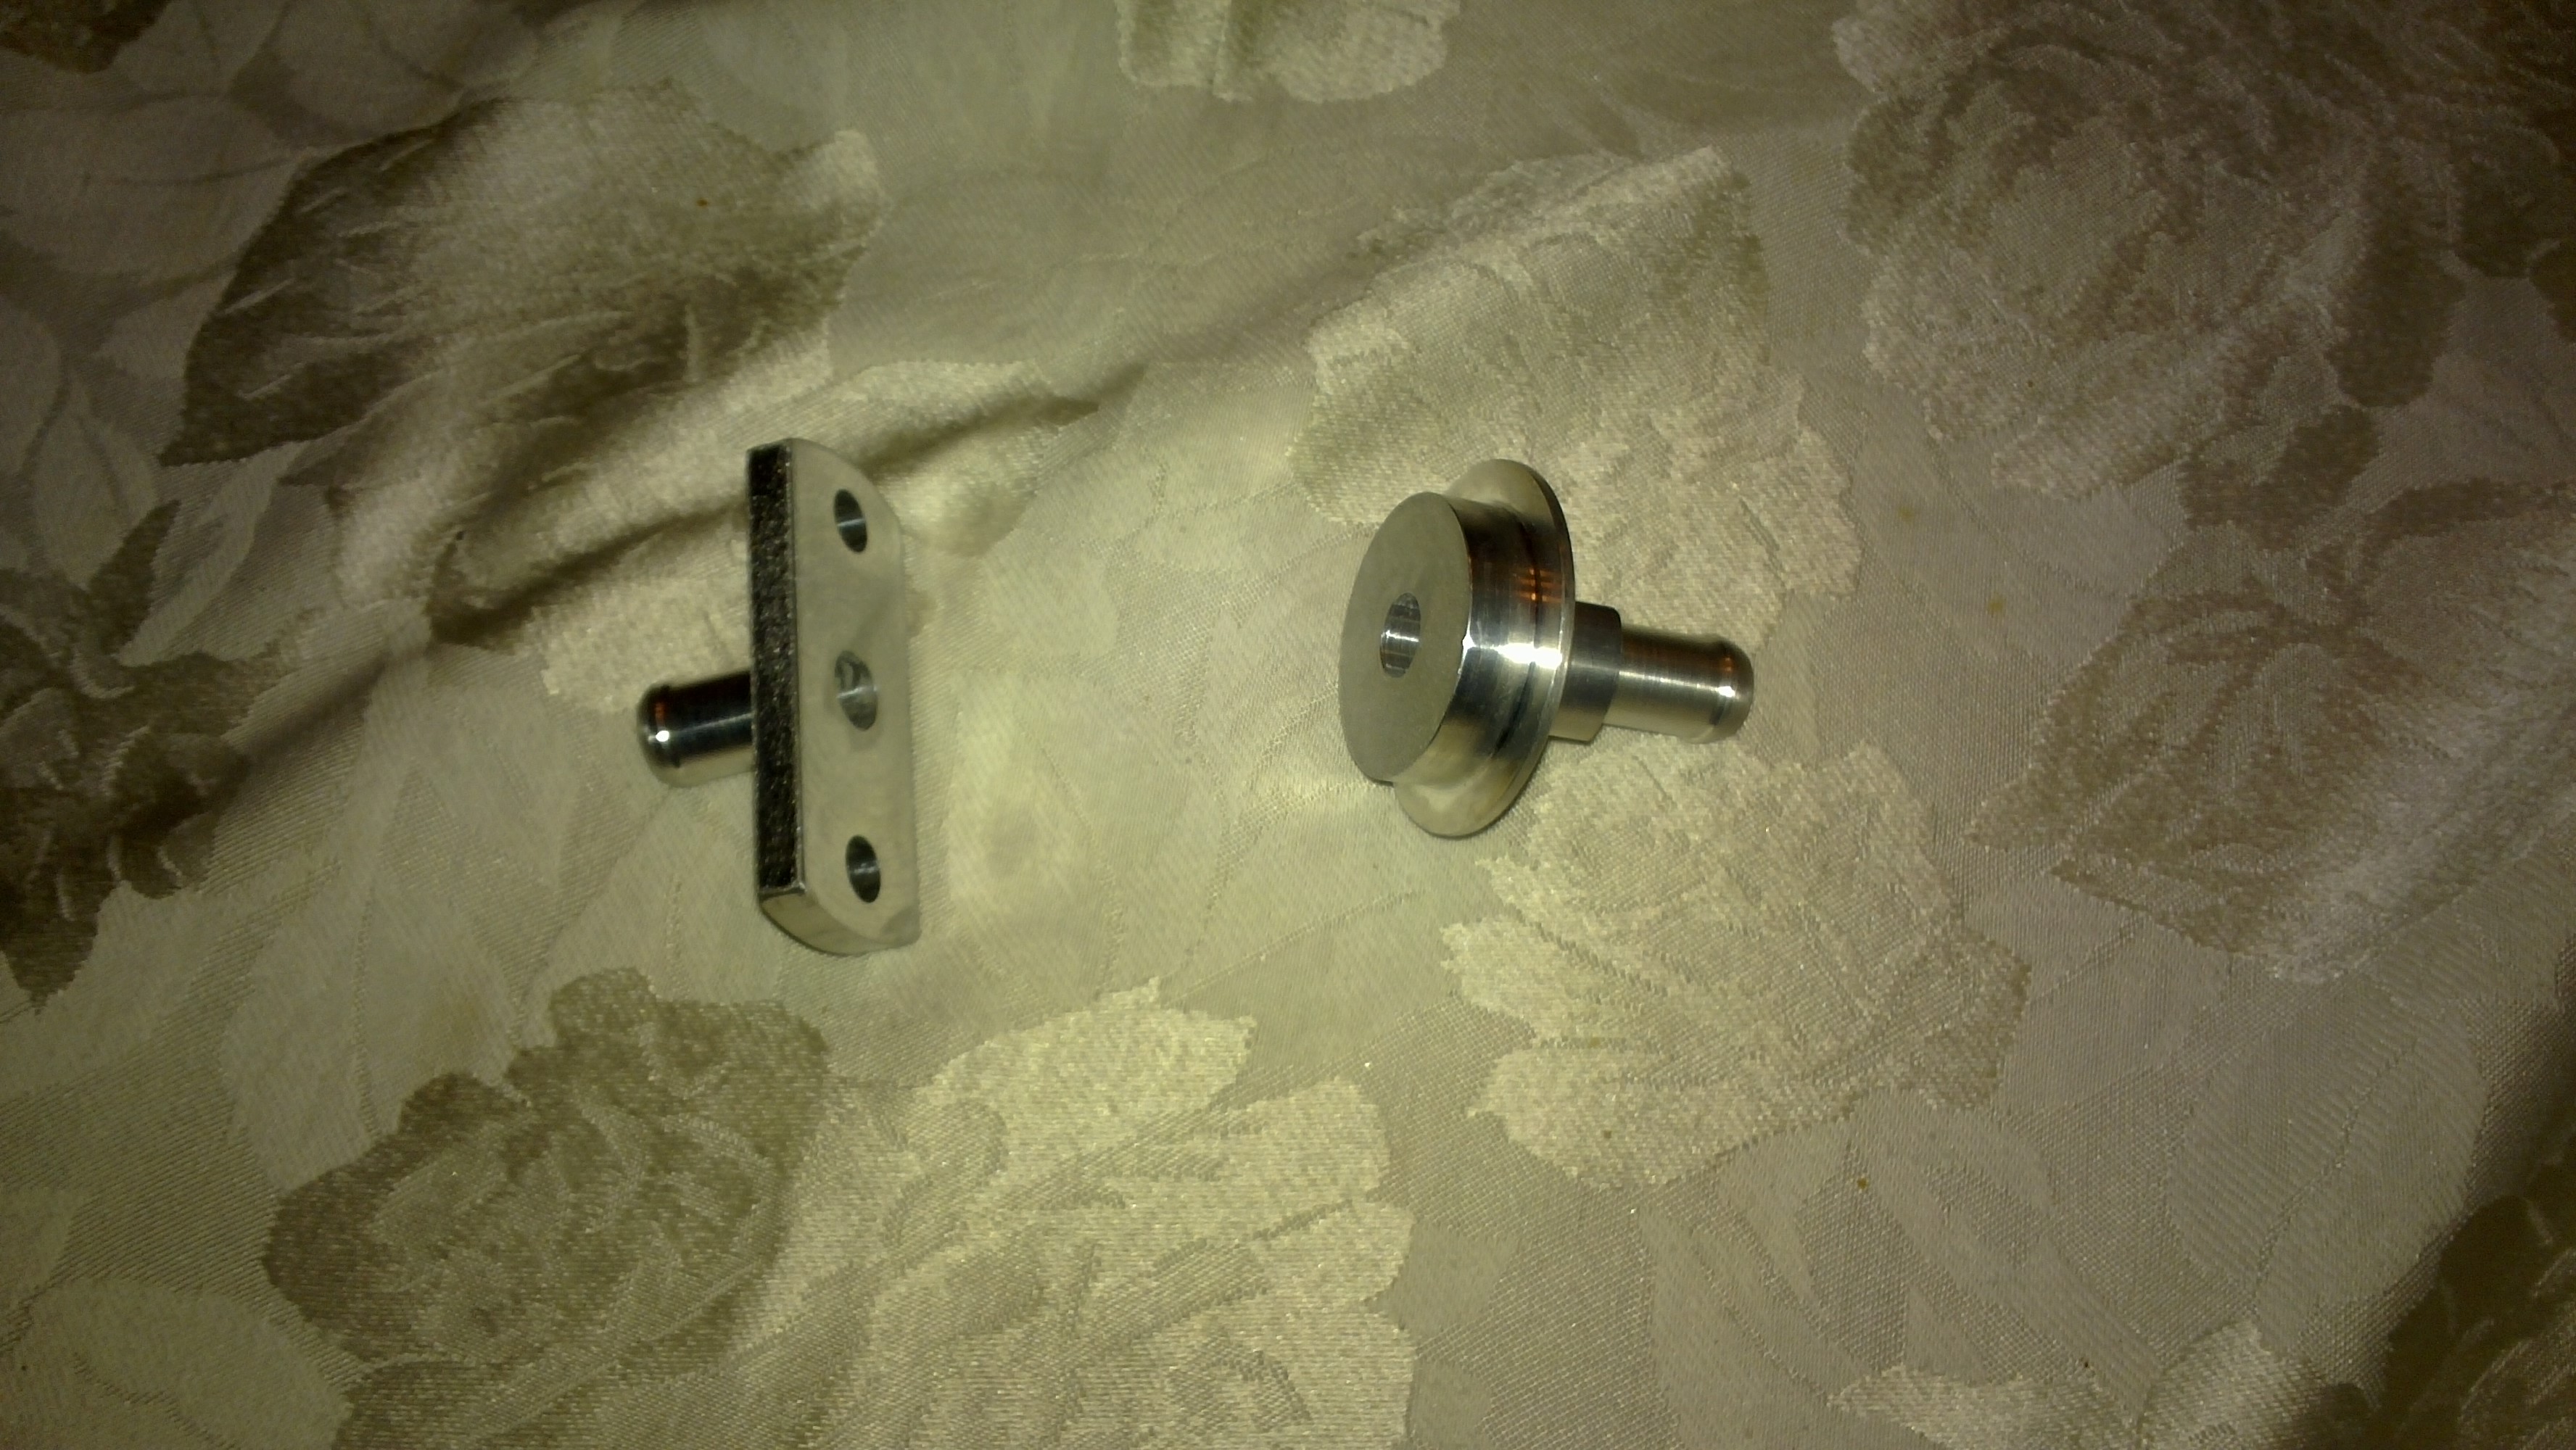
Enter... the adjustable throwout lever!
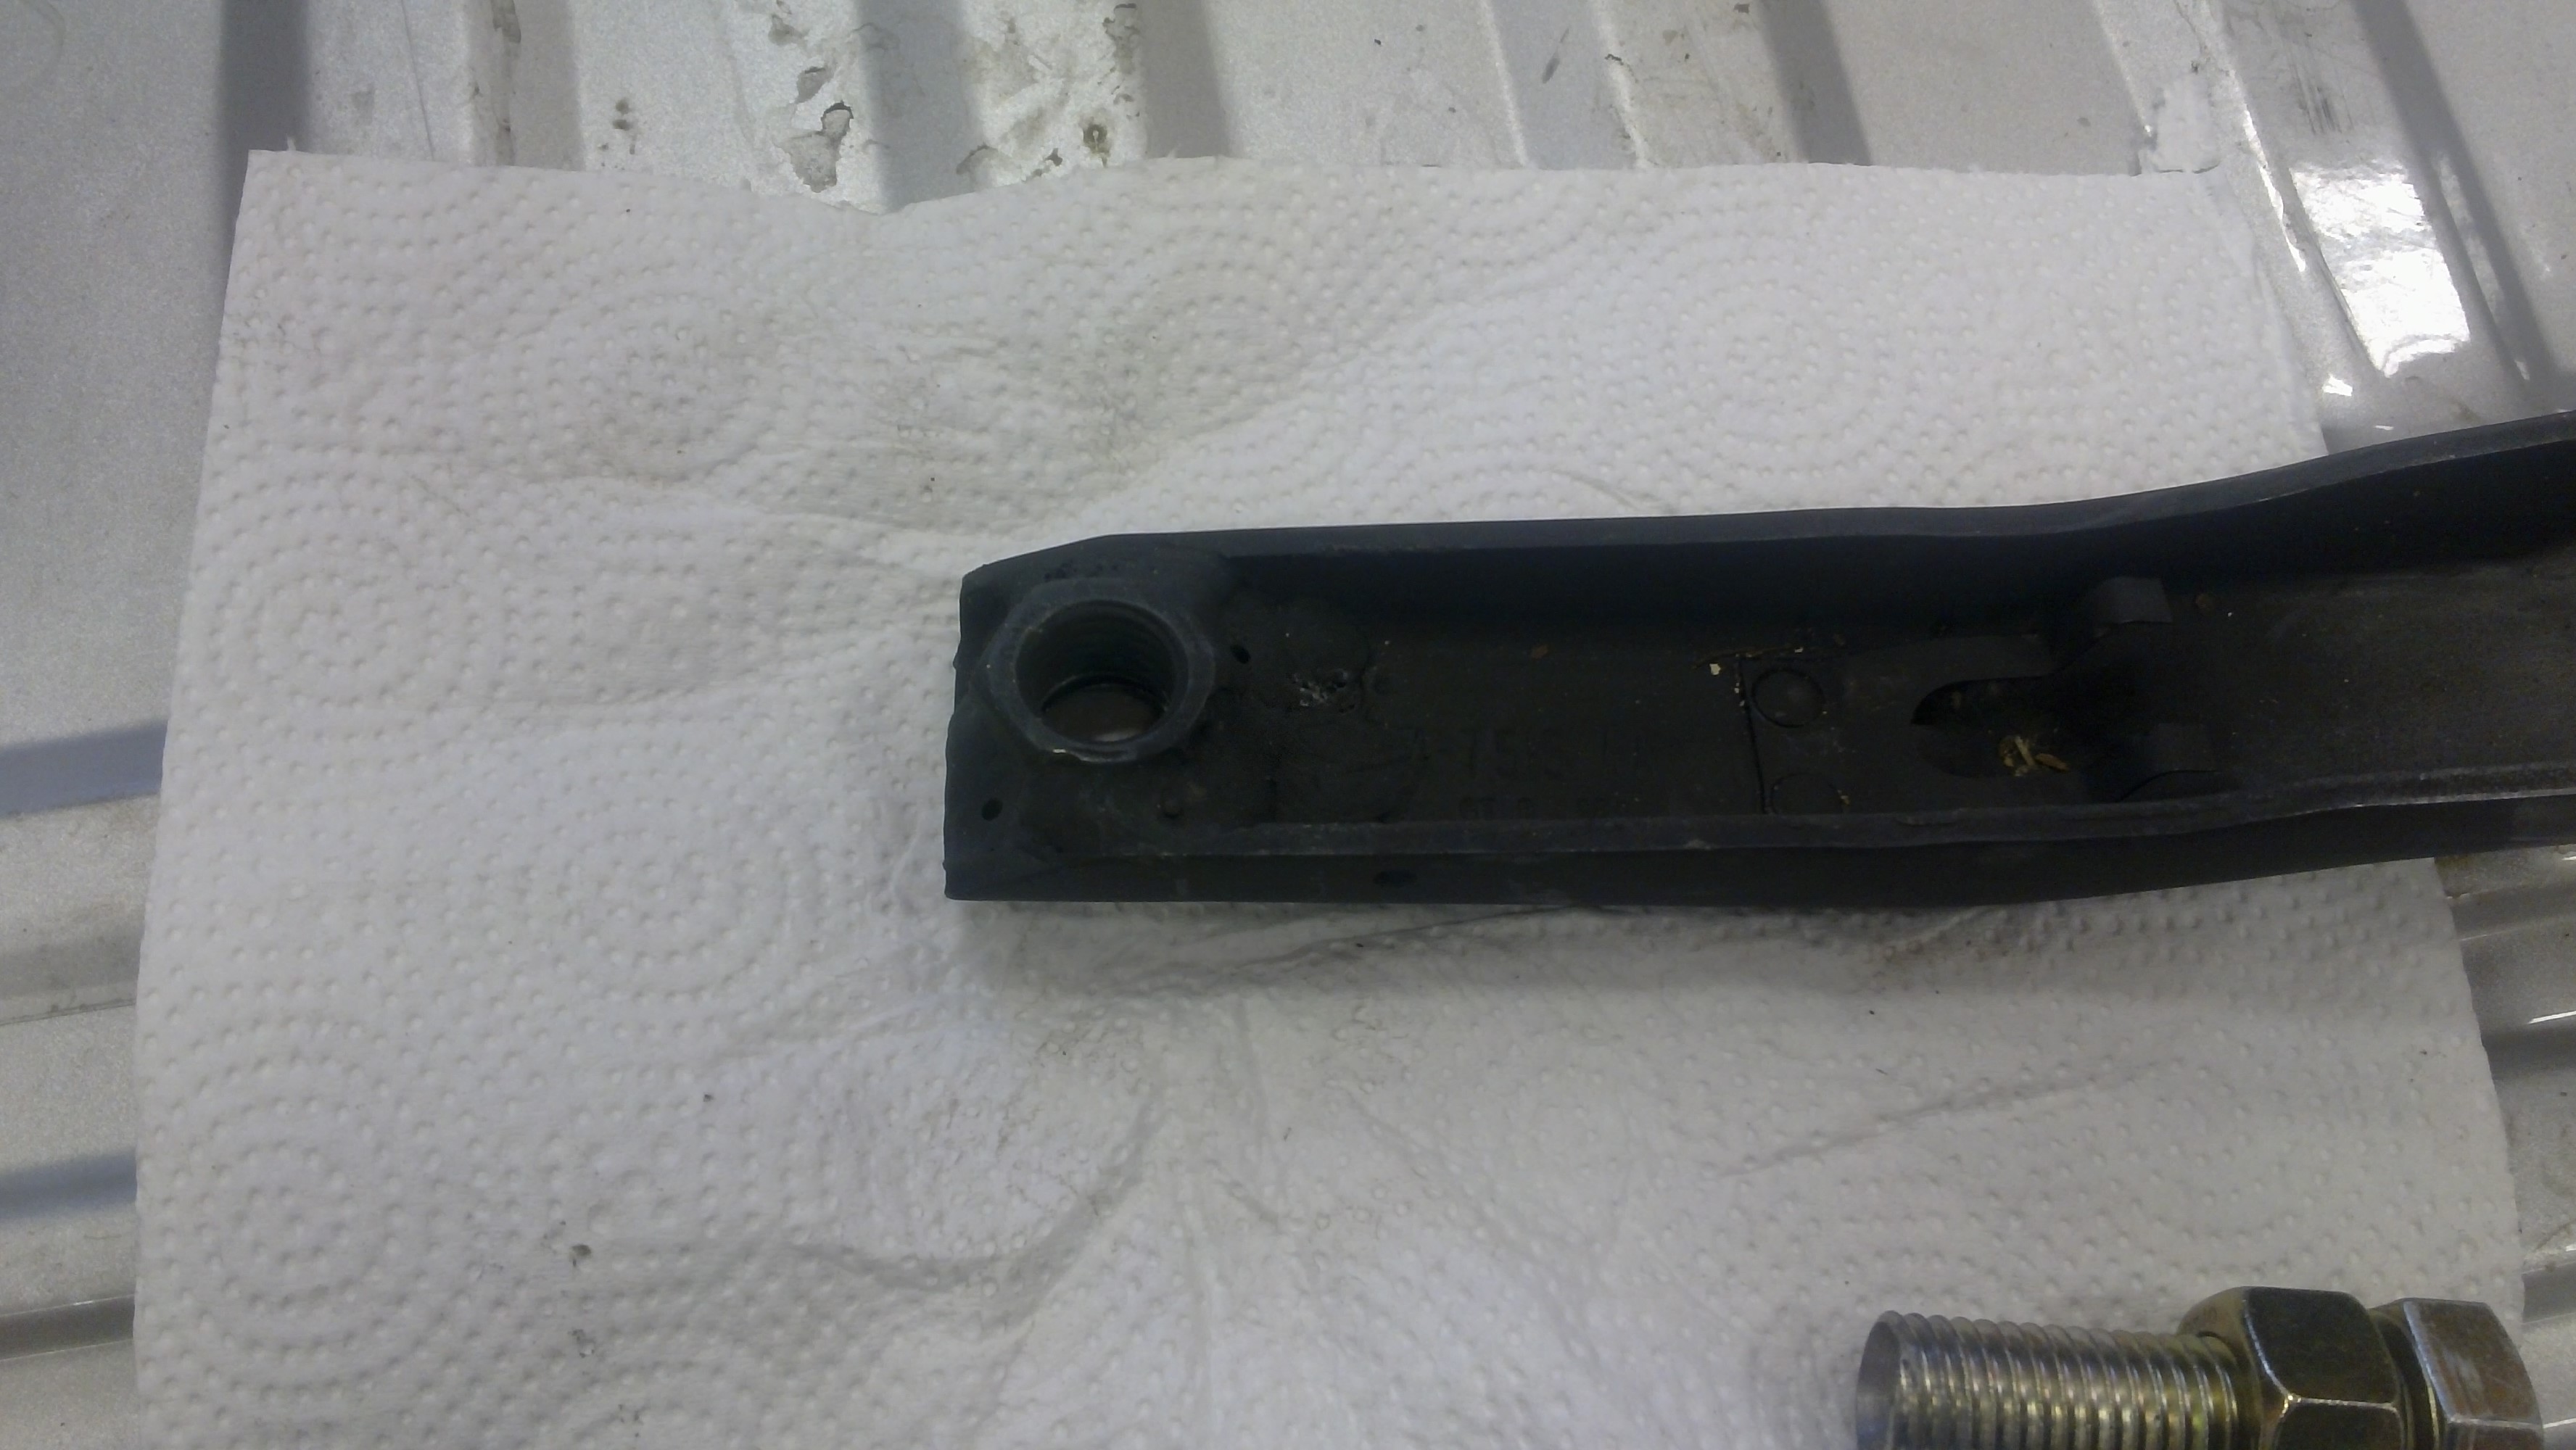
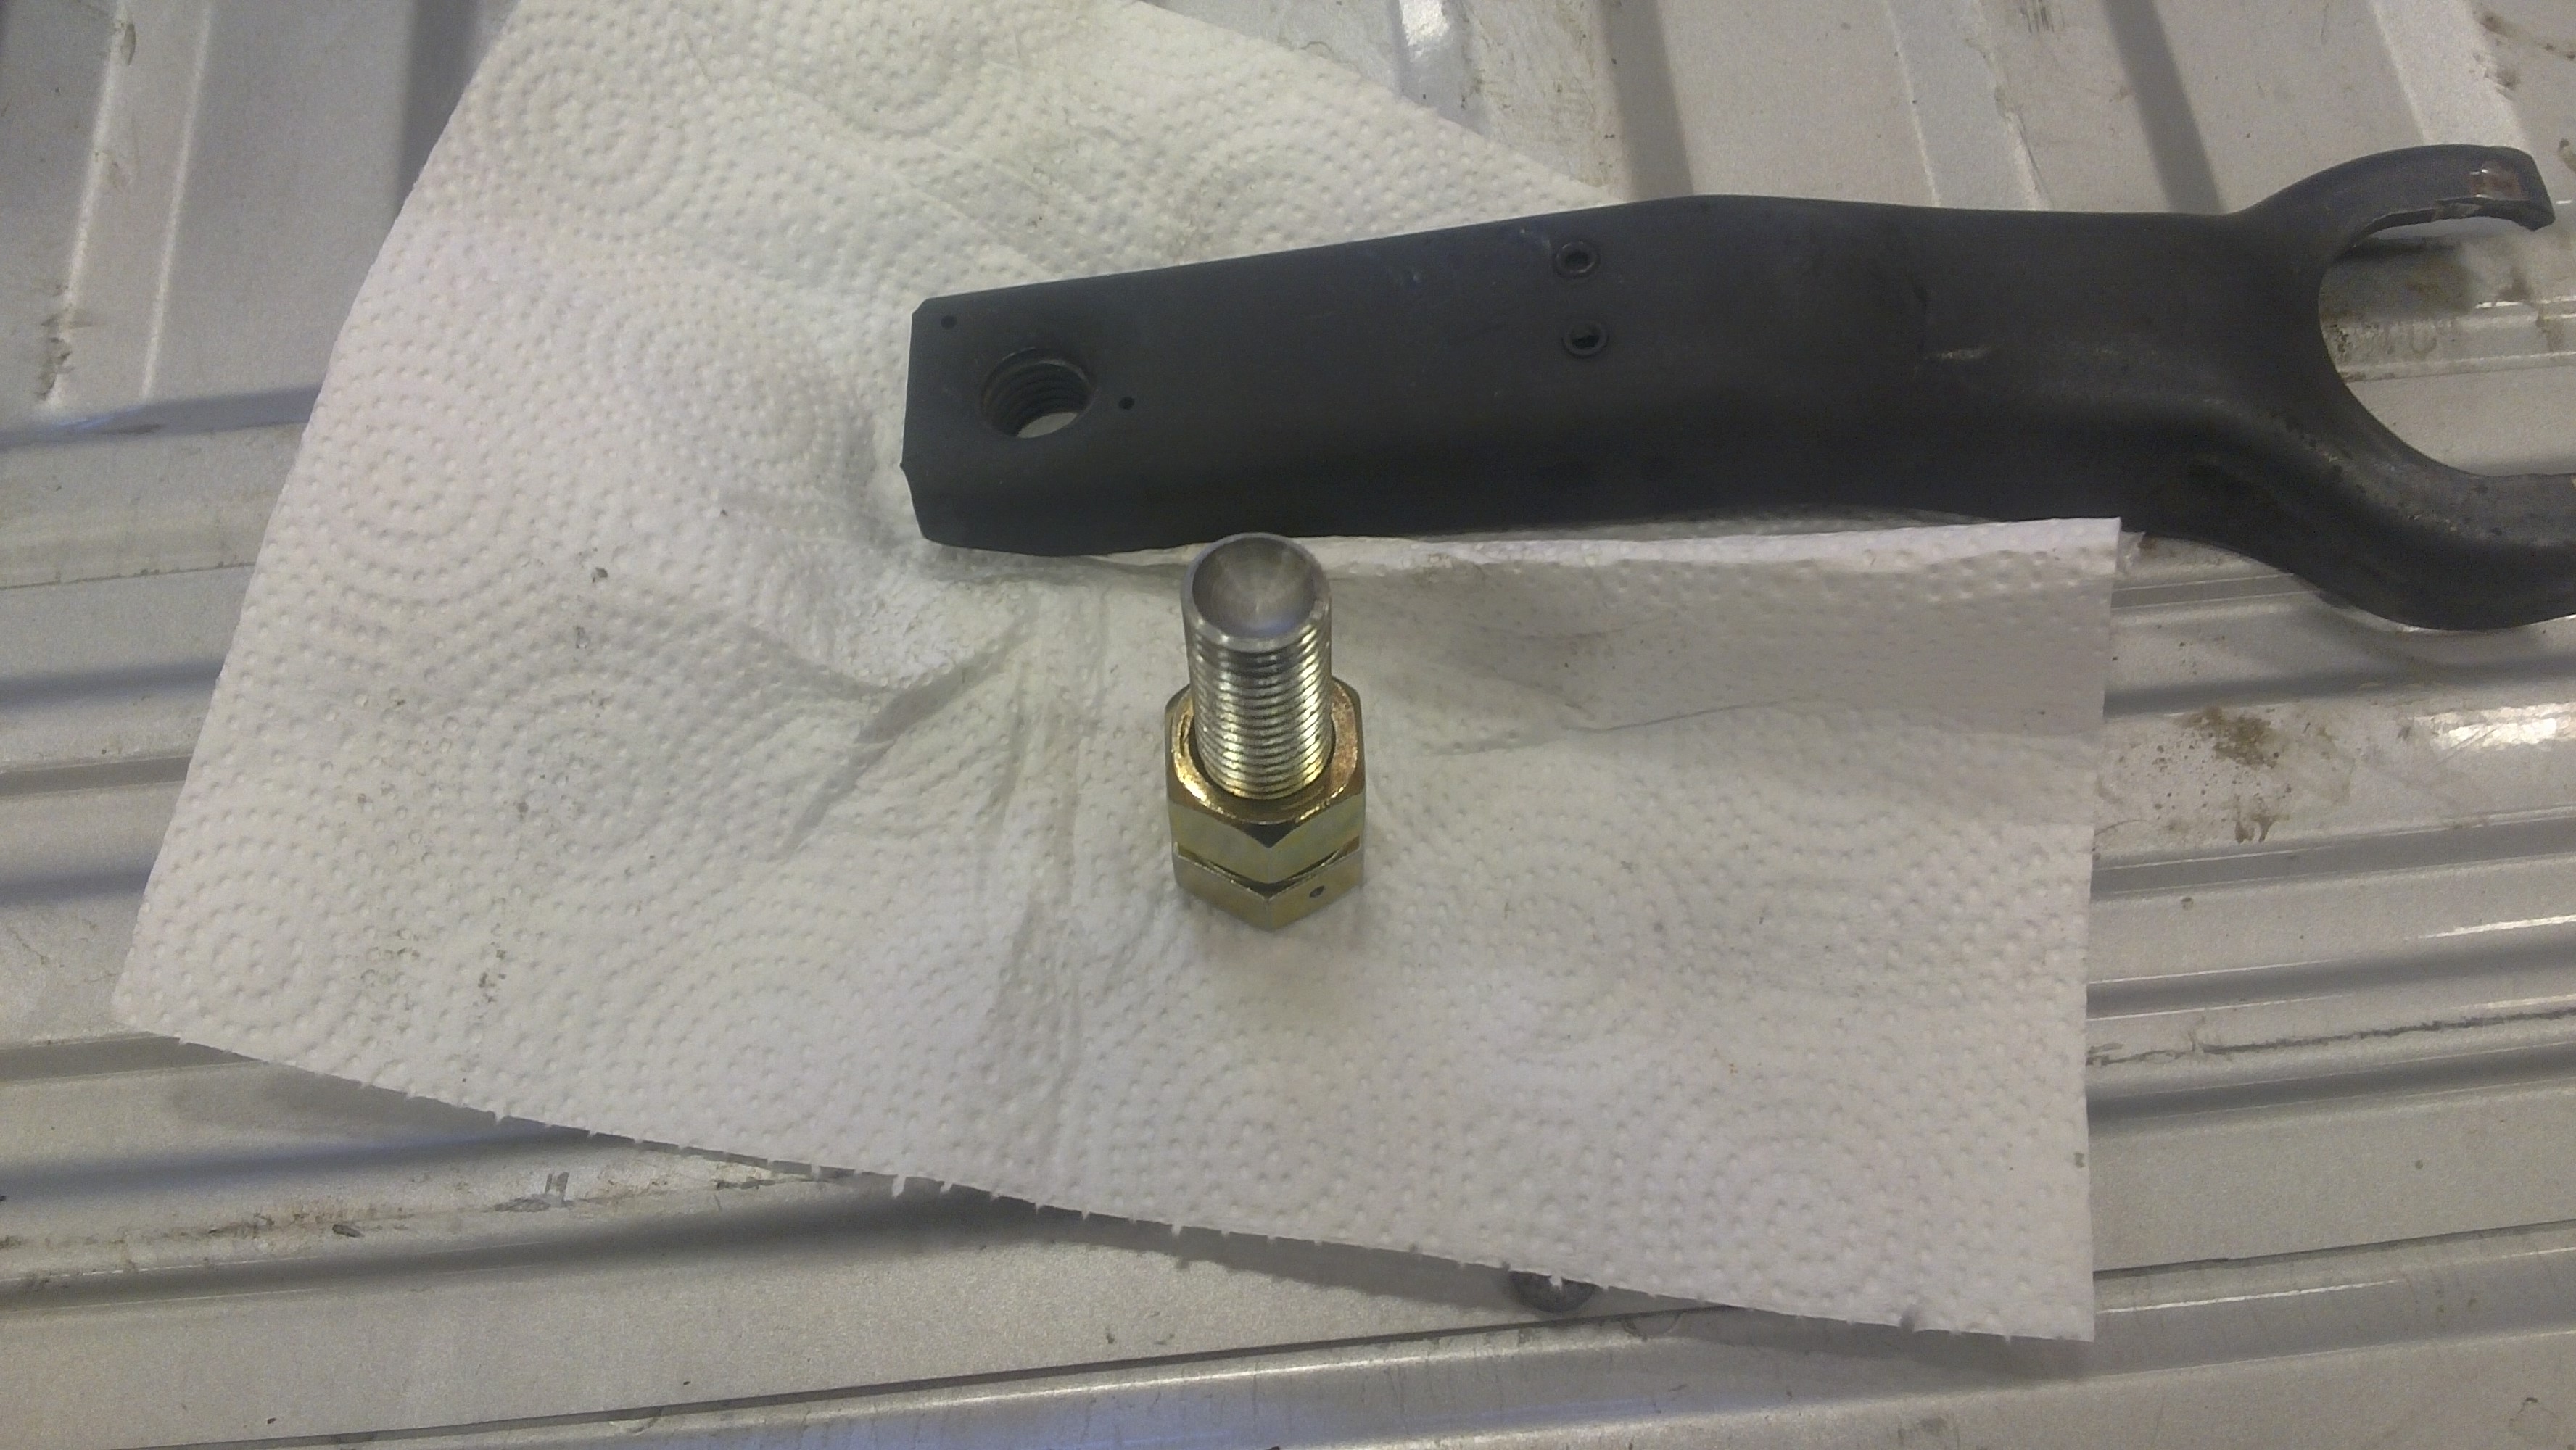
Between that and my adjustable MC linkage to take up /all/ the slop in the system, it's felt better than it ever has!
(Note the tiny holes in the head of the bolt and in two locations around the nut -- safety wire holes, so it can't come loose)
I got it working last Sunday night(12-21), and spent the last week tweaking it. Friday(12-26), I took it out for a good, hot, break-in run:
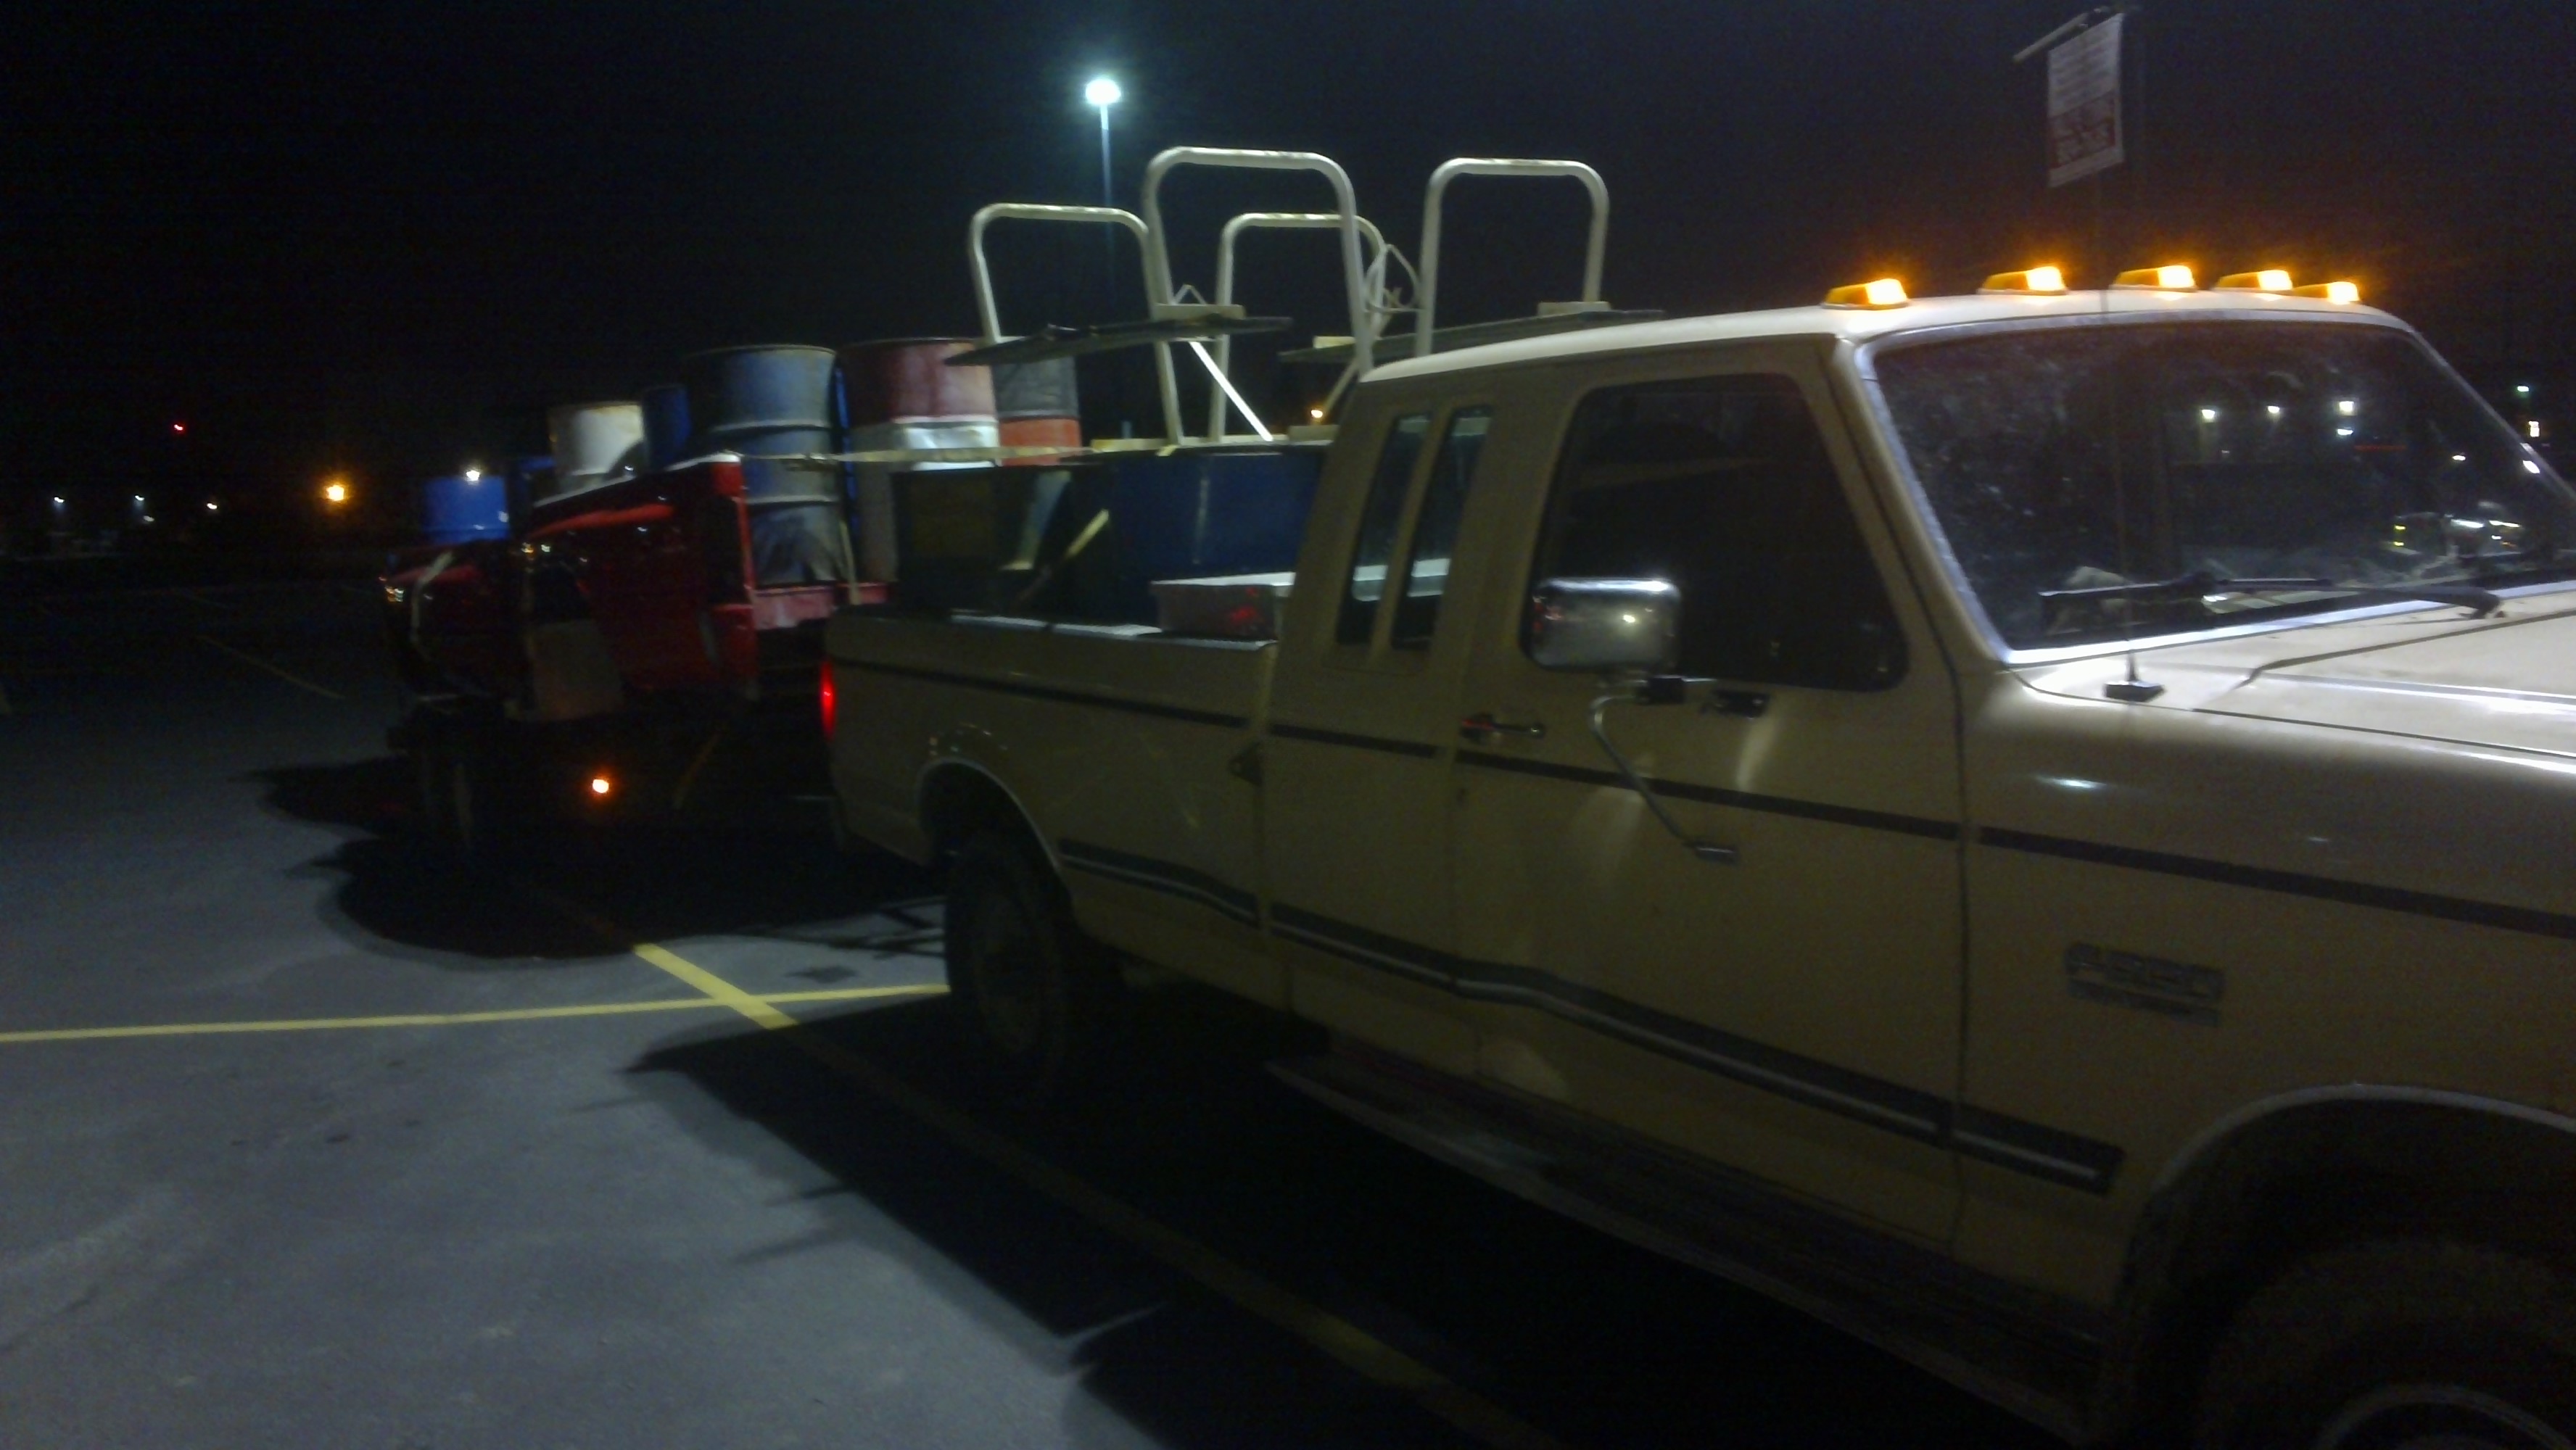
There's a good truck.. hauling a full trailer load like a boss!
It was lacking a little in power, though(despite having more torque); I ended up turning up the IP by a good 3 flats to be able to use the 10-15 PSI that turbo will make at high revs.
I need to take some more pictures, darnit!
The motor started to go -- lack of power, puffing smoke under heavy load, sounding like it was running on 7 -- so, after replacing the IP and injectors and not improving the situation much, I got the block & heads rebuilt.
Have some pictures!
All nice and bored.
My rebuilder -- Engine Shop | Sandpoint, ID | M&S Engine Works told me that the block had about a 10-thou lip at the top actually worn into the bore. I'd thought that lip was carbon, but wow.
They had to bore them .030 over to clean them up, but they all cleaned up nicely.
No sleeves needed.
The block was decked .010, cleaned right up.
It took about a month to get from that stage to engine rebuilt and heading home with me. I only had them install the heads(that way I was sure the clearances were right); everything else I figured I could do easily.
In the mean time, I'd painted my oil pan that lovely yellow color. That is Integral Fuel Tank coating for a F-35(and other aircraft) -- expired paint from my employer.
Over the next week or so, I reassembled all the extra pieces after work each day. It took a lot longer than I expected!
I have a Banks Wastegated turbo kit, but got fed up with the metal oil drain tube.
I'm now using some silicone hose, and custom adapters I made
I installed the bottom half in the pan gasket with silicone, and installed the newly painted intake manifold(This is mil color #17925 white, again for F-35 aircraft -- epoxy paint and near indestructible).
All together and ready to install in the truck. Newly painted components clash with old cruddy ones.
Other pics:
http://robbiethe1st.afraid.org/image...141210_004.jpg
http://robbiethe1st.afraid.org/image...141210_005.jpg
http://robbiethe1st.afraid.org/image...141210_006.jpg
Installed in the truck, sorta -- transmission was out, so there was no rear support or anything.
I got the transmission in without issues, spent a ton of time getting the rest of the pieces together, got her started.
I realized that I was horribly retarded, so I had to pop the IP cover up and advance it a tooth. It ran a lot better after that.
But then, disaster struck. Engine ran, clutch wouldn't disengage.
I tried everything -- bleeding the lines, replacing master & slave cyls... it just didn't have enough throw. The slop was too much.
Enter... the adjustable throwout lever!
Between that and my adjustable MC linkage to take up /all/ the slop in the system, it's felt better than it ever has!
(Note the tiny holes in the head of the bolt and in two locations around the nut -- safety wire holes, so it can't come loose)
I got it working last Sunday night(12-21), and spent the last week tweaking it. Friday(12-26), I took it out for a good, hot, break-in run:
There's a good truck.. hauling a full trailer load like a boss!
It was lacking a little in power, though(despite having more torque); I ended up turning up the IP by a good 3 flats to be able to use the 10-15 PSI that turbo will make at high revs.
I need to take some more pictures, darnit!
Thread Starter
|
Postmaster
Joined: Dec 2011
Posts: 3,860
Likes: 7
It does rev smoothly all the way to the governor without losing power or shaking, something my previous engines have never done... and this is the same IP I had on before I had the engine rebuilt. It's got a ton of torque low down, too.
This is a stock rebuild, BTW -- stock cam, stock pistons(.030 over, though, and with teflon-coated skirts). It's supposed to have improved valve springs, but I'll have to check them myself to be sure -- I didn't see the old ones in the box of old parts(the valves /were/ there), and I didn't see it on the parts list on my bill...
Fleet Owner
Joined: Jul 2006
Posts: 20,362
Likes: 823
From: Mi'kma'ki
she'll loosen up a bit once she's been run in for a spell.id try and limit the wot and hard towing right off the bat,but i know some guys swear by just taking them right out and working them right out of the gate too.should have tossed in the torque cam though.congrats.
Logistics Pro


Joined: Apr 2005
Posts: 4,221
Likes: 17
Trending Topics
Freshman User
Joined: Jan 2014
Posts: 49
Likes: 2
From: oklahoma
Looking good! What rpm does the smoke clear when you put her to the floor? Did you make the adjustable clutch fork or buy it?
FTE Stories
Ford Trucks for Ford Truck Enthusiasts

10 Things Every Truck Owner NEEDS (2026 Edition)
Michael S. Palmer
Rezvani's Latest Post-Apocalyptic Monster Is a Ford F-150 Raptor Underneath
Verdad Gallardo
Top 10 Most Expensive Ford Trucks Ever Sold on Bring a Trailer
Joe Kucinski
2027 Ford Super Duty Buyer's Guide (Every Model, Engine, & Package)
Brett Foote
Top 10 Ford Truck Tragedies
Joe Kucinski
AEV FXL Super Duty - the Super Duty Raptor Ford Doesn't Make
Brett Foote
Lobo Vs Lobo: Proof the F-150 Lobo Should Be Even Lower!
Michael S. Palmer
Ford's 2001 Explorer Sportsman Concept Looks For a New Home
Verdad Gallardo
10 Best Ford Truck Engines We Miss the Most!
Joe KucinskiThread Starter
|
Postmaster
Joined: Dec 2011
Posts: 3,860
Likes: 7
Depending on how things pan out, I'll probably buy(or make) an aneroid to reduce maximum fueling based on boost -- I like being able to just floor it and let the governor do all the hard fueling work.
Made it -- 3/4" NC bolt, 3/4 NC nut, milled the bump in the clutch fork down until I had a 3/4" hole in the middle, dropped the bolt through and used it to locate & hold the nut in place.
Then, just a matter of MIG welding the **** out of it, cleaning it up, and giving it a little love with a rattle can.
Oh, and I then ended up drilling the safety wire holes.
The bolt, I used a 11/16" ball endmill to dish it out; I'm thinking 5/8" would be slightly better(steeper, deeper hole), but I didn't have one. 1/2" was too tight for the rod to drop in.
Either way, though, I'm very happy with it. it feels nice and tight; the clutch rod sits pretty nicely in the dip.
Actually, though, there's to be surprisingly few Canadians up here. I'm not sure why.
Senior User
Joined: May 2014
Posts: 179
Likes: 0
From: Indpls, IN
NICE! little jealous!
Heck I haven't even done my front end yet. Been to busy with work. Did finally get my roof done and front porch built on to the house for my other half. (wife) Since then either I've work until dark, it's raining or it to cold. Really need a garage!!
Heck I haven't even done my front end yet. Been to busy with work. Did finally get my roof done and front porch built on to the house for my other half. (wife) Since then either I've work until dark, it's raining or it to cold. Really need a garage!!
Thread Starter
|
Postmaster
Joined: Dec 2011
Posts: 3,860
Likes: 7
I worked a deal with a friend for replacing a seal on her truck for some time in her (very nice) barn. Worked out great! You can't believe how important good lighting is to any good workspace, and her husband had installed a /lot/ of lights... so it was very pleasant working conditions.

Thread
Thread Starter
Forum
Replies
Last Post
hivoltj
1973 - 1979 F-100 & Larger F-Series Trucks
74
Jun 9, 2016 12:04 PM
PharmerChris
1961 - 1966 F-100 & Larger F-Series Trucks
12
Oct 18, 2014 10:50 PM
beatadrum
1973 - 1979 F-100 & Larger F-Series Trucks
55
Jun 13, 2012 11:43 PM