

Installed: A-Pillar Single Gauge Pod

Thread Starter
|
Laughing Gas
Joined: Dec 2010
Posts: 1,200
Likes: 45
From: Timbuk3, MI
Installed: A-Pillar Single Gauge Pod
Moving the  scan gauge from the ROUSH dash vent gauge pod ...
 To an A-pillar guage pod ...
 Parts Inventory:
Acknowledgement to NGA PLZ for paving-the-way for this mod' ...------------------------------

-click- the pic'
Goth 150
< This space intentionally -blank- >
scan gauge from the ROUSH dash vent gauge pod ...- A-pillar 2-1/16" single gauge pod from
 - part # 15212 (intended for 2002-2009 Dodge Ram) *Currently there is no offering for the 2009+ F-150s.
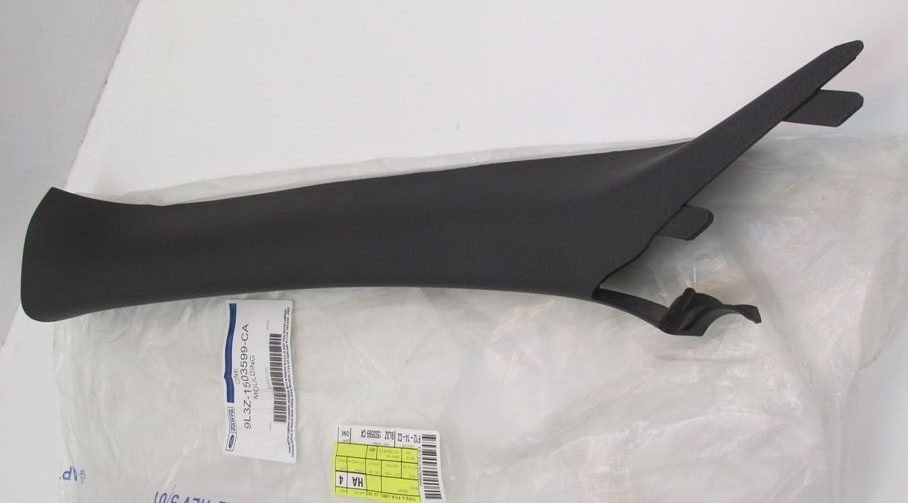
- (optional) LH windshield moulding (A-pillar trim) from FoMoCo - part # 9L3Z-1503599-CA (Charcoal Black) *Could modify existing trim.
- 3M� Automotive Acrylic Plus Attachment Tape - part # 06383 (7/8")
. - SEM CLASSIC COAT FLEXIBLE COATING Midnight Black - part # 17013
- with the A-pillar trim as a fitment gauge, use a heat gun to carefully contort the sides of the gauge pod to conform to the outer contours of the A-pillar trim.
. - drill a hole in A-pillar trim to allow any wiring, hoses, etc. to pass thru to the pod and eventually the installed guage. *Insure that the hole will be within the length of the position of the pod on the trim.
. - clean (with soap and water) and degrease (with isopropyl alcohol) the A-pillar trim, the exterior of the gauge pod, AND the interior sides of the gauge pod.
. - apply the attachment tape to either the pod's mounting position on the outer edge of the A-pillar trim -OR- the inside bottom edges of the pod's sides.
. - attach the pod to the A-pillar trim and use small clamps along each edge to allow the tape to seat/seal.
. - clean (with soap and water) and degrease (with isopropyl alcohol) the trim/pod assembly.
. - when thoroughly dry, apply the flexible coating paint and let dry.
. - run any necessary wiring, hoses, etc. to and then thru the trim/pod assembly.
. - (re)install A-pillar trim (with gauge pod).
. - connect any necessary wiring, hoses, etc. to the gauge.
. - install the gauge.
Acknowledgement to NGA PLZ for paving-the-way for this mod' ...
-click- the pic'
Goth 150
< This space intentionally -blank- >


Thread Starter
|
Laughing Gas
Joined: Dec 2010
Posts: 1,200
Likes: 45
From: Timbuk3, MI
For those concerned about explosive bolts, jettisoned objects, and front, side air-curtain deployment ...
When the A-pillar air-curtain deploys it kicks-out the trim at the top and pushes past it leaving the trim/moulding still attached to the A-pillar.
There are 2 clips of different construct that retain the trim/moulding ...
REMEMBER ... The RH A-pillar trim/moulding (with hand grip) is bolted to the A-pillar.
References:
When the A-pillar air-curtain deploys it kicks-out the trim at the top and pushes past it leaving the trim/moulding still attached to the A-pillar.
There are 2 clips of different construct that retain the trim/moulding ...
- [*]
- it's expansion pushes past the top of the trim/moulding though may(?) cause it to be slightly out and away from the A-pillar.
- the air-curtain extends rearward along the side glass until fully deployed and then deflates.
- the lower portion of the trim/moulding remains attached (somewhat) to the A-pillar, however, may be askew at the top
REMEMBER ... The RH A-pillar trim/moulding (with hand grip) is bolted to the A-pillar.
References:
- discussions with FoMoCo dealership bodyshop tech's.
. - questioned a first-hand, real-life experiencer ... Tested My Air Bag Effectiveness Today

- Excerpted from dealer brochures ...


Senior User

Joined: Jun 2008
Posts: 163
Likes: 1
From: Brighton, MI
Thank you! I was just coming in to post something about this very subject, but it sounds like you did your homework.

Thread
Thread Starter
Forum
Replies
Last Post
99offroadrngr
Ford Truck Parts for Sale
1
Apr 13, 2013 09:39 PM