
4R100 Pump & seal questions.
#1
 02-24-2014, 06:57 PM


Join Date: Apr 2013
Posts: 60
Likes: 0
Received 0 Likes
on
0 Posts
4R100 Pump & seal questions.
Long story short I replaced the pump seal, which almost immediately started leaking worse than before.
I haven't taken it apart but I'm guessing the front seal pushed out because it leaks a lot and I didn't use locktite like the old seal that was in there.
This time around I'm going to just pull the pump and do the bushing, gasket and o-ring as well as a new viton pump seal.
I bought the kit on ebay for $24.
Here is my question. What the heck does the o-ring go to? I have dome some searching and even watched a video on youtube of the job and no o-ring is mentioned or visible anywhere.
Here are the pictures of what I'm talking about.
Here is the o-ring I'm talking about. It's about the same size as the gasket.
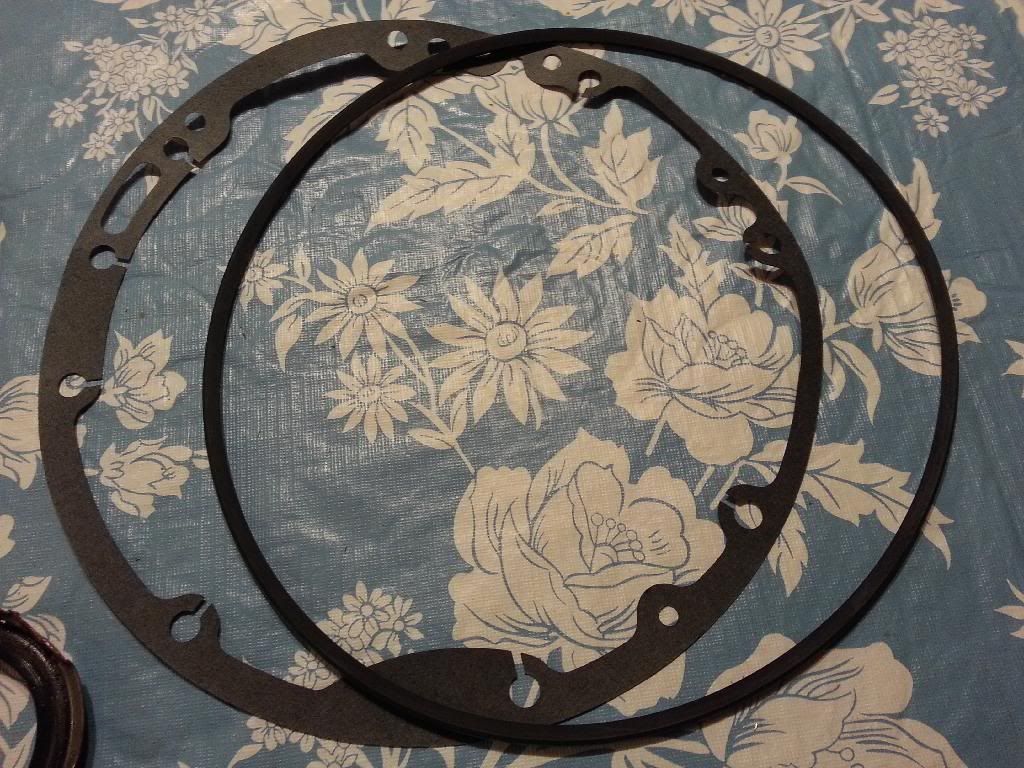
And since we all like pictures here are more of the rest of the kit.
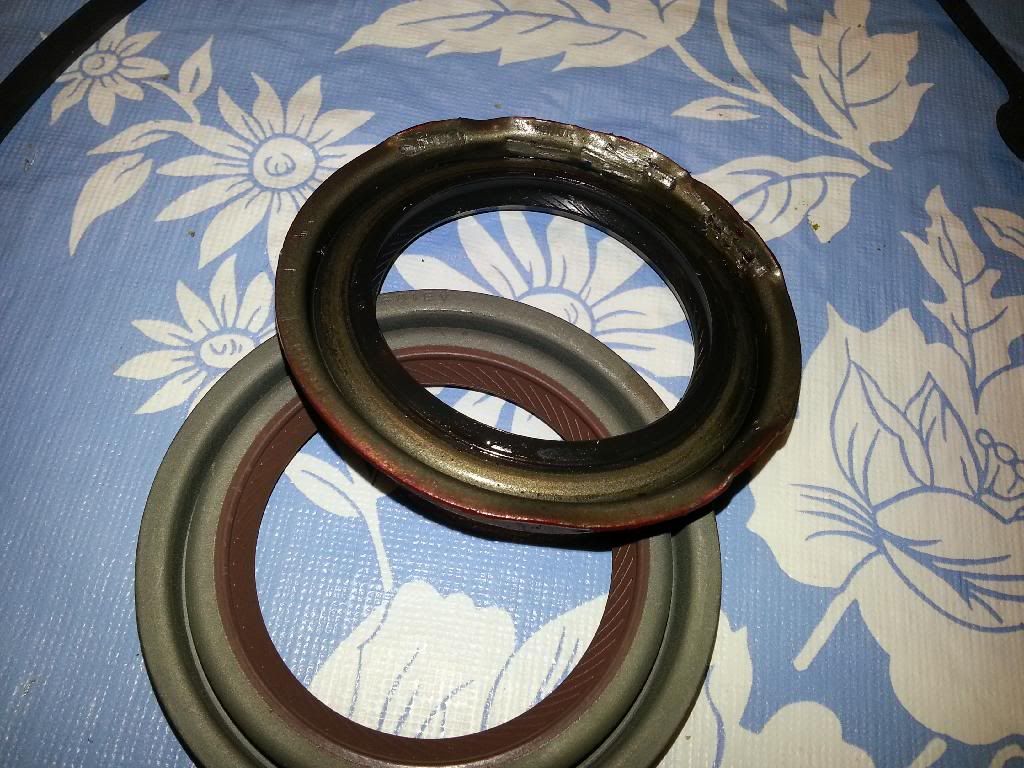
Take note of the brown viton rubber. In my searches it seemed the general consensus was that the viton seals are the black ones, which isn't necessarily true. I've read blue and grey ones exist as well.
Old seal, and new seal
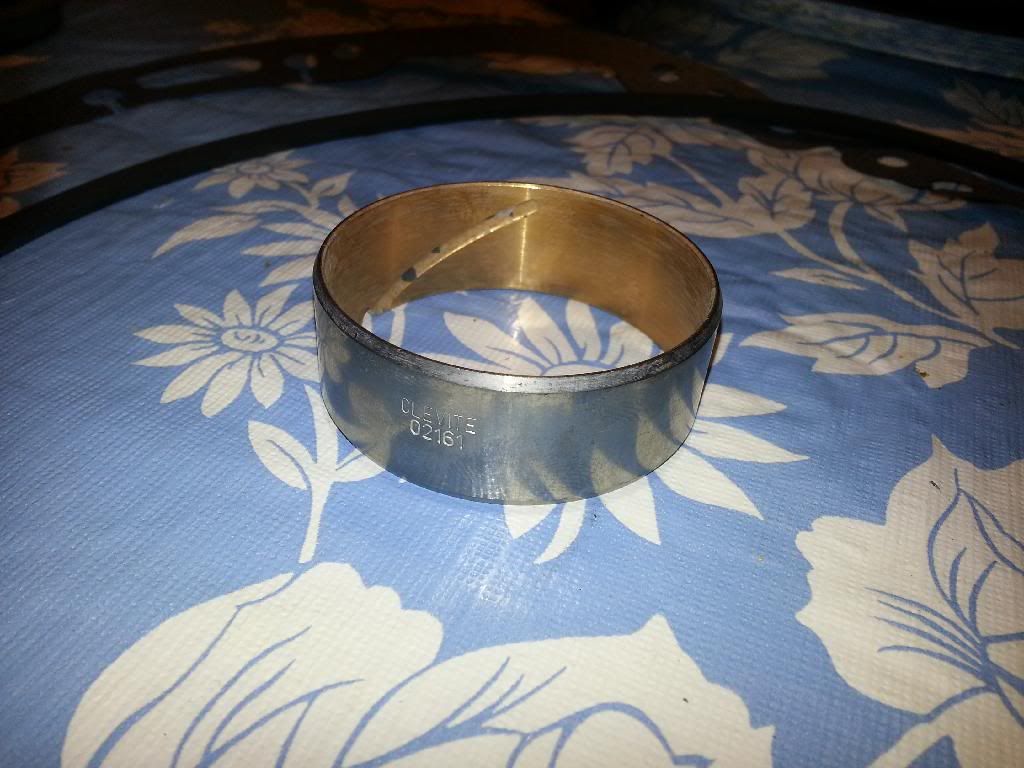
Clevite bushing
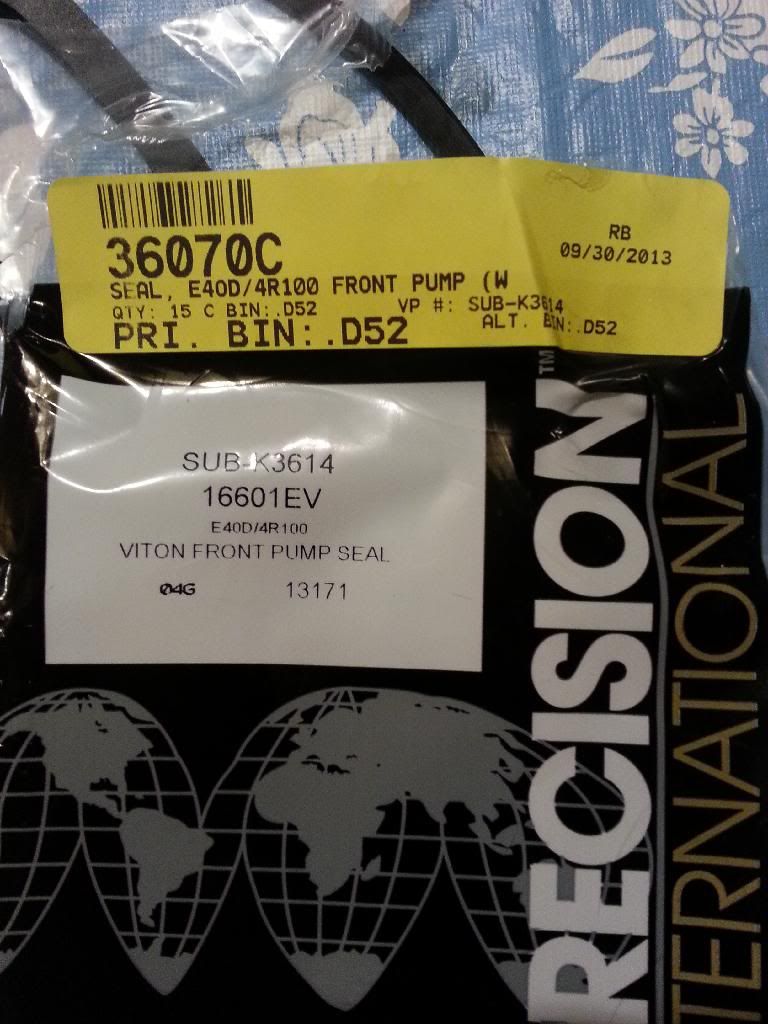
Pump seal part numbers
I haven't taken it apart but I'm guessing the front seal pushed out because it leaks a lot and I didn't use locktite like the old seal that was in there.
This time around I'm going to just pull the pump and do the bushing, gasket and o-ring as well as a new viton pump seal.
I bought the kit on ebay for $24.
Here is my question. What the heck does the o-ring go to? I have dome some searching and even watched a video on youtube of the job and no o-ring is mentioned or visible anywhere.
Here are the pictures of what I'm talking about.
Here is the o-ring I'm talking about. It's about the same size as the gasket.
And since we all like pictures here are more of the rest of the kit.
Take note of the brown viton rubber. In my searches it seemed the general consensus was that the viton seals are the black ones, which isn't necessarily true. I've read blue and grey ones exist as well.
Old seal, and new seal
Clevite bushing
Pump seal part numbers
#3
02-24-2014, 07:53 PM

Senior User
Join Date: Aug 2007
Location: Fresno, CA
Posts: 412
Likes: 0
Received 0 Likes
on
0 Posts
UGH, typed this and then encountered a "database error" and had to start over. The new seal likely leaks because the bushing is worn. Make sure the snout of converter is in OK shape as well.
The o-ring goes around the body of the pump to seal it to the case. Make sure you align the pump halves properly if you disassemble it to do the bushing(I did). Also make sure you seat the bushing fully, but be careful not to damage the pump.
Pump to case bolts are 18-23 lb-ft
stator support to pump body are 80-100 lb-IN
I hope this helps.
#4
02-24-2014, 08:03 PM
Join Date: Apr 2013
Posts: 60
Likes: 0
Received 0 Likes
on
0 Posts
The pump snout is less than perfect. That i specifically remember. It's not galled where the seal goes or anything. It does look a little worn (not pitted or signs of binding or anything) on one side. Almost like you would see the ring lip on a cylinder wall. It's only on one side.
Apart from buying another converter, what are my options there?
And yes, thanks. That info is very helpful.
Apart from buying another converter, what are my options there?
And yes, thanks. That info is very helpful.
#5
02-24-2014, 09:58 PM
I hope you have better luck than I did using the Precision seal. Mine leaked even on a fresh rebuild with a new pump bushing and torque converter. I vowed to never use them again. I ended up pulling the trans and installing a Viton seal from NAPA. No more leak. This is the seal I used. http://www.napaonline.com/Catalog/Ca...455_0346189674
When replacing the bushing, pay close attention to the oil groove and its relation to the housing. You'll want to install it back the same way. Also, there is a VERY thin lip on the pump housing. The bushing goes in one way and should be seated against this lip. You can use 2 large worm gear clamp, interlocked together, to go around the pump housing halves to align the them. Have the bolts installed loosely to index the holes and passages.
When replacing the bushing, pay close attention to the oil groove and its relation to the housing. You'll want to install it back the same way. Also, there is a VERY thin lip on the pump housing. The bushing goes in one way and should be seated against this lip. You can use 2 large worm gear clamp, interlocked together, to go around the pump housing halves to align the them. Have the bolts installed loosely to index the holes and passages.
#6
02-26-2014, 11:09 AM
Join Date: Apr 2013
Posts: 60
Likes: 0
Received 0 Likes
on
0 Posts
#7
02-26-2014, 07:55 PM
Senior User
Join Date: Aug 2007
Location: Fresno, CA
Posts: 412
Likes: 0
Received 0 Likes
on
0 Posts
Trending Topics
#9
02-27-2014, 10:37 PM
Senior User
Join Date: Aug 2007
Location: Fresno, CA
Posts: 412
Likes: 0
Received 0 Likes
on
0 Posts
#10
02-27-2014, 10:53 PM
Join Date: Apr 2013
Posts: 60
Likes: 0
Received 0 Likes
on
0 Posts
#11
02-28-2014, 07:32 AM
There is no bandaid for worn parts. The bushing also helps keeps oil excessive oil back away from the seal. Some early front pump housings have smaller oil passages than others. Enlarging these holes and the notch in the bushing where they mate can also help with pressure build up behind the seal.
#12
02-28-2014, 09:17 AM
Postmaster
There is no bandaid for worn parts. The bushing also helps keeps oil excessive oil back away from the seal. Some early front pump housings have smaller oil passages than others. Enlarging these holes and the notch in the bushing where they mate can also help with pressure build up behind the seal.
Now here in these photos is of what NOT to do!!! This bushing is in the wrong way! It is upside down. The first thing wrong in these photos oil return notch which should be at the TOP lined up with the return hole. And oiling groove should be pointed towards the inside of the pump. " Away from the seal"
Now in this photo at the top is the oil return port that is where the notch should be lines up. The little notch to the right is to pin it.
When I went to fix the problem I could only get my hands on a Clevite 03036 and had to make my own return notch because the # 03036 did NOT come with a notch for the oil return. Old sytle bushings did not have the return slot. Also when I install a pump bushing I pin the bushing and use Loctite Sleeve Retainer 640 (Green) to hold the bushing in place to keep it from spinning.
#13
02-28-2014, 09:32 AM
Postmaster
Now as I look at this bushing I think it is wrong. I would double check this Clevite 02161. THe reason I say this is the oil sling groove is facing the notch for the oil return. See how the groove doesn't go all the way though. So if you use this bushing and line up the notch for oil return the oil sling groove will be pushing the oil to the seal NOT away. If you look at my first photo of the correct bushing that is installed "WRONG" the oil return notch is on the opposite side of the oil sling groove.
Hopefully Roland or someone else will correct me if I am wrong? But I do believe I am correct in what I am seeing here. Because I am positive you do NOT sling the oil towards the seal.
Sorry I should have just posted this to start with . https://www.ford-trucks.com/forums/1...p-bushing.html
Hopefully Roland or someone else will correct me if I am wrong? But I do believe I am correct in what I am seeing here. Because I am positive you do NOT sling the oil towards the seal.
Sorry I should have just posted this to start with . https://www.ford-trucks.com/forums/1...p-bushing.html
Last edited by BadDogKuzz; 02-28-2014 at 09:51 AM. Reason: Added Link
#14
03-16-2014, 03:53 PM
Senior User
Join Date: Aug 2007
Location: Fresno, CA
Posts: 412
Likes: 0
Received 0 Likes
on
0 Posts
#15
09-08-2014, 04:31 PM
Join Date: Apr 2013
Posts: 60
Likes: 0
Received 0 Likes
on
0 Posts
yes I got the leak fixed (cracked converter) although it still has a tiny drip, ever so slight. I'm wondering if the leak is actually coming from the pump, and not the pump seal but I can't tell for obvious reasons.
Turns out the torque converter was cracked causing all the fluid loss. Replaced it with a billet revmax unit with a 5r110 turbine and all is more or less fine.
Turns out the torque converter was cracked causing all the fluid loss. Replaced it with a billet revmax unit with a 5r110 turbine and all is more or less fine.