When you click on links to various merchants on this site and make a purchase, this can result in this site earning a commission. Affiliate programs and affiliations include, but are not limited to, the eBay Partner Network.
The following was performed on an '03 E250, Power Window & Power Door Locks (PW & PDL). Apart from removing the window crank on standard window regulators this is common for model years 1992 through at least 2008. Later years may be the same or similar however I have no direct experience with those models.
The exact order of the first steps isn't important though---this becomes apparent as we proceed. Left door is shown but procedure is similar for the right side as well.
Everything done here can certainly be accomplished with dedicated auto upholstery tools but they don't need to be expensive. Used here is the Lisle #35400; cheap, readily available at most auto part retailers or online. Fact is a good metal kitchen spoon would work.
Onward then............for most people lowering the window is advised---less chance of breaking it during this process.
Fully assembled door, yellow outlines denote four (4) screws that need to be removed, access first requires removal of three interior trim pieces numbered in green:
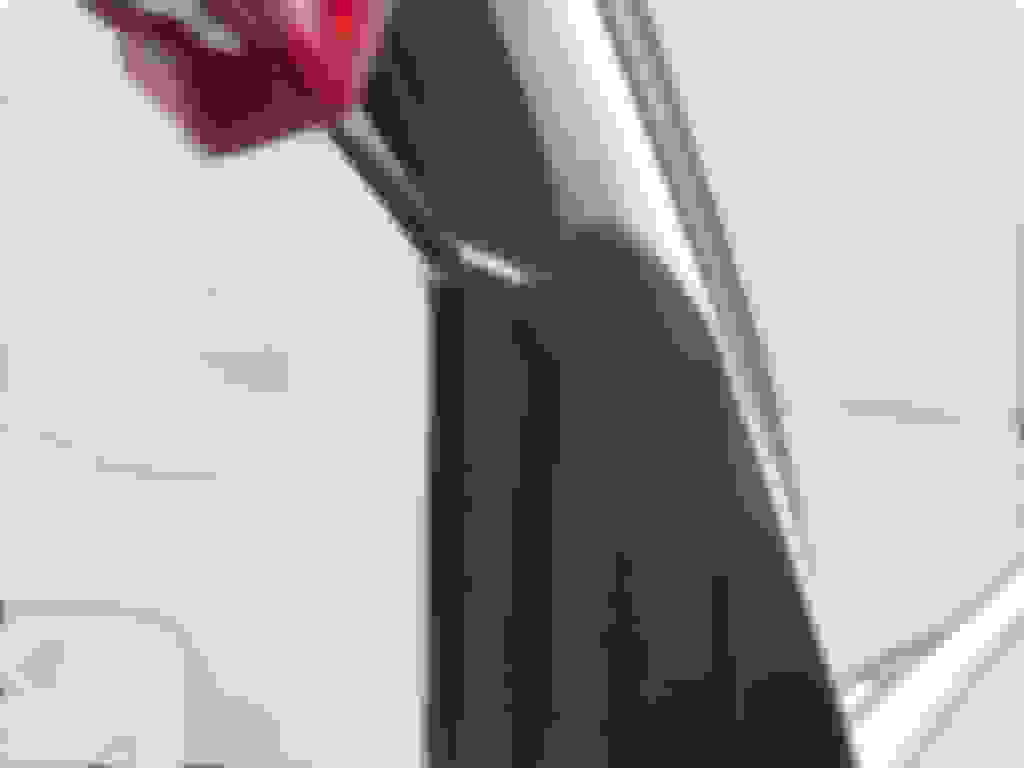
First off is the upper black trim panel covering the mirror mounting bolts. Fingers alone will work here as long the top clip pops loose first. Once free at the top pull slightly outward then lift it straight up so the bottom tab clears the door panel.
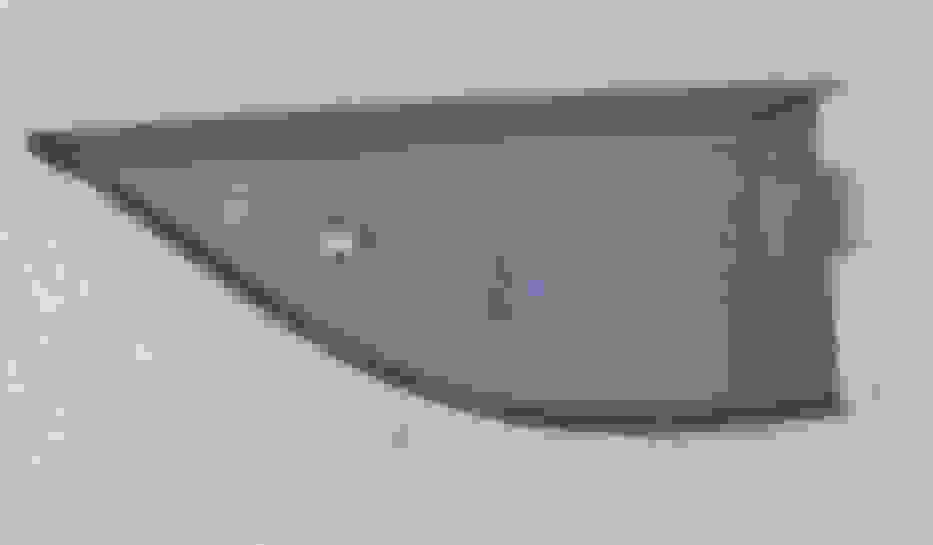
Photos of the backside of the upper trim piece---maybe this gives a better idea what holds it to the door shell:
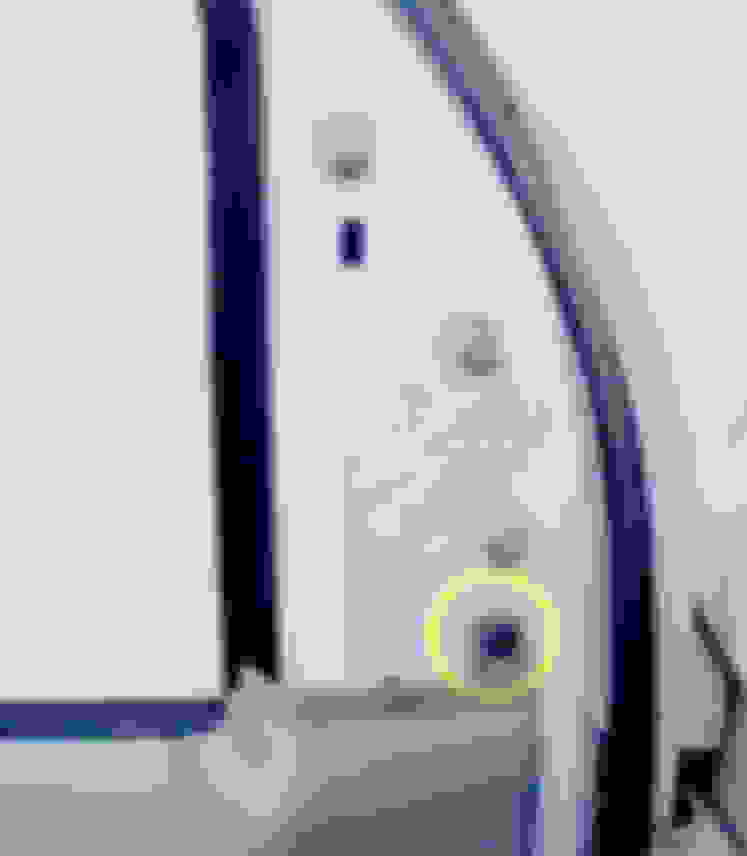
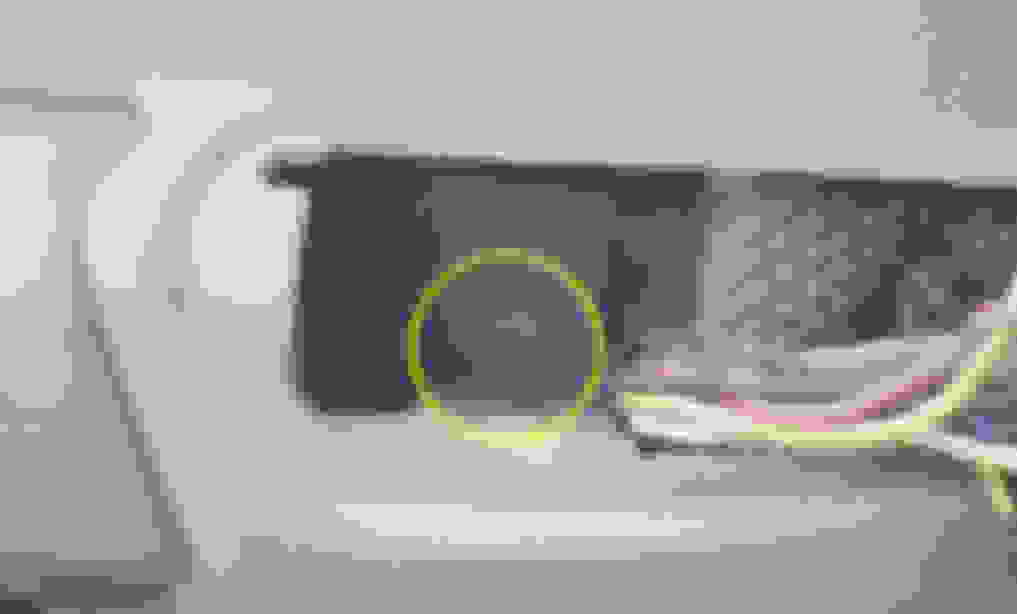
The first of four (4) screws to be removed is now visible and accessible:
Once the above screw is removed time to remove another trim piece to access another screw. In this case with PW & PDL the master control switch panel is lifted out:
The above part has a removing point, shown here:
Once that panel is loose from the door just let it dangle for the moment---we'll deal with it after a few more removal steps.
Remove this screw located behind the PW & PDL master switch panel:
Next up is the interior door handle trim panel---note the removal recess:
It pries out of the trim panel like this:
Back side views of that panel ^^^ showing it's attachment points:
Once the above panel is free from the door remove this screw:
(Also shown above is the master switch dangling while the larger trim panel is still in place---careful handling won't damage it or the wiring.)
Showing the last remaining screw to be removed before the interior panel can be removed. There is or should be a small plastic cap covering this screw; remove it and keep for re-installation:
At this point the larger door panel is ready for removal---it simply lifts upward by holding onto the integrated hand grip. Be advised the panel should only be lifted upwards, sometimes requiring a bit of a sharp tug. If its been in place a long time it will require a strong tug. DO NOT pull outward as you WILL DAMAGE mounting tabs cast into the trim panel like these:
Another view of those mounting tabs:
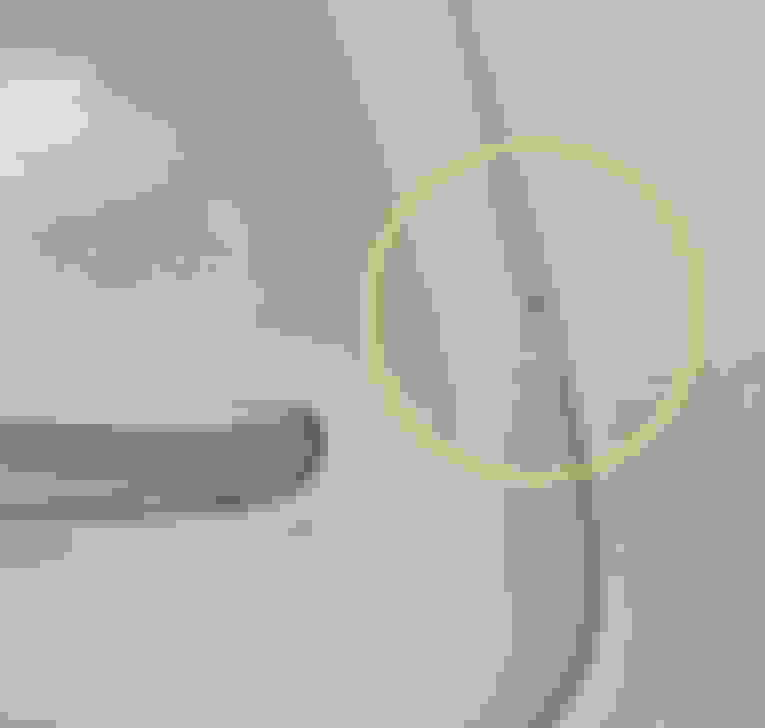
The top of the interior trim panel is held against the door shell by fitting into a channel formed by the sash molding as shown below
Before removal:
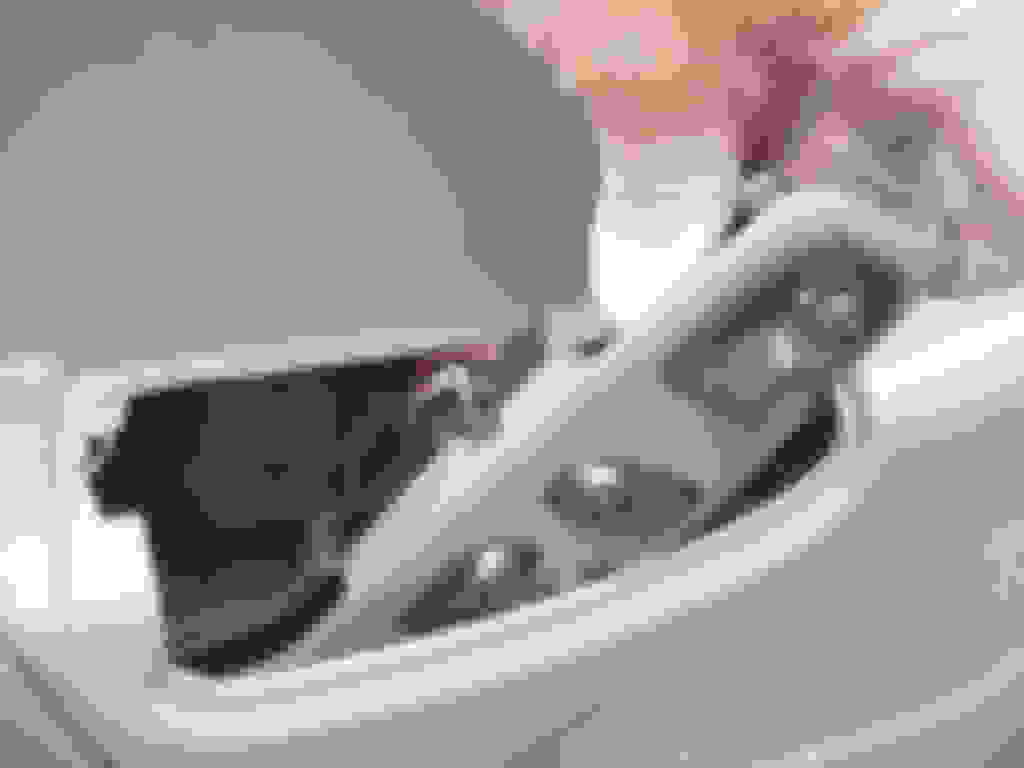
Once the panel is lifted upward you'll see this:
As you are raising the panel you need to push the PW PDL master switch panel somewhat like this:
Do be careful to not force this through the opening---it'll fit with a small bit of twisting etc.
This is what you should see now:
Notice the red circles---they align with the yellow circles in the photo of the backside of the interior trim panel.
At this point if you need access to the inside of the door shell CAREFULLY remove the plastic sheeting---last time I checked they are NOT available from the dealers, most likely they were never available in the aftermarket either. That sheet is held in place with a sticky double-sided tape that can be coaxed apart by SLOWLY pulling it--a low powered heat gun might work too.
This sheet works to stop wind blowing through the interior trim panel into the cabin. If it does tear patching it with any good grade of tape works well.
You should have full access to the inside of the door now.
Reassembling is just reverse order of removal for the most part. The challenging bits are aligning the interior panel tabs with their slots in the door shell, making sure the door lock button is poking through the top of the panel and making sure the top edge of the panel fits into the channel at the top of the window opening. Be advised its possible the PD and/or PDL's might not function after assembly, on just one side if both panels have been removed/reinstalled. This is due one or more wires have been slightly dislodged, not a huge problem.
Simply remove the offending switch panel once again, jostle wires leading into the particular lost function switch and eventually you'll find the loose wire. This might seem a somewhat crude approach but nothing more complicated is necessary. Operation shouldn't fail again since nothing typically acts on those connections; if they fail again you'll know where to begin troubleshooting.
If anyone can add a few images of handle removal for non-powered windows it would be a nice addition here.
The 02 and earlier or maybe it's 01 not sure but they only have 3 screws. Behind the black trim piece, behind the door handle cover and at the bottom of the door. Other than that it the same. Great info as alway JWA
That door panel (pocket specifically, and overall condition) appears to be from a model newer than 2003...
The model year was mentioned in the first sentence---that's not changed since it was originally posted. Everything is original to the chassis, nothing altered that would affect this information.
While there might be a few relatively small MINOR differences between the outward features of an interior trim panel as seen in the one used here as an illustration or reference the process remains very similar. In addition to being in the auto glass biz AND having done this chore on my own '97, '00 & 03 E250's I can assure its very much the same.
thanks for posting, this is a great reference guide. I recently pulled my door panels to add new speakers, the factory book is good but this is much better! BTW I snagged, and cracked, the front clip in the passenger side power window mechanism. Went back in fine but I had that oh **** moment!
My vans at the paint shop, getting the upper portion painted viper red. Hope to get it back in a week then I'll post some pictures.
When you get a brake upgrade solution for an E-150 worked out, let me know. I see that you changed avatar pictures, Linda will be hurt! Take care, Mike
When you get a brake upgrade solution for an E-150 worked out, let me know. I see that you changed avatar pictures, Linda will be hurt! Take care, Mike
Linda's still #1 in my book of car chicks----Donna Loren would be my real true love though--Christie's just a place holder for now!
The '08 brake upgrade on my '03 E250 is done and has enough miles on the swap to strongly suggest it to anyone not happy with the stock pre-'08 brakes. Not sure if its doable on the E150 chassis since the front spindles etc etc of the E150 (before a certain year) aren't the same as the E150's.
I've got a 2003 E-150 (Chateau). We did trade some notes on the brakes before, Seems like I'd need to go to the 8 lug hubs. don't really want to have to get rid of my factory 2004 aluminum wheels too. Keep me posted and thanks
I've got a 2003 E-150 (Chateau). We did trade some notes on the brakes before, Seems like I'd need to go to the 8 lug hubs. don't really want to have to get rid of my factory 2004 aluminum wheels too. Keep me posted and thanks
Ahh okay I recall all this now----darned old age!
Can't be of much help changing the E150 front bits, not even sure if its possible on that year chassis. Wish I could be of more help but in this case I can't.
A career as a how to tech writer! You would be great!
Oh!
I'd need only be a better photographer, write more like an adult than a pre-schooler and possess a much much more thorough knowledge of my subject matter.
So yeah I guess that new career might be possible?
Thanks for the compliments---they're indeed truly appreciated!
I want to thank you for taking the time to write this up and supply photos. Even a novice should have no problem getting the door panel off. While I don't need to take mine off right now, I may have to in the near future if I have to replace the door latch assembly on my 2000 E150. I have bookmarked this for future use.
Rezvani's Latest Post-Apocalyptic Monster Is a Ford F-150 Raptor Underneath
Slideshow: Called the Fortress, the 850-horsepower pickup combines Raptor underpinnings with military-inspired features, survival equipment, and a starting price of $285,000.