New "X" Toy hauler


Thread Starter
|
Senior User
Joined: May 2011
Posts: 139
Likes: 0

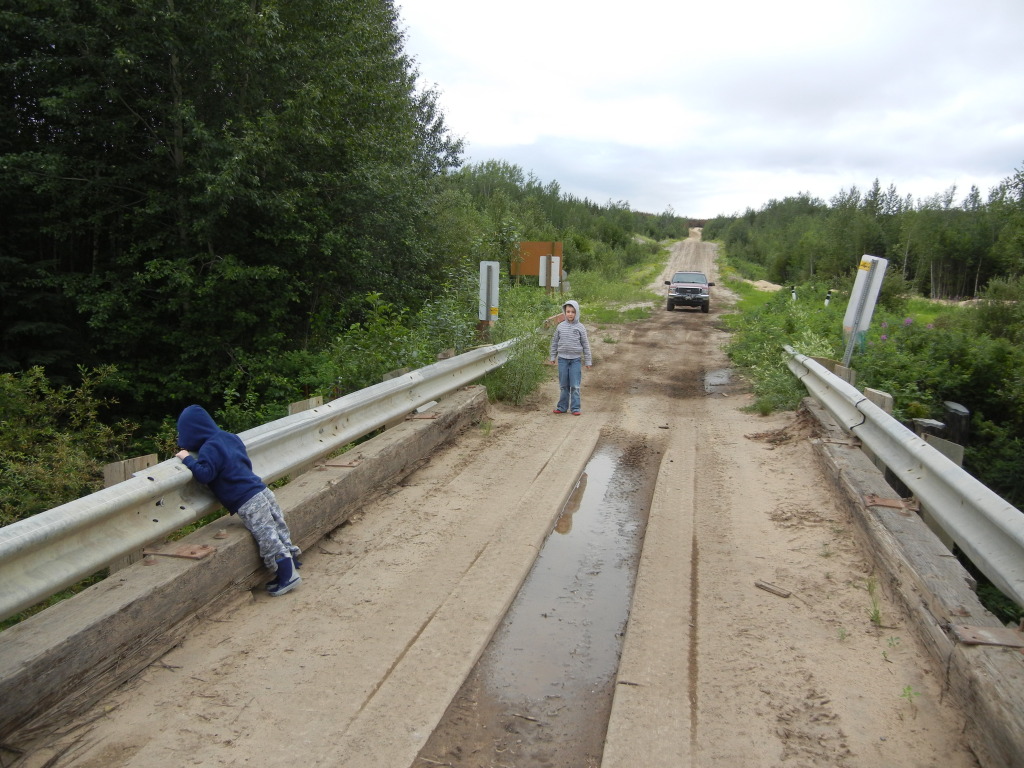
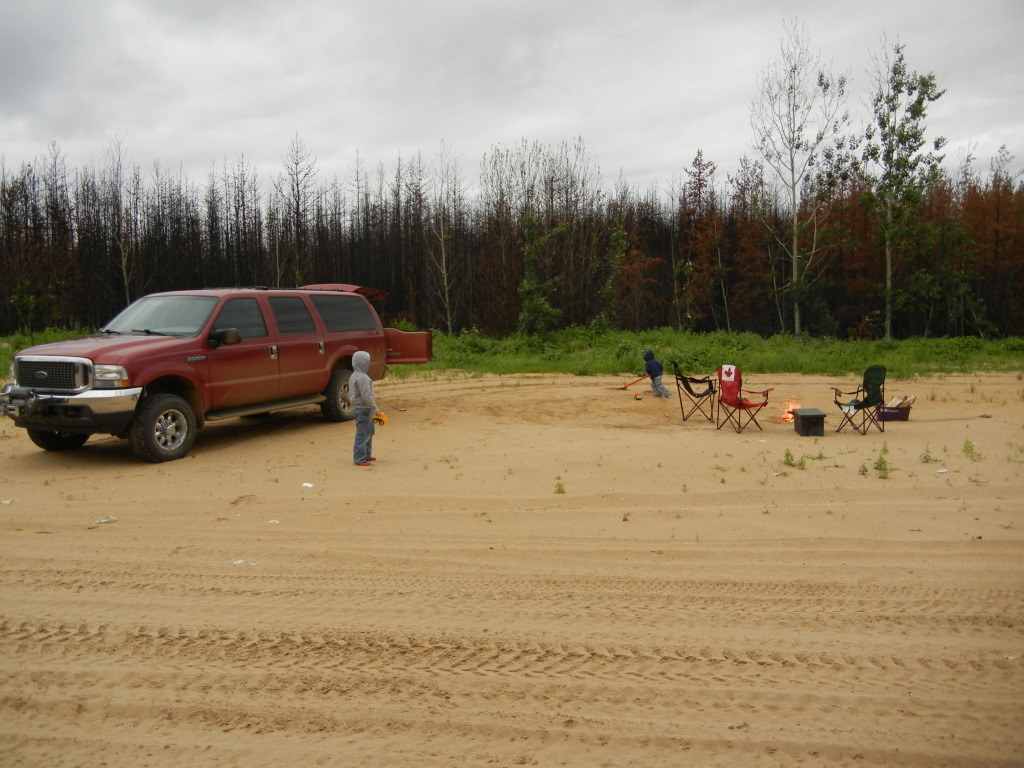
Here we are ready to go up the winter road to have a picnic/camp fire.
I have always had the portable winch from offroading so I thought I'd mount it up. It has a quick plug on it which I just ran from pass. side battery and down to the lower valence on the front bumper. So the winch just plugs in just below the front receiver.
Here we are out on the winter road. The X is great in the sand and the whoops
Thread Starter
|
Senior User
Joined: May 2011
Posts: 139
Likes: 0
Well, while changing the oil this morning I thought I would tackle my leaking valve cover.
A few weeks ago I bought some gaskets (with harnesses) off ebay for about a total of $160 (with shipping). It sure beat the over $600 at Ford for the same parts!!
So far I've removed the cold air tube (also removed, but didn't disconnect, the coolant reservoir), and released the dipstick tube and the heater hoses. I'm used to working on 20-30 year old trucks and having much more room than this!
Next to tackle, are the 10 bolts holding on the valve cover!
Thread Starter
|
Senior User
Joined: May 2011
Posts: 139
Likes: 0
WTF!! So I get to takin all of the bolts out that hold on the cover, and what do you know. The rear most bolt is finger tight and the second furthest one is partially out!!
So, everytime I ran the truck up the hill, the oil would leak out of the back of the gasket and onto the manifold.
I'm so glad that Ford diagnosed this leak as a worn gasket and quoted me $1000 to fix (labour and parts). Those dicks!
So I just decided to tighten them all and put everything back together.
No Leak!!! I can actually burn around town without worrying about the burning oil smell every time I stop. And no more drips on the ground!
Thread Starter
|
Senior User
Joined: May 2011
Posts: 139
Likes: 0
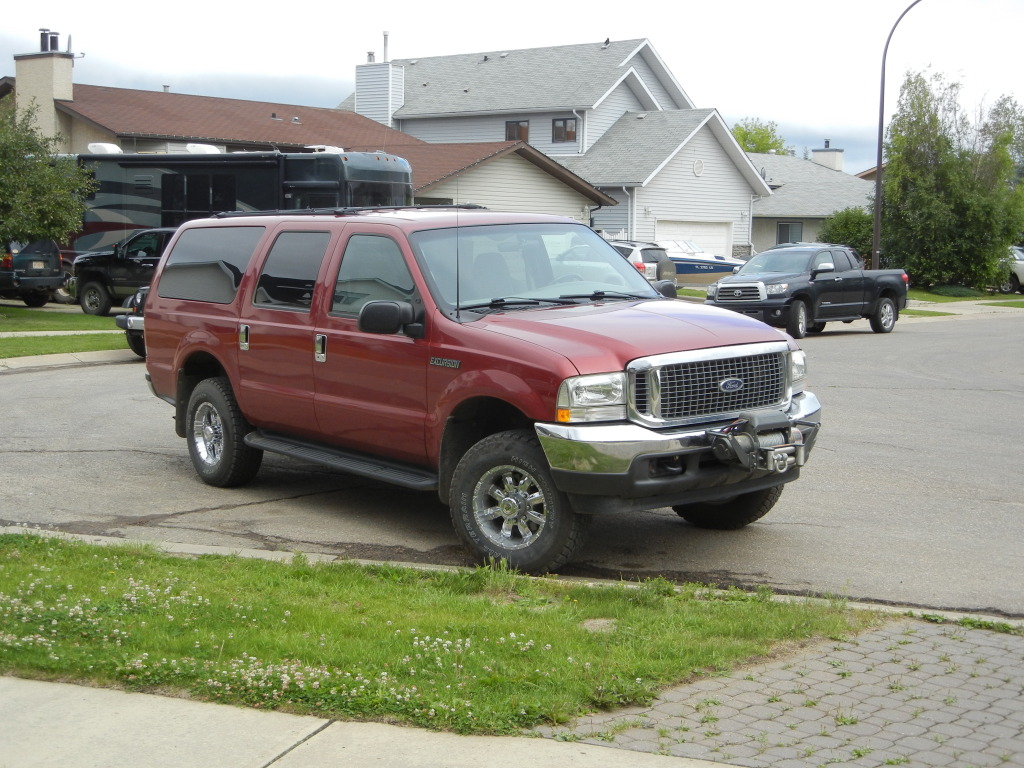
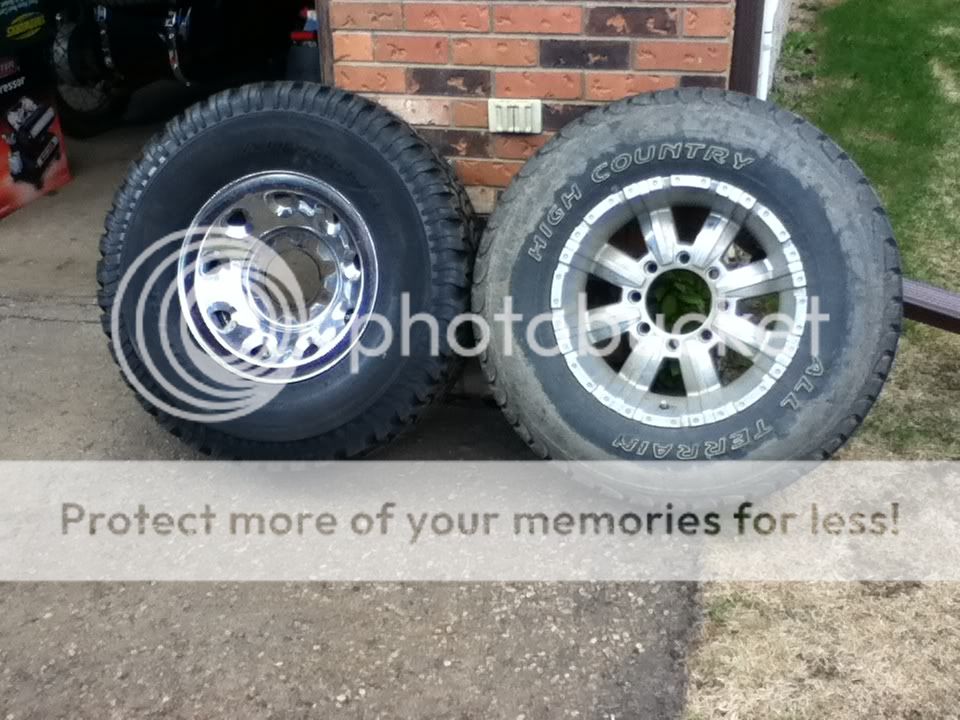
Time to post a few more upgrades. Here are the new tires/wheels getting put on. Found some 16" f250 rims (2003?), and painted them up on the inside (used a straw on the spray can from a WD-40 can - worked awesome getting into tight spots)
Here are the two beside each other. It doesn't look like it in the photo, but the BFG is slightly taller. The BFG is a 285/75R16 on a 7" wide rim. The Falken is a 285/70R17 on a 9" wide rim.
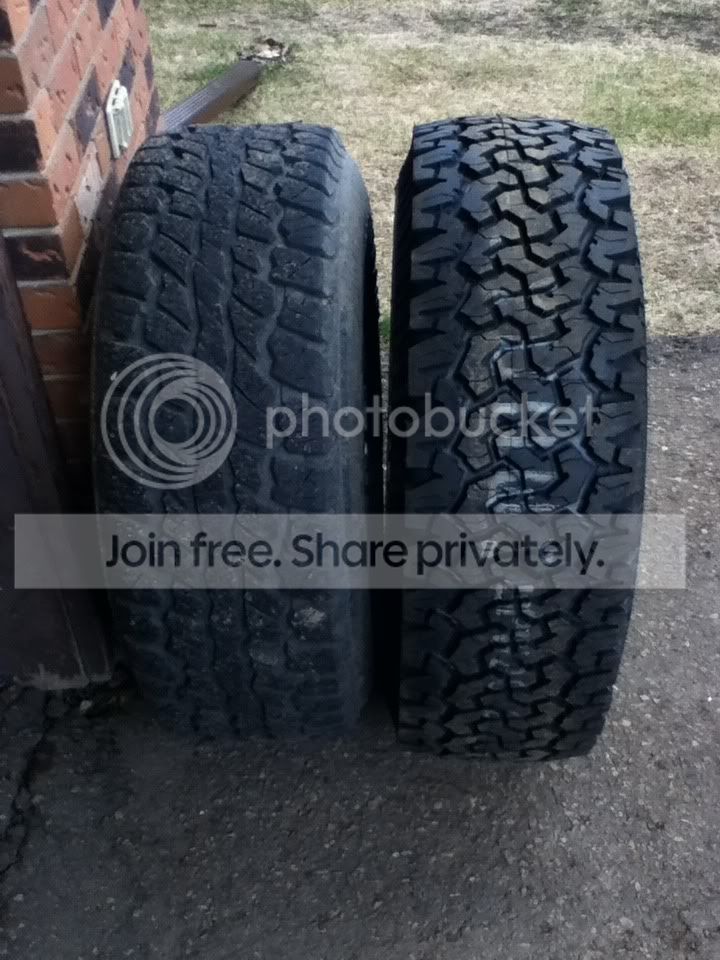
Here shows the width difference (because of the different width rim)
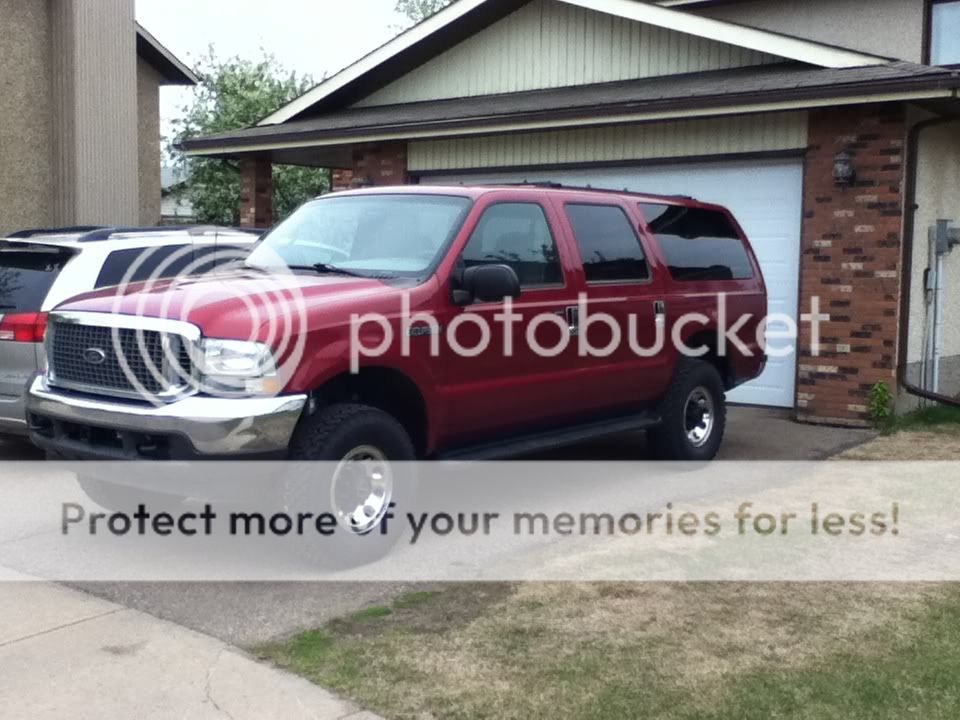
And here they are on the truck with black center caps, which I prefer over the chrome ones (I have the chrome ones too). Oh and I removed the mudflaps as they needed to be remounted a little better. Just haven't done it yet
Here are the two beside each other. It doesn't look like it in the photo, but the BFG is slightly taller. The BFG is a 285/75R16 on a 7" wide rim. The Falken is a 285/70R17 on a 9" wide rim.
Here shows the width difference (because of the different width rim)
And here they are on the truck with black center caps, which I prefer over the chrome ones (I have the chrome ones too). Oh and I removed the mudflaps as they needed to be remounted a little better. Just haven't done it yet
Thread Starter
|
Senior User
Joined: May 2011
Posts: 139
Likes: 0
Next task, rear hatch.
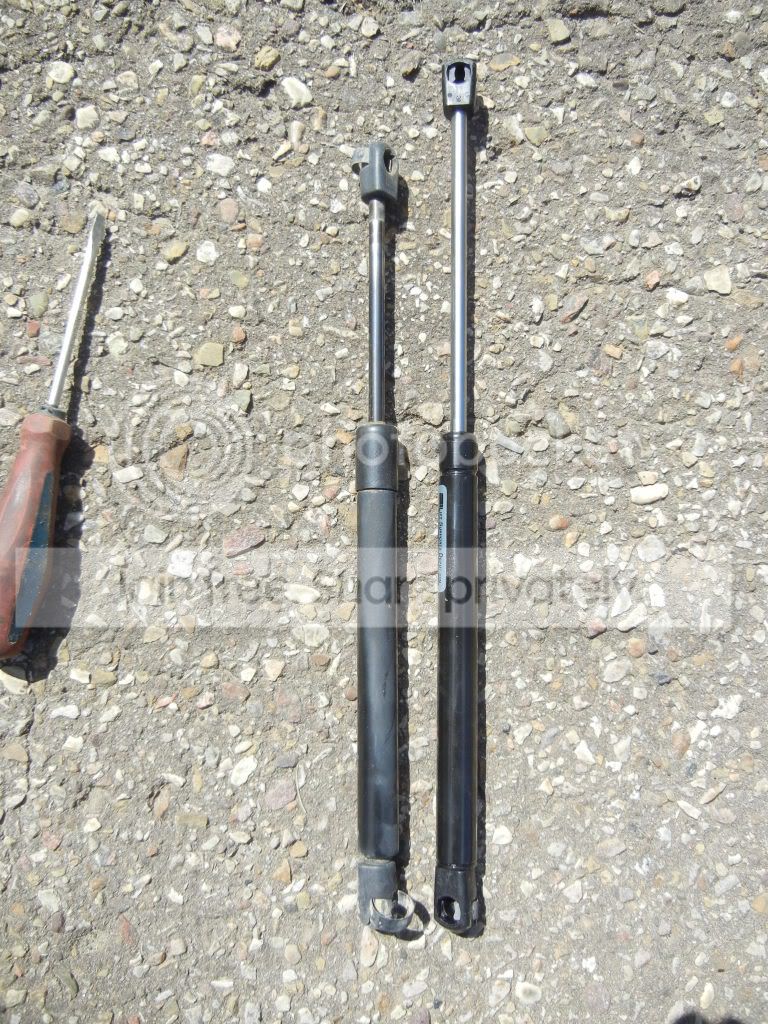
Original lift cylinders are lame. They
1 - can barely lift the hatch to the top
2 - don't hold up the hatch in weather colder than 5 degrees C
3 - only bring the hatch to mid forehead height (I'm 6'1")
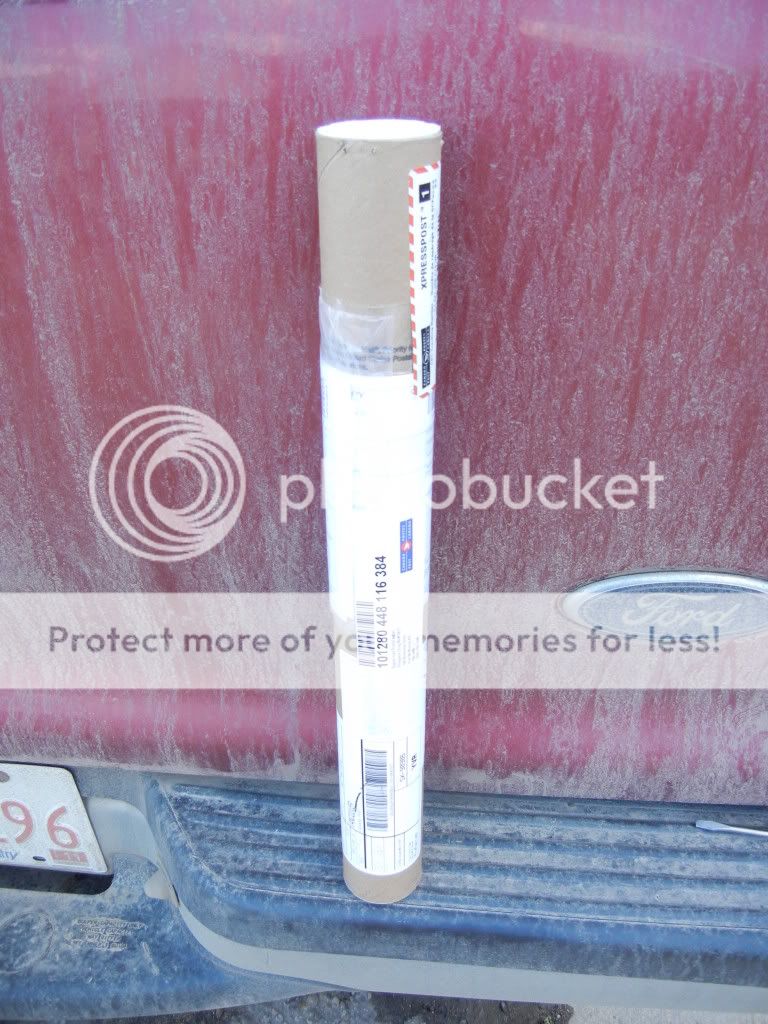
Found out about liftsupportsdepot.com from this forum and ordered some 6421 cylinders. They came in about a week (and I'm way up in Alberta!!)
Here they are in the package
Here are the 2 cylinders next to each other. About a 1.75" difference in length.
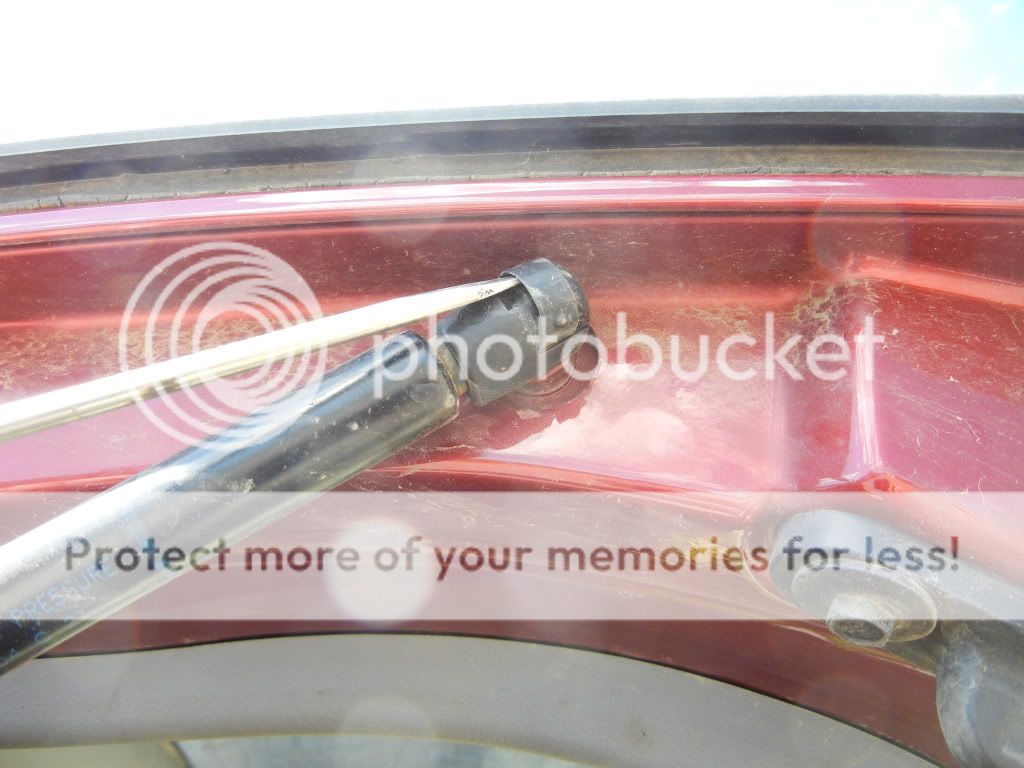
Here's how easy it is to remove the cylinders. 4 of these and put the new ones on.... done. Took about 10min (because I had to take pictures)
Original lift cylinders are lame. They
1 - can barely lift the hatch to the top
2 - don't hold up the hatch in weather colder than 5 degrees C
3 - only bring the hatch to mid forehead height (I'm 6'1")
Found out about liftsupportsdepot.com from this forum and ordered some 6421 cylinders. They came in about a week (and I'm way up in Alberta!!)
Here they are in the package
Here are the 2 cylinders next to each other. About a 1.75" difference in length.
Here's how easy it is to remove the cylinders. 4 of these and put the new ones on.... done. Took about 10min (because I had to take pictures)
Thread Starter
|
Senior User
Joined: May 2011
Posts: 139
Likes: 0
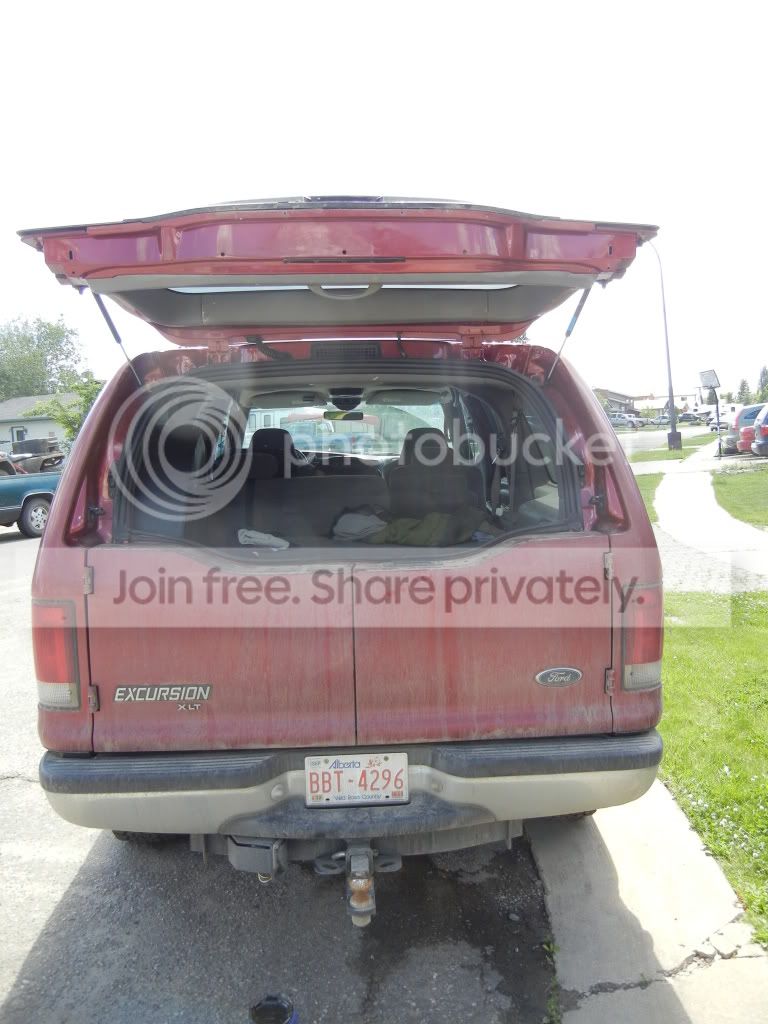
Here are some pics of the before and after.
Before

And after

And for everyone that hasn't done this mod yet, I'm sure you'll be jealous of this next pic. I measured the distance from the top of the hitch ball to the bottom of the hatch with both sets of cylinders. Holy S!! 1.75" longer cylinders gave me 11" higher opening!! You actually have to reach up to close it
Before
And after
And for everyone that hasn't done this mod yet, I'm sure you'll be jealous of this next pic. I measured the distance from the top of the hitch ball to the bottom of the hatch with both sets of cylinders. Holy S!! 1.75" longer cylinders gave me 11" higher opening!! You actually have to reach up to close it


Thread Starter
|
Senior User
Joined: May 2011
Posts: 139
Likes: 0
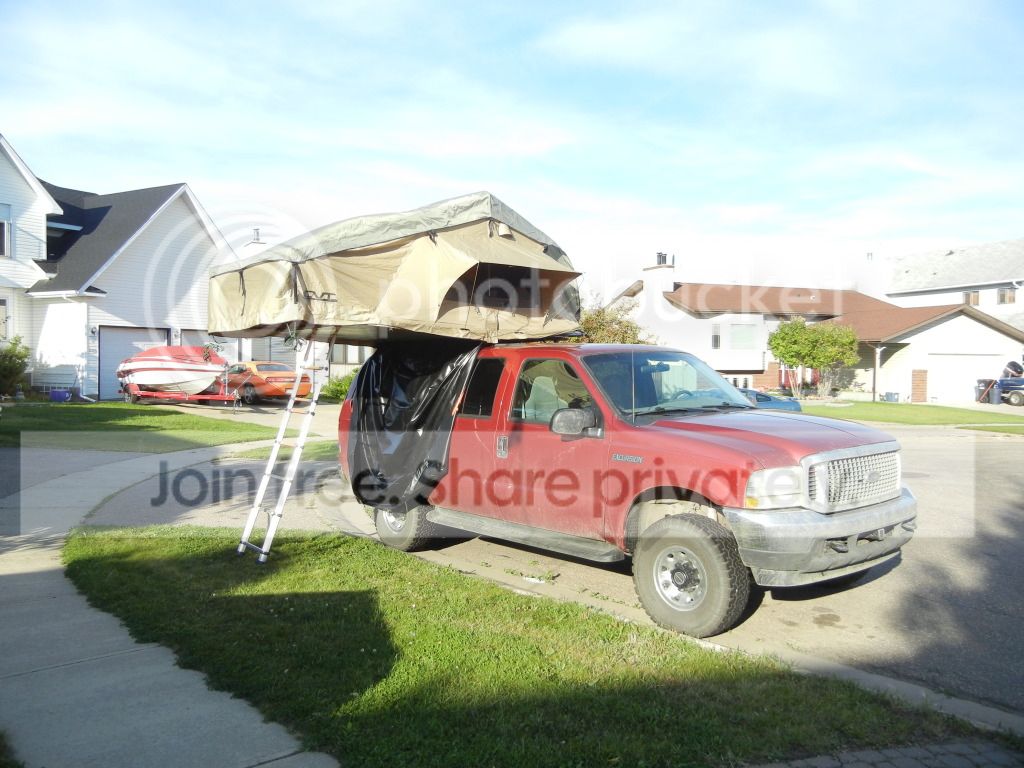
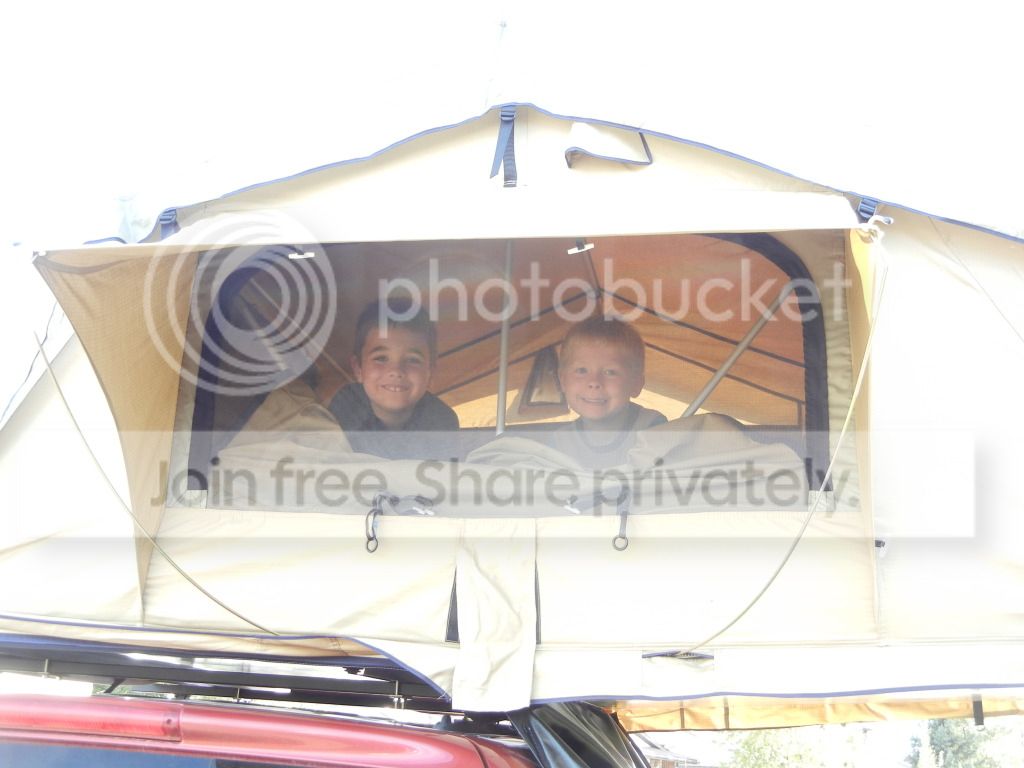
Beginning to build a new roof rack. I was going to remove the factory cross bars AND rails but once I looked at how the rails worked, I decided to use them.
Built some mounts and new crossbars (2 of them for now). Plan to build 2 more of these, then build a rack that mounts on them all. So there will be 8 mounting points along 7'. But more on that later.
Here are my completed load bars

Built some mounts and new crossbars (2 of them for now). Plan to build 2 more of these, then build a rack that mounts on them all. So there will be 8 mounting points along 7'. But more on that later.
Here are my completed load bars
Thread Starter
|
Senior User
Joined: May 2011
Posts: 139
Likes: 0


Hotshot
Joined: Jul 2008
Posts: 12,782
Likes: 2,142
From: N.GA Mountains

 , but I put vinyl floors in my X from ACC.
https://www.ford-trucks.com/forums/1...yl-floors.html
Beginning to build a new roof rack. I was going to remove the factory cross bars AND rails but once I looked at how the rails worked, I decided to use them.
Built some mounts and new crossbars (2 of them for now). Plan to build 2 more of these, then build a rack that mounts on them all. So there will be 8 mounting points along 7'. But more on that later.
Here are my completed load bars
Built some mounts and new crossbars (2 of them for now). Plan to build 2 more of these, then build a rack that mounts on them all. So there will be 8 mounting points along 7'. But more on that later.
Here are my completed load bars