When you click on links to various merchants on this site and make a purchase, this can result in this site earning a commission. Affiliate programs and affiliations include, but are not limited to, the eBay Partner Network.
Question about Cowl Vent lacing and cab repair for my F-1
I am about to get my cab to the point where I can get it primed. I at least have to get it one color so I can then see the dents and dings that I need to fill out so I can get it smooth.
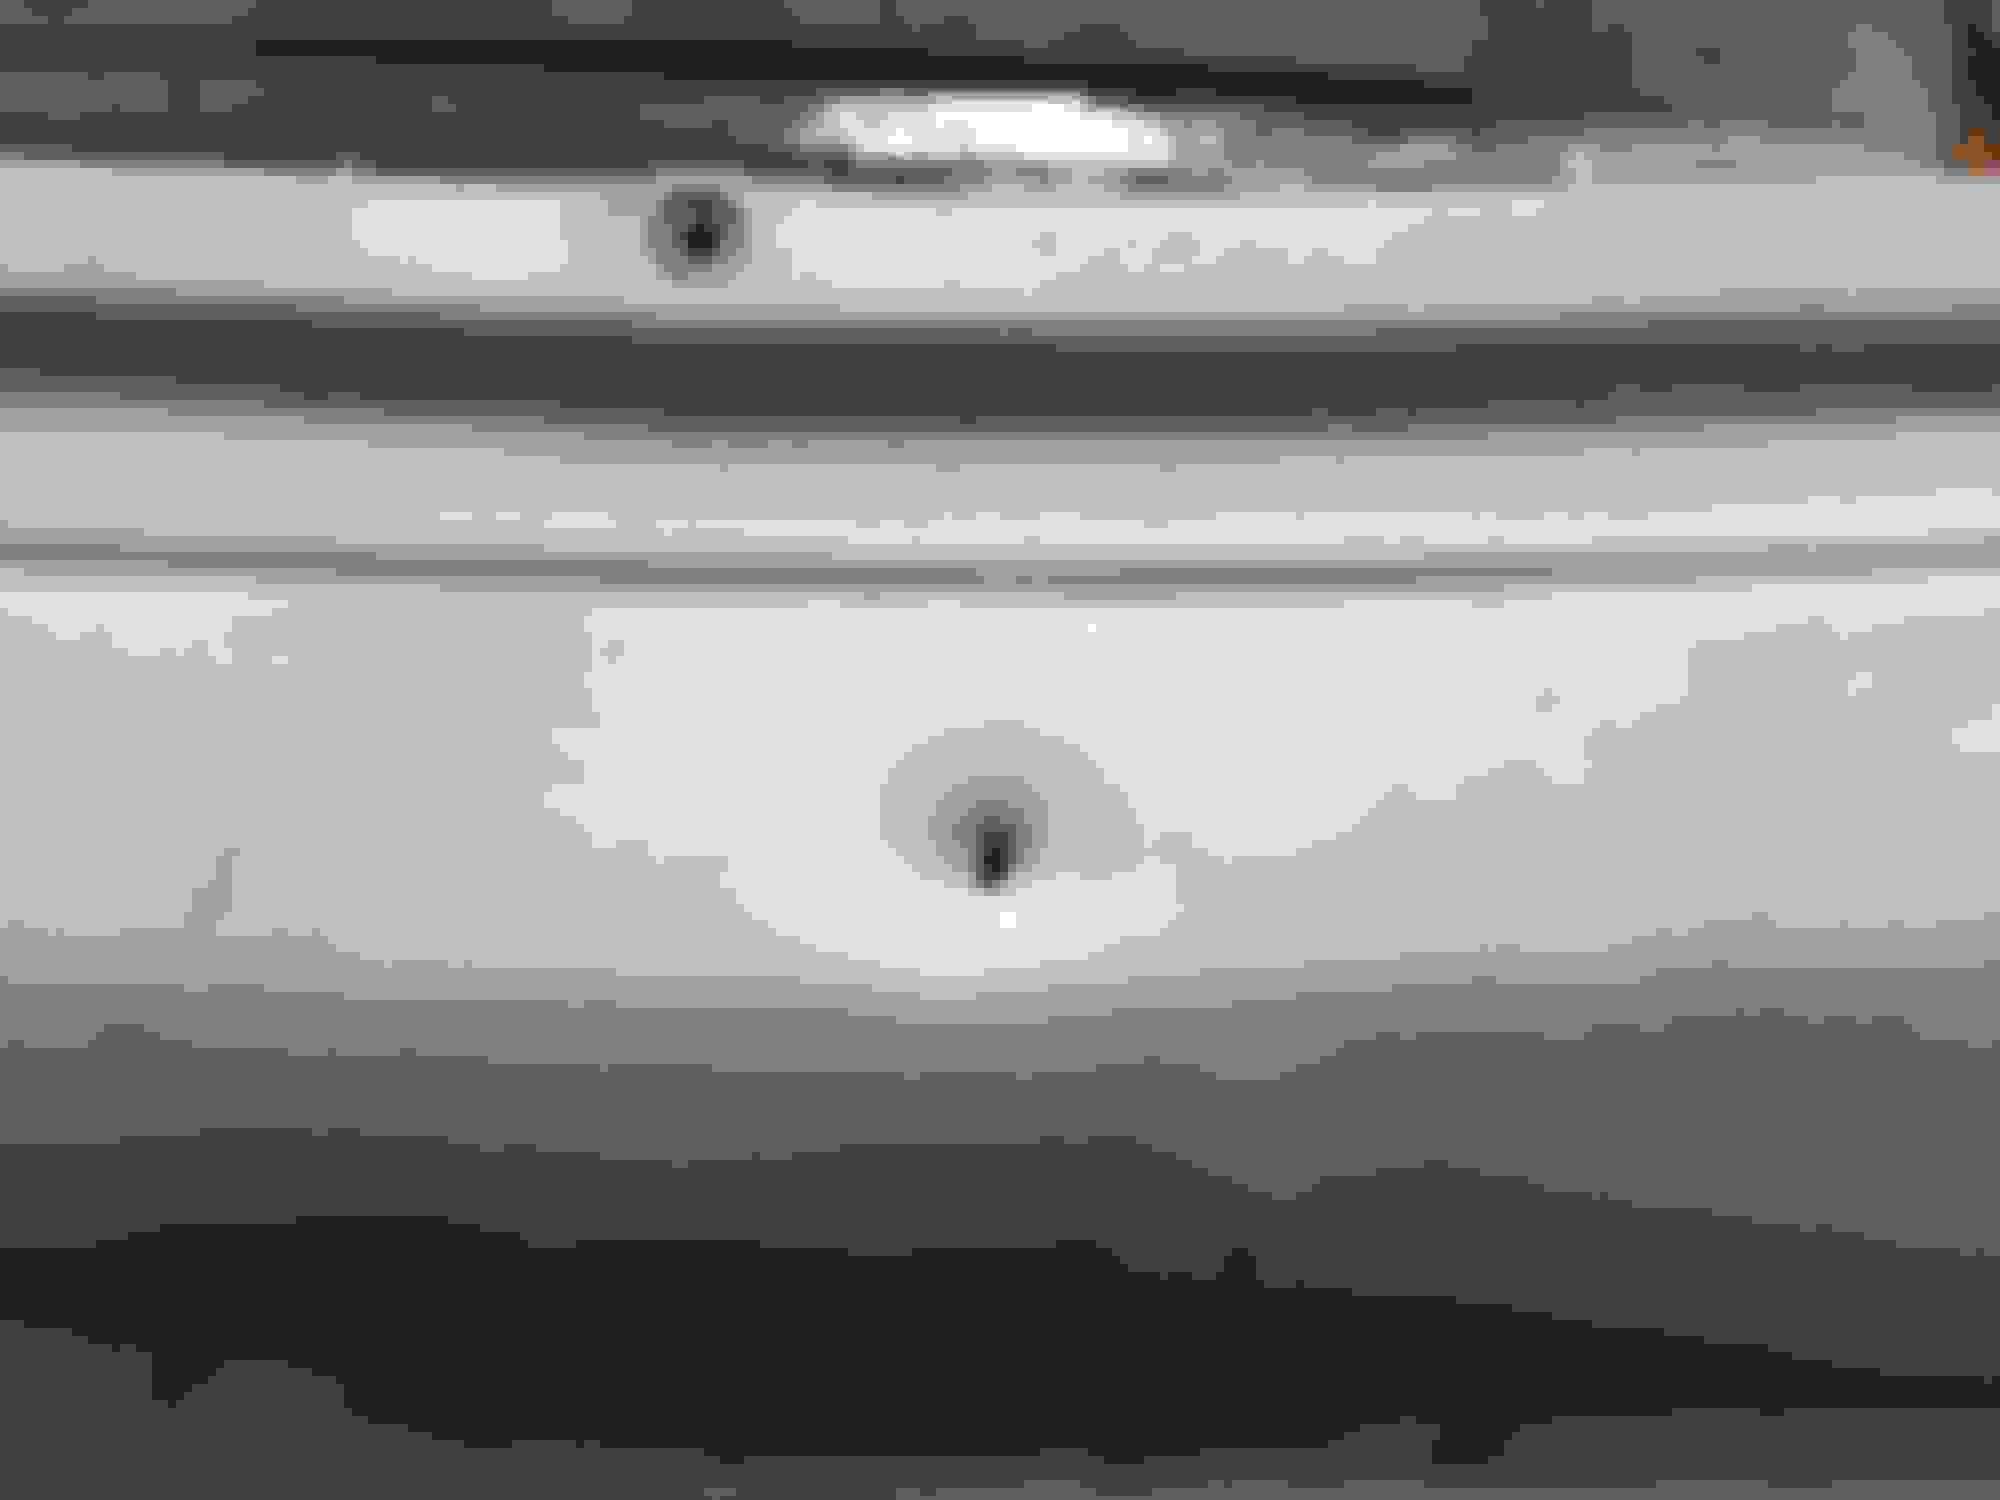
On the front of the cab where the cowl vent lacing is attached with the brass brads nailed into to sheet metal it appears I'm debating on which way to fix this. I plan to hammer and dolly it back to a smooth surface. I think I will probably touch up the holes with my welder to fill them so I get a get bite with the new brads. I don't plan to completely fill them so that I can see where the lacing goes when I get her painted and ready to nail it down. (Of course these will probably be the only welds I make that don't have pin holes! LOL! )
Am I making this too hard and overthinking it or have y'all done the same thing? I know it goes under the lacing and isn't seen, but they are also areas that allow water to drip into the cab. I have pics below.
I've just been through this. If you weld the holes, you'll struggle to drill or put anything through it again. I left it alone,used the figure of eight rubber seal from Mid Fifty, and stainless self tappers through the existing holes with a little grease on them. Good luck on whatever you decide.
I finally decided to just go ahead and weld them up and grind them smooth. I hammered them up from the underside, but I wasn't happy with how they were going. I finally pulled out the MIG and welded up a dime sized area over each one. I then ground it back down. It only took me about 1 1/2 hours to do all 8. As far as the hardness I figured I could just move over 1/2" and put the new brads there.
Back in high school I had replaced the lacing and reused the old holes. I remember it was lose in areas and it leaked on others. I was trying to avoid that.
 11-17-2016, 07:09 AM