Excursion - King of SUVs 2000 - 2005 Ford Excursion
Sponsored by:
Sponsored by:

Excursion 2011 exterior conversion hwybee22 project build

Thread Tools
 
Search this Thread
 
  #16  
Old 08-09-2016, 03:34 PM
hwybee22's Avatar
hwybee22
hwybee22 is offline
Posting Guru
Thread Starter
Join Date: Nov 2009
Location: Liberty, NC
Posts: 1,522
Received 0 Likes on 0 Posts
Originally Posted by 5HUB
Looks great, I'm glad you were finally able to get started.
Thanks, I finished the final mock up and I believe it's going to turn out great. I'm going to have a couple of questions for you later.
 
  #17  
Old 08-09-2016, 03:46 PM
hwybee22's Avatar
hwybee22
hwybee22 is offline
Posting Guru
Thread Starter
Join Date: Nov 2009
Location: Liberty, NC
Posts: 1,522
Received 0 Likes on 0 Posts


We finished the final mock up, except the hood cowl and windshield wiper related part. Note, the bottom of the fenders are not bolted down.
 

Last edited by hwybee22; 08-09-2016 at 03:48 PM. Reason: Add
  #18  
Old 08-12-2016, 08:05 AM
hwybee22's Avatar
hwybee22
hwybee22 is offline
Posting Guru
Thread Starter
Join Date: Nov 2009
Location: Liberty, NC
Posts: 1,522
Received 0 Likes on 0 Posts


This is where the bumper mount on the frame was cut off and welded back.


The 2011+ F250 fenders bolts near the bottom of the pillars and we welded a block of metal and threaded it, so that the fenders are extremely sturdy.


This is a small clip that the McNasty kit calls for you to use a rivet to mount it. We went a step further.
 
  #19  
Old 08-14-2016, 03:30 PM
usmarine1979's Avatar
usmarine1979
usmarine1979 is offline
Junior User
Join Date: May 2016
Posts: 79
Likes: 0
Received 0 Likes on 0 Posts
Wow! Man this is impressive! It's looking great, I might consider doing this in the future. I doesn't even know it was an option.
 
  #20  
Old 08-14-2016, 06:51 PM
hwybee22's Avatar
hwybee22
hwybee22 is offline
Posting Guru
Thread Starter
Join Date: Nov 2009
Location: Liberty, NC
Posts: 1,522
Received 0 Likes on 0 Posts
Originally Posted by usmarine1979
Wow! Man this is impressive! It's looking great, I might consider doing this in the future. I doesn't even know it was an option.
Thanks. The hardest part was collecting the parts, as I started at the beginning of this year. Then it was the speed bumps, when we had to get creative to make it secure. I took it for a road test yesterday and everything stayed on the Ex. I purchased a kit from McNasty Customz which made it easier to put together, but I realized that it not 100% bolt on and alittle more cutting/welding was needed.
 
  #21  
Old 08-15-2016, 01:09 PM
AGE mechanic's Avatar
AGE mechanic
AGE mechanic is offline
Elder User
Join Date: Jan 2004
Location: Arizona
Posts: 900
Likes: 0
Received 0 Likes on 0 Posts
More pics of the completed truck please. Looks great.
 
  #22  
Old 08-15-2016, 02:53 PM
hwybee22's Avatar
hwybee22
hwybee22 is offline
Posting Guru
Thread Starter
Join Date: Nov 2009
Location: Liberty, NC
Posts: 1,522
Received 0 Likes on 0 Posts
I've left to work out of town for a couple of weeks, but my brother is still working on it. The only things I know that he needs to complete is the wiper assembly/cowl and I have a huge vibration, which I believe comes from us removing the complete axle and suspension. Then I have a wedding in the middle of September that we're using it for a trip to the outer banks and then it going under the knife again to add the 2011 rear quarters. I'll see if he'll take pictures for me, but he may not want to until he's totally finished with the front.
 
  #23  
Old 08-15-2016, 03:21 PM
draglink's Avatar
draglink
draglink is offline
Senior User
Join Date: Oct 2005
Posts: 247
Likes: 0
Received 0 Likes on 0 Posts
Originally Posted by hwybee22
I've left to work out of town for a couple of weeks, but my brother is still working on it. The only things I know that he needs to complete is the wiper assembly/cowl and I have a huge vibration, which I believe comes from us removing the complete axle and suspension. Then I have a wedding in the middle of September that we're using it for a trip to the outer banks and then it going under the knife again to add the 2011 rear quarters. I'll see if he'll take pictures for me, but he may not want to until he's totally finished with the front.
Looking GREAT!!


Just had mine down in Nags Head, then Hatteras this past week
 
  #24  
Old 08-15-2016, 10:00 PM
fordboy2's Avatar
fordboy2
fordboy2 is offline
Cargo Master
Join Date: Dec 2005
Location: freeland, mi
Posts: 2,298
Likes: 0
Received 10 Likes on 5 Posts
Coming along nice, can't wait to see it done.
 
  #25  
Old 08-15-2016, 10:15 PM
hwybee22's Avatar
hwybee22
hwybee22 is offline
Posting Guru
Thread Starter
Join Date: Nov 2009
Location: Liberty, NC
Posts: 1,522
Received 0 Likes on 0 Posts
Originally Posted by fordboy2
Coming along nice, can't wait to see it done.
Thanks you..it was a fun process "watching" my brother put it together. I'd love to get it painted, which will be a gloss black, but it looks like it will be black and blue once my funds are in place.
 
  #26  
Old 08-24-2016, 11:35 PM
hwybee22's Avatar
hwybee22
hwybee22 is offline
Posting Guru
Thread Starter
Join Date: Nov 2009
Location: Liberty, NC
Posts: 1,522
Received 0 Likes on 0 Posts
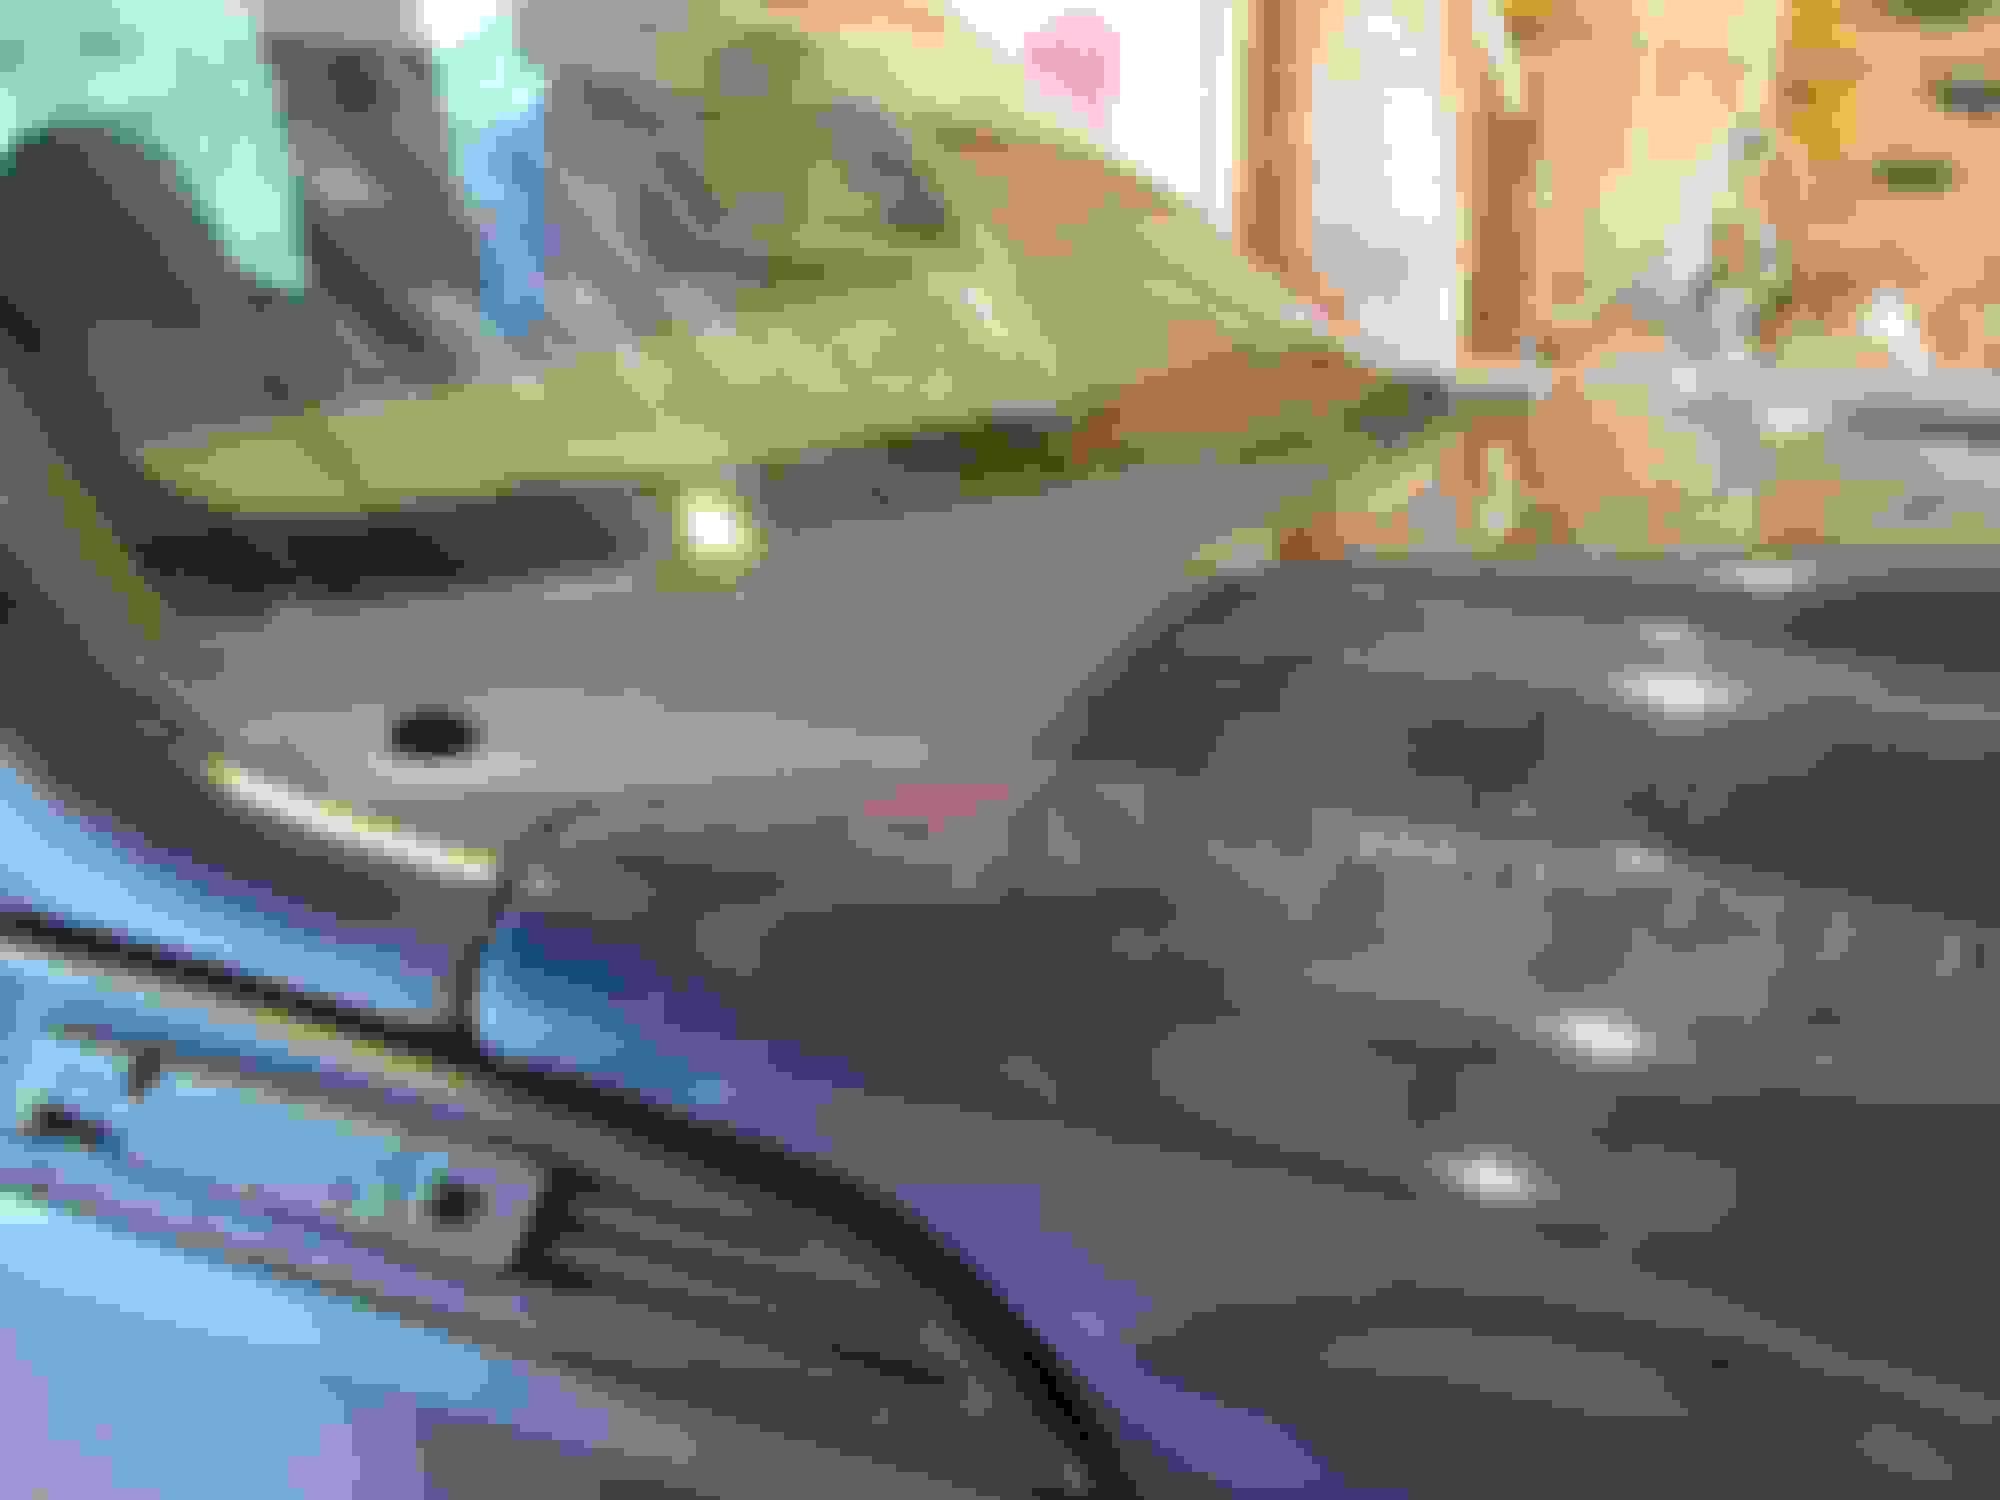
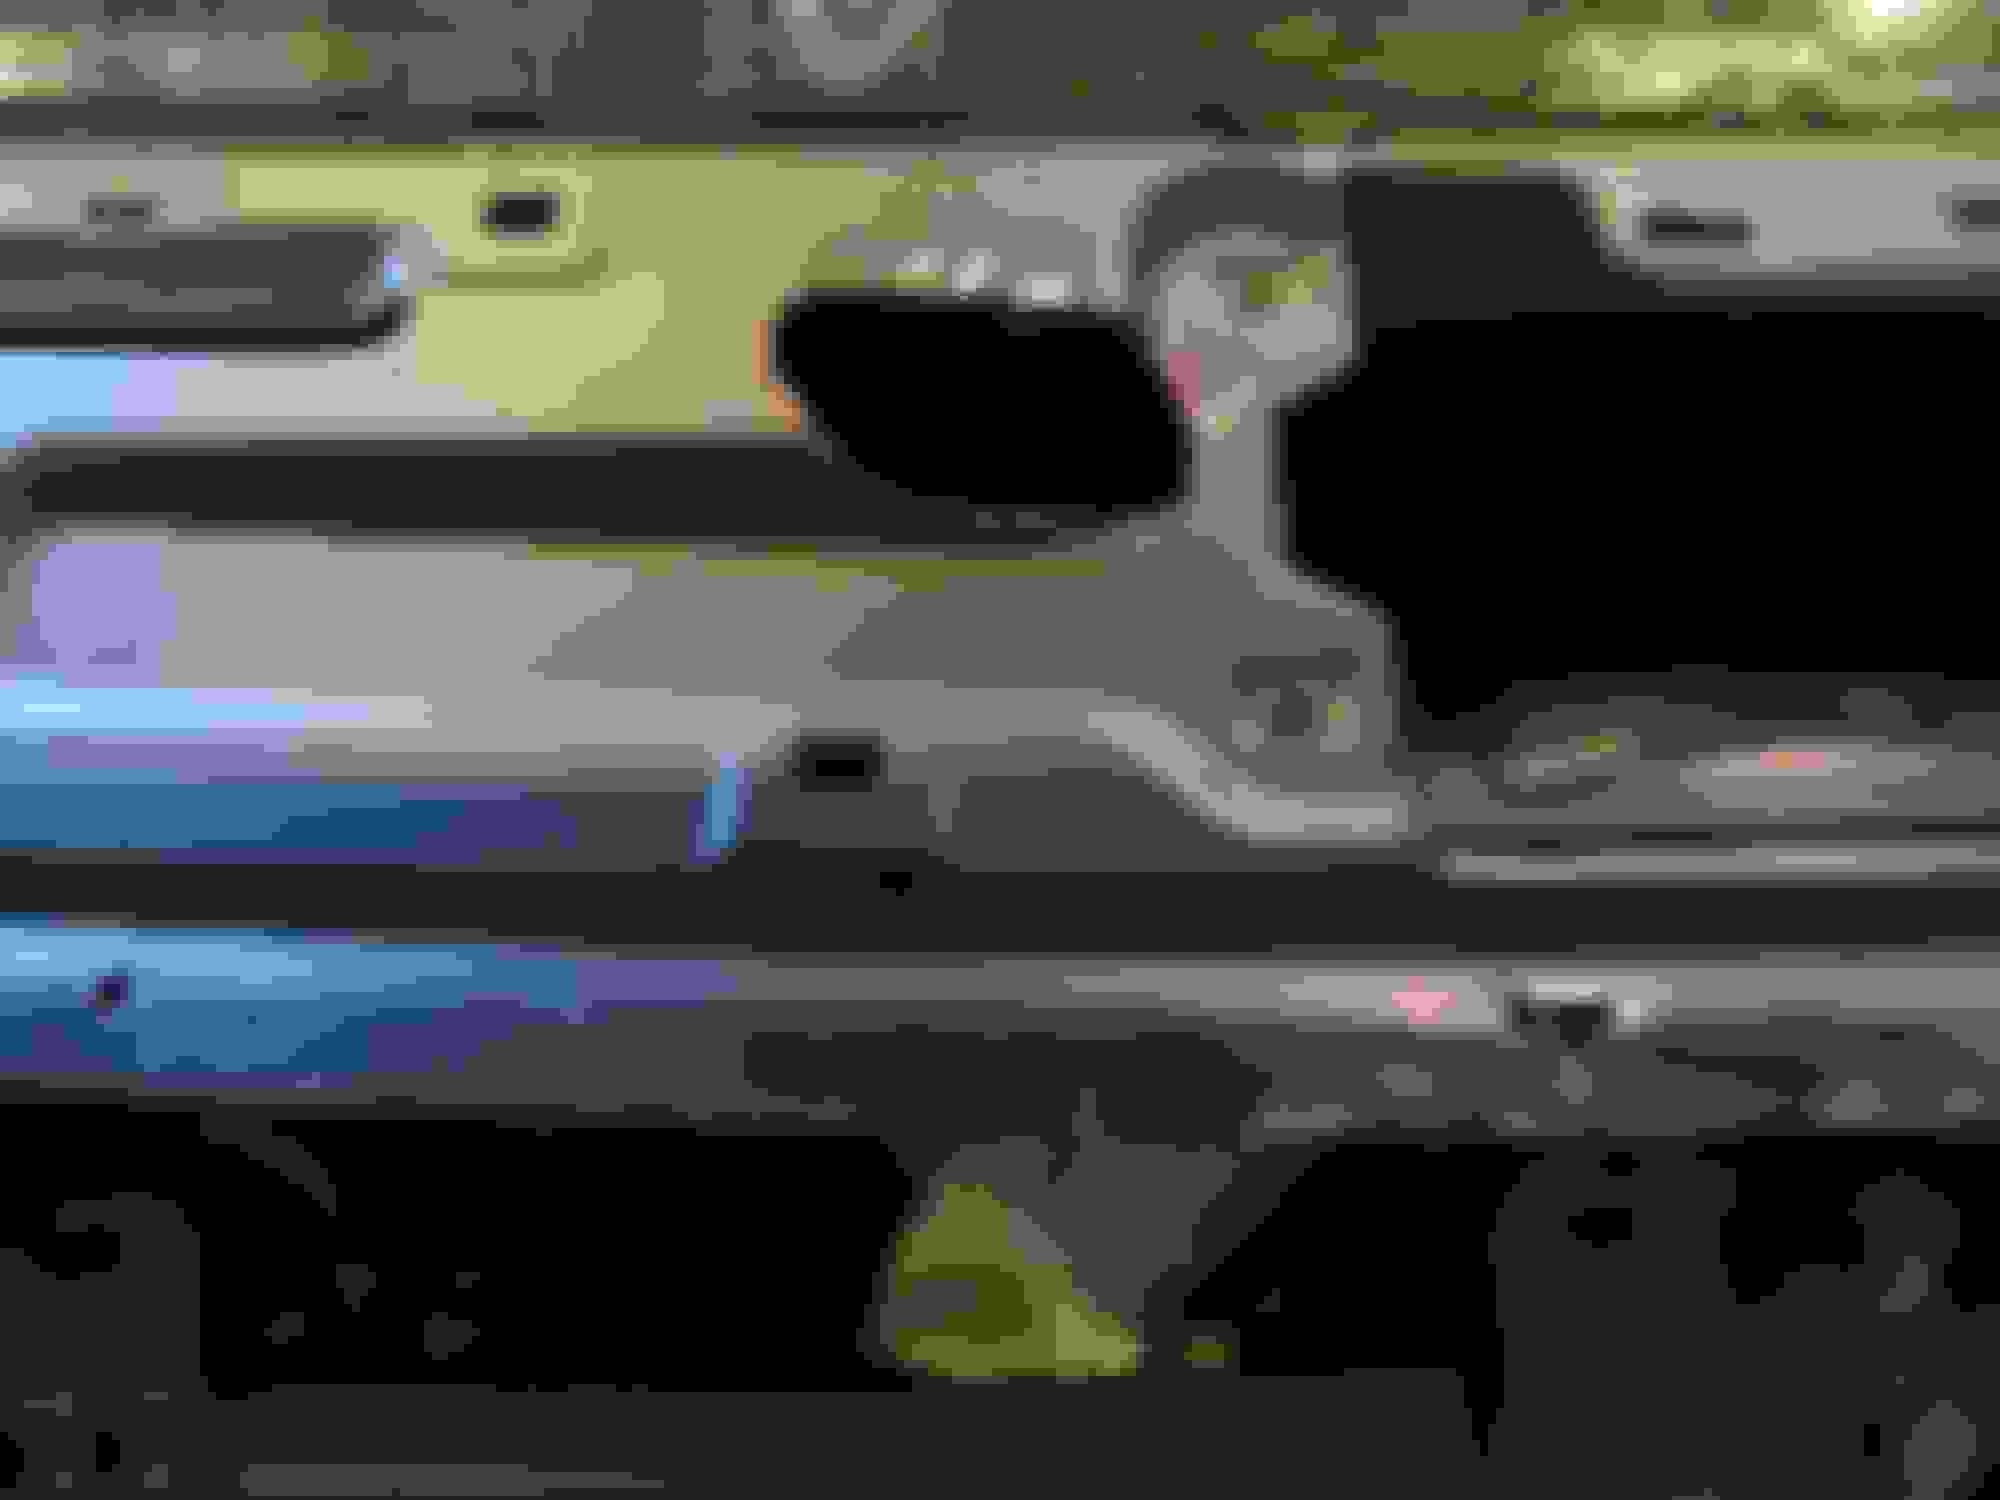
Since I'm still out of town, my Ex has been put on the back burner with all the work my brother has. Today I was told he molded and trimmed my original inner wheel well on the passenger side to match up with the +11 fenders. I will come home next week and would love to finish it up. Installing the new cowl will need some creativity because I want it to look as factory as I can. More pics to follow
 
  #27  
Old 08-25-2016, 03:56 PM
Greenscobie86's Avatar
Greenscobie86
Greenscobie86 is offline
Posting Guru
Join Date: Feb 2005
Location: NYC
Posts: 1,344
Likes: 0
Received 1 Like on 1 Post
This thing is coming along. Looking great man!
 
  #28  
Old 08-25-2016, 05:09 PM
Apocalypse's Avatar
Apocalypse
Apocalypse is offline
Lead Driver
Join Date: Nov 2012
Location: Salem, VA
Posts: 8,300
Received 22 Likes on 21 Posts
#datsuperdutygrill
#cleanasmotherteresa
#milliondollartruck
#lifegoals
 
  #29  
Old 08-26-2016, 02:12 PM
hwybee22's Avatar
hwybee22
hwybee22 is offline
Posting Guru
Thread Starter
Join Date: Nov 2009
Location: Liberty, NC
Posts: 1,522
Received 0 Likes on 0 Posts
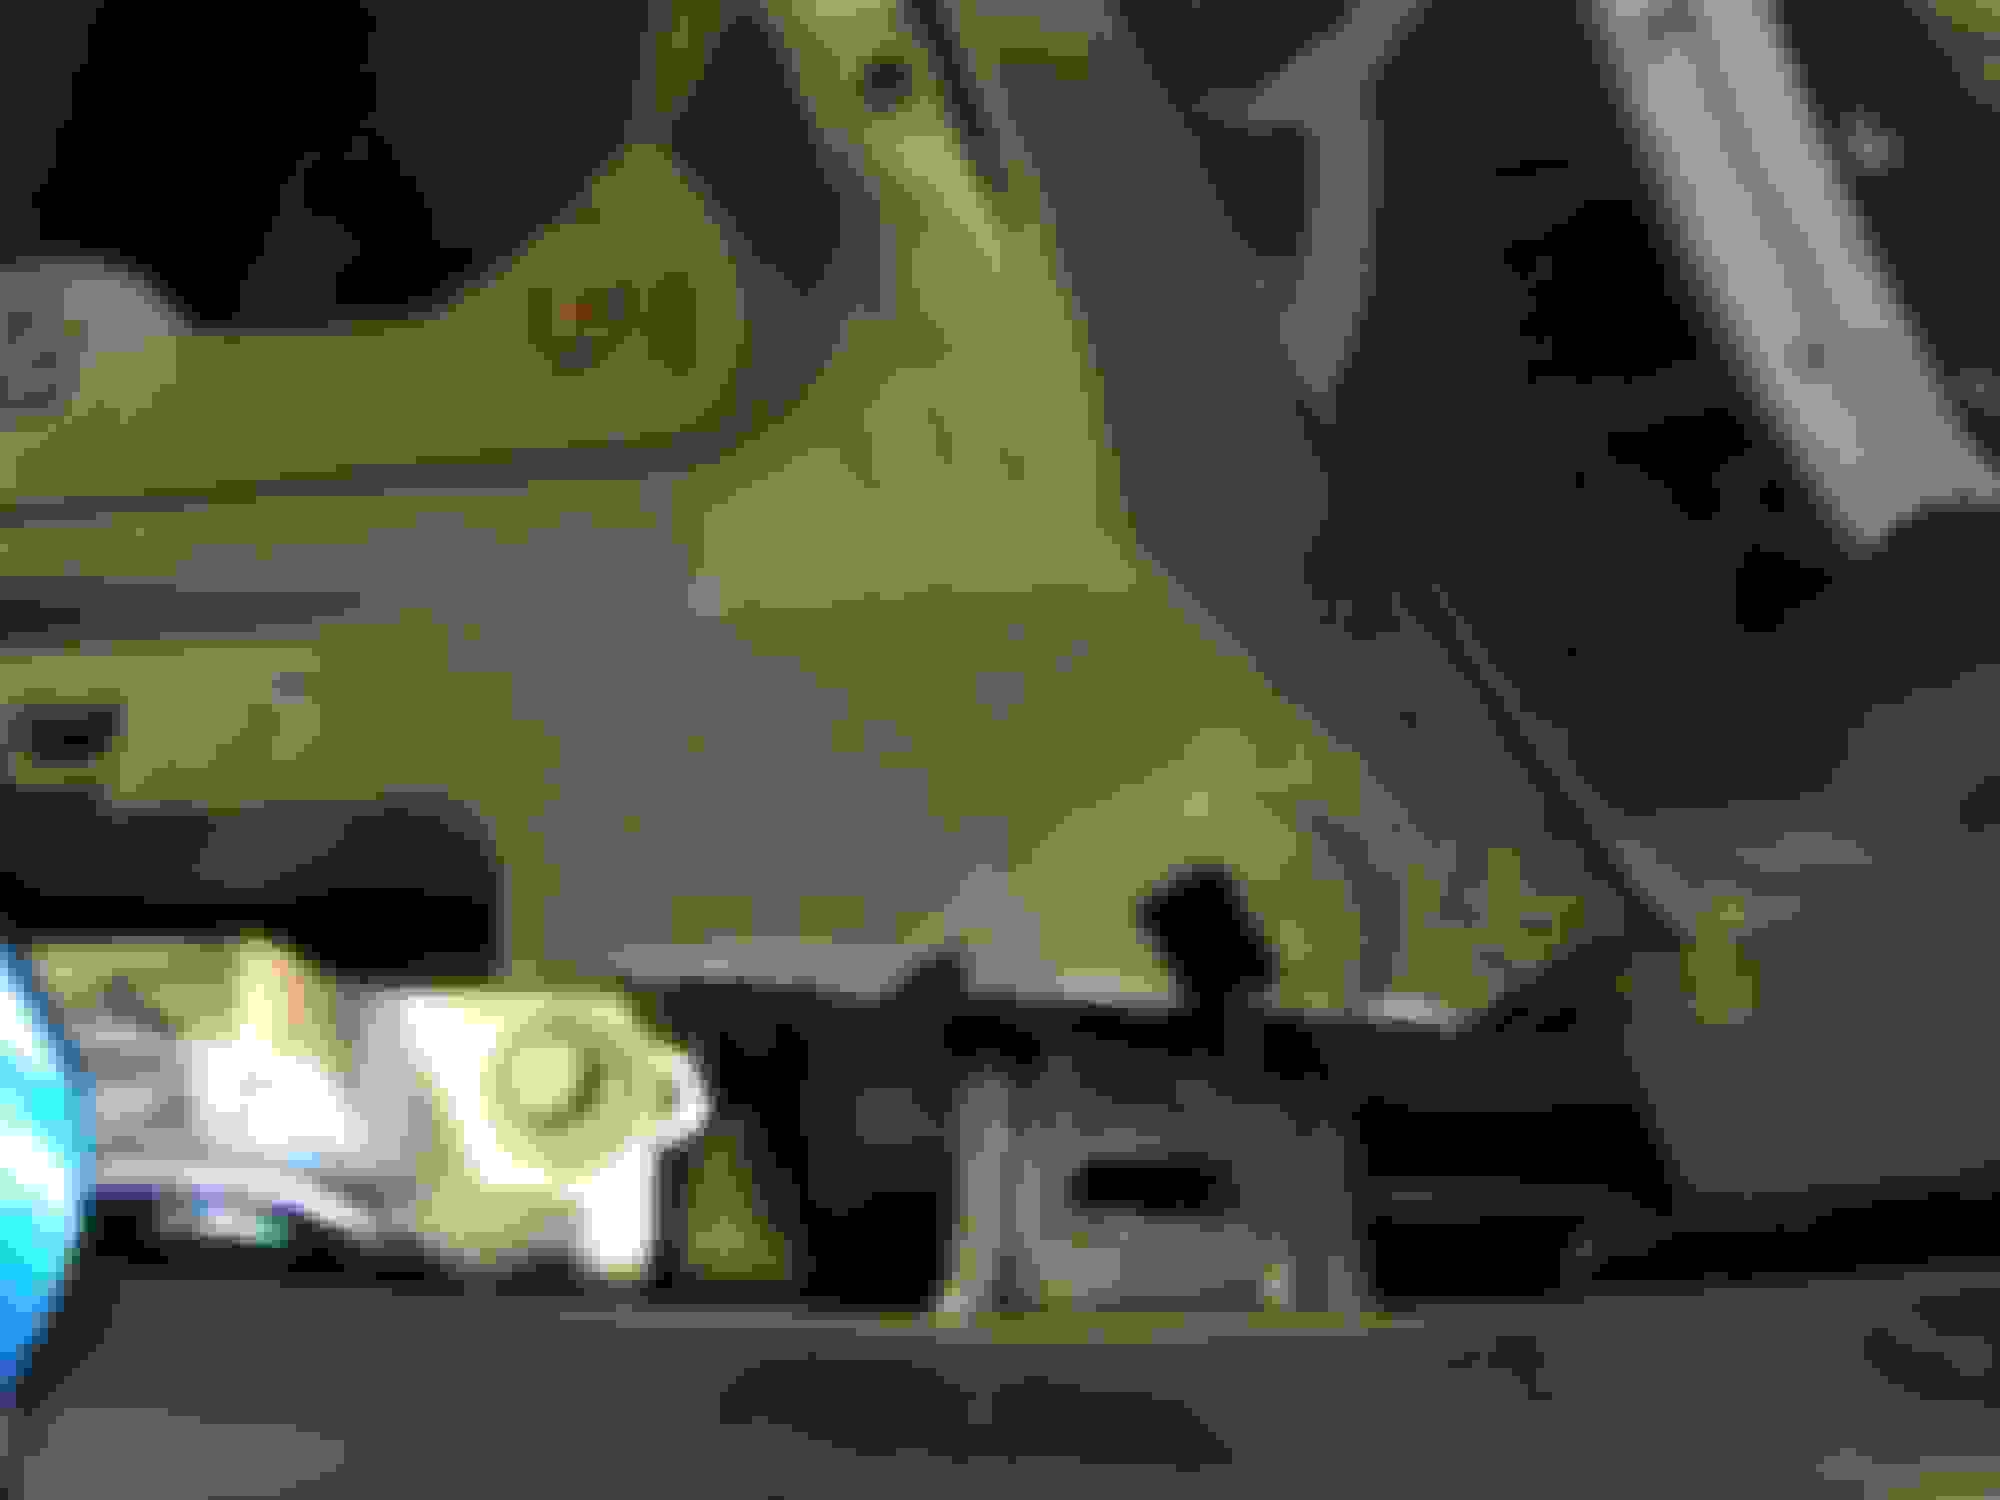
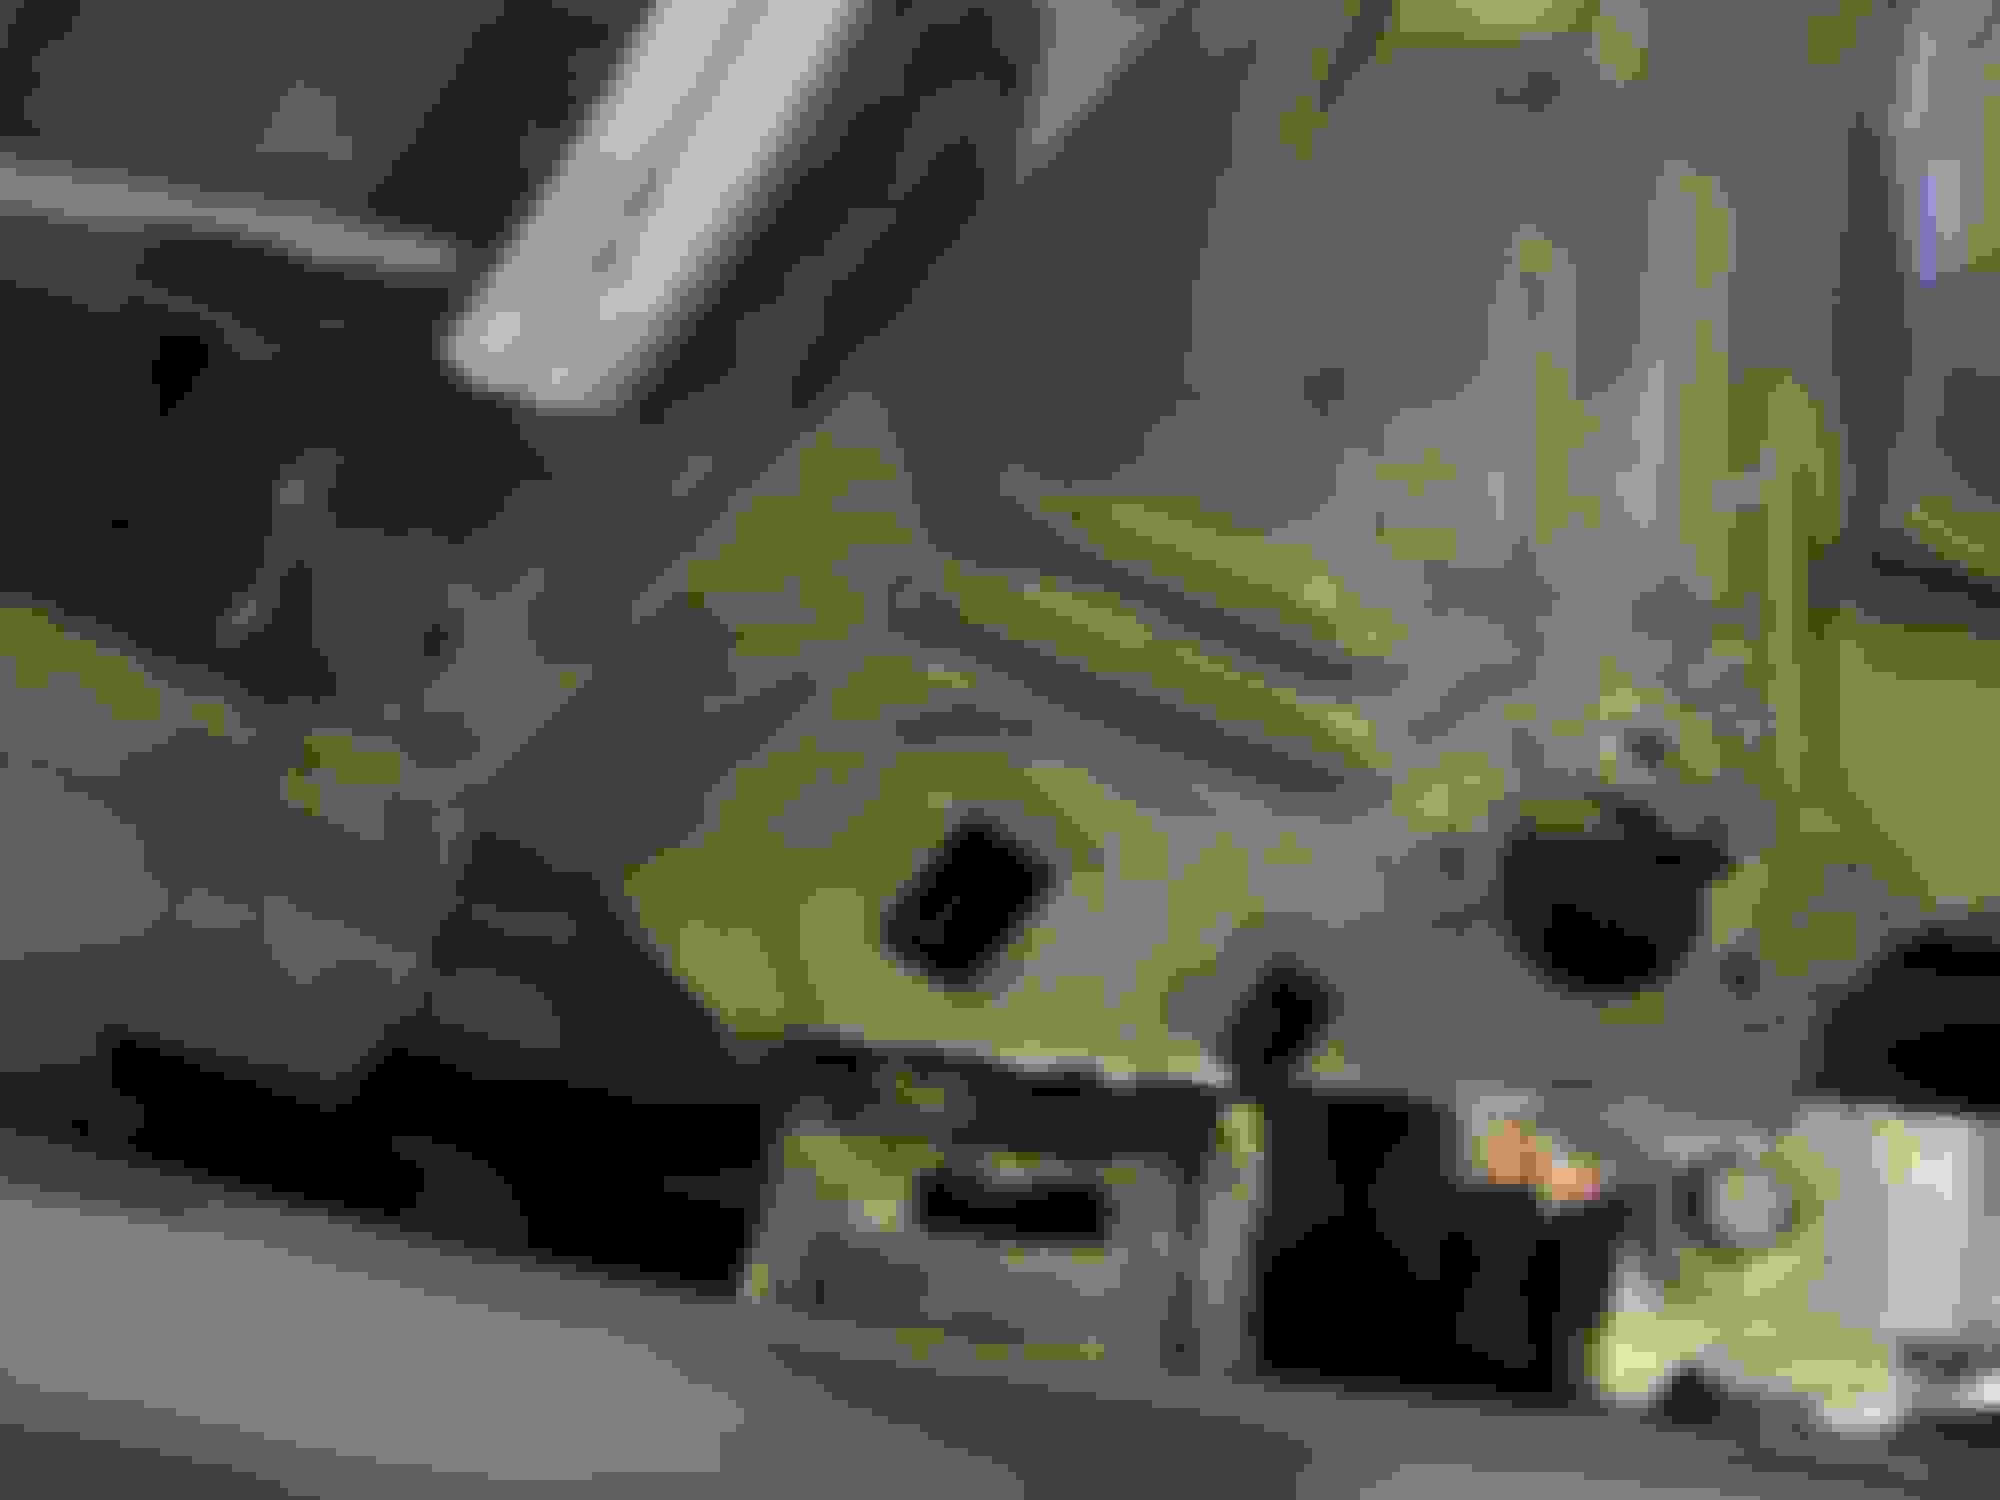
Today my brother decided to tackle installing the cowl, which is 2 piece. He found out that alot of trimming was needed so the cowl would sit flush. He also slits near the existing holes where the 05 cowl snapped in. Since the +11 cowl is much wider, he's going to weld brackets for the front clips to snap in for a more factory look than putting screws thur the cowl.

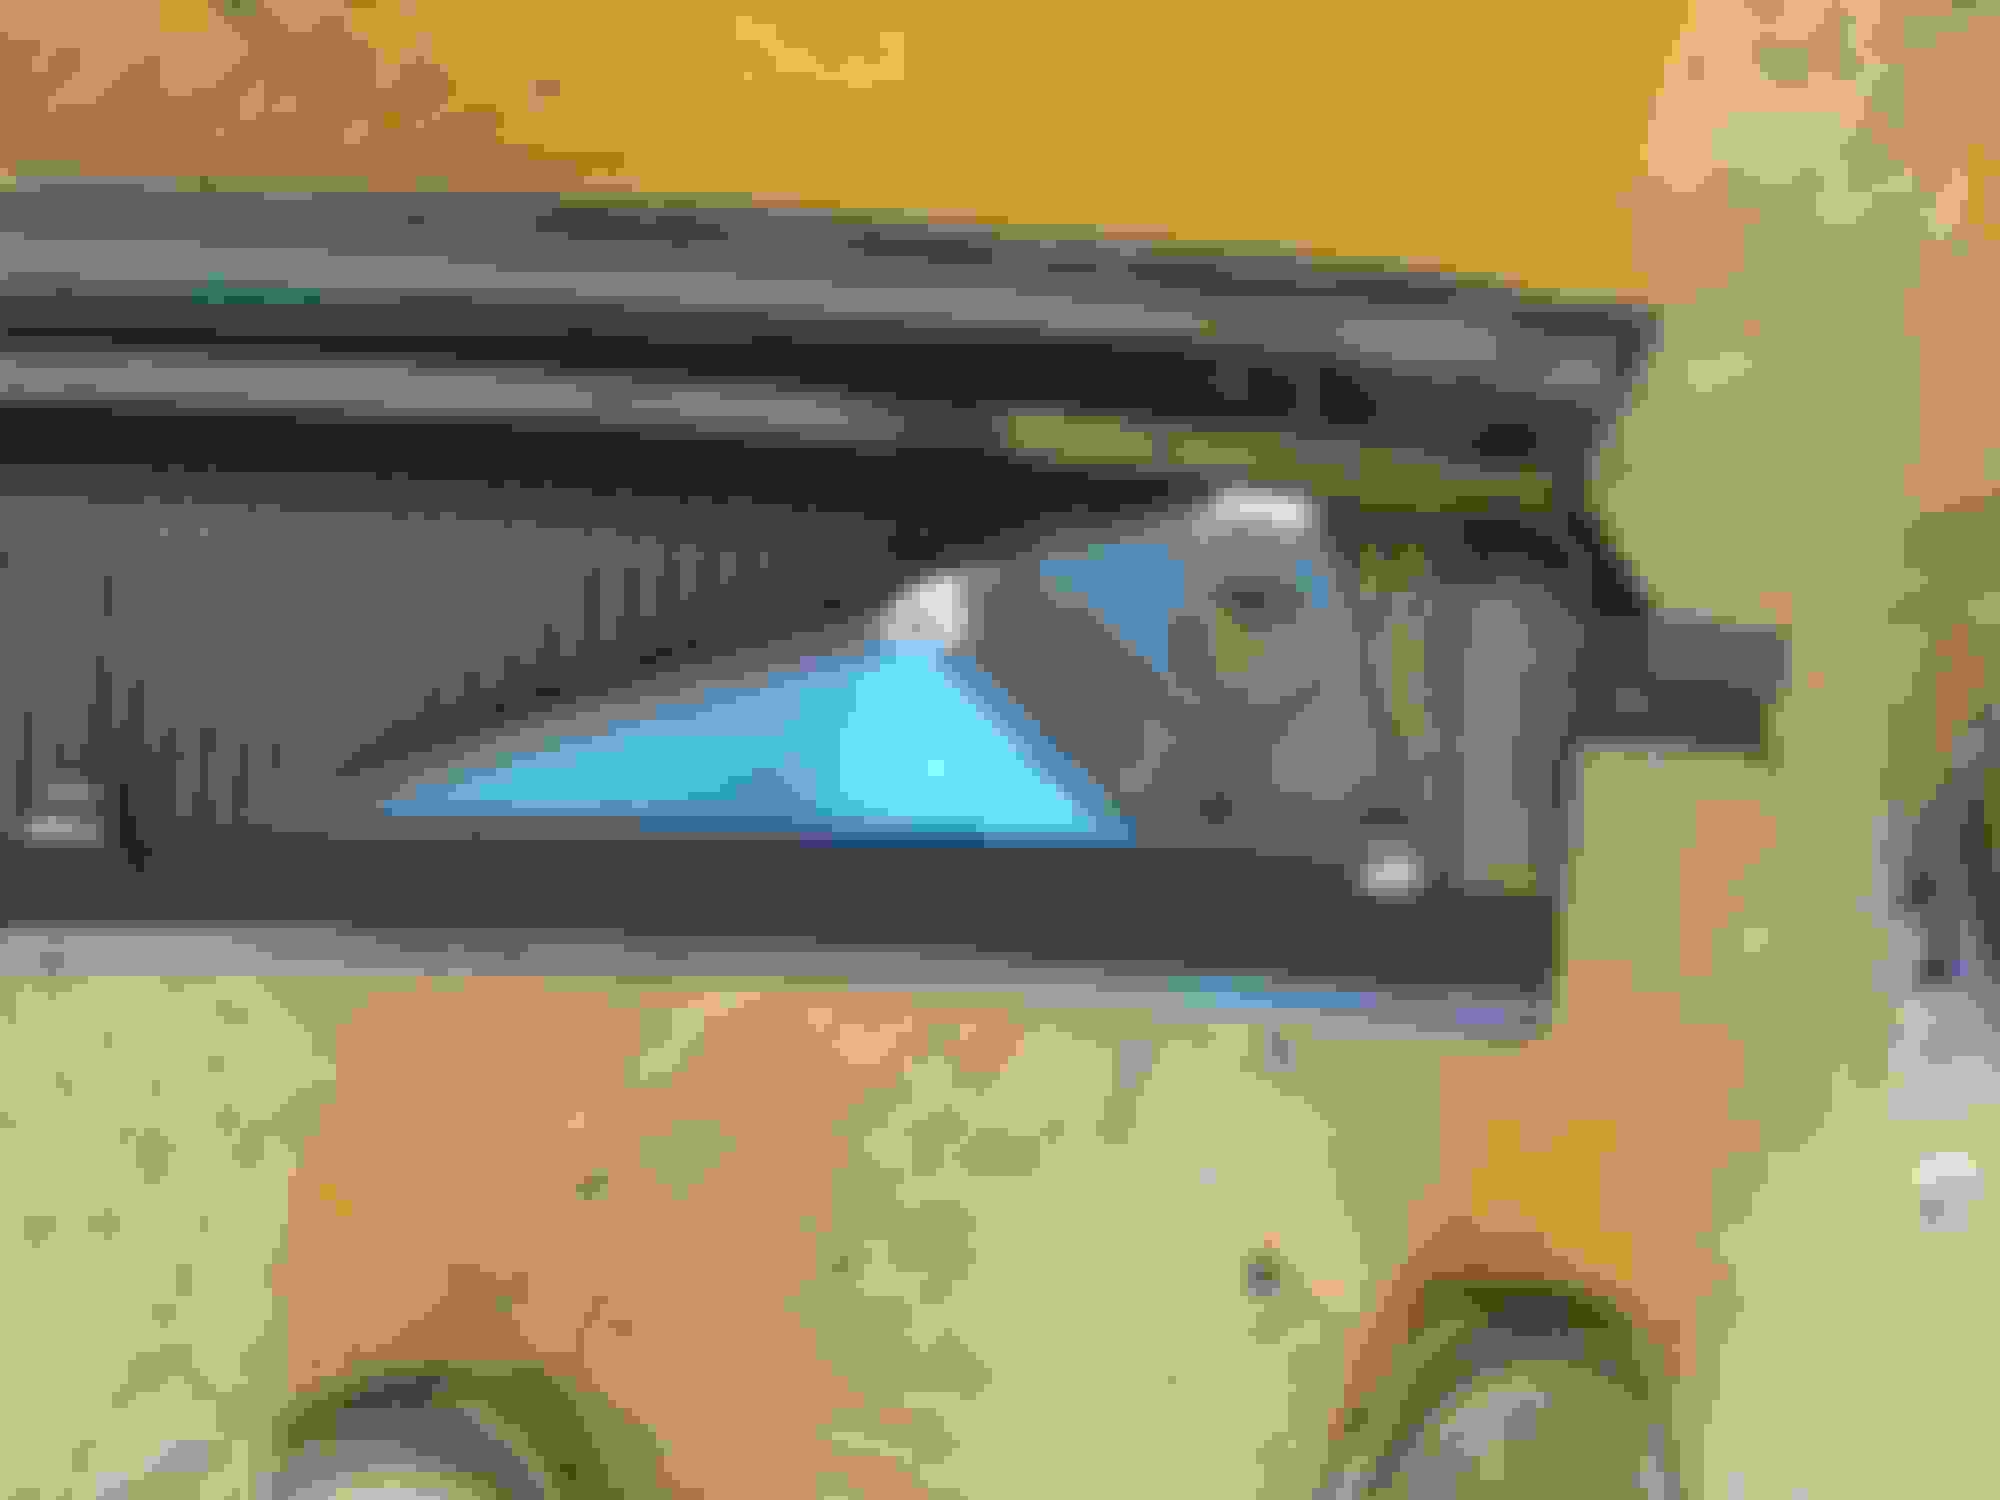
He painted the bottom of the cowl because he needed to see where the cowl was hitting

He cut out a hole, so the it would be flush.


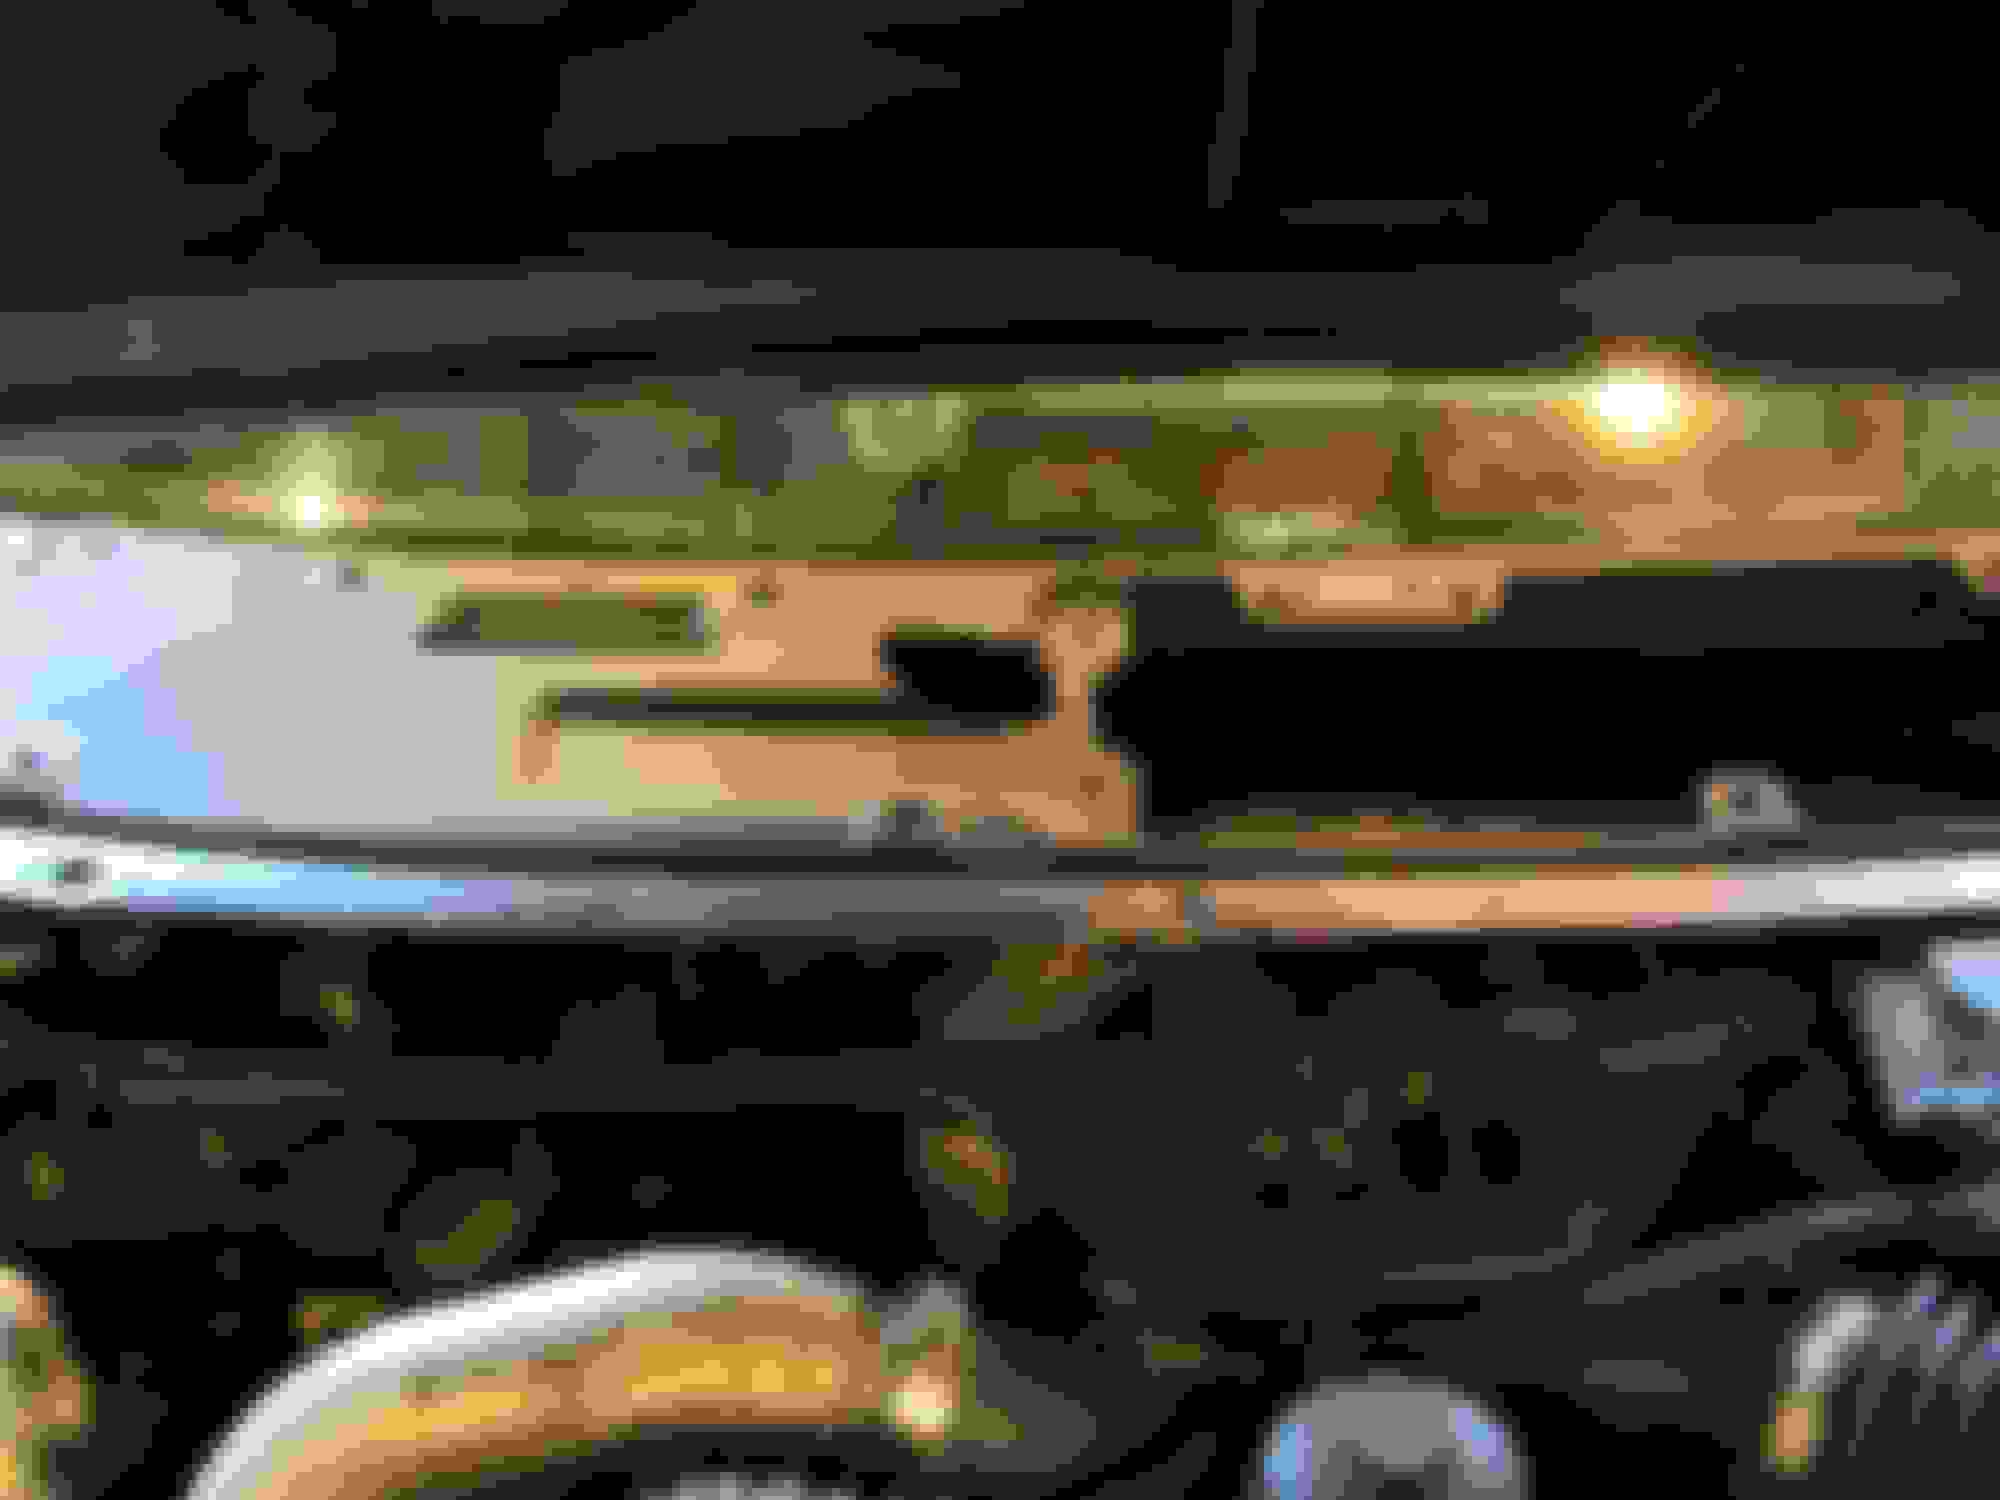
Also had to cut and trim by the antenna to make it sit correctly.


  #30  
Old 08-27-2016, 05:48 PM
hwybee22's Avatar
hwybee22
hwybee22 is offline
Posting Guru
Thread Starter
Join Date: Nov 2009
Location: Liberty, NC
Posts: 1,522
Received 0 Likes on 0 Posts
Pictures of cutting slits for the cowl to mount secure


Making a round hole fit a square bolt head

Using the +11 wiper brackets


Cutting of the +11 cowl


Quick Reply: Excursion 2011 exterior conversion hwybee22 project build


All times are GMT -5. The time now is 04:10 AM.