another reminder for those installing the jag IFS
#1
 11-24-2015, 10:18 PM

another reminder for those installing the jag IFS
I know I posed this in one of my build threads, but that will get lost. Just ran into this again this week so figured I would post up. If you are going to weld in your Jag IFS crossmember make sure to disassemble the IFS before you put it in place for good. Why? Because those !@$% lower control arm bolts will never come out without work, and you could have to do crossmember surgery before they will let go. It took me hours to get these out and if the crossmember was already installed it would of been even more of a nightmare.
Put my truck #2 build off a bit so I could start another build (Sorry with another jag IFS, this one I think is around a 1979. Bought it already removed so it sat around outside.
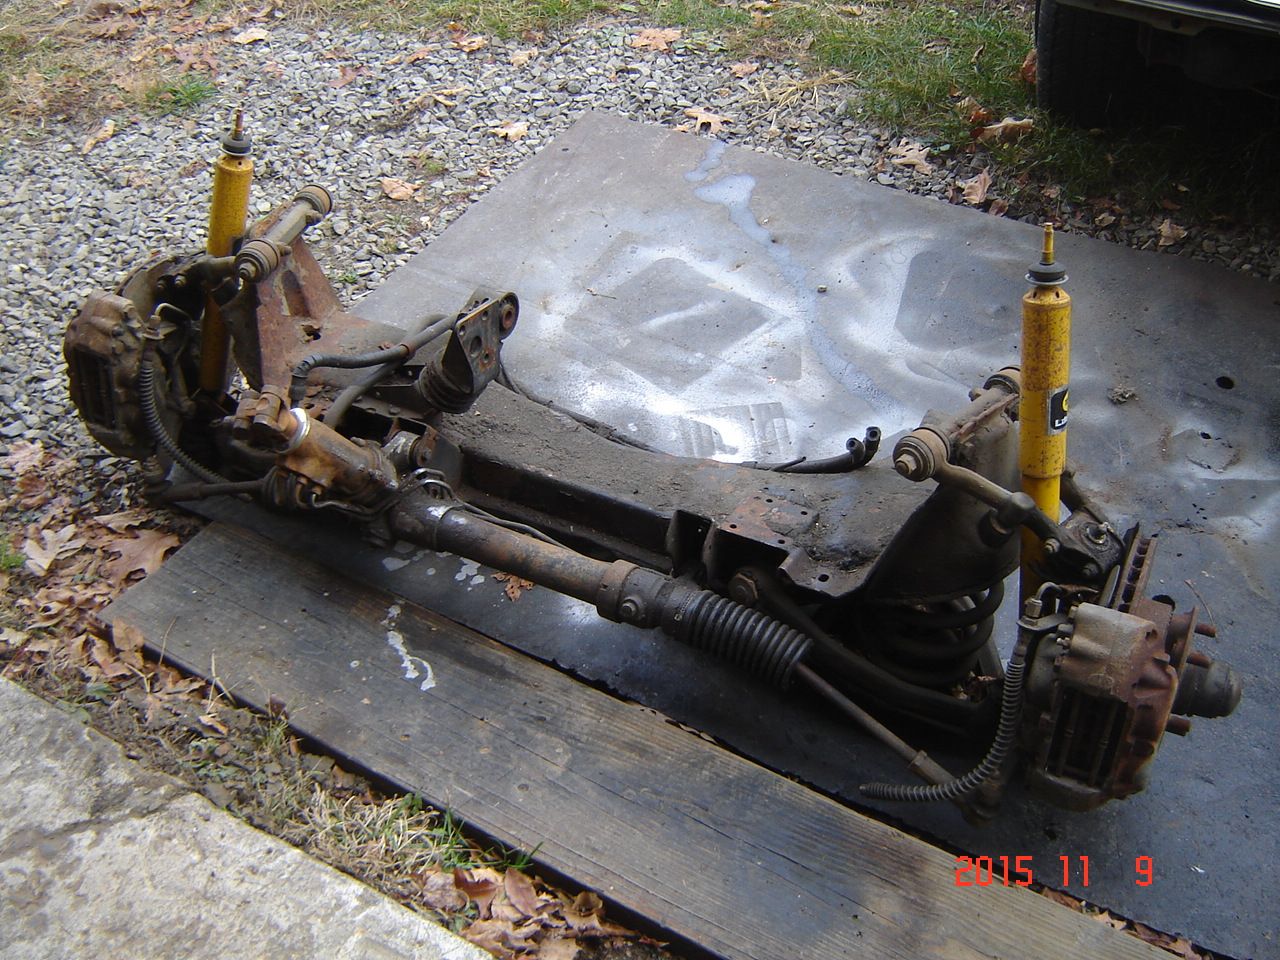
What happens is water getting thrown up under the car gets into the lower control arm bolts, seizing the bolts to one bushing, two bushings, or worst case to the support tube inside the crossmember.
Both bolts on this one were going to be a bear. Friend of mine turned down a piece of tubing that fits over the bolt threads so I can whack the bolts with a hammer, neither bolt even flinched.
Soooo
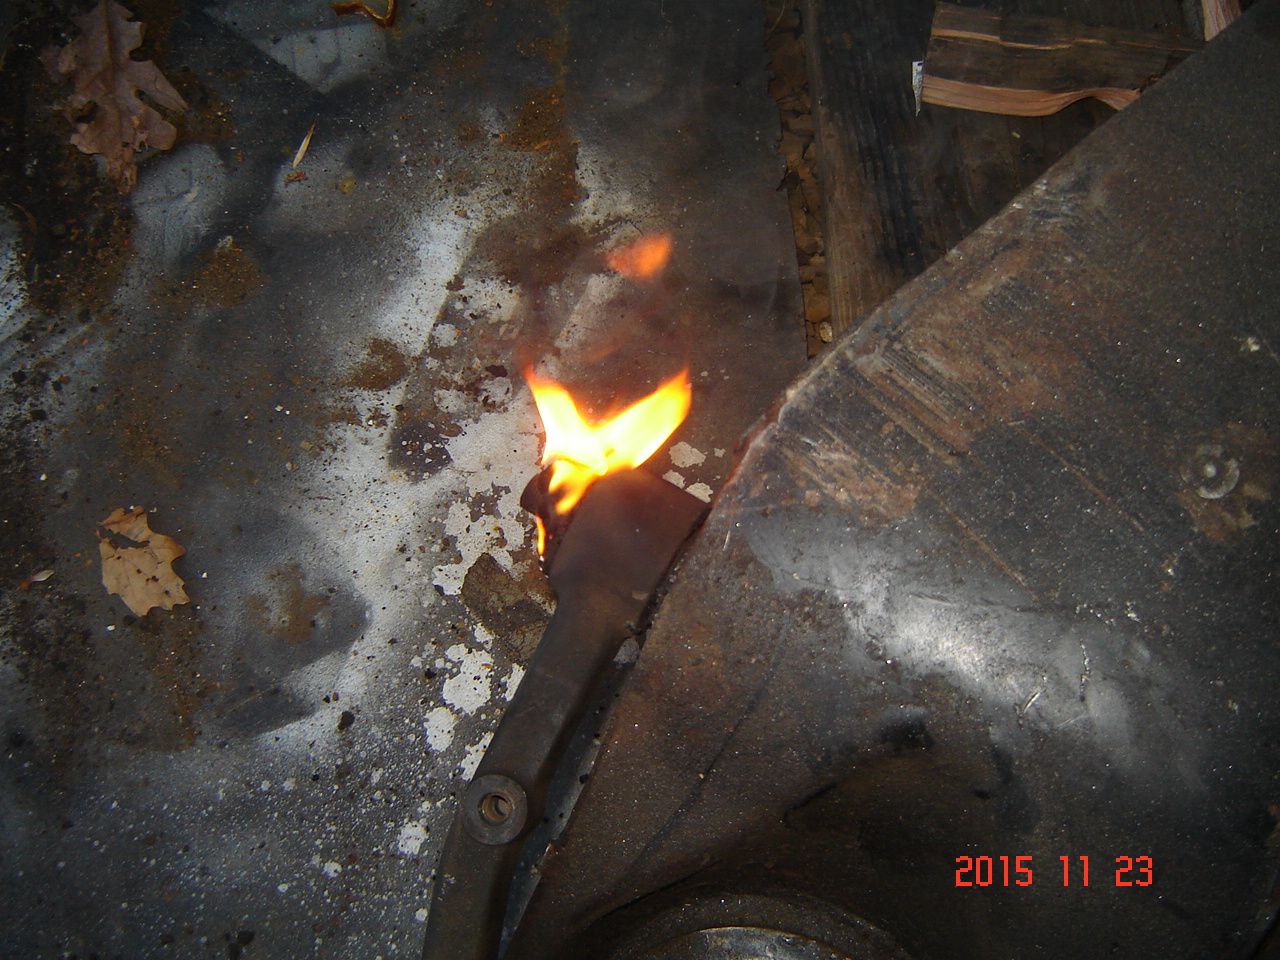
First burn out the bushings. Set em on fire and work the control arm up and down. While doing this I lucked out and one bolt started moving with the control arm, meaning it was seized to the bushings but not to the support tube. Other one not so lucky.
After blowing out the bushing rubber I heated up the front bushing sleeve and knocked out the bolt with the tool.
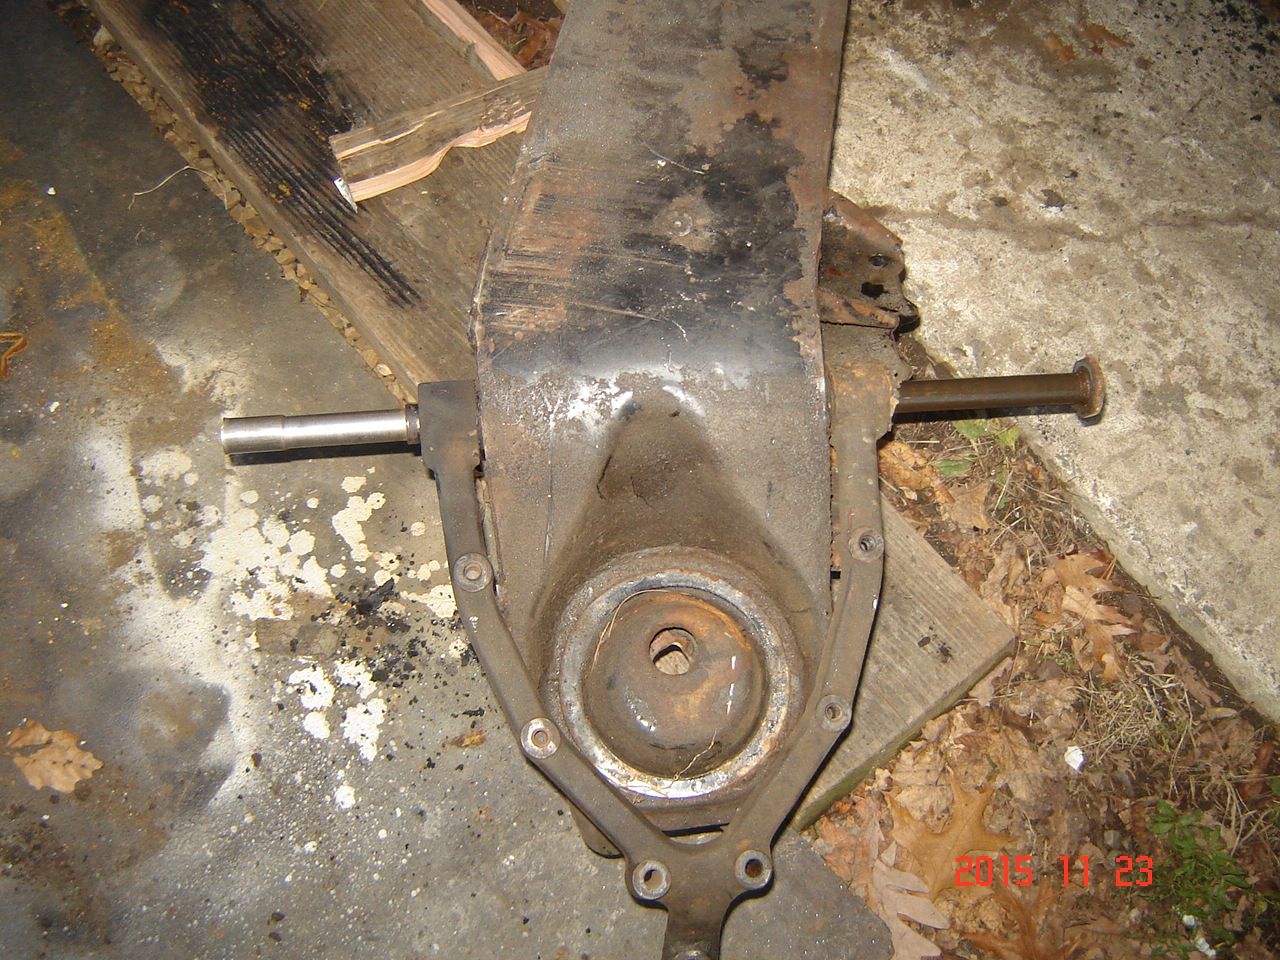
Easy one done, on to the not so easy one.
Hole cut in crossmember over the support tube
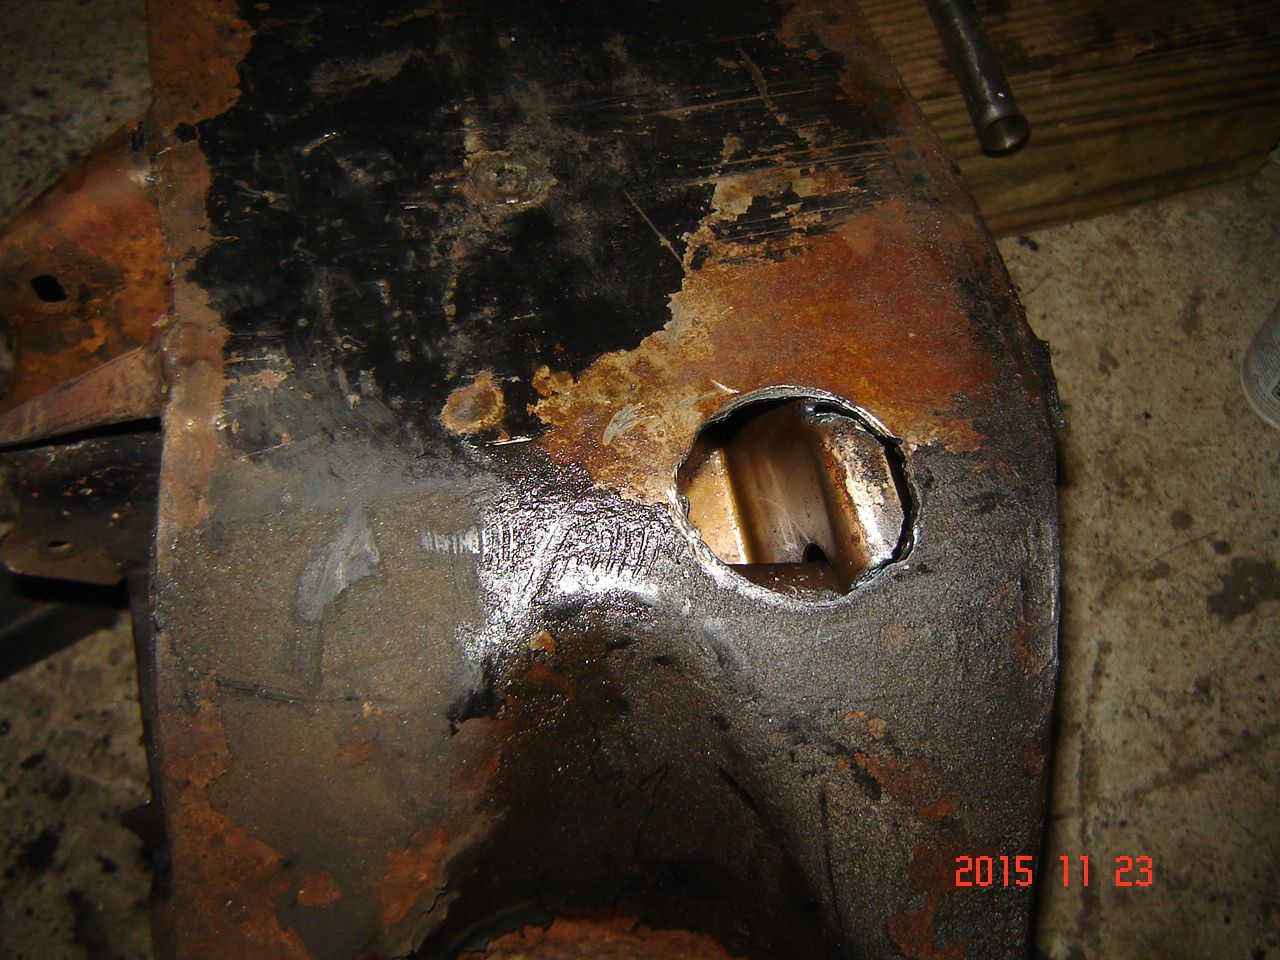
Hole drilled in support tube to spray PB blaster. I could see that it was getting in but it took a long time to get a good amount in there.
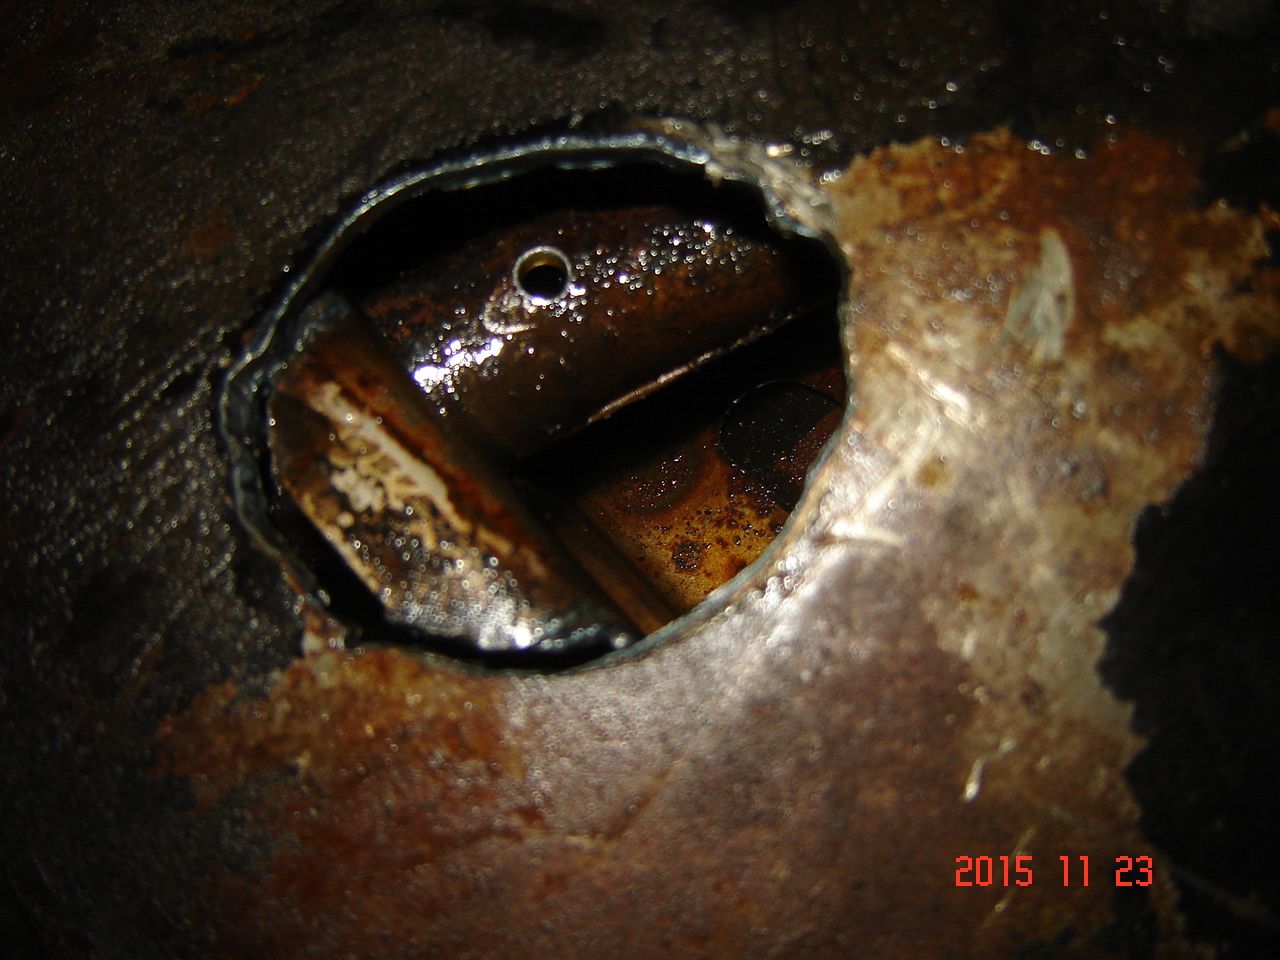
I let that sit overnight and the next day put a socket on the hex nut on the back of the bolt. With a cheater bar it just gave a bit. The hex nut is swaged on, I would weld it on before really leaning on it or you could strip the threads.
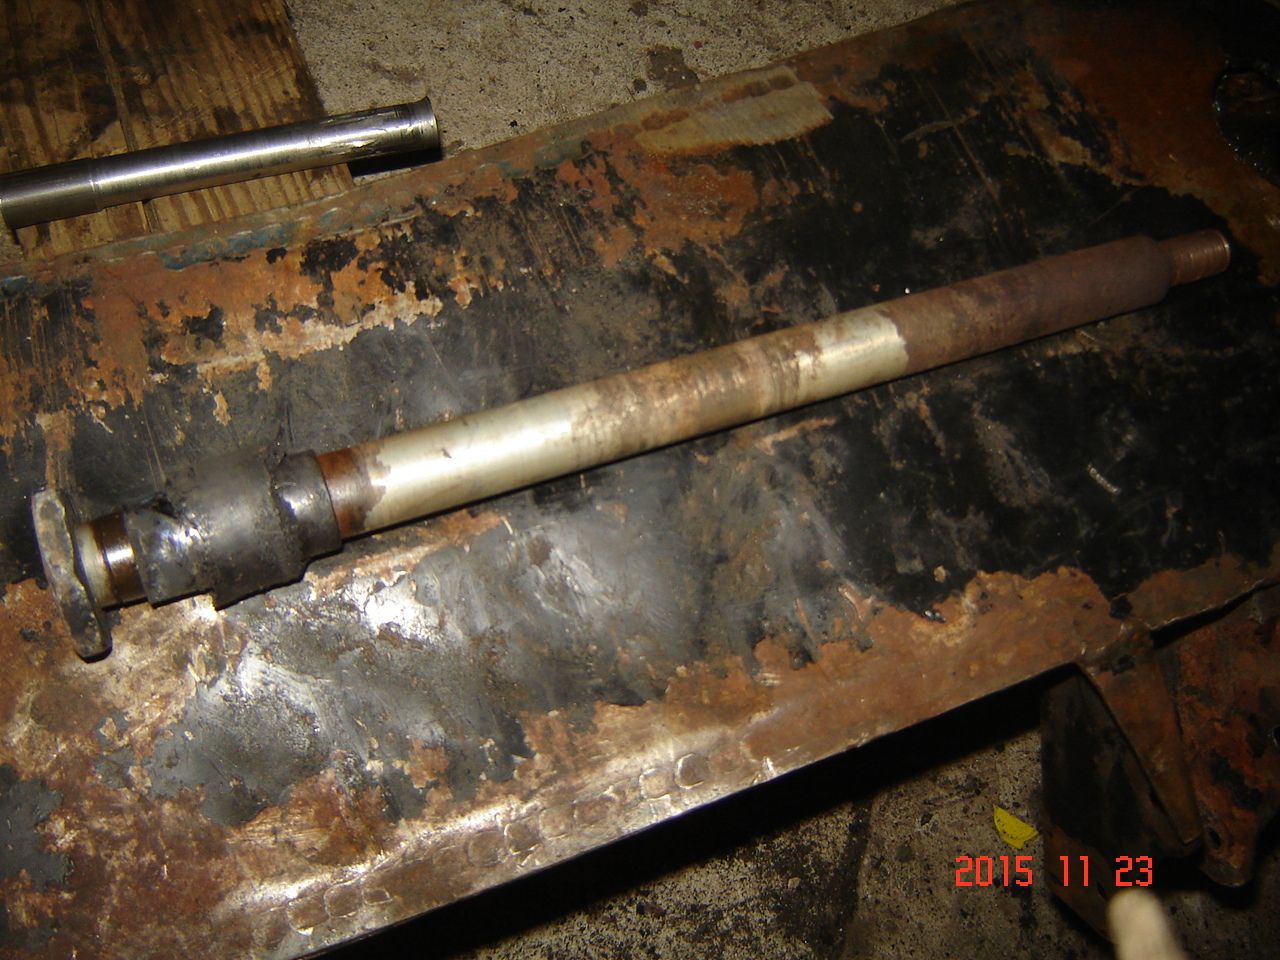
Working it over time, more PB blaster, then the hammer and it came out. Look how far up the bolt was rusted. Rear bushing was cut off, burning off the rubber allowed it to come out of the control arm still stuck to the bolt.
Hole welded back up.
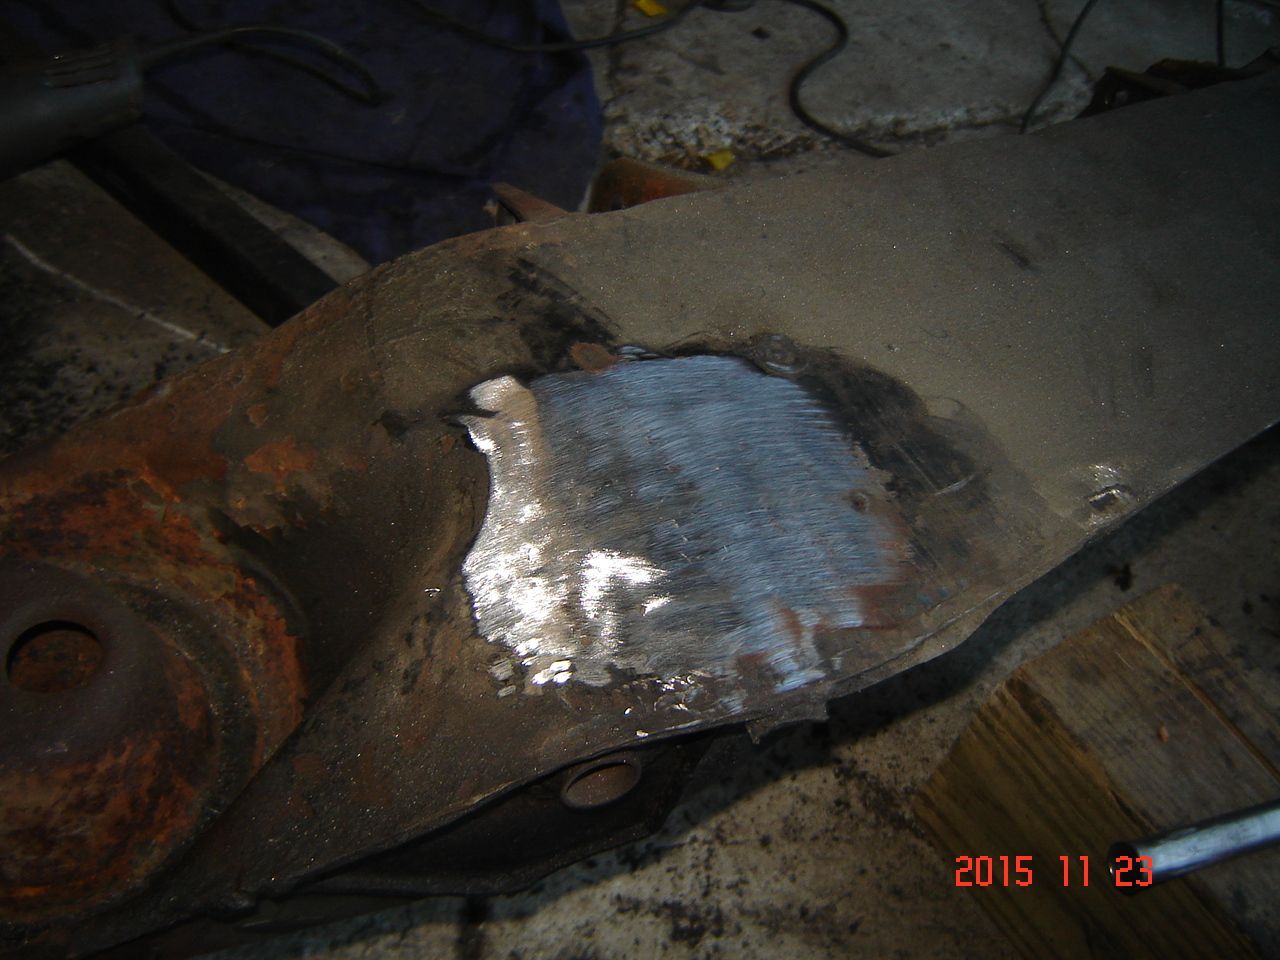
Assemble with lots of antisieze so this never happens again!
This was the worst one I have had to deal with, both trucks had one side stuck to bushings but not to the support tube.
New bolts are $40 to $140 each depending on who is selling, so protect the threads! If you have to clean them up the thread is 9/16-18. I cleaned mine up multiple times during the removal process.
Hope this helps!
Put my truck #2 build off a bit so I could start another build (Sorry
with another jag IFS, this one I think is around a 1979. Bought it already removed so it sat around outside. 
What happens is water getting thrown up under the car gets into the lower control arm bolts, seizing the bolts to one bushing, two bushings, or worst case to the support tube inside the crossmember.
Both bolts on this one were going to be a bear. Friend of mine turned down a piece of tubing that fits over the bolt threads so I can whack the bolts with a hammer, neither bolt even flinched.
Soooo
First burn out the bushings. Set em on fire and work the control arm up and down. While doing this I lucked out and one bolt started moving with the control arm, meaning it was seized to the bushings but not to the support tube. Other one not so lucky.
After blowing out the bushing rubber I heated up the front bushing sleeve and knocked out the bolt with the tool.


Easy one done, on to the not so easy one.
Hole cut in crossmember over the support tube

Hole drilled in support tube to spray PB blaster. I could see that it was getting in but it took a long time to get a good amount in there.

I let that sit overnight and the next day put a socket on the hex nut on the back of the bolt. With a cheater bar it just gave a bit. The hex nut is swaged on, I would weld it on before really leaning on it or you could strip the threads.
Working it over time, more PB blaster, then the hammer and it came out. Look how far up the bolt was rusted. Rear bushing was cut off, burning off the rubber allowed it to come out of the control arm still stuck to the bolt.

Hole welded back up.

Assemble with lots of antisieze so this never happens again!
This was the worst one I have had to deal with, both trucks had one side stuck to bushings but not to the support tube.
New bolts are $40 to $140 each depending on who is selling, so protect the threads! If you have to clean them up the thread is 9/16-18. I cleaned mine up multiple times during the removal process.
Hope this helps!
#2
11-10-2016, 09:09 AM
#4
11-11-2016, 02:47 PM
A common problem with torsilastic bushings, especially from salt belt areas. Used to be the bane of my existence when working as an alignment tech. never fun, always a pita.
Once you have the truck finished and sitting at normal ride height loosen the bolts, bounce the truck around and re-tighten in order to center the bushings and avoid premature wear.
Once you have the truck finished and sitting at normal ride height loosen the bolts, bounce the truck around and re-tighten in order to center the bushings and avoid premature wear.

#6
11-11-2016, 05:39 PM

#7
11-11-2016, 06:18 PM
Posting Guru
Join Date: Sep 2011
Location: Clitherall, MN.
Posts: 1,409
Likes: 0
Received 0 Likes
on
0 Posts
Trending Topics
#8
11-11-2016, 10:13 PM
Freshman User
Join Date: Oct 2014
Location: Wake Forest, NC
Posts: 36
Likes: 0
Received 0 Likes
on
0 Posts
Dave, thanks for reposting this. I have a very clean front end so lets see if the sticky bolts hold true. (Im hoping not! )
You don't happen to have a pic of your threaded rod spring compressor in action do you? Any reason why a regular spring compressor wouldn't work?
Thanks for all the posts on this. Your stuff is basically my instruction manual!
Brandon
) You don't happen to have a pic of your threaded rod spring compressor in action do you? Any reason why a regular spring compressor wouldn't work?
Thanks for all the posts on this. Your stuff is basically my instruction manual!
Brandon
#9
11-11-2016, 11:36 PM
Torching the rubber bushings doesnt hurt anything, it just dissolves the rubber to make them easier to remove.
This picture shows two things
If you notice there is a larger threaded rod going through the middle of the spring. I use this to remove the springs, it is tightened up against the spring plate, then the spring plate bolts are removed and the nut on the lower end of the threaded rod is removed slowly allowing the spring to expand and come out. In this picture I have that rod installed as a safety. The rod goes through pieces of plate steel at each end to distribute the load (the red pieces in the picture)
The 3/8" NF threaded rods in the lower control arm are what I use to install the spring by tightening up the nuts evenly a little at a time until the spring is compressed. Then one at a time I remove a threaded rod and install the spring plate bolts.
There is not a lot of room inside the spring and I do not think a traditional compressor would work.
You could also use the 3/8" rod to remove the springs, just takes longer. I can have a spring out in about 10 minutes and most of that is setting up the threaded rod.

#10
11-12-2016, 12:00 AM
They are excellent setups to use in hotrods etc .
Also the way you show to remove the springs is how I do it .
It's by far the safest and most practical way to do it .
#12
11-12-2016, 07:33 AM
I considered it since the wiper motor is a remote mount, but it is a pretty big motor so I decided not to take them. I am trying to cut down on the amount of "stuff" on the shelves.

Thread
Thread Starter
Forum
Replies
Last Post
fred_79f250
1973 - 1979 F-100 & Larger F-Series Trucks
7
10-05-2005 05:07 PM
datchew
1980 - 1986 Bullnose F100, F150 & Larger F-Series Trucks
16
03-18-2005 01:54 PM
95 slug
1987 - 1996 F150 & Larger F-Series Trucks
8
05-02-2004 02:12 AM