Hackster's F100 CV Swap, Coyote, 6 speed 3 link build thread

#137
 12-06-2015, 12:48 PM
Sean what is your battery rated for CCA?
Thanks f100 
Sean, I've been meaning to ask and keep forgetting, but do you know anyone semi local that has a good reputation for tuning carbed motors? At some point, after suspension, I'd like to go to efi. Don't mean to derail your thread just thought you might know someone.
Sean, I've been meaning to ask and keep forgetting, but do you know anyone semi local that has a good reputation for tuning carbed motors? At some point, after suspension, I'd like to go to efi. Don't mean to derail your thread just thought you might know someone.
#138
12-06-2015, 10:49 PM

Sean what is your battery rated for CCA?
Thanks f100
Sean, I've been meaning to ask and keep forgetting, but do you know anyone semi local that has a good reputation for tuning carbed motors? At some point, after suspension, I'd like to go to efi. Don't mean to derail your thread just thought you might know someone.
Thanks f100
Sean, I've been meaning to ask and keep forgetting, but do you know anyone semi local that has a good reputation for tuning carbed motors? At some point, after suspension, I'd like to go to efi. Don't mean to derail your thread just thought you might know someone.
Hmmm....let me think on the carb thing. I know a few people, Ill get back to you.
Not a ton of work done on the truck but a fair bit of research and wiring stuff.
Luckily I hung onto the wiring diagrams I used from the other truck. Stripped down the factory wiring that goes outside the cab. All wiring and connectors are in excellent condition, I was very suprised. I have all of those wires cleaned up and labeled and know where they all need to land. All of the old generator, voltage regulator and all that stuff is out of the picture and cleaned up.

I got the ford racing harness actually installed in the truck and ran the o2 sensors out the firewall and grommeted. Dont mind the rust, its just a little surface rust :wink:

I then built this handy plate with a 6 gang fuse box and the FRPP control box. This goes in place of the glove box (It was hammered anyways)


Also, this pretty much sums up why I do this stuff. There is just something about an old car or truck with all late model stuff in it that I love. The feel and smell of an old truck is all there in this pic but a hydraulic clutch and nice brakes, electronic accelerator pedal, 6 speed manual and a fair bit of electronics. Love it!!!!

Like I said, it doesnt seem like much but it was a lot of thinking going on today.
Made the decision on some gauges as well. Need to bottom out on a radiator.
Sean
#139
12-10-2015, 11:32 PM
Nothing exciting to report really from an outsiders point of view but great progress for me.
Got ahold of Roy at Ford Racing the other day and inquired about wiring in the mt-82 into the coyote control pack so that it will not only run properly but also so that I will be able to have a properly working speedometer in this thing.
He was awesome. We emailed back and forth a few times and he sent me a couple of PDF's on how to splice them into the ECU and where they needed to go.
So I messed around a little but tonight and measured that out and got it pinned into the 50pin connector. I was a little frustrated that ford does not pin these into the harness and make a couple of blunt leads that you can just hook up. It would be way easier. Of course this needs to be done in the truck since I put the harness in already.....idiot.
Apparently no photos of that..
Also pulled out the rear crossmember, drilled the lower holes in the frame and got that rear crossmember painted and back installed tonight. This was one of those hold up's that I was putting off.
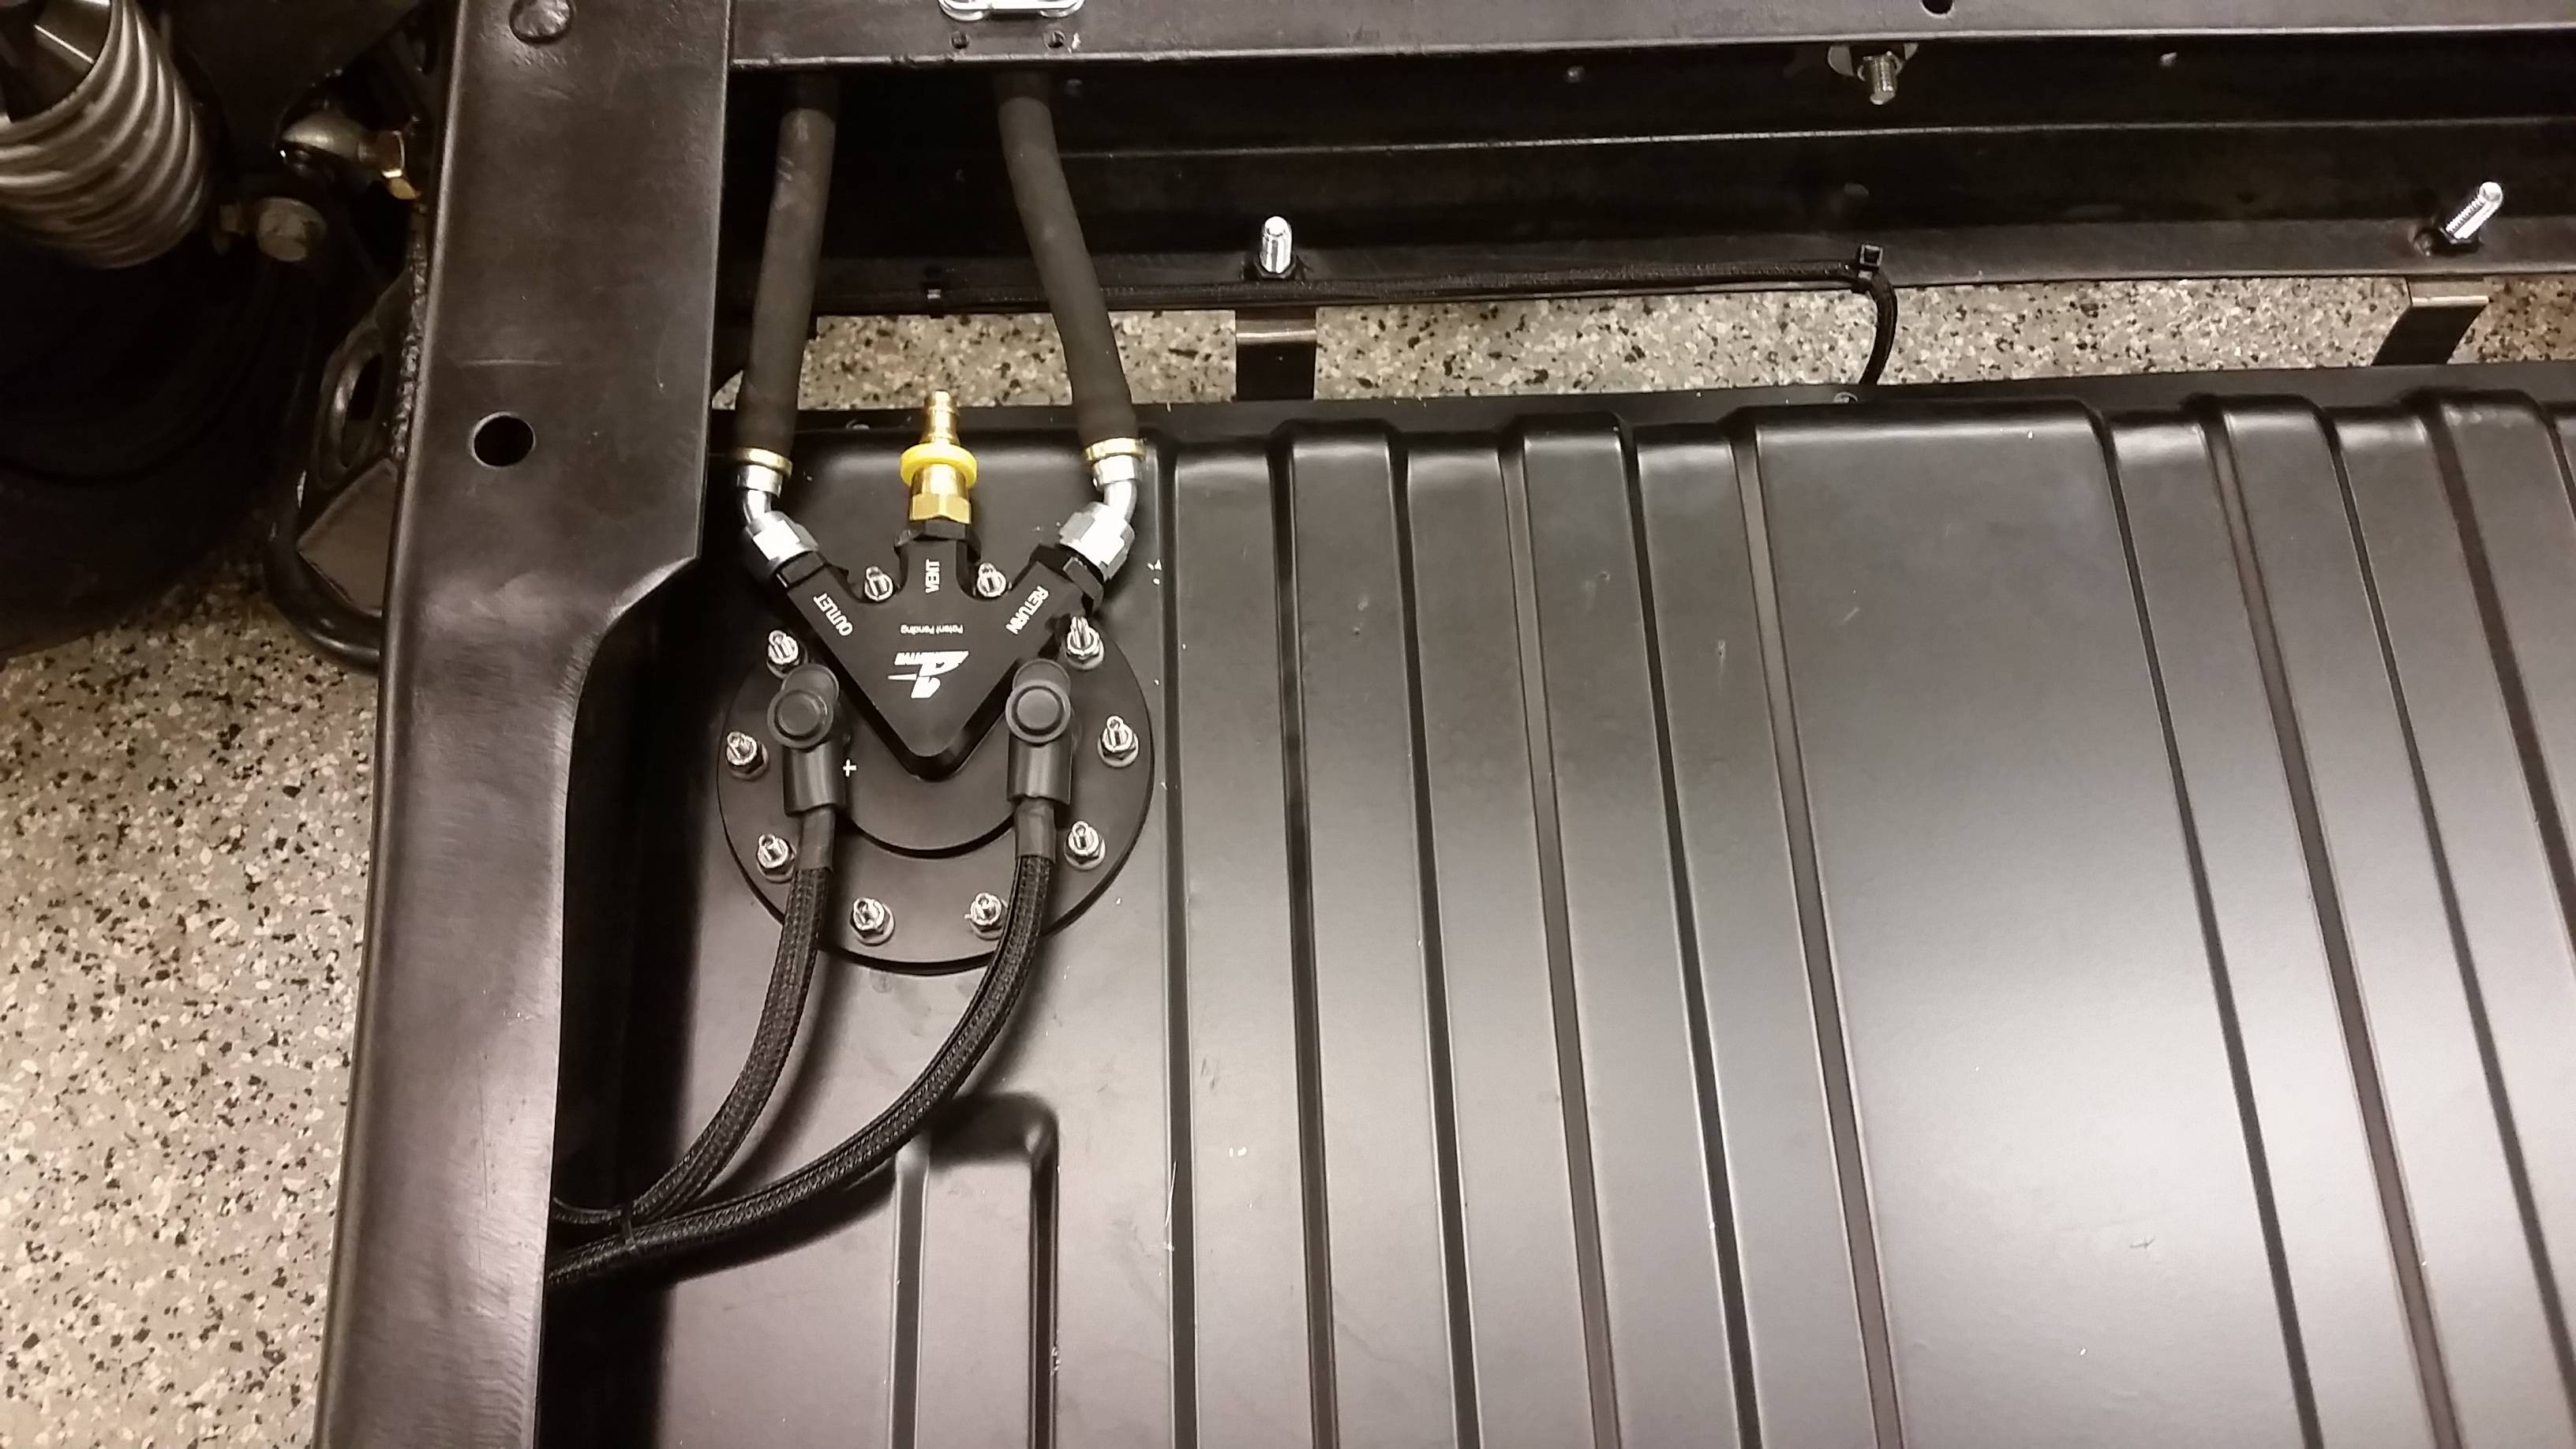
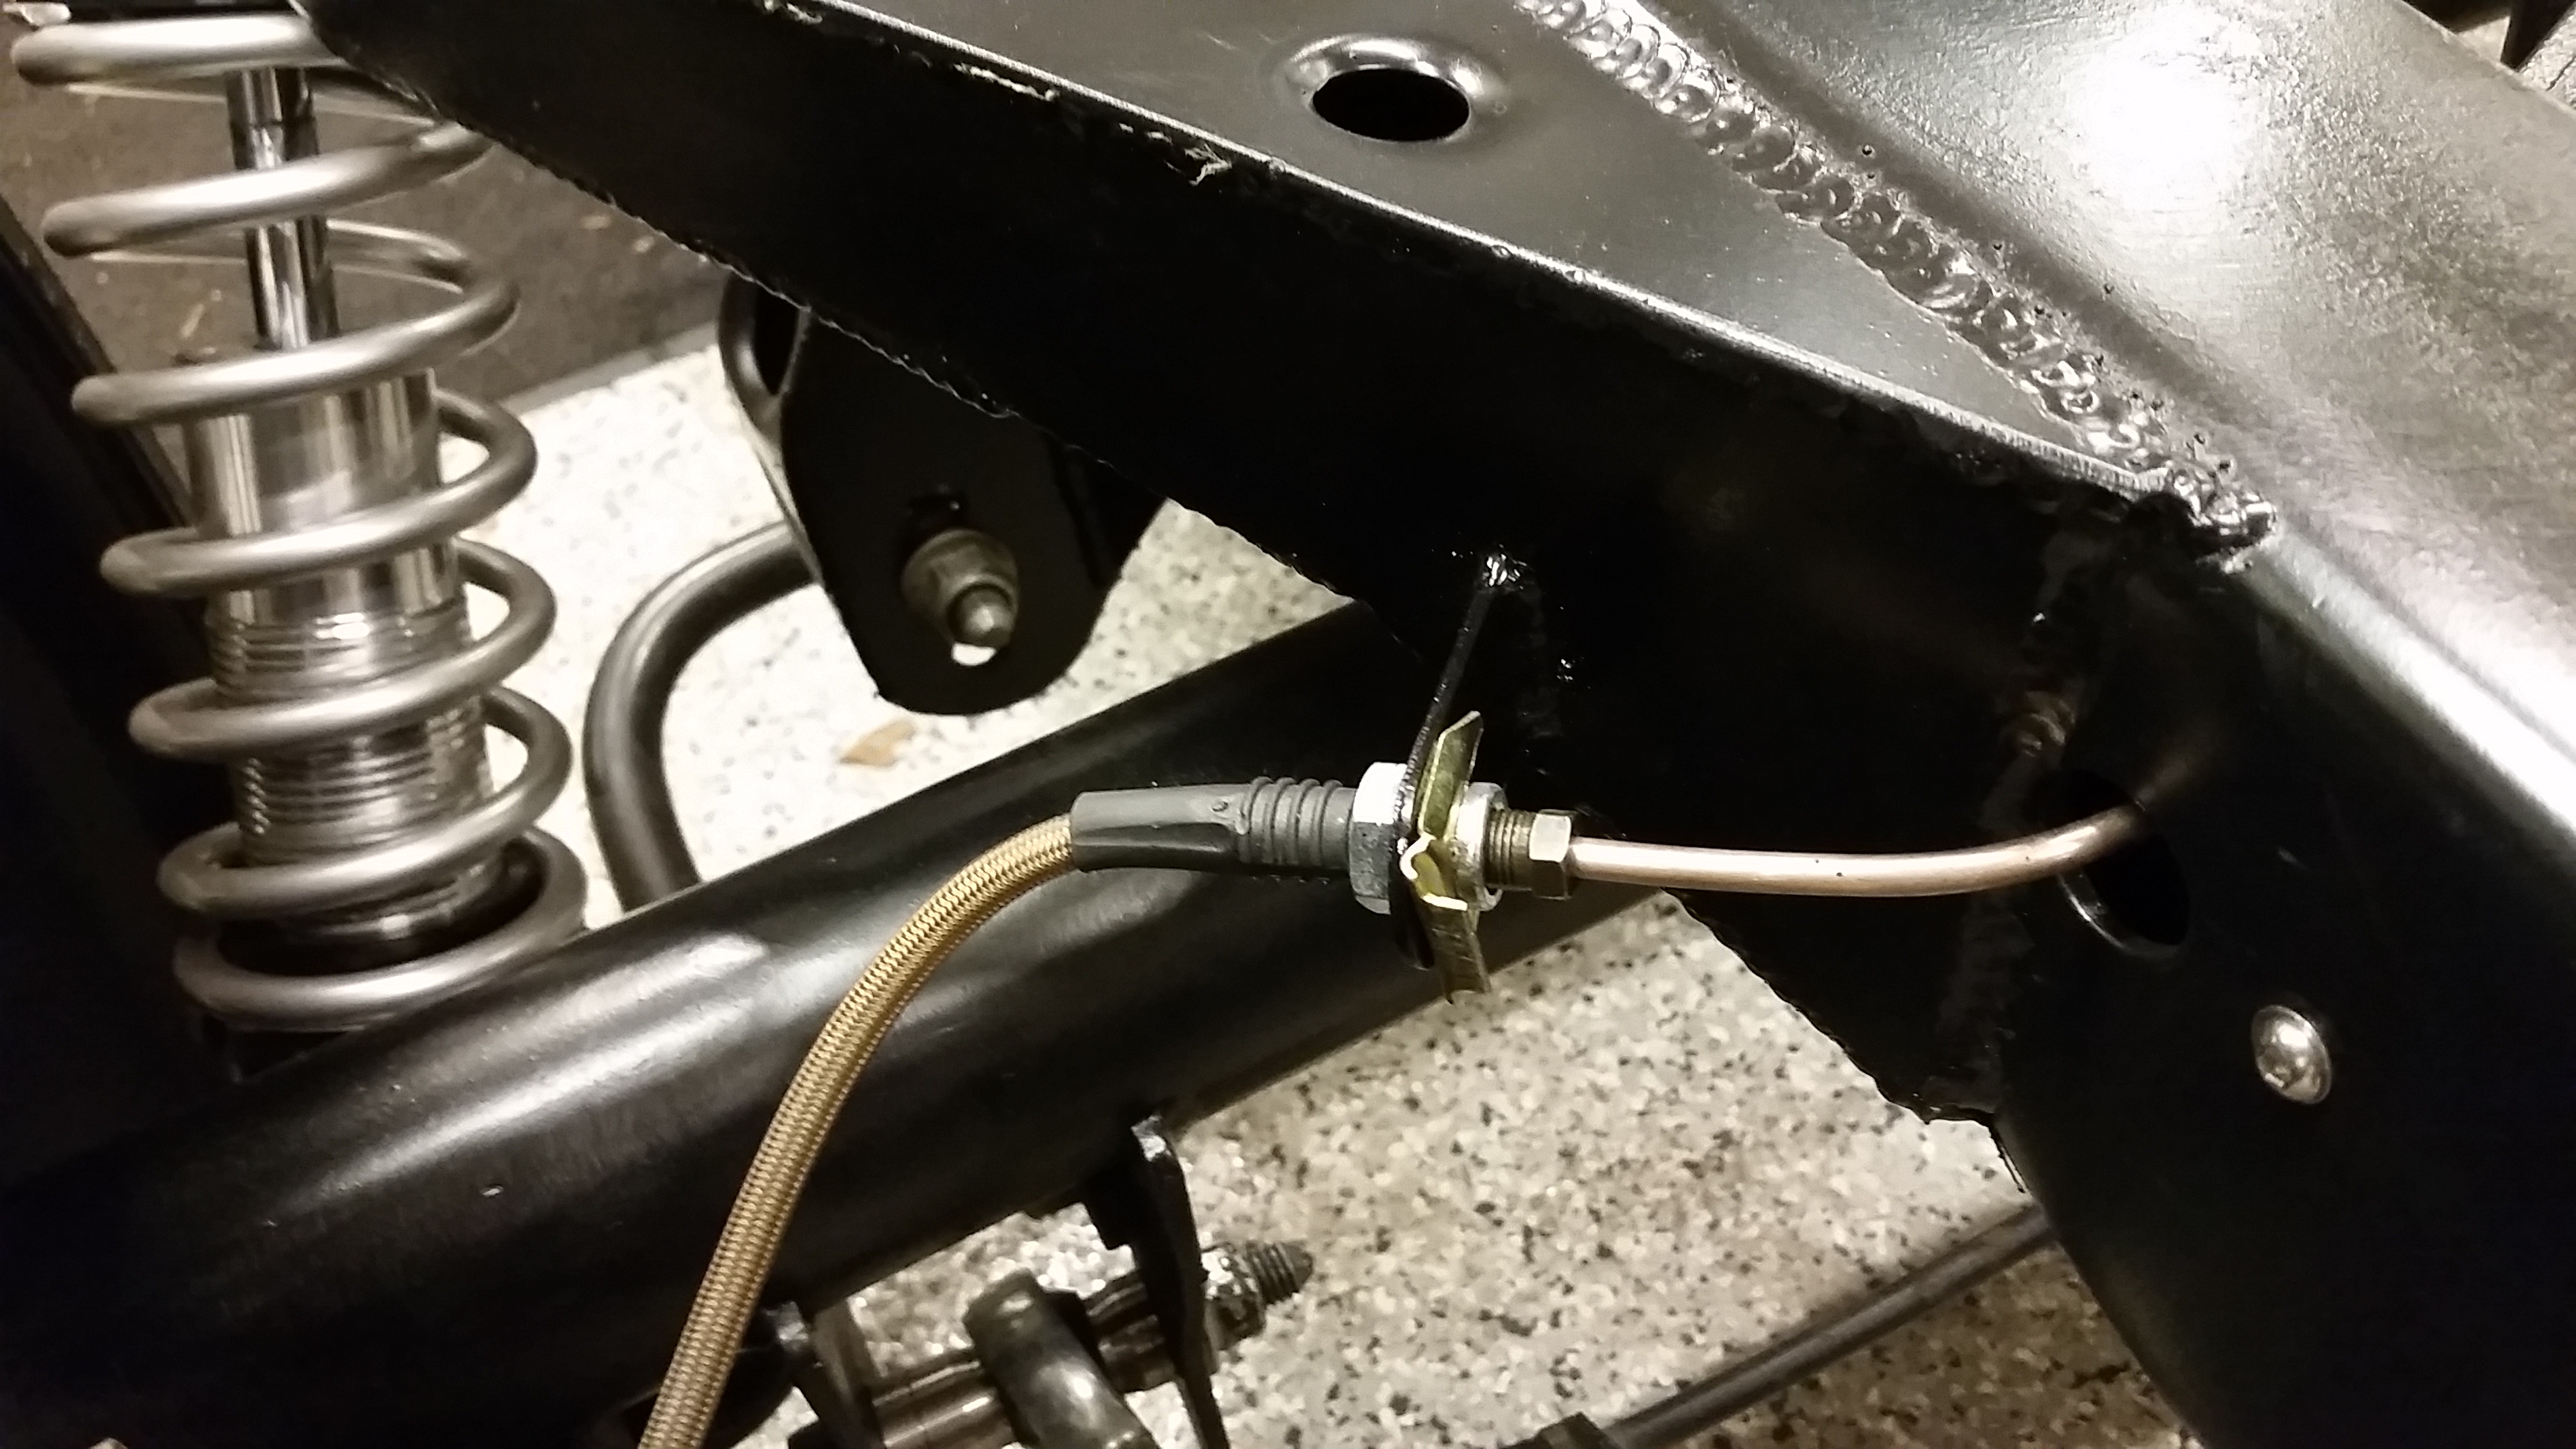
Ran the DOT airbrake line in 1/8" from the fuel pressure regulator up front from the rear and ran the other harness back inside the framerails to the rear and got the rear harness assembled as well.
Got the rear suspension permanent bolts installed and tightened up Adjusted the pinion angle to where the big books tell me to.
Also got the fuel pump all wired up as well, you can kind of see the fuel level sender wired lengthened from in the cab to back in the mustang tank. OCD much?
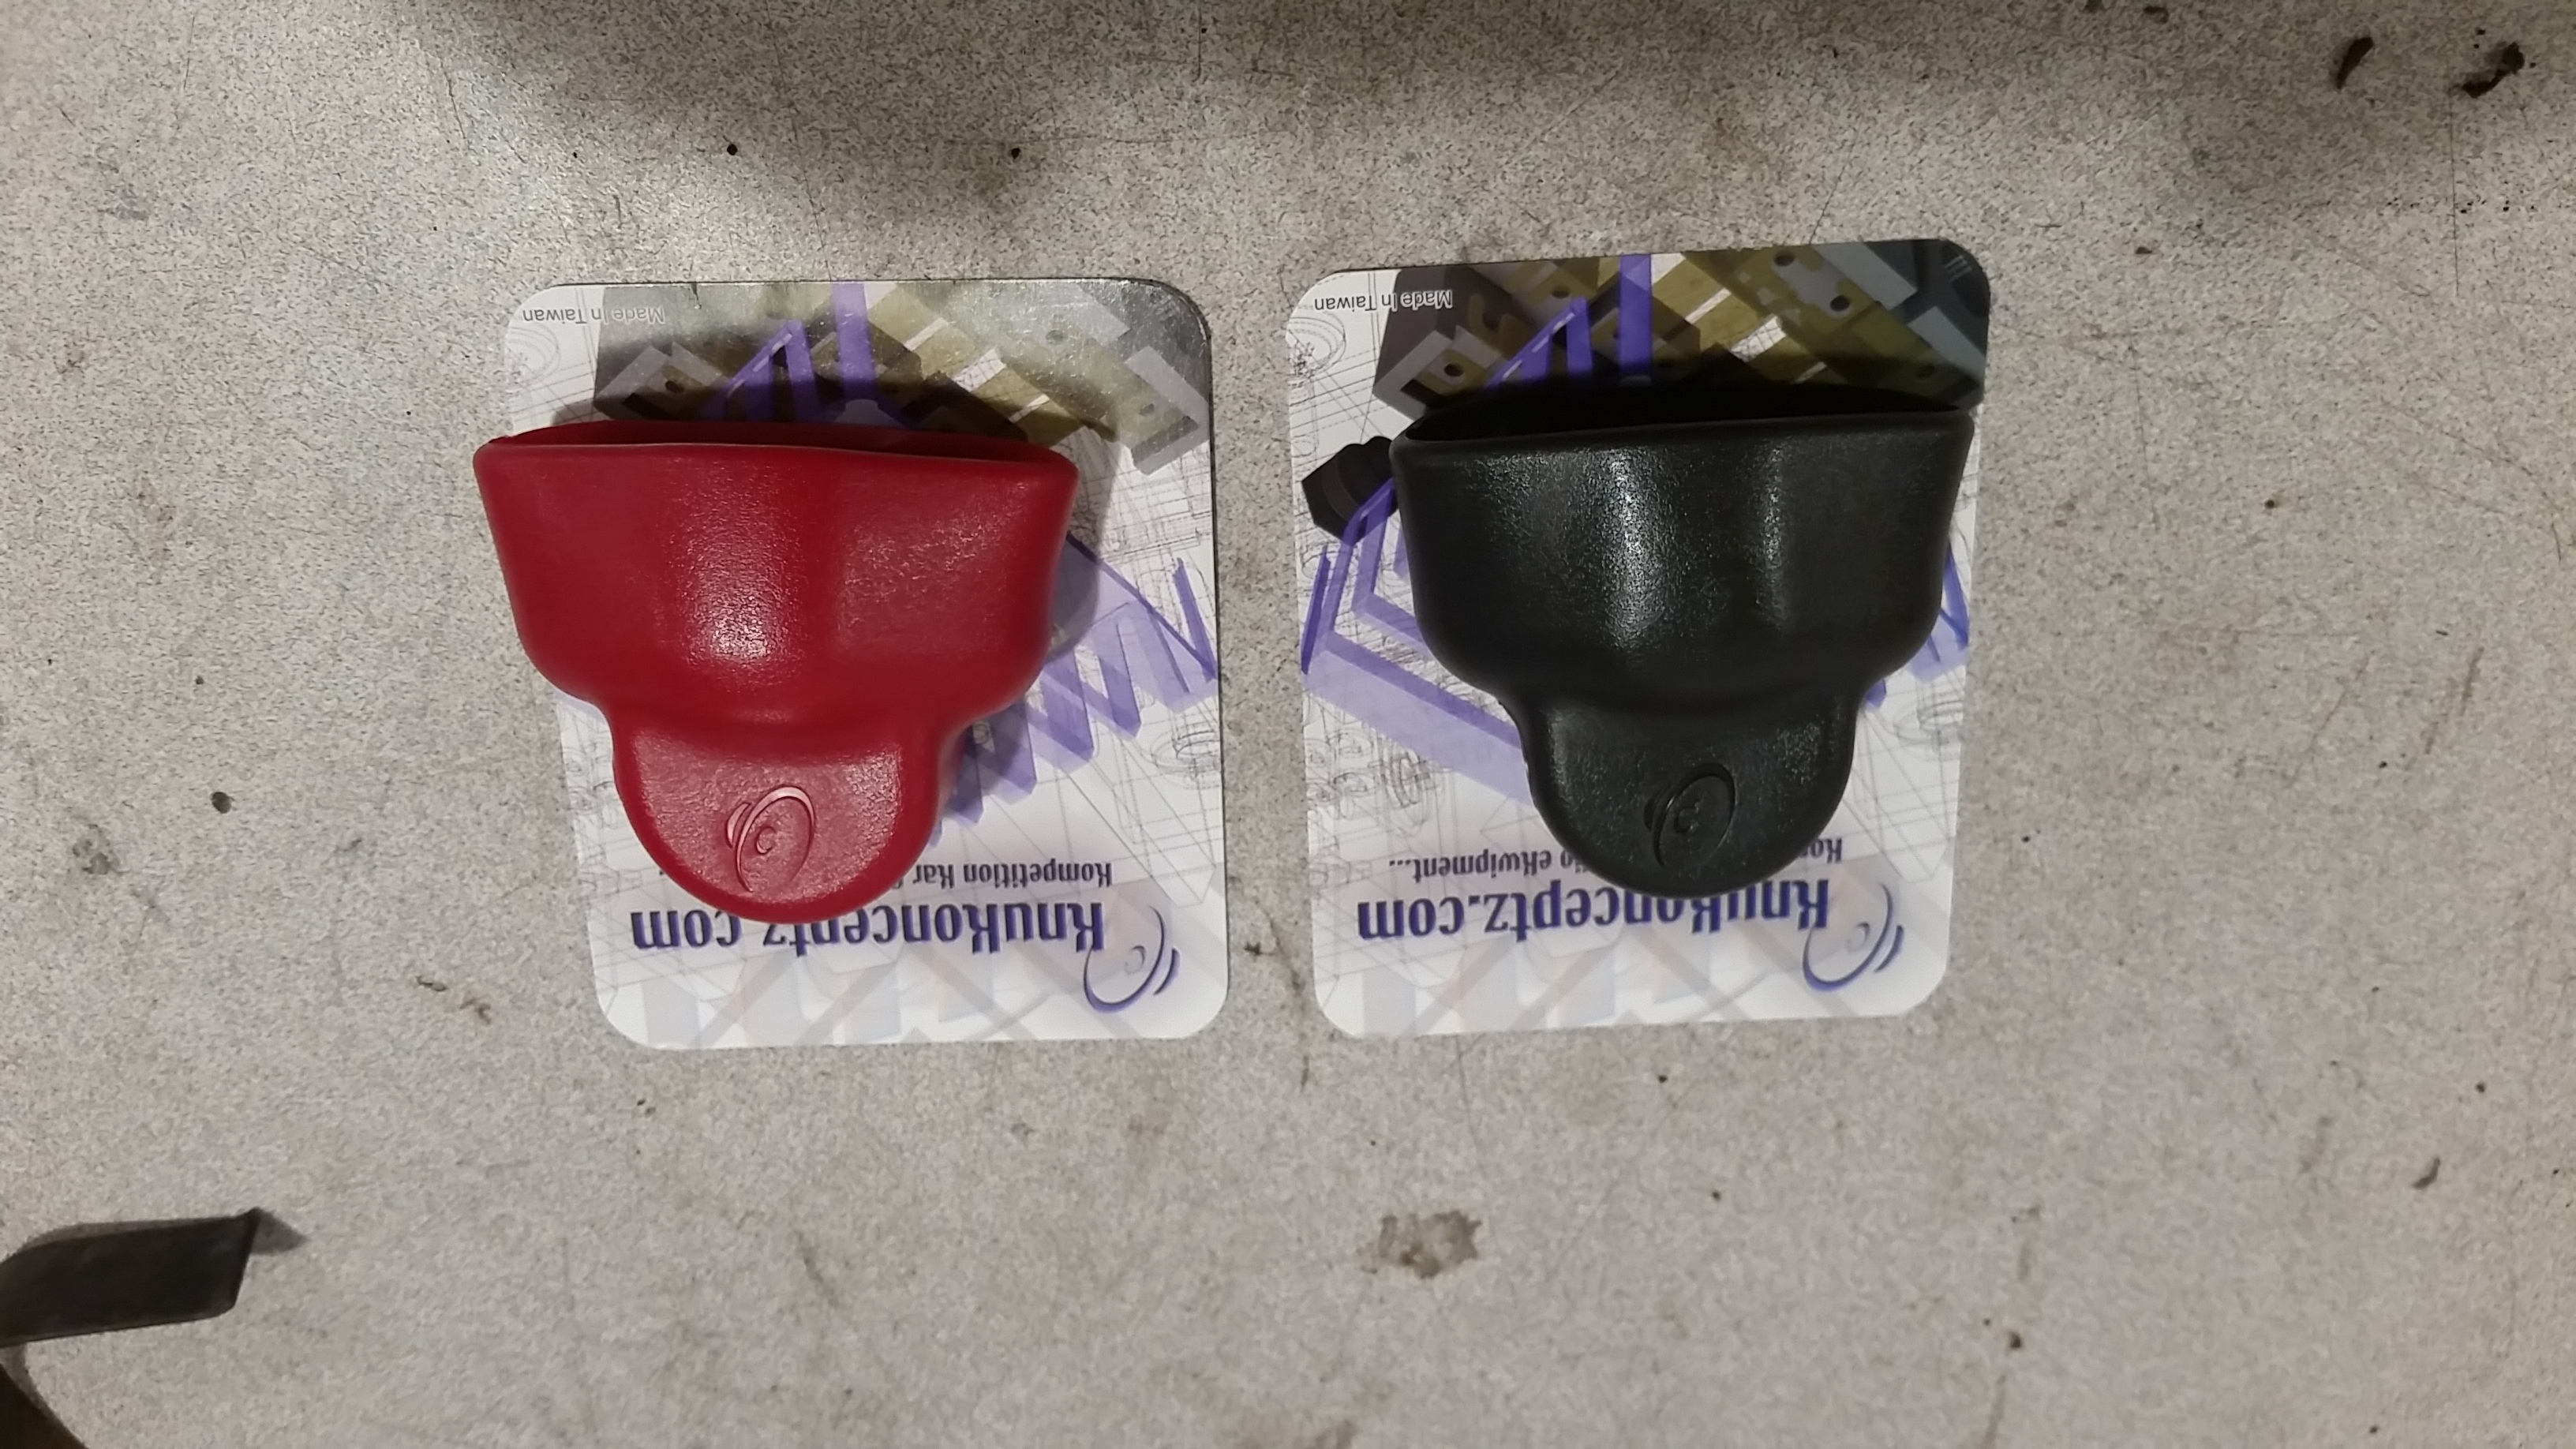
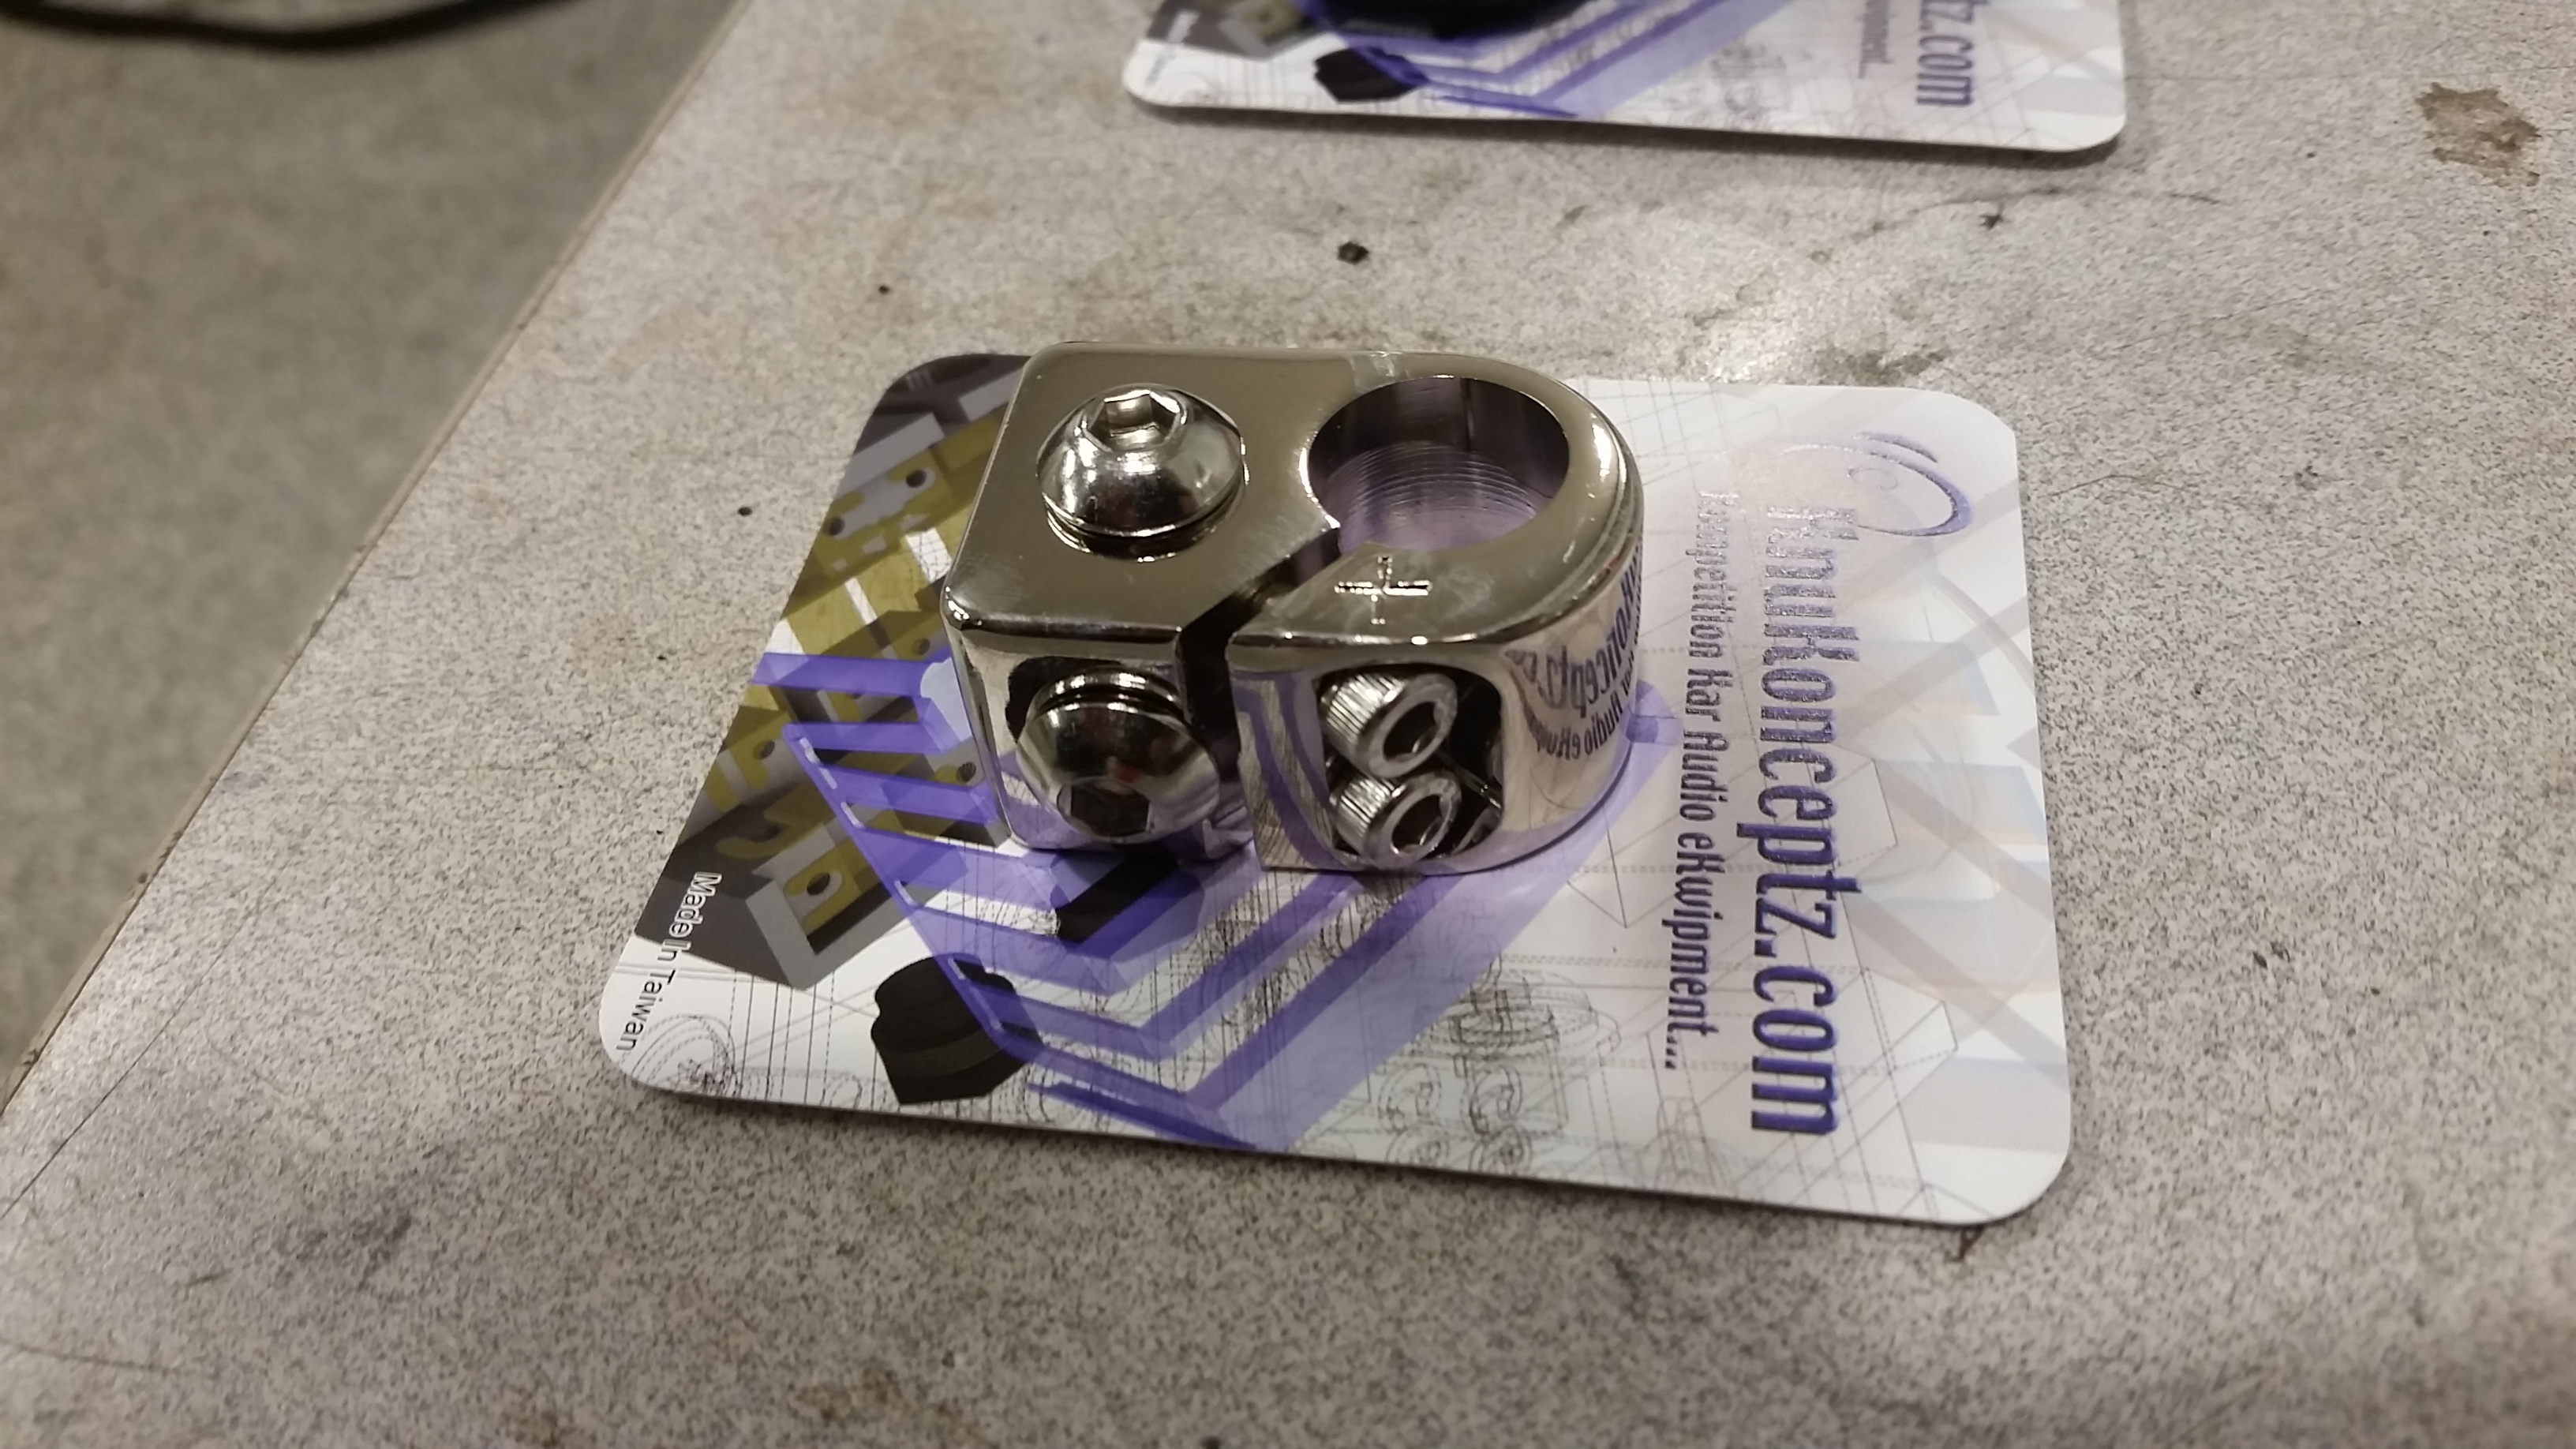
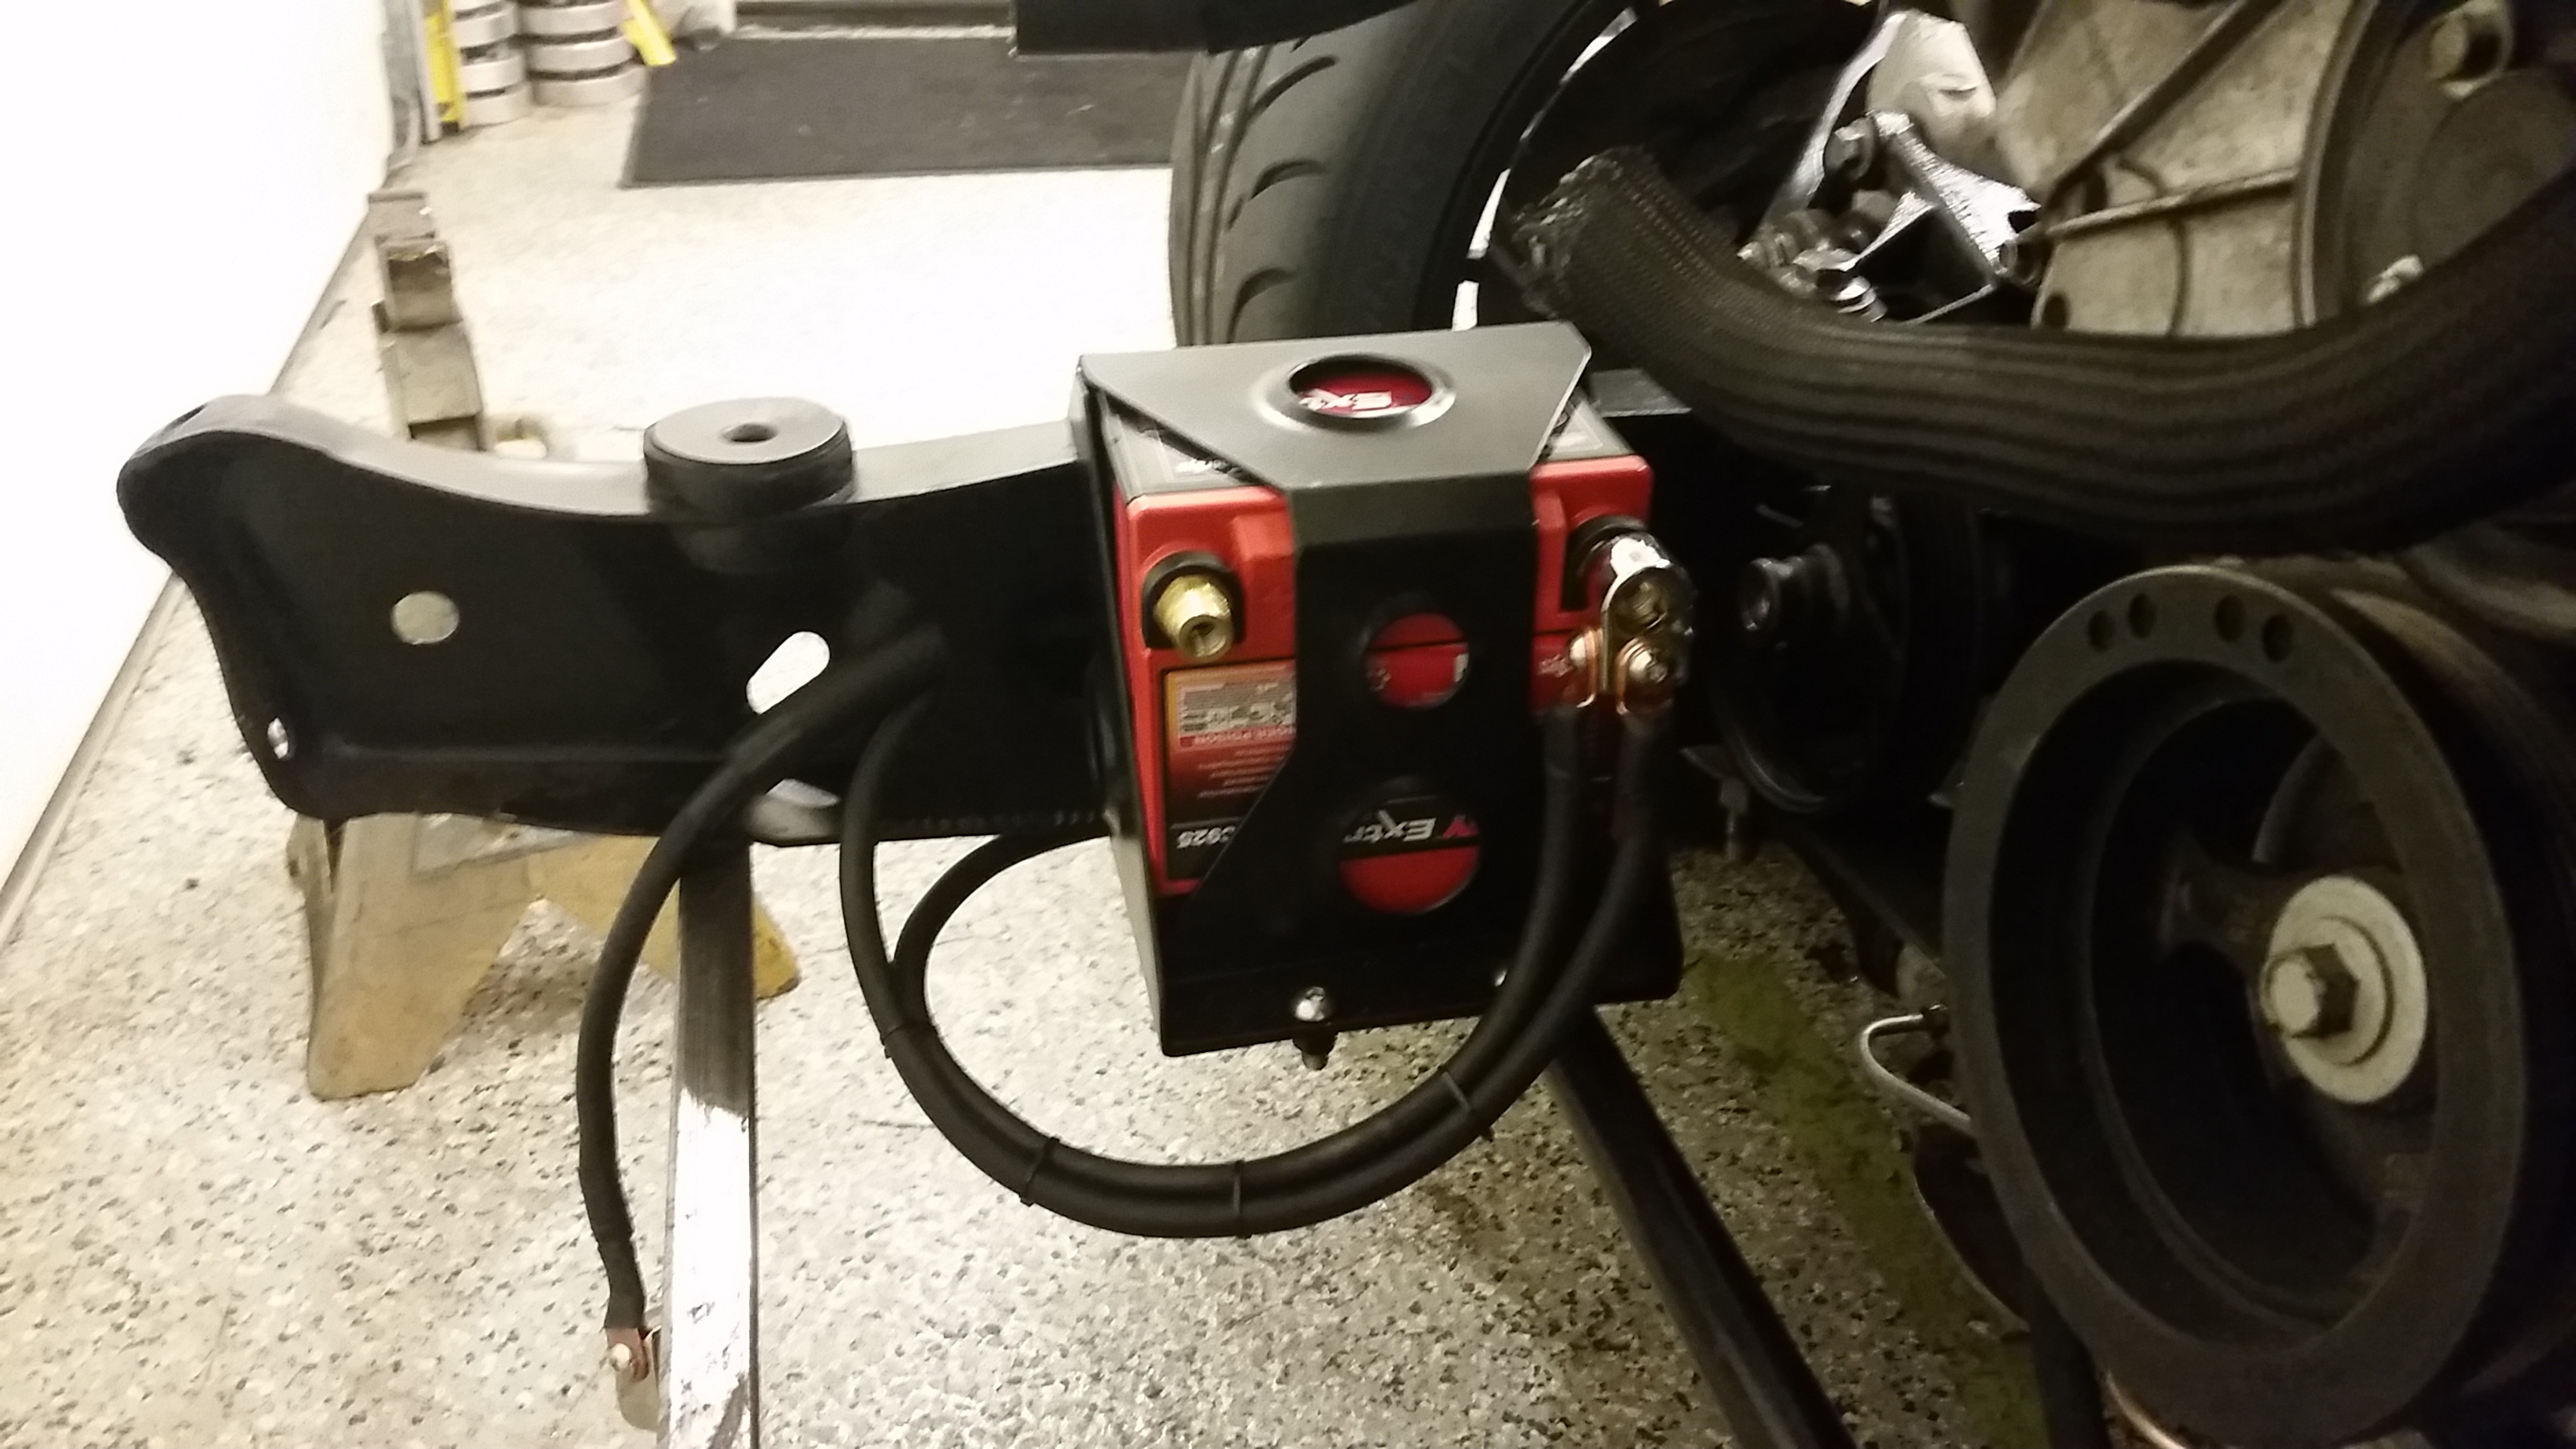
Also my battery terminals finally showed up. I wanted them to be insulated and these are awesome quality.
Moved the front clip back in front of the garage so I can hopefully get some of the holes patched up this weekend but I am nervous about how bad of shape its in....Ill snap a pic tomorrow. Fender, core support and inner fender are pretty hammered.....
Sean
Got ahold of Roy at Ford Racing the other day and inquired about wiring in the mt-82 into the coyote control pack so that it will not only run properly but also so that I will be able to have a properly working speedometer in this thing.
He was awesome. We emailed back and forth a few times and he sent me a couple of PDF's on how to splice them into the ECU and where they needed to go.
So I messed around a little but tonight and measured that out and got it pinned into the 50pin connector. I was a little frustrated that ford does not pin these into the harness and make a couple of blunt leads that you can just hook up. It would be way easier. Of course this needs to be done in the truck since I put the harness in already.....idiot.
Apparently no photos of that..
Also pulled out the rear crossmember, drilled the lower holes in the frame and got that rear crossmember painted and back installed tonight. This was one of those hold up's that I was putting off.
Ran the DOT airbrake line in 1/8" from the fuel pressure regulator up front from the rear and ran the other harness back inside the framerails to the rear and got the rear harness assembled as well.
Got the rear suspension permanent bolts installed and tightened up Adjusted the pinion angle to where the big books tell me to.
Also got the fuel pump all wired up as well, you can kind of see the fuel level sender wired lengthened from in the cab to back in the mustang tank. OCD much?

Also my battery terminals finally showed up. I wanted them to be insulated and these are awesome quality.


Moved the front clip back in front of the garage so I can hopefully get some of the holes patched up this weekend but I am nervous about how bad of shape its in....Ill snap a pic tomorrow. Fender, core support and inner fender are pretty hammered.....
Sean
#140
12-11-2015, 12:58 PM
Hotshot

#141
12-11-2015, 01:05 PM
#142
12-11-2015, 11:15 PM

Vent is probably going to go over to a rollover valve tucked up behind the taillight. Thanks for the props.
Well, not too sure how I got started on this project tonight but I did.
Have been doing so much wiring and mechanical stuff it was kind of fun. Stripped back a little bit of paint and got the patch panel welded in. I am not a body man by any stretch of the imagination.

I laid down a couple coats of body filler and got it close.....its not perfect by any means but neither is the rest of the truck. I am hoping I can make it kind of blend in with the rest of the truck.
So I laid down a couple coats of primer, then a little red like the factory and the tan on top of that.

I think I will be able to make it match pretty good and look old and weathered.
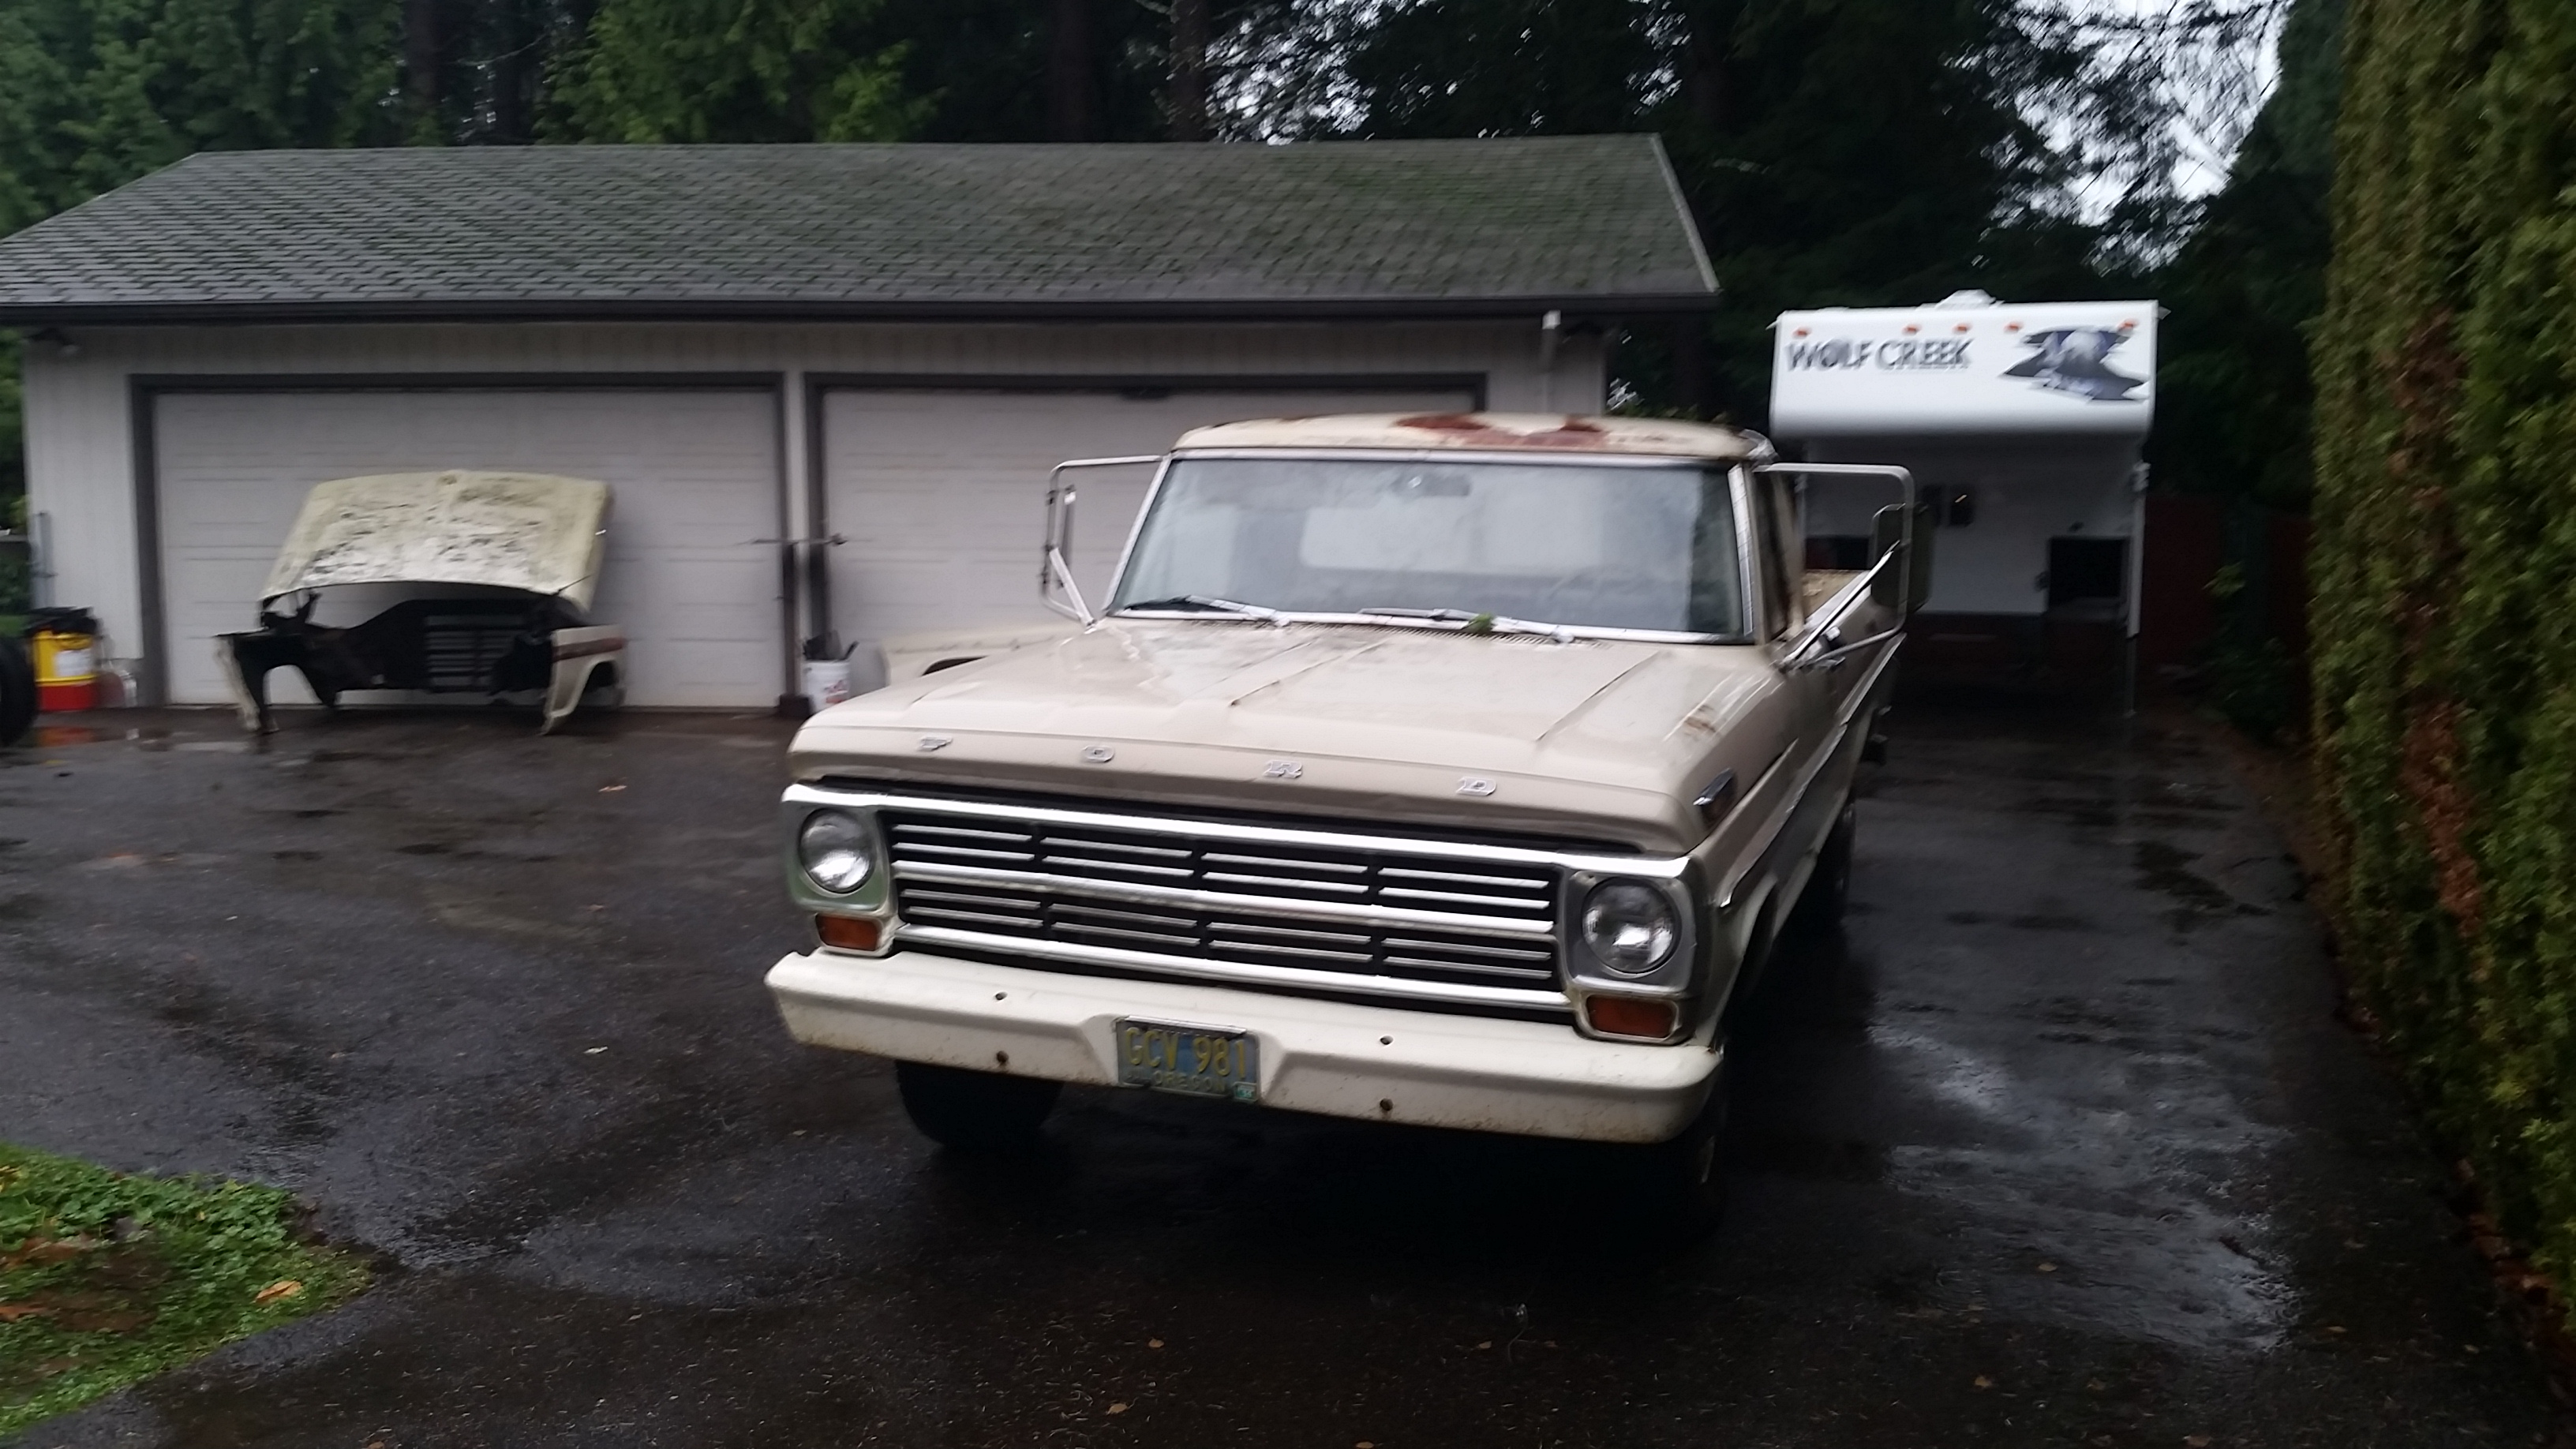
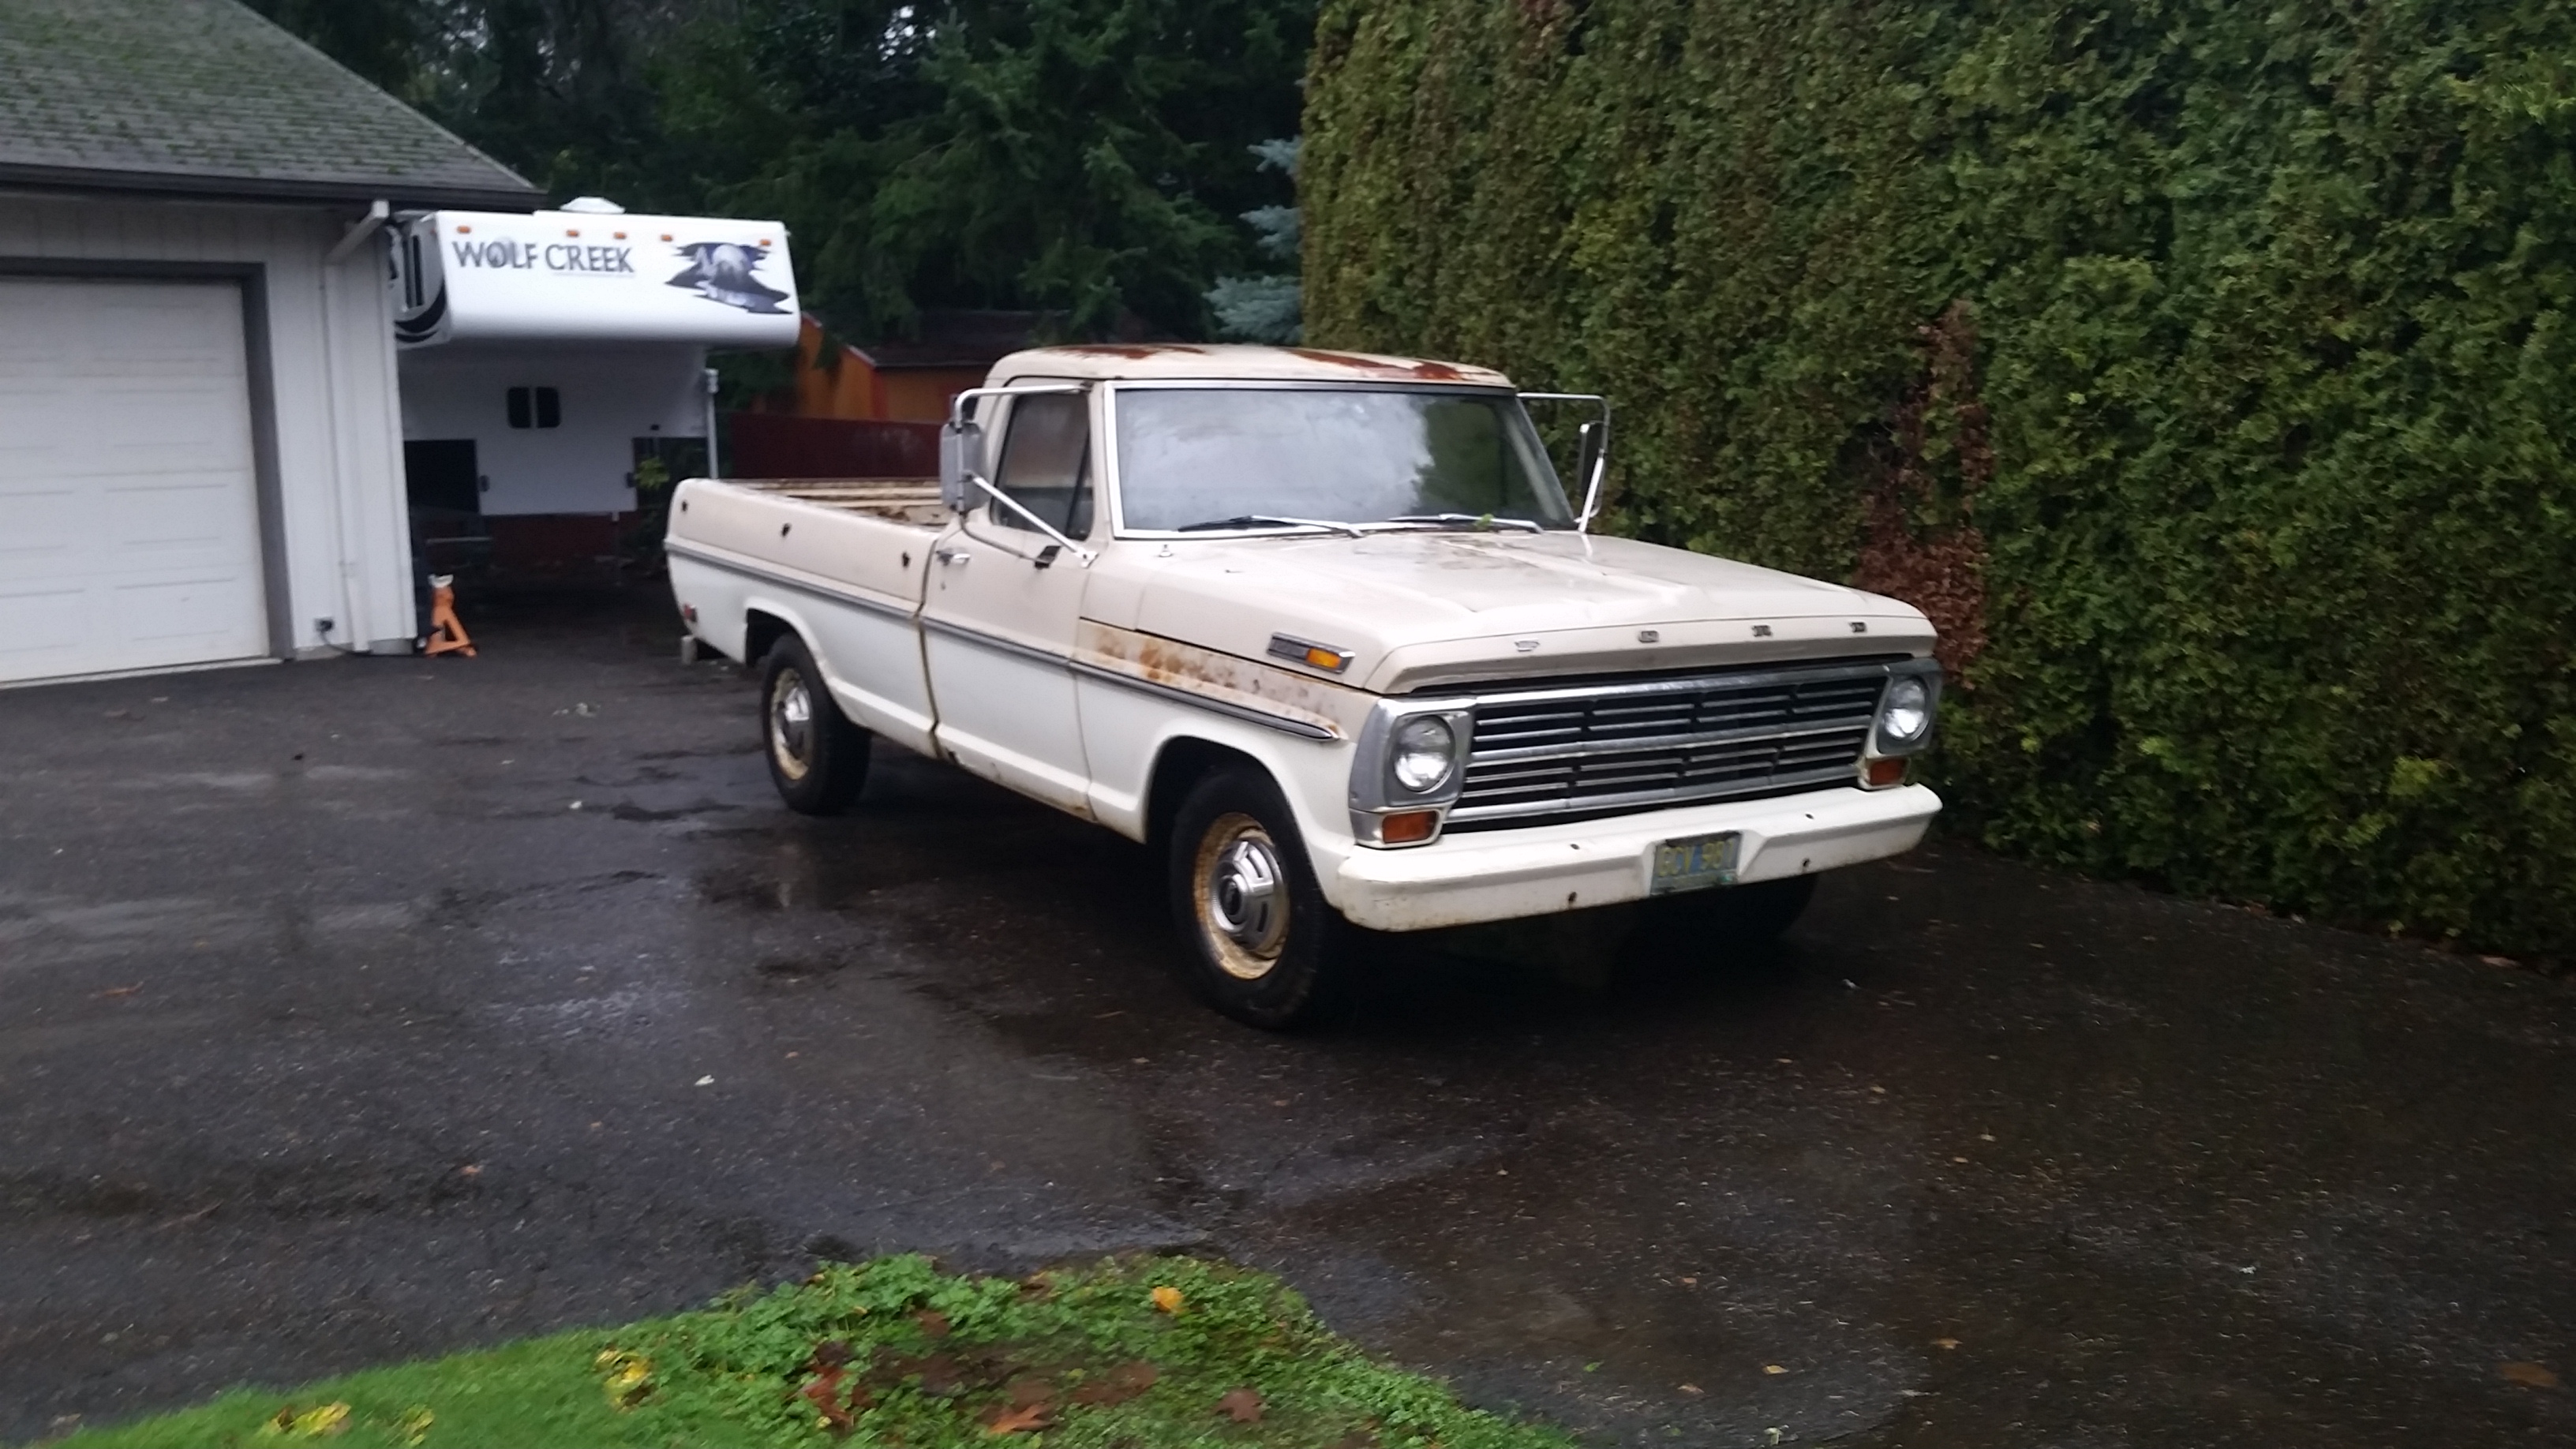
On a less stellar note. I got to looking at the front sheetmetal last night and its hammered. The insides of the hood are totally rusted, the core support is bent back on the drivers side and the drivers fender is too far gone to be usable.
I think I found a truck that will donate a bunch of parts to the good cause of keeping this one on the road. And its two tone Pebble Beige and white. Not perfect, but it will get me close enough and a much better start to the finish.
Heading to look at it in the morning. Anyone need a good truck? its a 250 with a good runner and a rebuilt tranny.
Sean
#143
12-12-2015, 06:48 PM
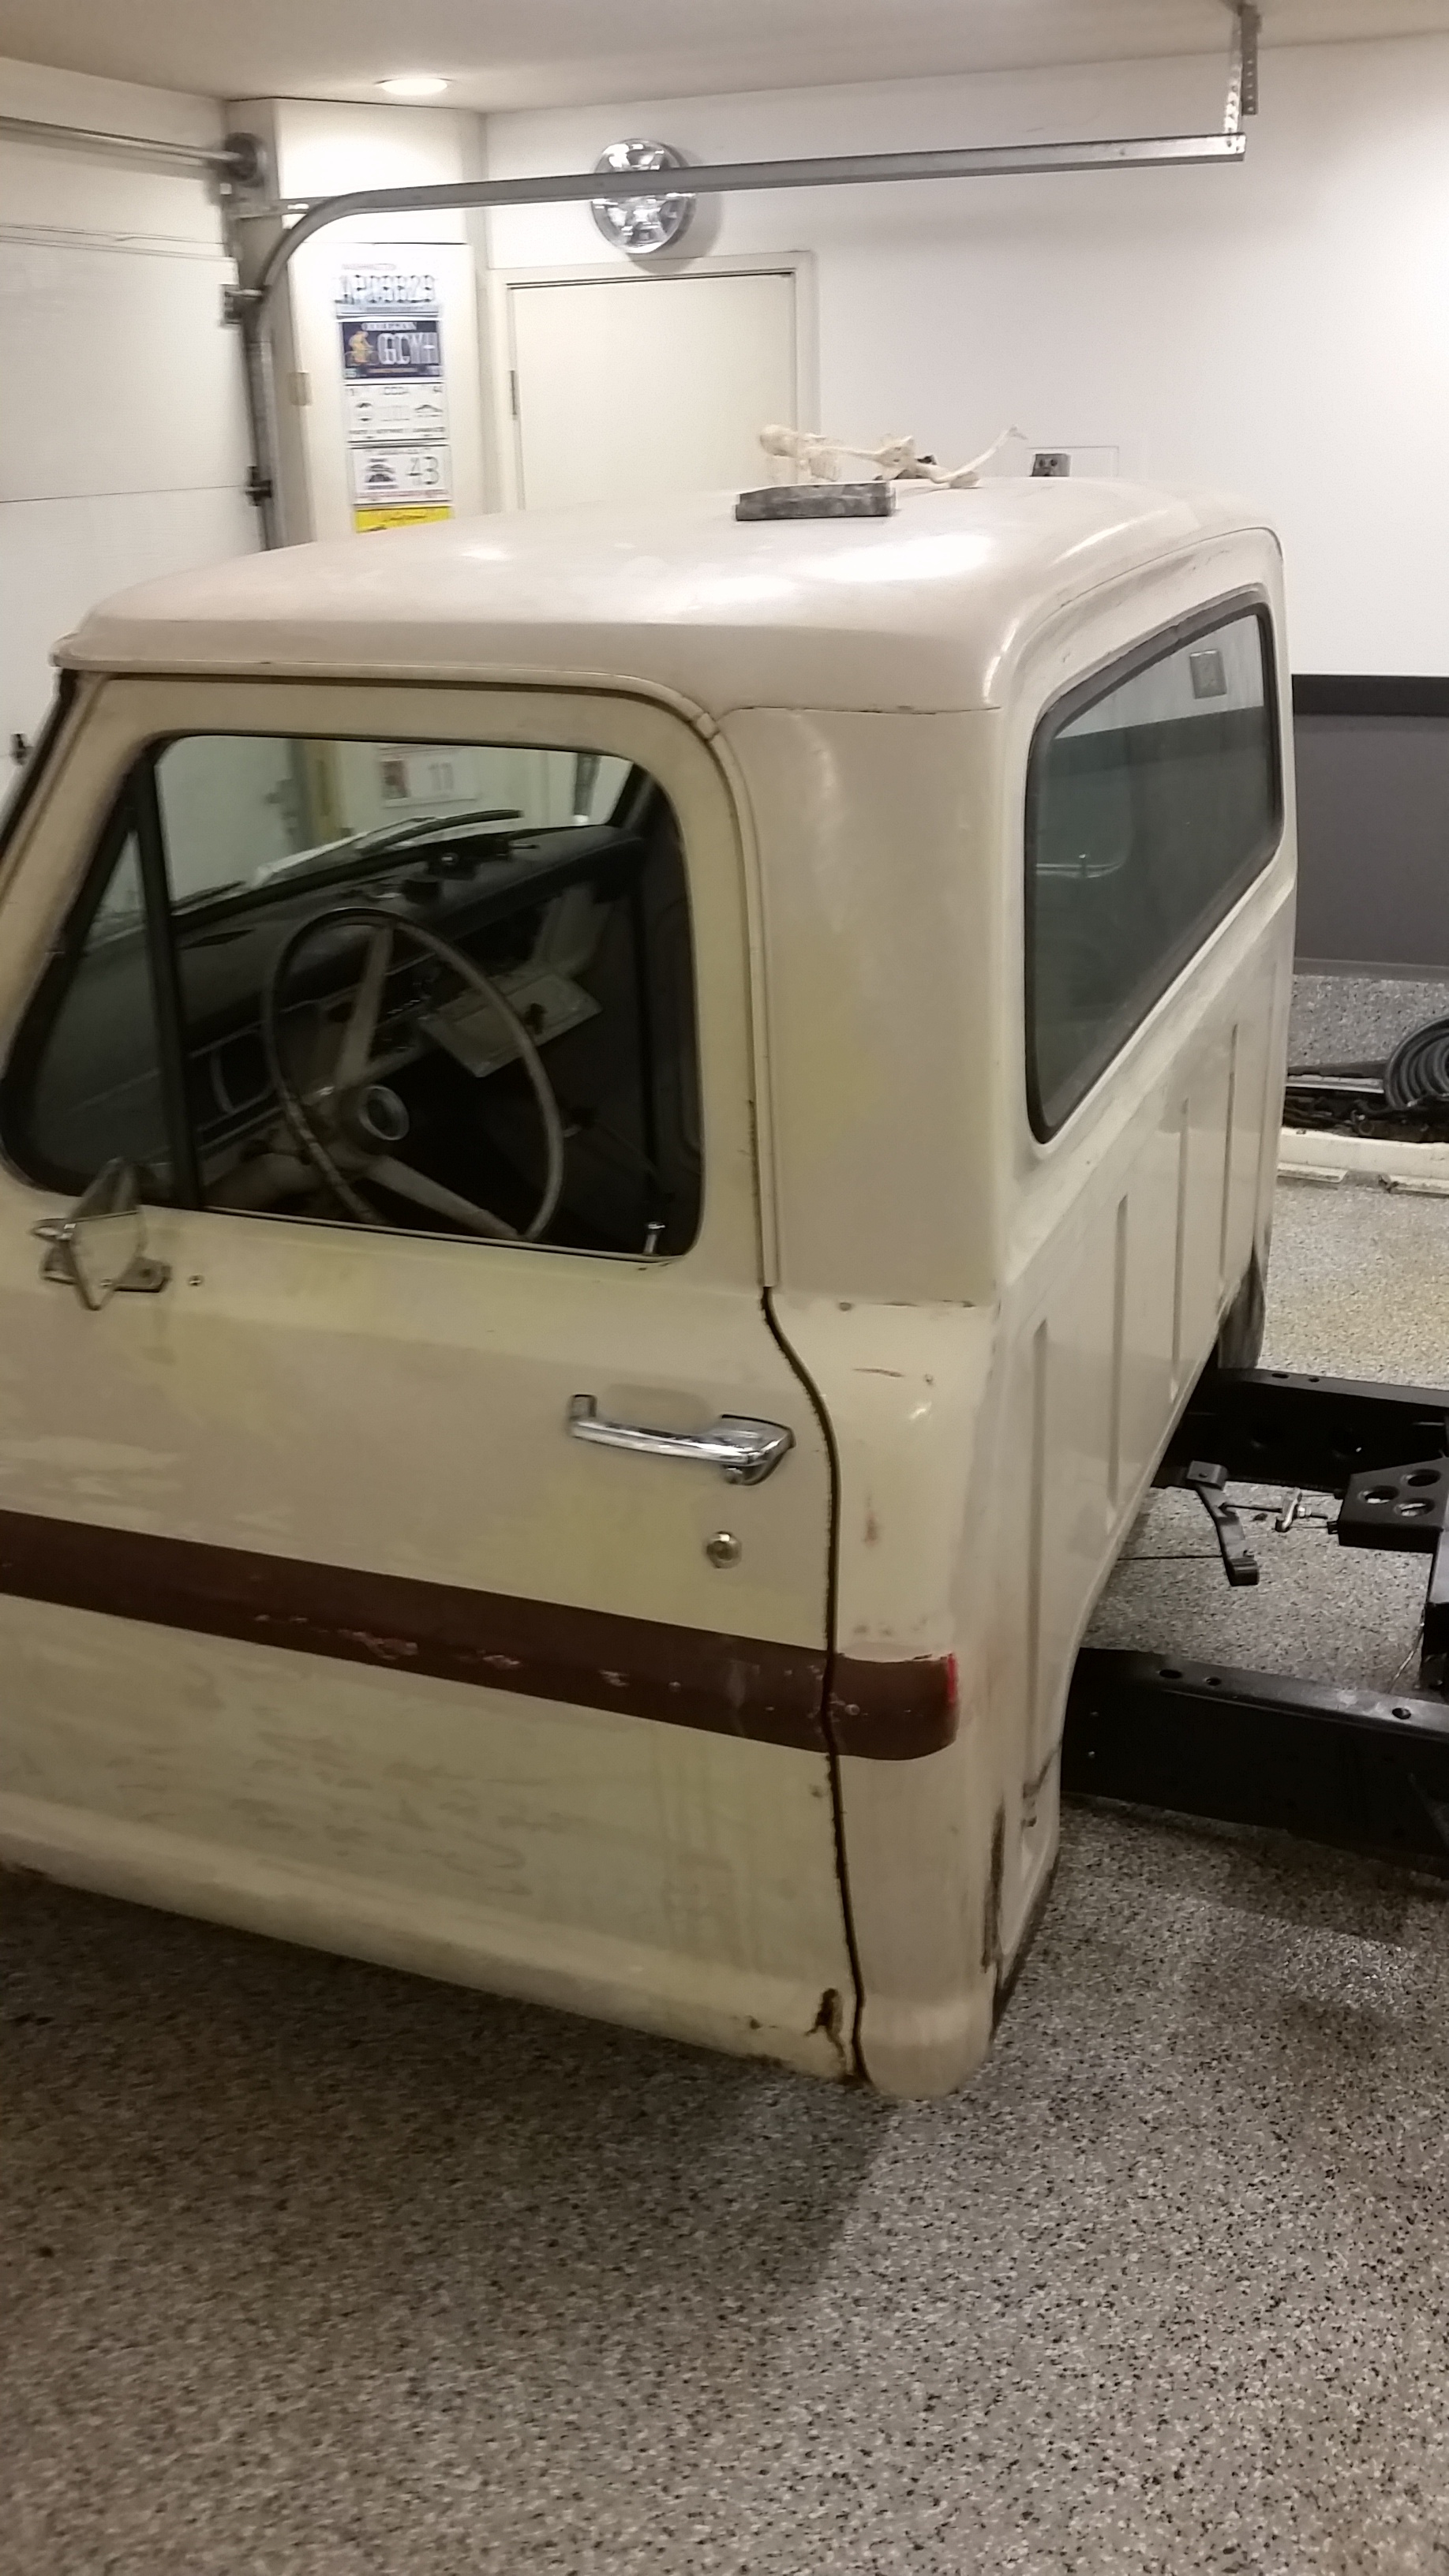
Well I got up at the crack of dawn today and picked up my buddy Scott and his trailer cause the mustang is still on mine =)
We headed out into the country about an hour east of here and took a look at the 68 f250 I had found on craigslist. Other than the hood being kind of a turd as it has flown open on the freeway it had the parts that I desperately need. Good (non rusted) hood, straight core support, straight fenders left and right, good working door locks and a passenger door latch. Also it came with a working ignition switch that i do not currently have. Lots of good parts I can use.
The cab is rust free as well. Anyone need a cab?
Got that thing home and unloaded and got back to work.
Hit the spot I shot with some color last night with some 1000 grit to see how it was going to look. Not perfect and I think Ill get some proper color matched up and shoot it with that and some grit to look right.
Better than a big *** hole in the cab.
Needed to get this little chore done before I could get the bed on. Got the locking gas cap off of it first of all, cut it down to a length that would work and cleaned it all up and got it installed. I totally dig it.
Had a hand in the garage for a few hours and got a bunch of little stuff done on the wiring. Thanks for the help Ole.
Starter solenoid wired up, ground from the battery to the chassis built and installed. Ground from battery to engine built and installed. Negative battery terminal made up and ready to go on. Ground from engine to cab rebuilt and the grounds for the harness attached to the stud on the back of the head.
Also managed to get a pic of this. Got this done last night.
It has been pouring for days up here in Oregon. Today is no exception. I need to get the frontend off the donor truck but an waiting until I can either get it in the garage for a day or the weather dries out.......Hopefully one of those tomorrow.
Sean
We headed out into the country about an hour east of here and took a look at the 68 f250 I had found on craigslist. Other than the hood being kind of a turd as it has flown open on the freeway it had the parts that I desperately need. Good (non rusted) hood, straight core support, straight fenders left and right, good working door locks and a passenger door latch. Also it came with a working ignition switch that i do not currently have. Lots of good parts I can use.
The cab is rust free as well. Anyone need a cab?


Got that thing home and unloaded and got back to work.
Hit the spot I shot with some color last night with some 1000 grit to see how it was going to look. Not perfect and I think Ill get some proper color matched up and shoot it with that and some grit to look right.

Better than a big *** hole in the cab.
Needed to get this little chore done before I could get the bed on. Got the locking gas cap off of it first of all, cut it down to a length that would work and cleaned it all up and got it installed. I totally dig it.


Had a hand in the garage for a few hours and got a bunch of little stuff done on the wiring. Thanks for the help Ole.
Starter solenoid wired up, ground from the battery to the chassis built and installed. Ground from battery to engine built and installed. Negative battery terminal made up and ready to go on. Ground from engine to cab rebuilt and the grounds for the harness attached to the stud on the back of the head.

Also managed to get a pic of this. Got this done last night.

It has been pouring for days up here in Oregon. Today is no exception. I need to get the frontend off the donor truck but an waiting until I can either get it in the garage for a day or the weather dries out.......Hopefully one of those tomorrow.
Sean
#145
12-13-2015, 04:54 AM
#146
12-13-2015, 05:02 AM
#147
12-13-2015, 09:54 AM
Gills and webbed feet for sure.
I am going to go do an anti rain dance now.
Sean
#149
12-13-2015, 11:09 PM
Well, it might not have been so perfect afterall but it provided me with a lot of parts.
Had a hand for a couple hours and got all the crap I needed off the ford. Also found a few suprises......rust.

On top of getting the bumper and front clip off the truck, we also got the doors gutted and pulled the locks, interior door panels, latch mechanisms as well as the ignition switch and the nicer than mine gauge cluster, all in all a pretty good chunk of stuff. Still need to pull off the kind of cool rear step bumper.
So this is not the only rust, but it was the worst of it. Hit the core support with a wire wheel where I needed to and some rust mort to stop it. Cut and patched this spot as it was the only spot that kind of held something. The other spots are kind of superficial so I am not too worried about them.
The inner fender on the other hand, it was pretty hammered around the battery.
Here is what I ended up cutting out....of the old inner fender from the original truck.

Against my better judgement I started doing typical "Sean" stuff and decided that I could make things better and this happened.

I took the back part of the ****ty inner fender and chopped it up to fit in the spot where the battery tray was.

Its far from perfect and has a little oil canning that I need to figure out but all in all I think it looks a hell of a lot better than the old battery tray. Kind of wondering if I am going to tackle the other side as its proving to be a lot of work

I think I am going to get these close, do a light coat of bodywork and shoot them with truckbed liner.
Sean
#150
12-14-2015, 03:02 PM
Thanks for posting the information on your battery and terminals, you might have answered a question for me. I have been thinking about a way to to hide one in the trunk of the Mustang I'm starting and that one might just fill the bill. Your inter fenders are looking good, as is the rest of the truck. 