'51 F4 project
#1021
 12-23-2013, 09:03 PM


OK, here we go! 
My park brake lining from McMaster-Carr arrived at 3:00 this afternoon, so I got to work on it.
I read Earl's World section on his relining the park brake several times. I don't have some of the tools he used. But I decided to try to make what I needed to get the job done.
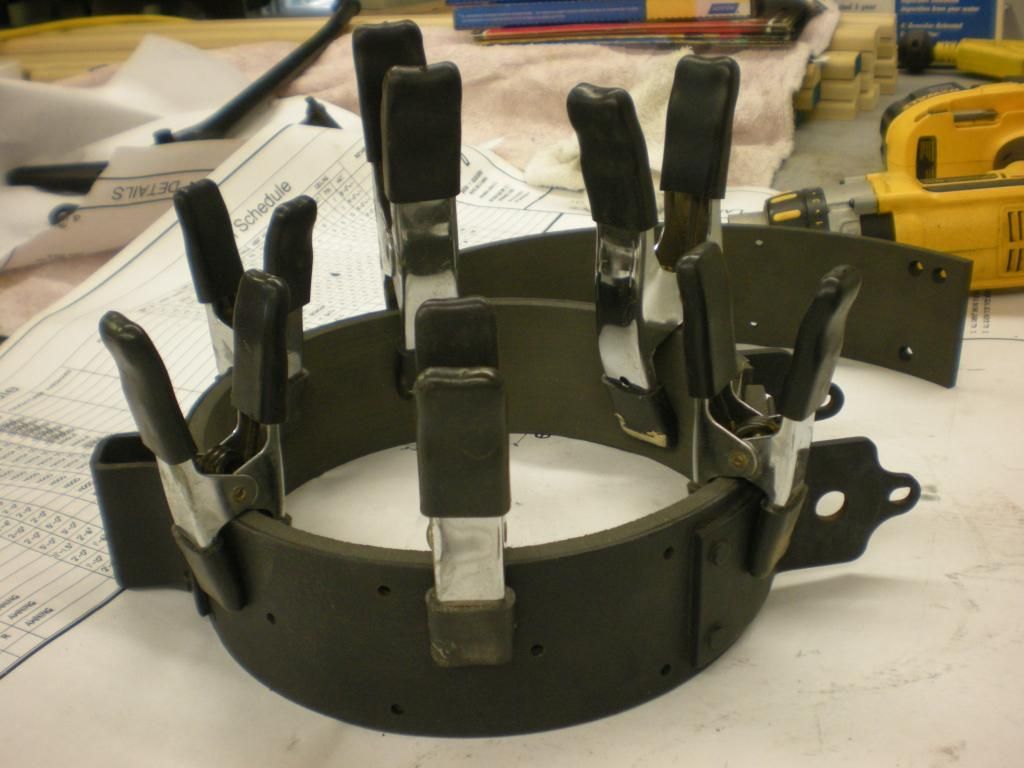
First thing was something to hold the rivets in place while spreading the ends. I found I could use my bench vise to hold the tool and reach all the holes in the brake band. That's a plus. In Earl's World, he used a cut off 5/16" drill bit. I only have one 5/16" bit and was not about to destroy it for this task.
But I have 5 3/8" socket extensions, and this one is a cheap import. So, off with its head!
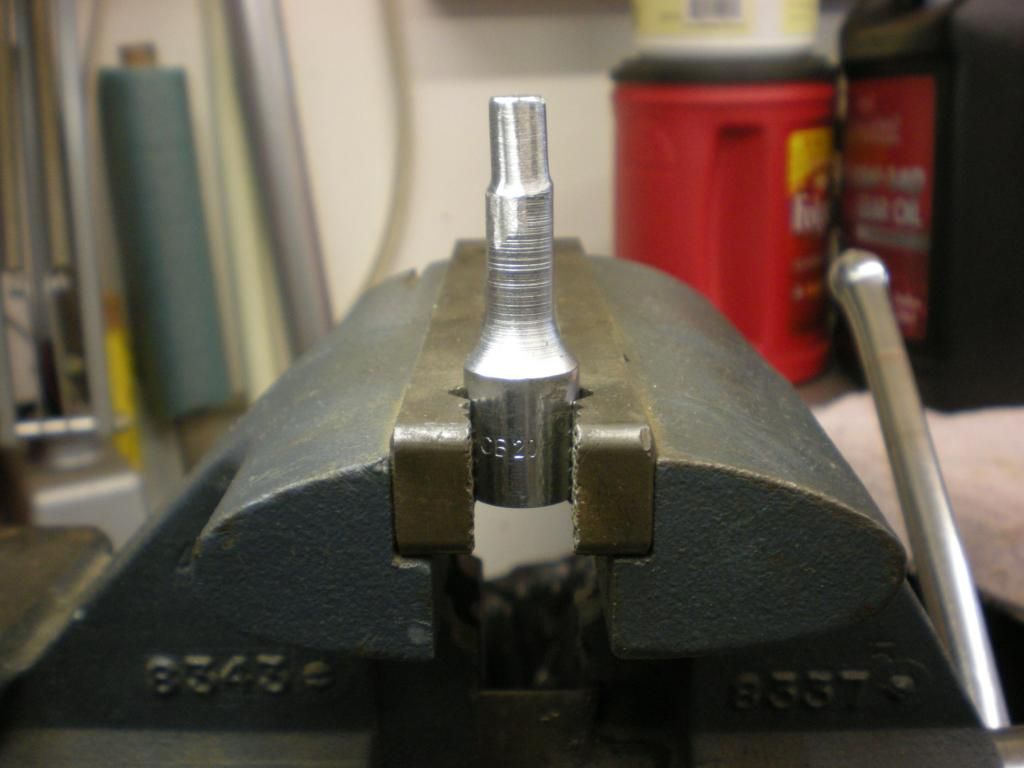
I used my bench grinder to reduce the size to the needed 5/16". I don't own a metal lathe, and this was no precision job. But it worked.
It fit the countersunk holes and rivet heads perfectly.
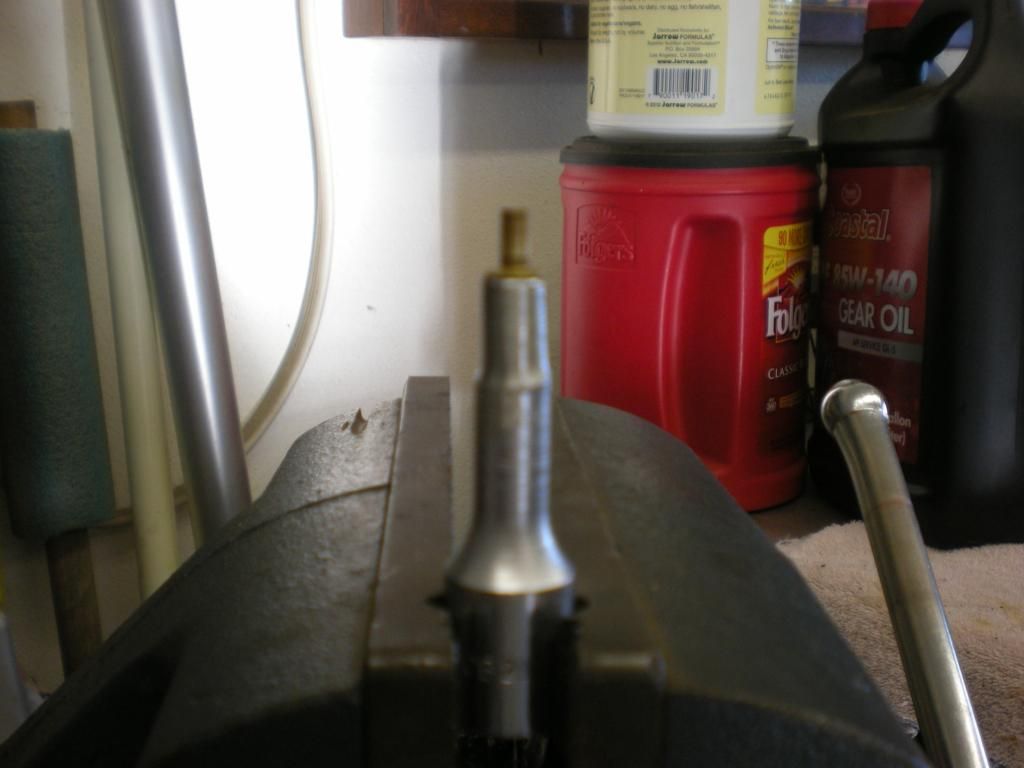
Test fit for measuring the depth needed in the liner countersunk holes.
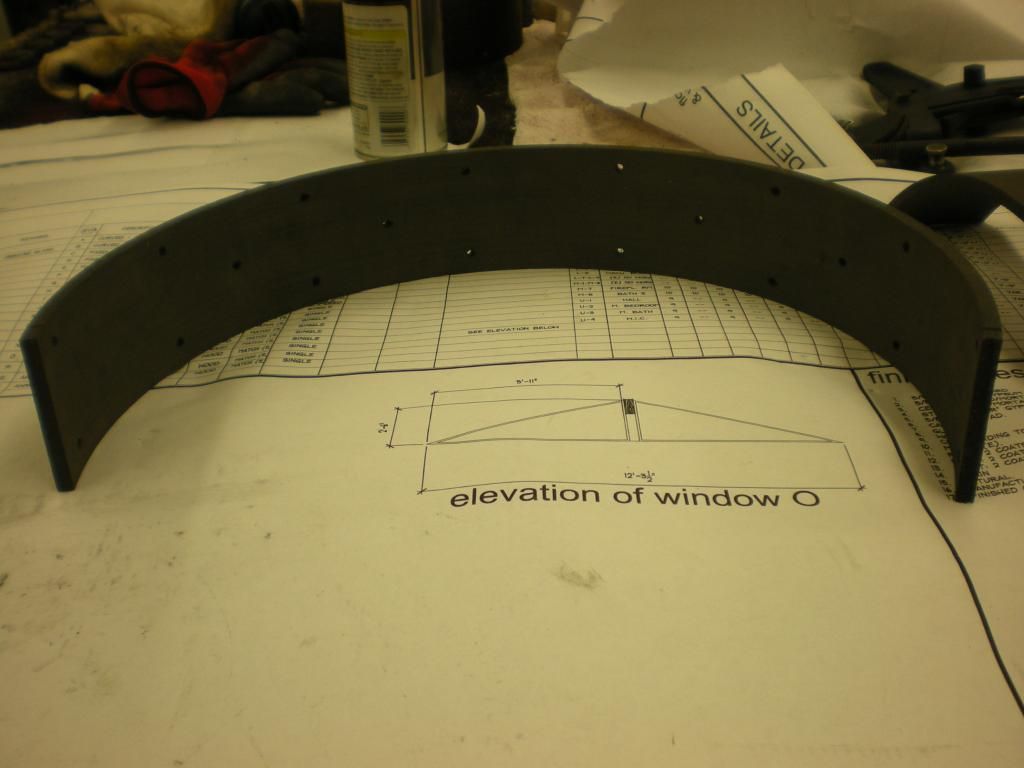
Here's the new liner material. I ordered 3 feet because I needed 24 5/8" and I wanted to practice...
I cut it to length and slapped it on the drum to check the fit.
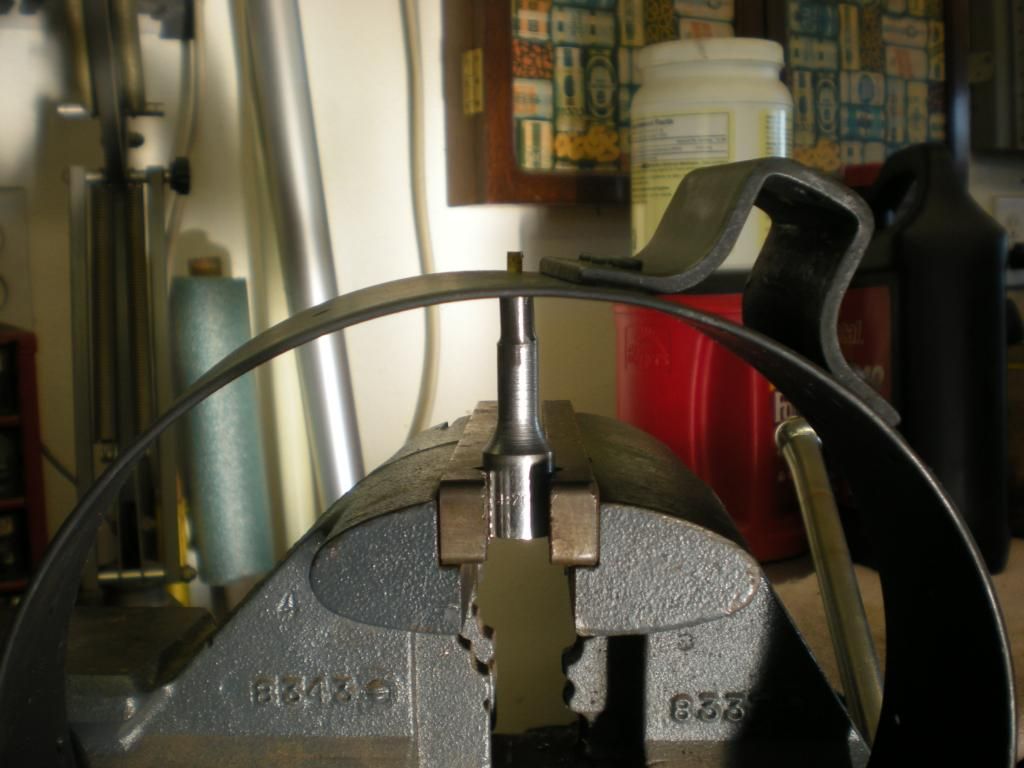
Here's my set up for drilling the rivet holes. Notice the test piece in the background.
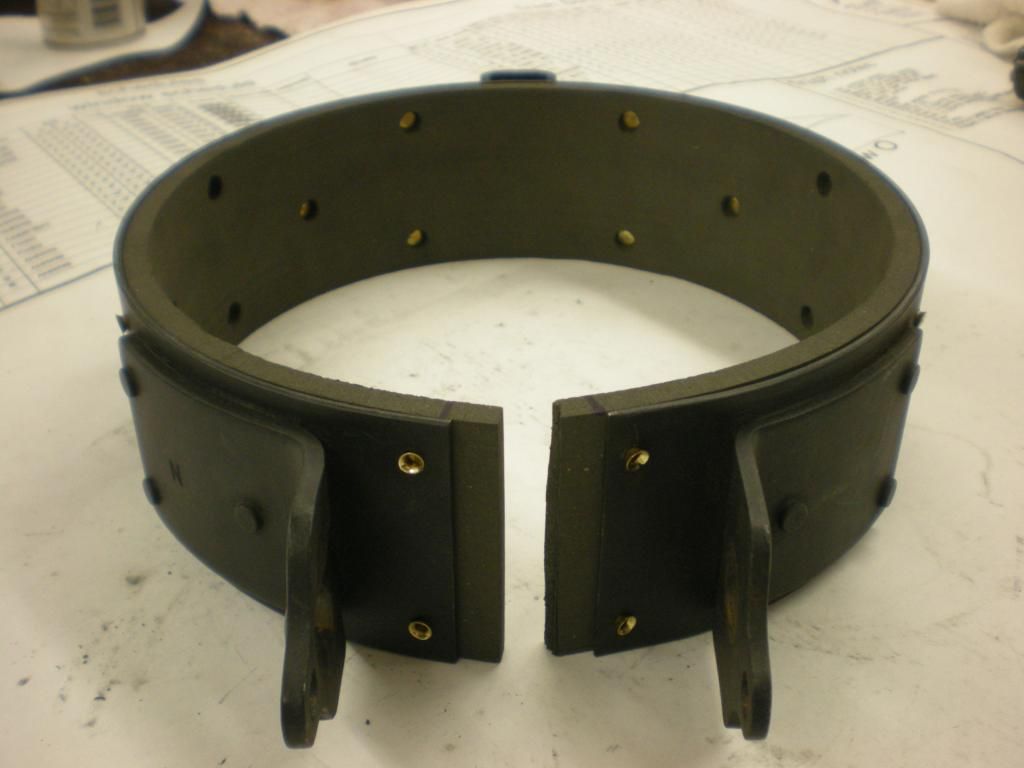
And here's the drilled liner.
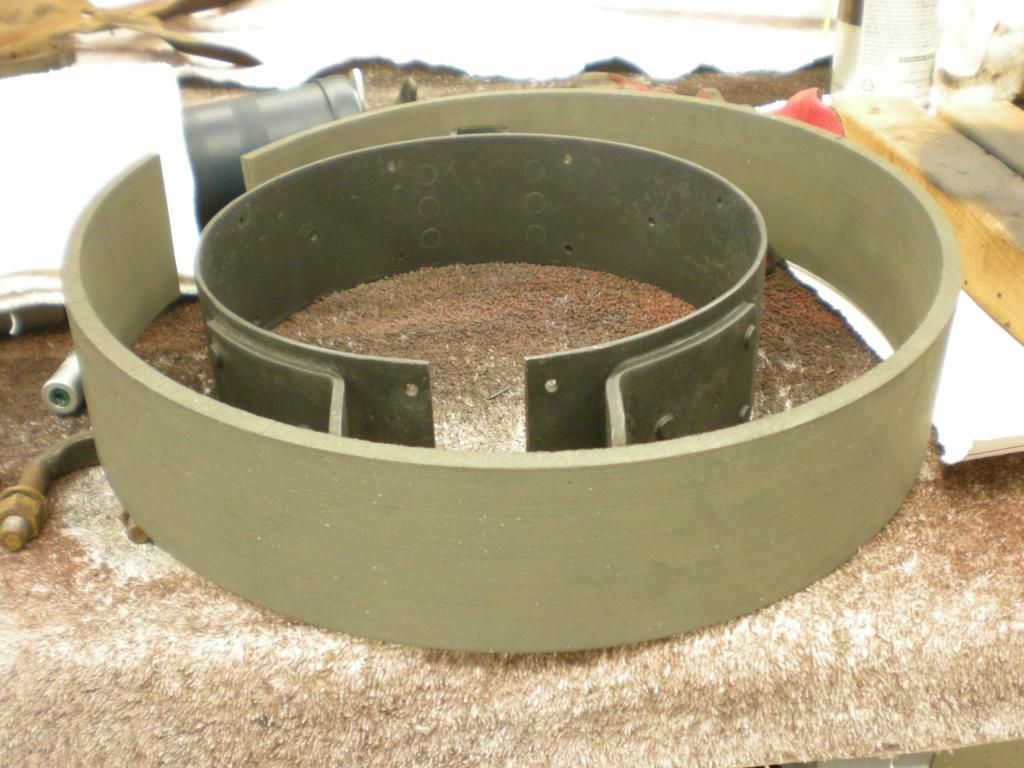
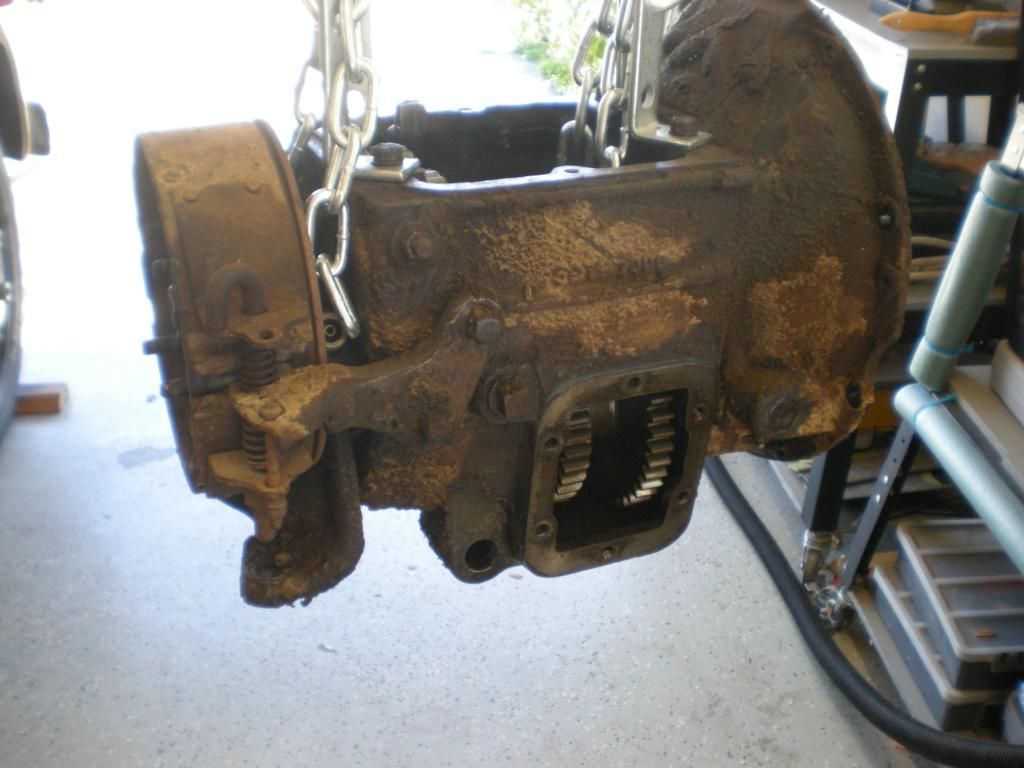
And the assembled band/liner.
I'm sure a pro could have done a better job, but I'm happy with the way it turned out. I should never have to do it again for Betsy.
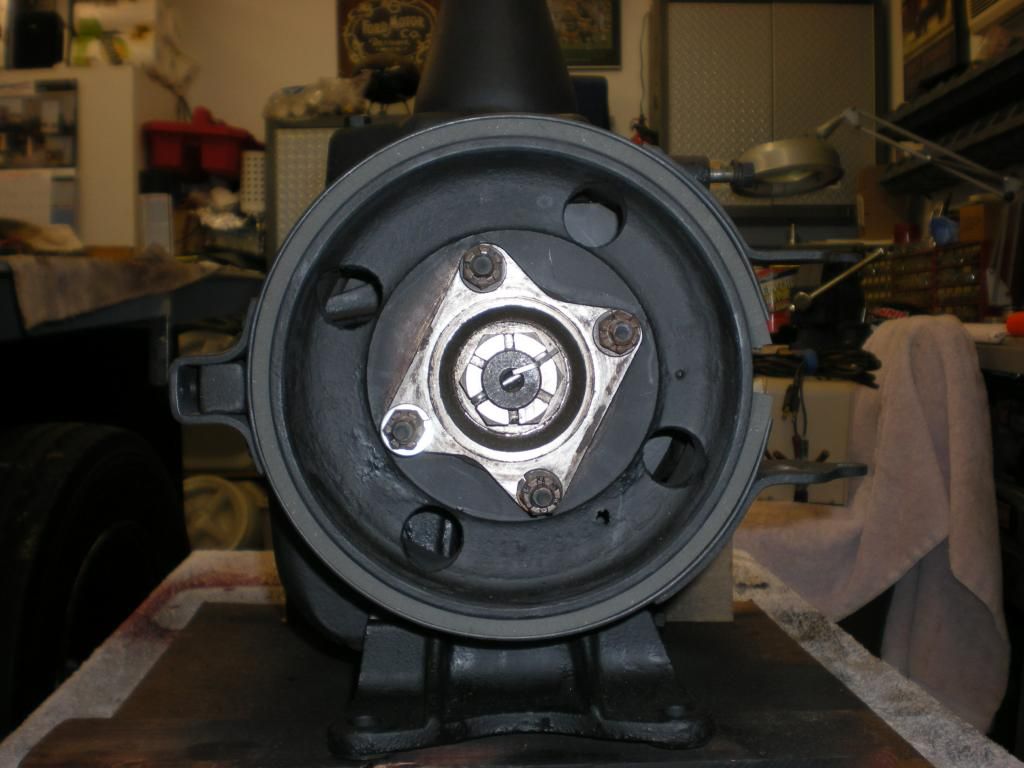
I put it back on the tranny to make sure it works.

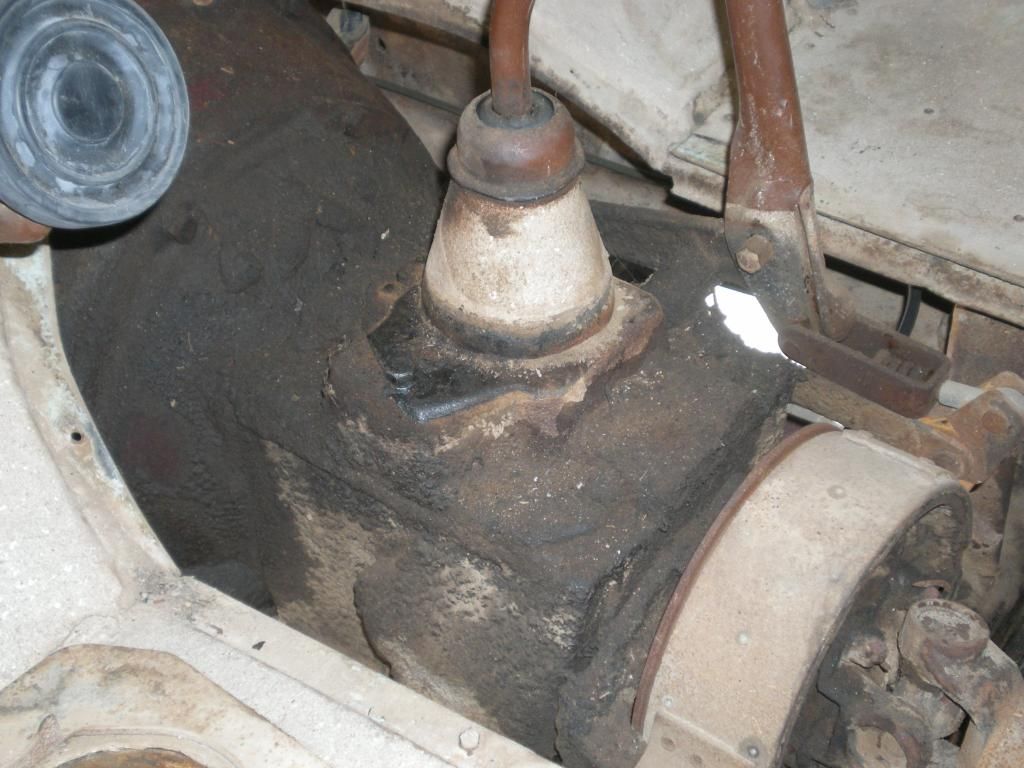
Looks a little different from a few weeks ago...
I'm going to attempt getting the truck drivable tomorrow. Wish me luck...
My park brake lining from McMaster-Carr arrived at 3:00 this afternoon, so I got to work on it.
I read Earl's World section on his relining the park brake several times. I don't have some of the tools he used. But I decided to try to make what I needed to get the job done.
First thing was something to hold the rivets in place while spreading the ends. I found I could use my bench vise to hold the tool and reach all the holes in the brake band. That's a plus. In Earl's World, he used a cut off 5/16" drill bit. I only have one 5/16" bit and was not about to destroy it for this task.
But I have 5 3/8" socket extensions, and this one is a cheap import. So, off with its head!
I used my bench grinder to reduce the size to the needed 5/16". I don't own a metal lathe, and this was no precision job. But it worked.
It fit the countersunk holes and rivet heads perfectly.
Test fit for measuring the depth needed in the liner countersunk holes.
Here's the new liner material. I ordered 3 feet because I needed 24 5/8" and I wanted to practice...
I cut it to length and slapped it on the drum to check the fit.
Here's my set up for drilling the rivet holes. Notice the test piece in the background.
And here's the drilled liner.
And the assembled band/liner.
I'm sure a pro could have done a better job, but I'm happy with the way it turned out. I should never have to do it again for Betsy.
I put it back on the tranny to make sure it works.
Looks a little different from a few weeks ago...
I'm going to attempt getting the truck drivable tomorrow. Wish me luck...
#1022
12-23-2013, 09:13 PM
#1023
12-23-2013, 09:16 PM
Fleet Owner
#1024
12-23-2013, 09:28 PM

#1025
12-23-2013, 09:47 PM
Thanks Jeremy.
Actually, that's the way the original liner was... overhanging like that. And I cut it exactly to the length spec'd in the manual. The ends will never touch, and I don't know why they are meant to overhang.
I wondered about the brake binding too, and it may have been. But when it was released, I never felt any drag or heard any noise. And there was so much of it worn away, I'm surprised it even worked. Like I said before, I think it worked when engaged because the rivets were hitting the drum. I spent more time today polishing that drum.
The ends will never interfere with the operation of the brake. It will not close that far even with no liner in it. The band diameter is smaller than the drum.
But guys, I really don't know what was causing my various problems. But after all the parts I've replaced, I'd really just like to drive her for a while. Know what I mean?
I wondered about the brake binding too, and it may have been. But when it was released, I never felt any drag or heard any noise. And there was so much of it worn away, I'm surprised it even worked. Like I said before, I think it worked when engaged because the rivets were hitting the drum. I spent more time today polishing that drum.
But guys, I really don't know what was causing my various problems. But after all the parts I've replaced, I'd really just like to drive her for a while. Know what I mean?
#1026
12-23-2013, 09:54 PM
I don't have a torch or a welder yet. Someday after I retire...
I hope to have Betsy back together tomorrow.
#1027
12-23-2013, 09:56 PM
#1028
12-23-2013, 10:14 PM

Join Date: Oct 2011
Location: San Antonio, Texas
Posts: 709
Likes: 0
Received 0 Likes
on
0 Posts

#1030
12-24-2013, 12:53 AM
I used the suggestion from Earl's World about rounding the tip on one of my 2 punches to set the rivets.
I don't own a brad bit, but it would have made nicer countersinks. I used a regular bit and controlled the depth on my drill press. I shaped my 5/16" bit to be more flat than normal, but a brad bit would have made them flat.
I also drilled the pilot holes first, unlike in Earl's World. I think I had a better chance of putting the holes in the right spots that way. But using a brad bit would give you a small point to easily center the rivet hole. Mine are certainly not perfect, but it worked.

Good luck with yours!
#1031
12-24-2013, 09:23 AM

#1032
12-24-2013, 05:57 PM
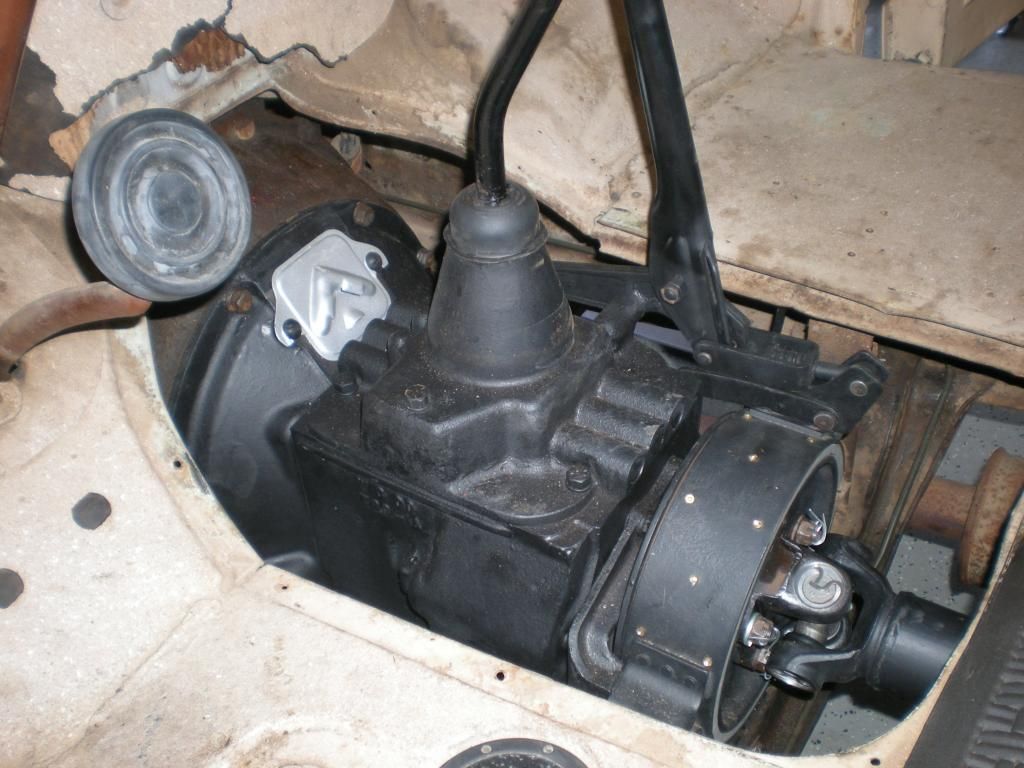
Well, it's Christmas Eve. I got the transmission back in the truck and got the drive shafts mounted.
I had a real problem getting the tranny to line up. I fought with it for over two hours. I finally realized the floor jack I had supporting the back of the engine had dropped over the past several weeks that it's been in that position. Once I raised it back up, the tranny slid right in...
Here's how it looks installed. I didn't take any other pics today.
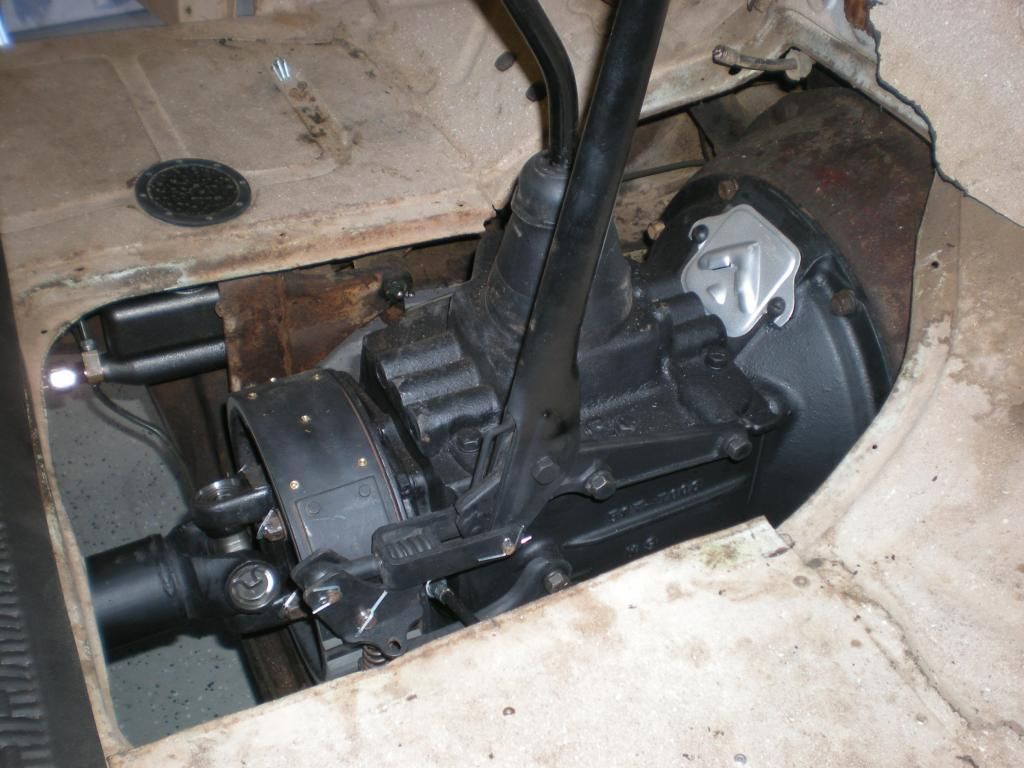
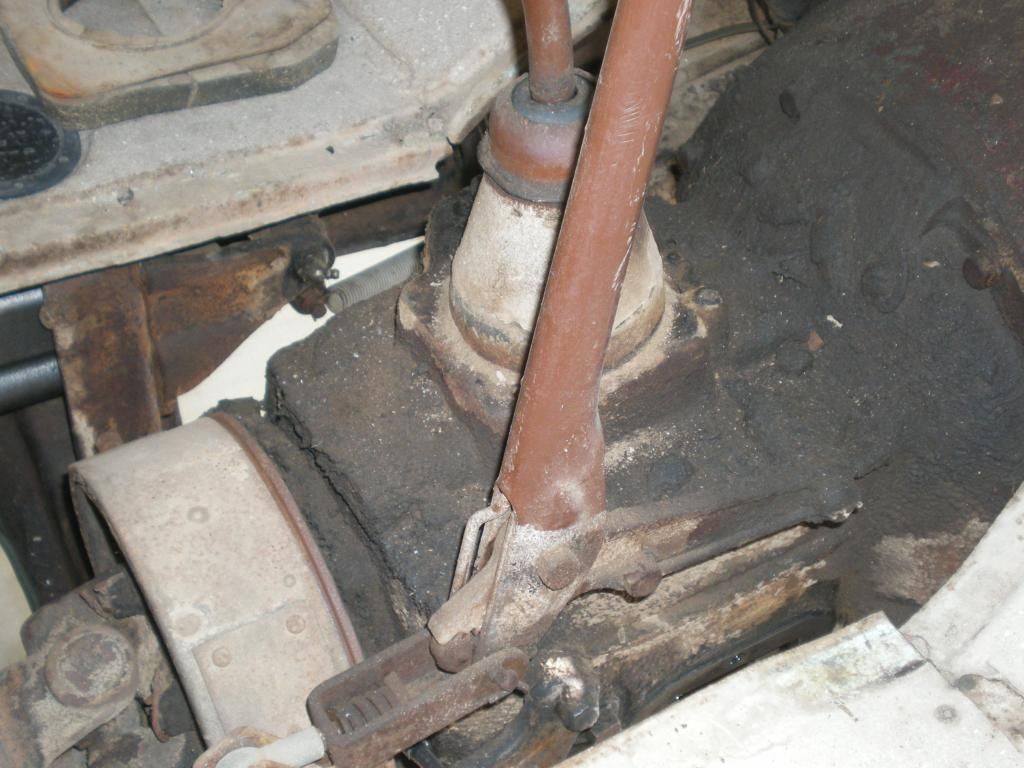
All I have left to do is adjust the clutch, install the tranny cover and the seat. But the clutch arm linkage is rusted so I can't move the adjuster. I soaked it, but I'm done for today. We have folks coming over for dinner.
Merry Christmas everyone!!!
I had a real problem getting the tranny to line up. I fought with it for over two hours. I finally realized the floor jack I had supporting the back of the engine had dropped over the past several weeks that it's been in that position. Once I raised it back up, the tranny slid right in...
Here's how it looks installed. I didn't take any other pics today.
All I have left to do is adjust the clutch, install the tranny cover and the seat. But the clutch arm linkage is rusted so I can't move the adjuster. I soaked it, but I'm done for today. We have folks coming over for dinner.
Merry Christmas everyone!!!
#1034
12-24-2013, 07:22 PM
Junior User
Join Date: Aug 2011
Location: Northern Nevada
Posts: 60
Likes: 0
Received 0 Likes
on
0 Posts
#1035
12-24-2013, 07:24 PM