'51 F4 project
#916
 10-24-2013, 09:56 PM


Time for another update. No, nothing new on the truck...
But today I was in Morgan Hill, CA and got to meet old_dan at his place. I am really impressed with his shop and lift.
But the real jewel is his 52 F1. The pics I've seen don't do the truck justice. Although his 351W looks just as nice in the truck as his pics before it was installed. And I really like the refurbished seat and the new seat cover. But I think the most amazing part is the rear bumper he made from scratch... Dan, you could sell those, if you wanted to go to all that trouble again!
Thanks for your hospitality Dan. FTEers are the best kind of people.
#917
10-25-2013, 06:05 PM
Well, they seem to come in droves...
This morning before my flight home, I had the pleasure of talking with 51PanelMan over breakfast. He lets me ramble on about my truck, which I tend to do a lot...
Thanks again for the great hospitality, Ilya. And the restaurant choice was excellent as well.
Next week I'm off to Portland. Any FTEers there? There must be...
#918
10-25-2013, 06:17 PM
Post Fiend
#919
11-25-2013, 02:50 PM
Time for another update...
I finally pulled the cover off the transmission this morning. It took me a while, and I was starting to think there was nothing wrong, but I finally found the gear with the missing tooth parts. It's the Reverse Idler gear p/n BB7141. That's the only gear with any damage. So, I put a call in to Chuck to see if he has one. He called back, and has the gear so I ordered the gear, gasket set and rear seal. I'm off work this week, but the parts won't arrive until next week. Next week and the week after, I'm out of town again. So I won't get this done until I take time off in December. I was going to throw it back together so I could move it out of the center of the garage (my shop), but my super cool wife said she didn't mind leaving the car out of the garage for a month. I'm keeping her.
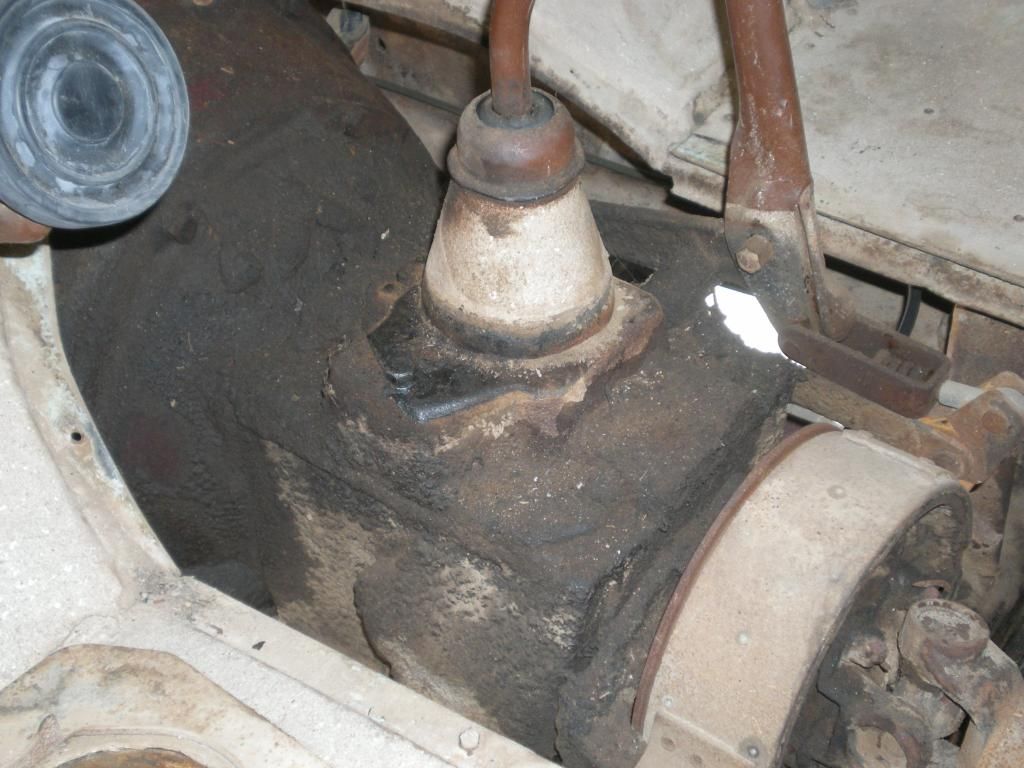
Here are a couple of pics of the operation. Those of you who have done this will be bored. Others, like me, who have never done this might be interested. It took me just as long to clean off the top of the tranny to uncover the 6 bolts as it did to find the bad gear.
It looks like someone didn't like reverse, and enjoyed cramming it into gear. Multiple teeth are chipped on the reverse idler, but the corresponding gear looks good. How does that work? Oh well, what's that saying about looking a gift horse in the mouth? I think that has something to do with teeth also.
How about 60+ years of road grime?
And the other side...
Cleaned off enough grime to see the bolt heads...
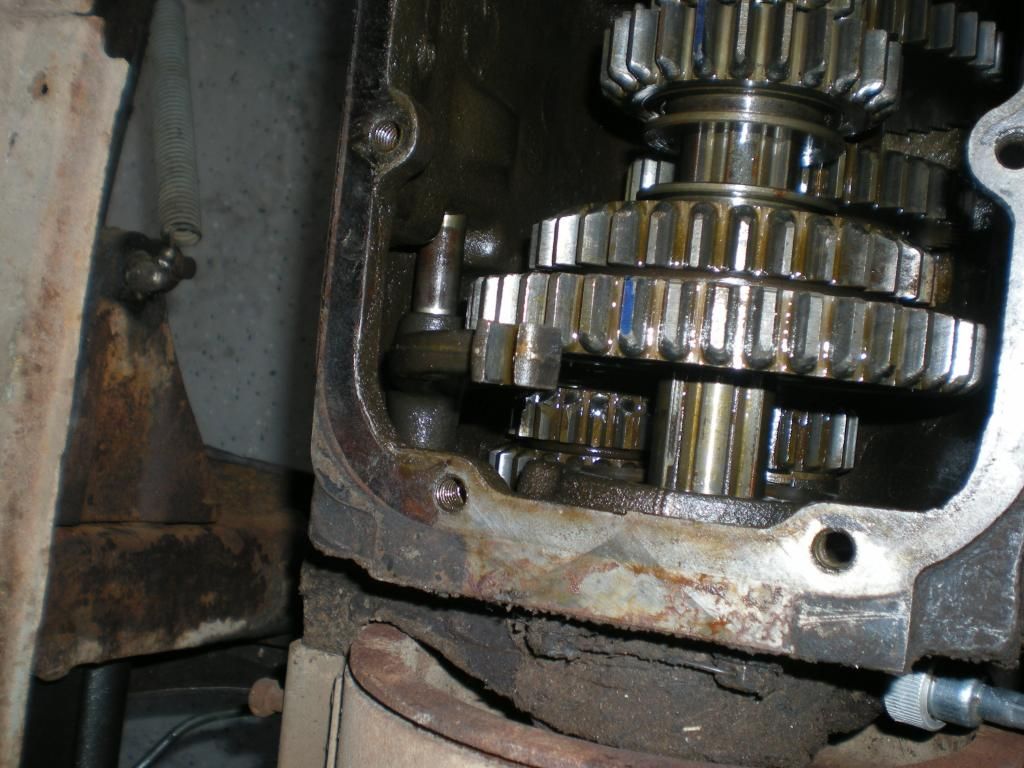
Tranny cover removed

A shot for position of the gears in neutral (so I can put it back together)
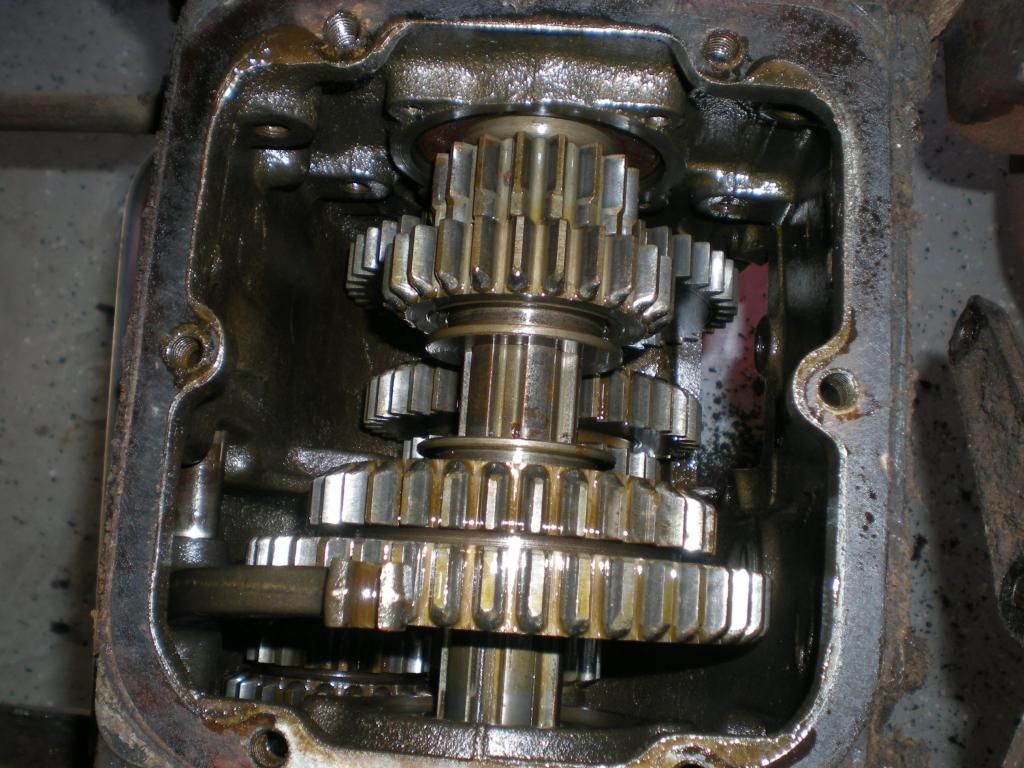
And I tried to get a shot of the chipped gear on the lower left of this pic, but it isn't clear. You can see my "blue" marks on the top of two teeth that I used to reference whether I had rotated the gears fully.
I finally pulled the cover off the transmission this morning. It took me a while, and I was starting to think there was nothing wrong, but I finally found the gear with the missing tooth parts. It's the Reverse Idler gear p/n BB7141. That's the only gear with any damage. So, I put a call in to Chuck to see if he has one. He called back, and has the gear so I ordered the gear, gasket set and rear seal. I'm off work this week, but the parts won't arrive until next week. Next week and the week after, I'm out of town again. So I won't get this done until I take time off in December. I was going to throw it back together so I could move it out of the center of the garage (my shop), but my super cool wife said she didn't mind leaving the car out of the garage for a month. I'm keeping her.
Here are a couple of pics of the operation. Those of you who have done this will be bored. Others, like me, who have never done this might be interested. It took me just as long to clean off the top of the tranny to uncover the 6 bolts as it did to find the bad gear.
It looks like someone didn't like reverse, and enjoyed cramming it into gear. Multiple teeth are chipped on the reverse idler, but the corresponding gear looks good. How does that work? Oh well, what's that saying about looking a gift horse in the mouth? I think that has something to do with teeth also.
How about 60+ years of road grime?
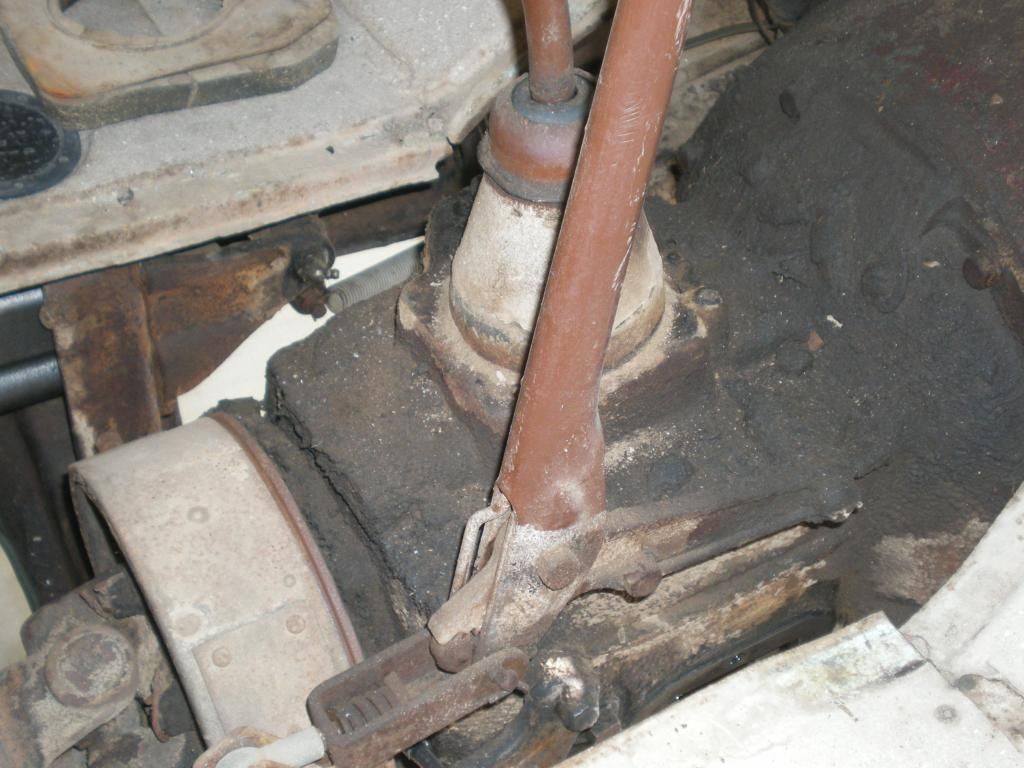
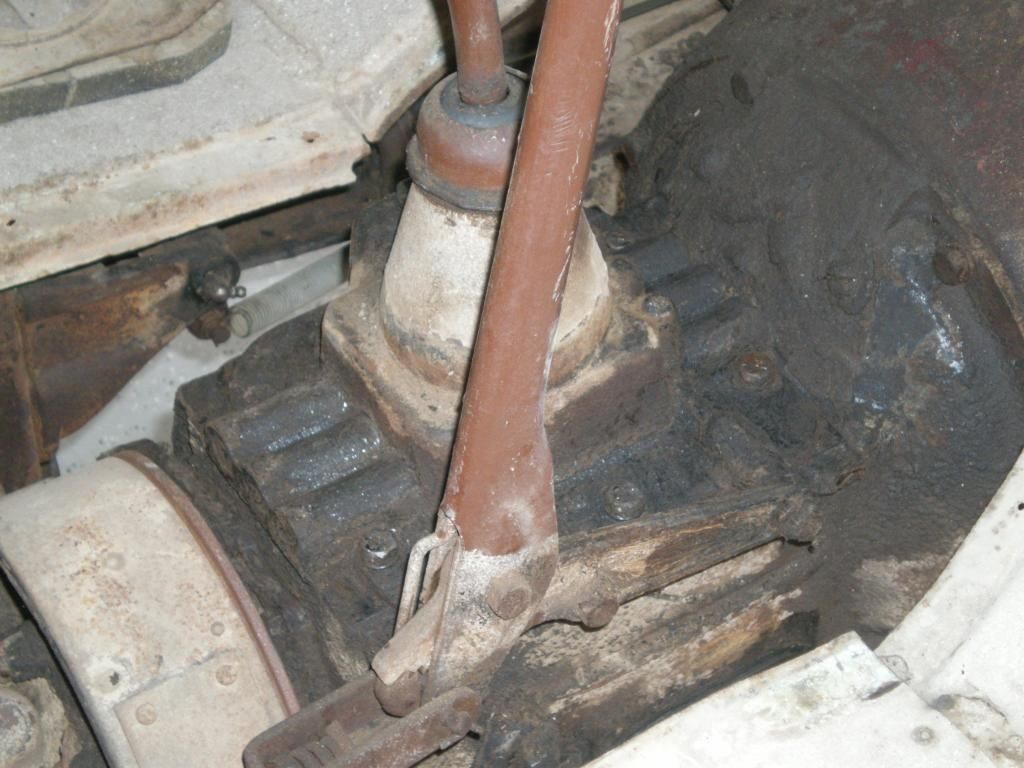
And the other side...
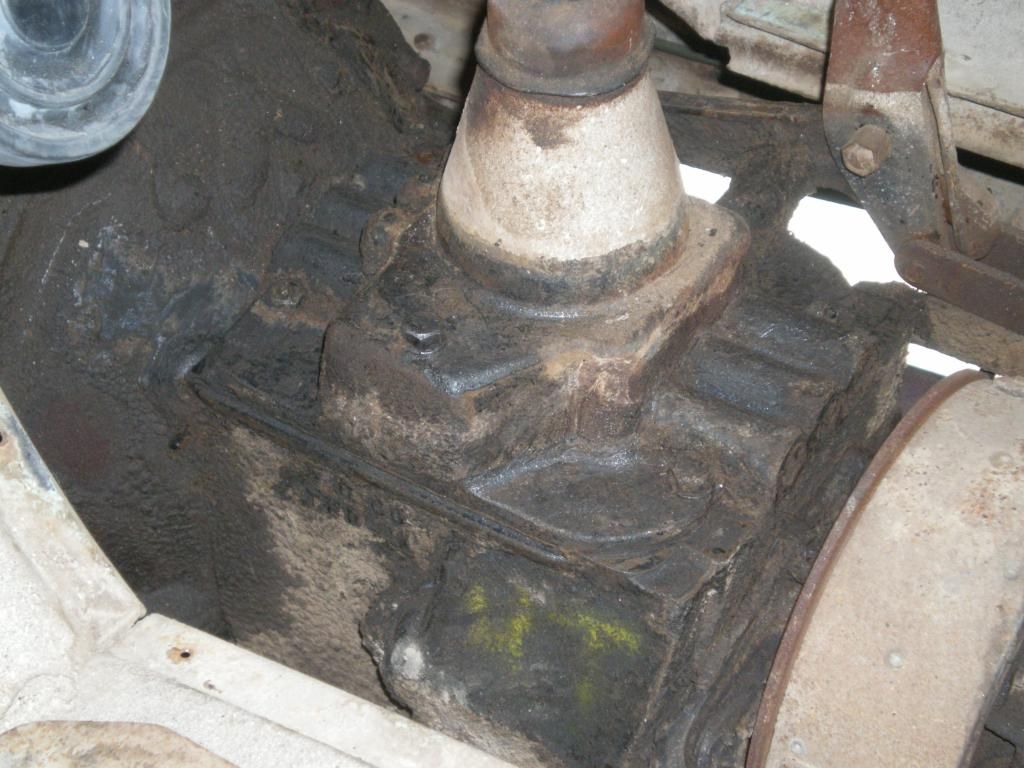
Cleaned off enough grime to see the bolt heads...
Tranny cover removed
A shot for position of the gears in neutral (so I can put it back together)
And I tried to get a shot of the chipped gear on the lower left of this pic, but it isn't clear. You can see my "blue" marks on the top of two teeth that I used to reference whether I had rotated the gears fully.
#921
11-25-2013, 08:54 PM
Yeah, thanks 38 Coupe. (I don't know your name)
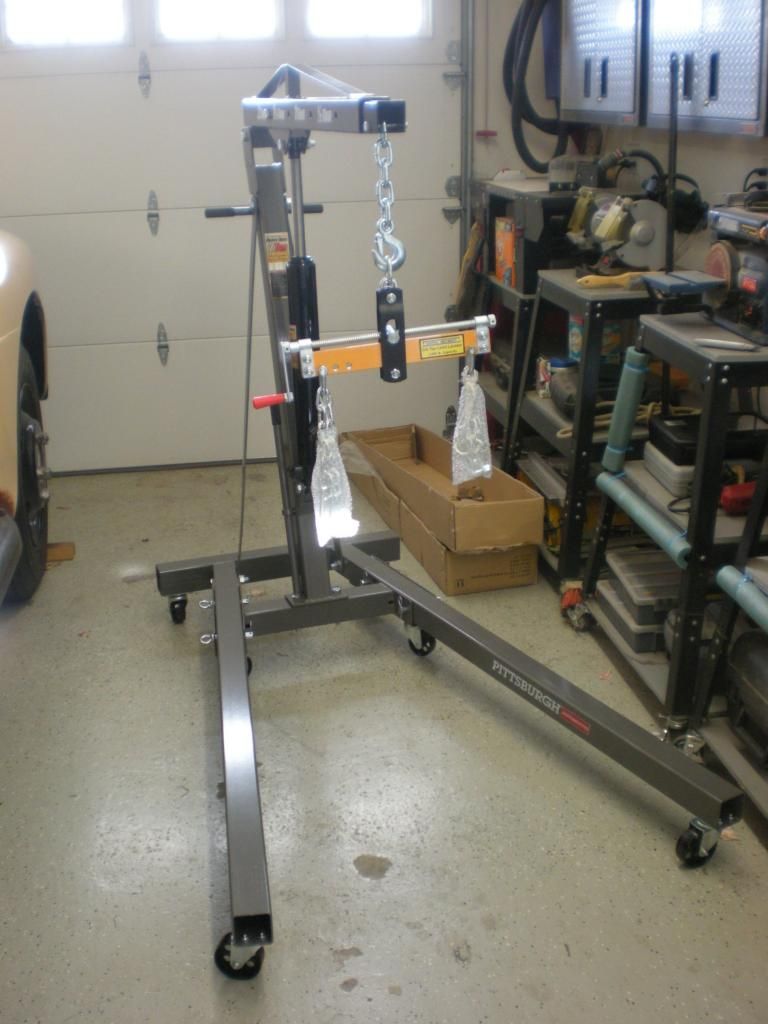
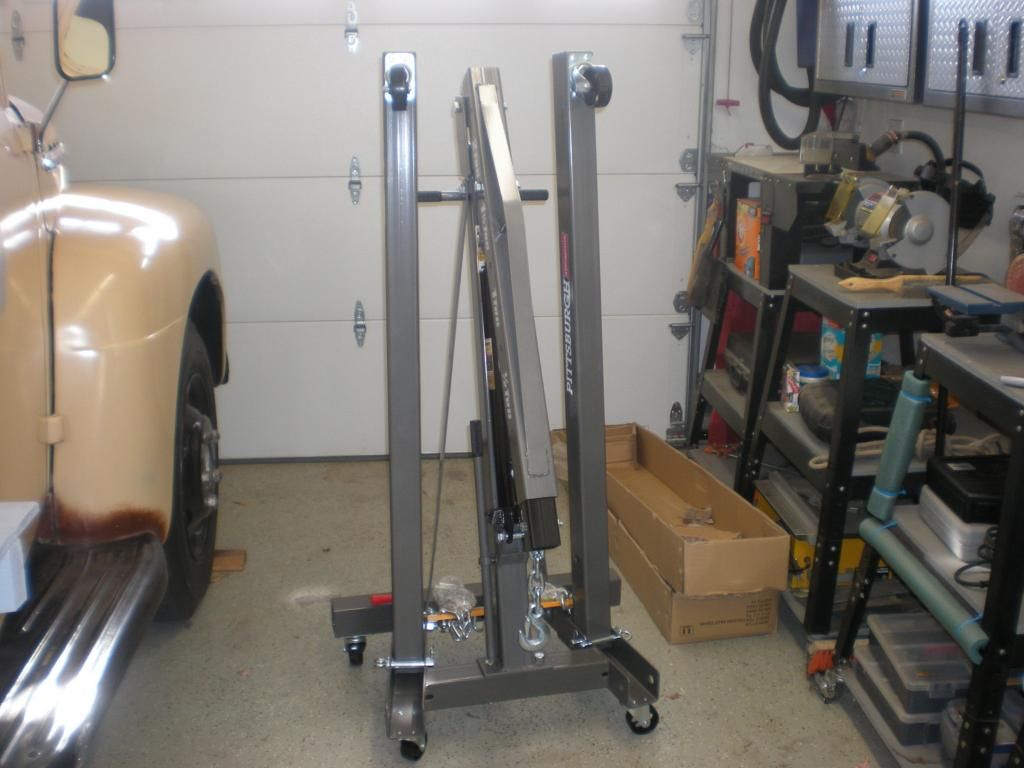
Since I'm not the man I used to be, I went out tonight and bought a 2 ton shop crane and leveling arm to pull that baby out of the truck. I could just picture dropping it about halfway out onto my foot or on the concrete floor on the pointy end. Neither one interested me, so I got the hoist. Some assembly required. I'll get to that tomorrow...
Since I'm not the man I used to be, I went out tonight and bought a 2 ton shop crane and leveling arm to pull that baby out of the truck. I could just picture dropping it about halfway out onto my foot or on the concrete floor on the pointy end. Neither one interested me, so I got the hoist. Some assembly required. I'll get to that tomorrow...
#922
11-26-2013, 10:48 AM
Posting Guru

#923
11-26-2013, 12:04 PM
Everyone knows what these look like, but it's my Christmas present early, so I took pics...

#925
11-26-2013, 12:44 PM
Join Date: Oct 2011
Location: San Antonio, Texas
Posts: 709
Likes: 0
Received 0 Likes
on
0 Posts

#928
11-26-2013, 03:16 PM
Not to get ahead of you too much, but when you begin to reassemble the unit the shop manual does a good job explaining things. But I'll suggest that your hands won't fit in there when it's time to get the countershaft installed. Of particular difficulty will be the thrust washer at the front of the case as the shaft is inserted from the rear. I found that a 3/4" dowel rod inserted from the front held the pieces in place as the countershaft was inserted. There's no other way to ensure that thrust washer gets in place. Stu
#929
11-26-2013, 03:56 PM
Another of my wife's great ideas. She has them all the time.Yes, Stu, I know. But it's a garage, so I normally have a car parked in it with Betsy. Can't be running over stuff...
Not to get ahead of you too much, but when you begin to reassemble the unit the shop manual does a good job explaining things. But I'll suggest that your hands won't fit in there when it's time to get the countershaft installed. Of particular difficulty will be the thrust washer at the front of the case as the shaft is inserted from the rear. I found that a 3/4" dowel rod inserted from the front held the pieces in place as the countershaft was inserted. There's no other way to ensure that thrust washer gets in place. Stu
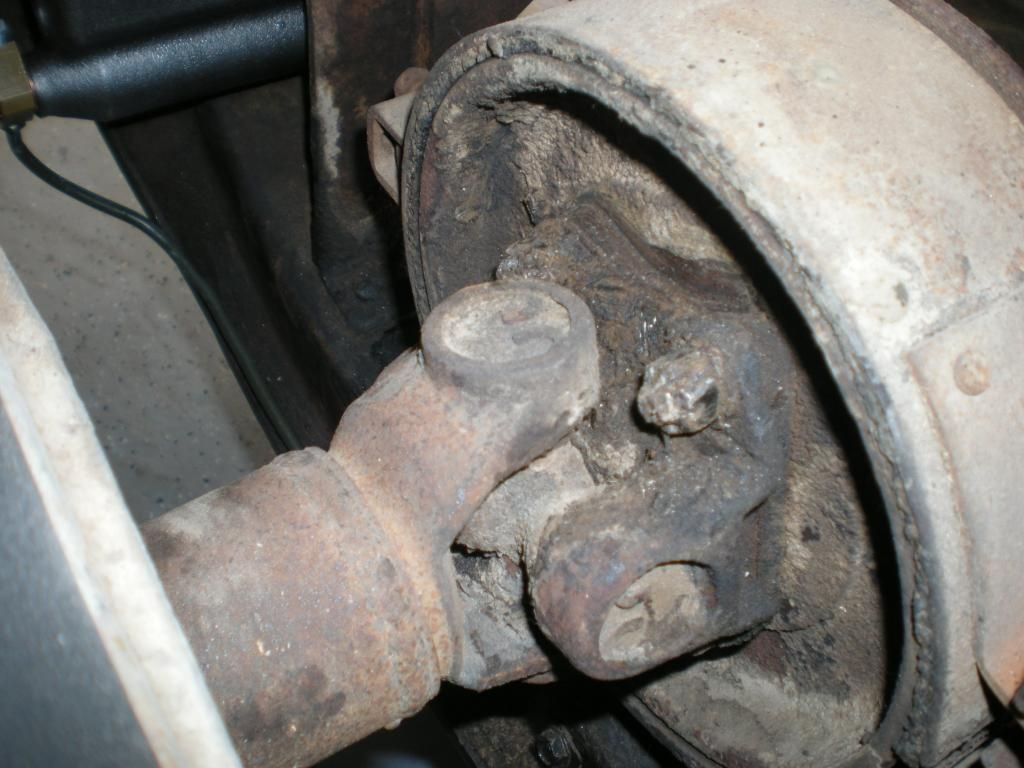
I read further to discover the coupling shaft is the drive shaft coupling for my two drive shafts. I spent 3 1/2 hours getting the drive shaft off the back of the transmission. I discovered that I missed that u-joint when I lubed the truck months ago. I also saw the PO had used nails instead of cotter pins to hold the nuts on.

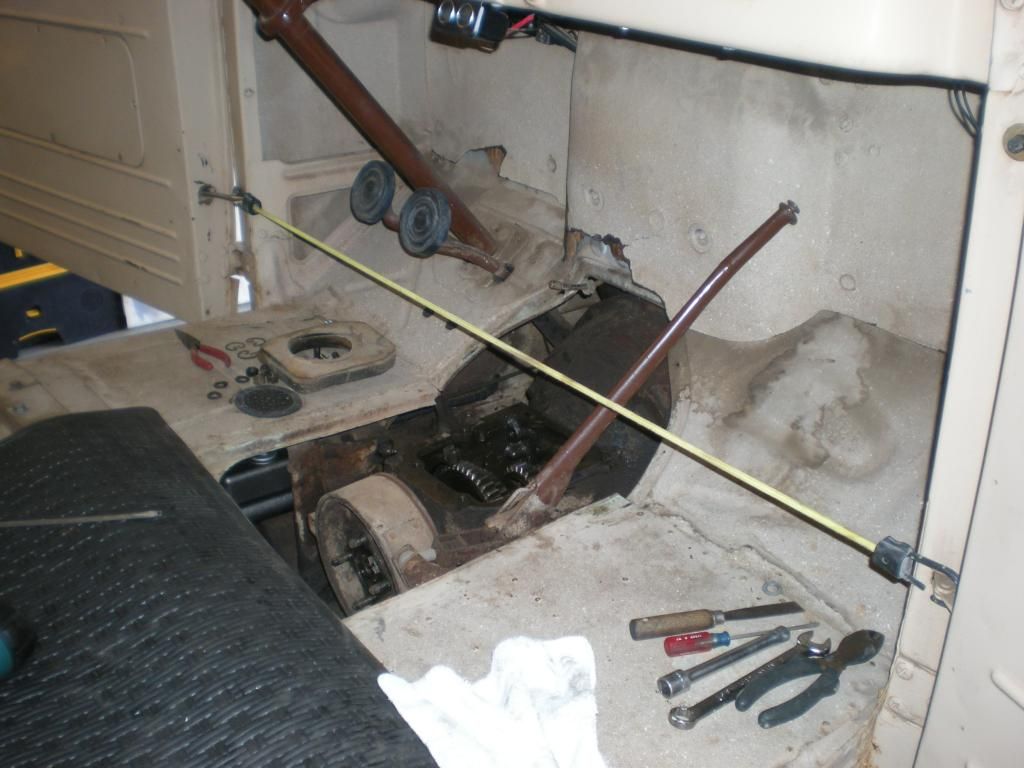
My problem was getting the front u-joint bracket off the trans. While I was under the truck, I couldn't budge it (too long since it's been off). My wonderful wife suggested suspending a bungee cord under the front of the drive shaft to prevent dropping it on my head. That worked perfectly and actually lifted the front of the drive shaft when it finally came off the bolts. She also suggested supporting the rear of the shaft with a tie down strap while I was working it loose off the bolts. I had the shaft off in 15 minutes after she came out to see how I was doing.
Here's the front u-joint after I got the nails out.
Here's how we ran the bungee that kept the drive shaft from killing me...
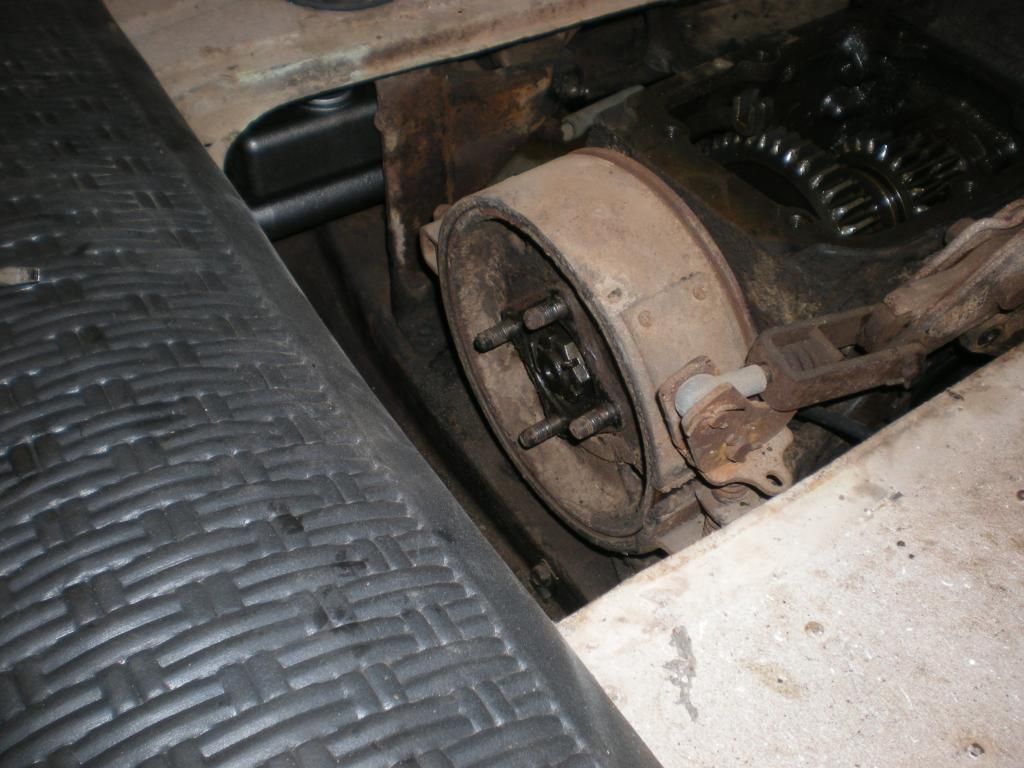
And finally, the u-joint removed.
I'm definitely not as young as I used to be, and I needed a break after fighting with that drive shaft.

#930
11-26-2013, 04:03 PM
Dan, I'm going to replace the only gear with chipped teeth, and keep the crash box. Chuck has the gear on it's way already along with the gaskets and a rear seal. And while I'm at it, I'll be replacing the u-joints. I already have two of the three off...