When you click on links to various merchants on this site and make a purchase, this can result in this site earning a commission. Affiliate programs and affiliations include, but are not limited to, the eBay Partner Network.
Pulling the sway bar off today to replace bushings and end links.
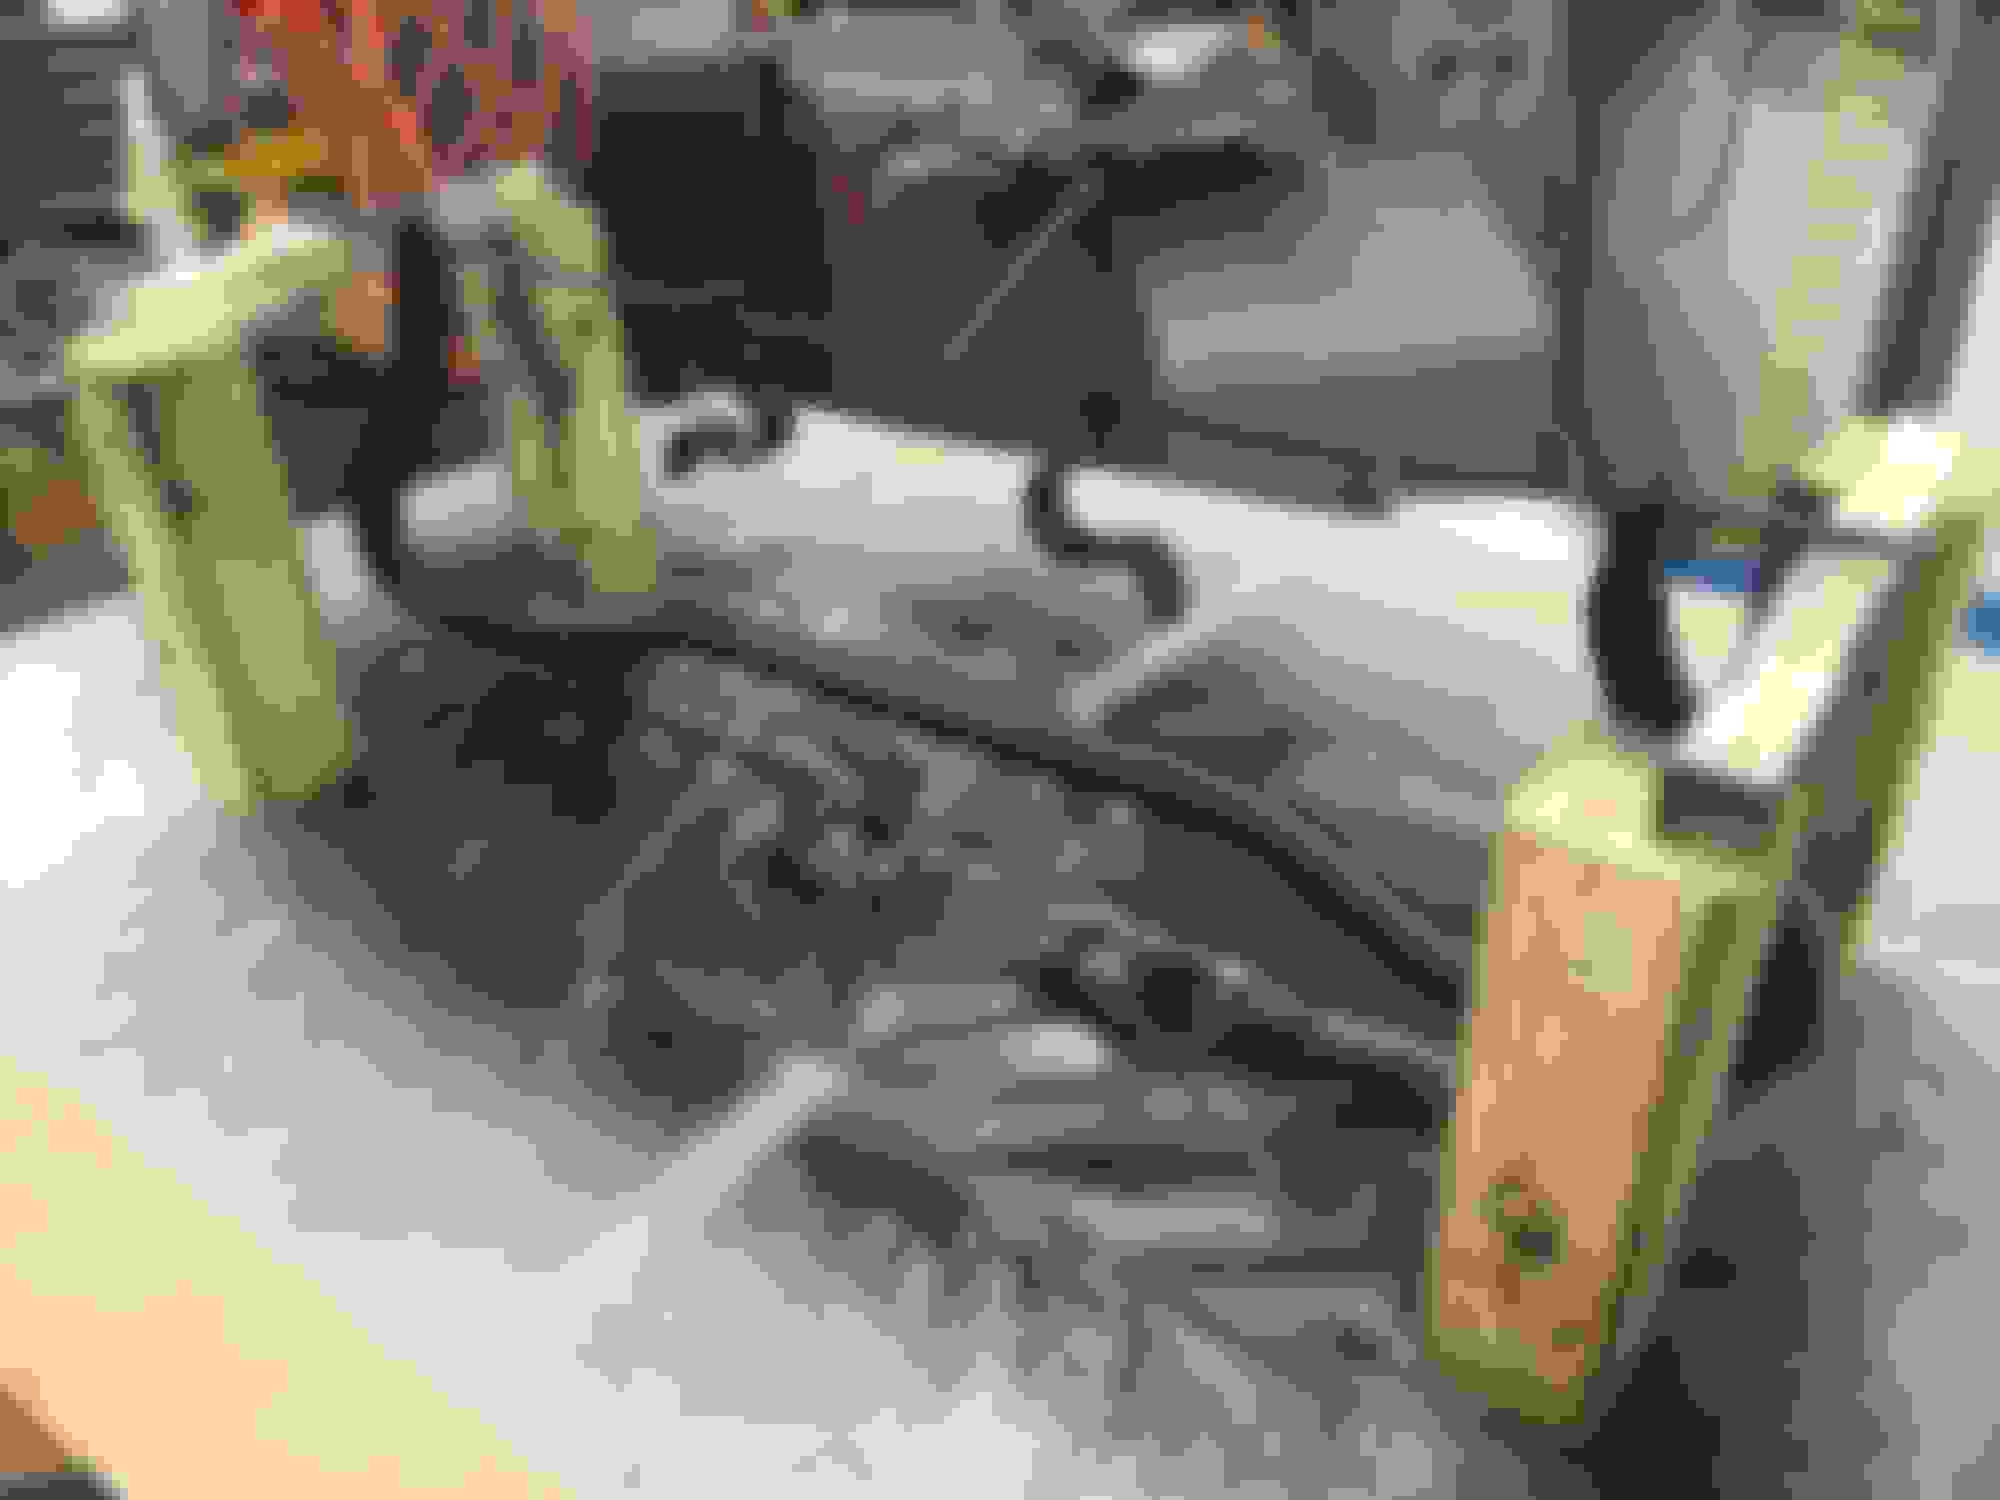
Front sway bar parts removed. The bushing bracket on the passenger side was pretty rusty. Will do some rust conversion and painting before reassembly. Will finish up later this week.
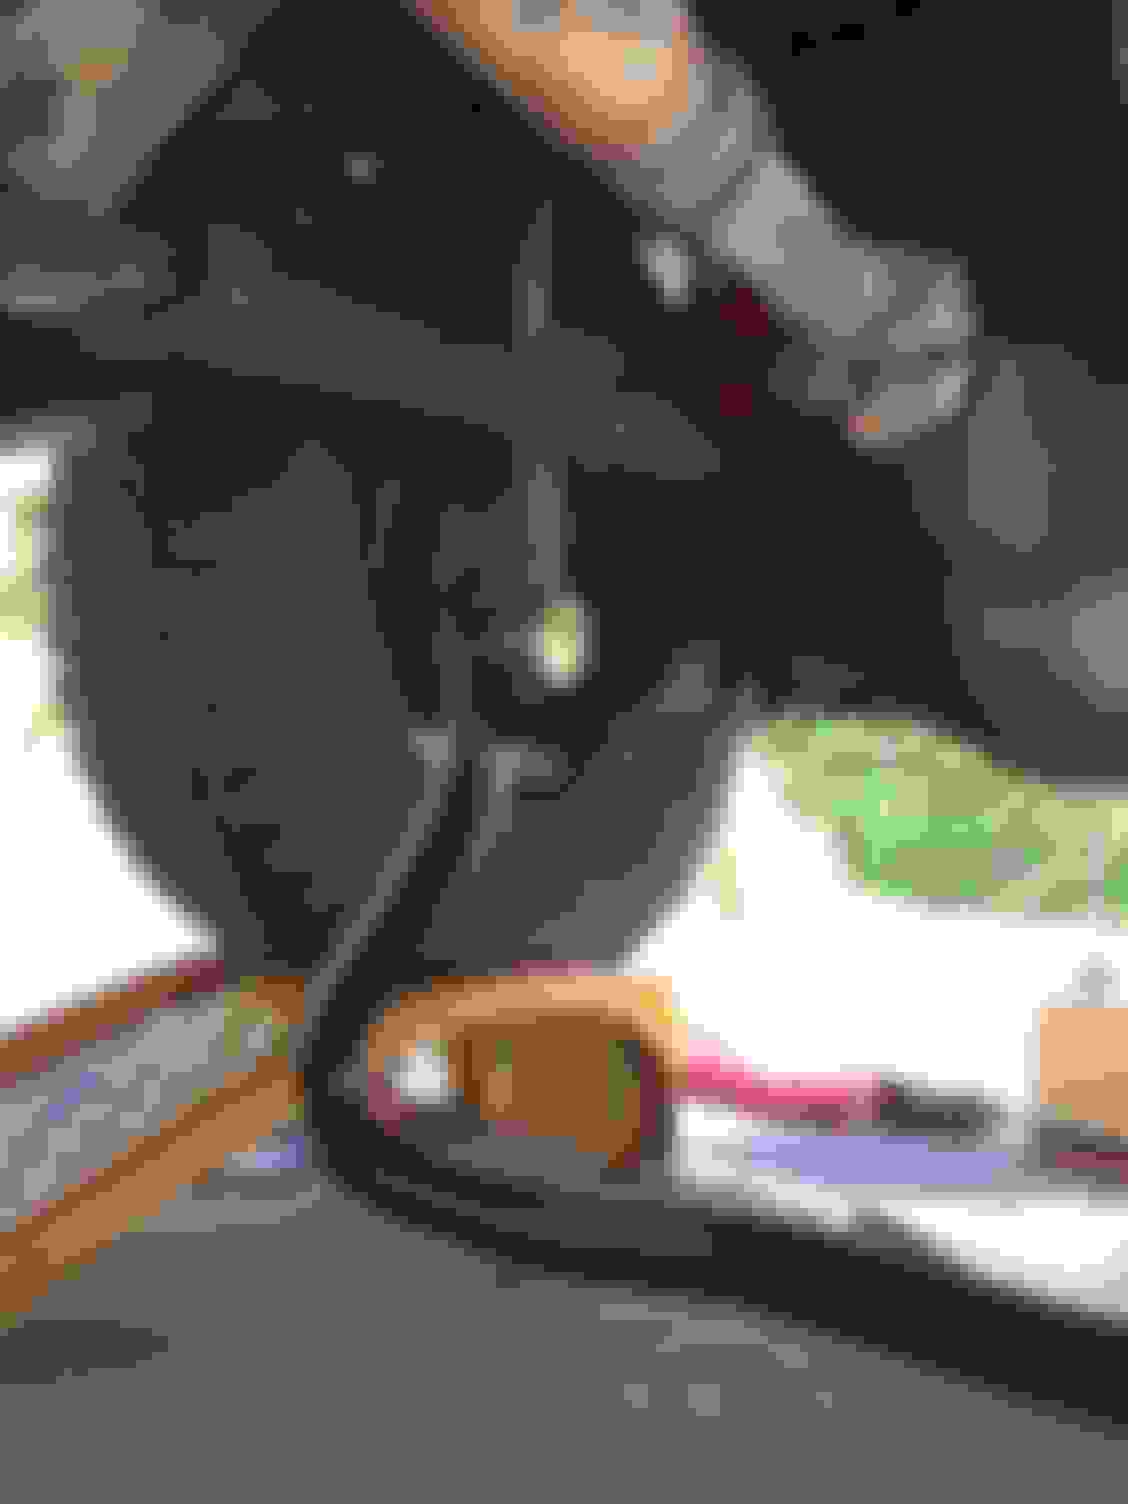
While under the Ex pulling out the sway bar, I decided to take the so-called bump stops and snubbers out. This is all that was left. Snubber in the foreground and rear bump stop in the background. Should have bought red ones so they would have shown up better in the pictures 😏. Needed to jack up the back by the frame to get the snubber bolts in and snugged down.
I'm working on a slight bit of rust up front so those bump stops will have to wait.
Finally installed the front bump stops. Other than the contortions of getting the drivers side one on around the differential it was pretty straight forward.
Old headlights were next to useless. New ones finally installed. Problem was if I even looked at the plastic light connections funny they broke. I replaced the turn signal light connectors and the headlight connectors on both sides. That was a total of three trips to the Zone...
Problem was if I even looked at the plastic light connections funny they broke. I replaced the turn signal light connectors and the headlight connectors on both sides. That was a total of three trips to the Zone...[/i]
What, no pictures with a how-to write up? I thought we taught you new bloods better than that!
I doubt anyone needs a "how to" on how to break plastic connectors. If they do then I suppose I'm a subject matter expert and will start to document my "success".
I wonder if the downside to getting my relatively rust free truck is that every piece of plastic in this thing is glass-brittle from 17 years of Texas sun?
Originally Posted by Stewart_H
What, no pictures with a how-to write up? I thought we taught you new bloods better than that!
Yeah, it's not the breaking I was referring to. C'mon now, you know what I meant!
Stewart
Heck, I don't even know if I did it right? I just made sure I connected the right wires together. Used shrink fit butt splice crimp connectors. Some 3/8" auto conduit wrapped with electrical tape. I did invest in a heat gun after doing the first batch of heat shrink connectors with a lighter.
Heck, I don't even know if I did it right? I just made sure I connected the right wires together. Used shrink fit butt splice crimp connectors. Some 3/8" auto conduit wrapped with electrical tape. I did invest in a heat gun after doing the first batch of heat shrink connectors with a lighter.
Heh heh heh....pics or it didn't happen!!
Sorry, I can't resist...i'm just in a mood today...just ignore me!
When last we saw our intrepid coolant changer he was a wee bit overzealous on extracting the thermostat housing bolts:
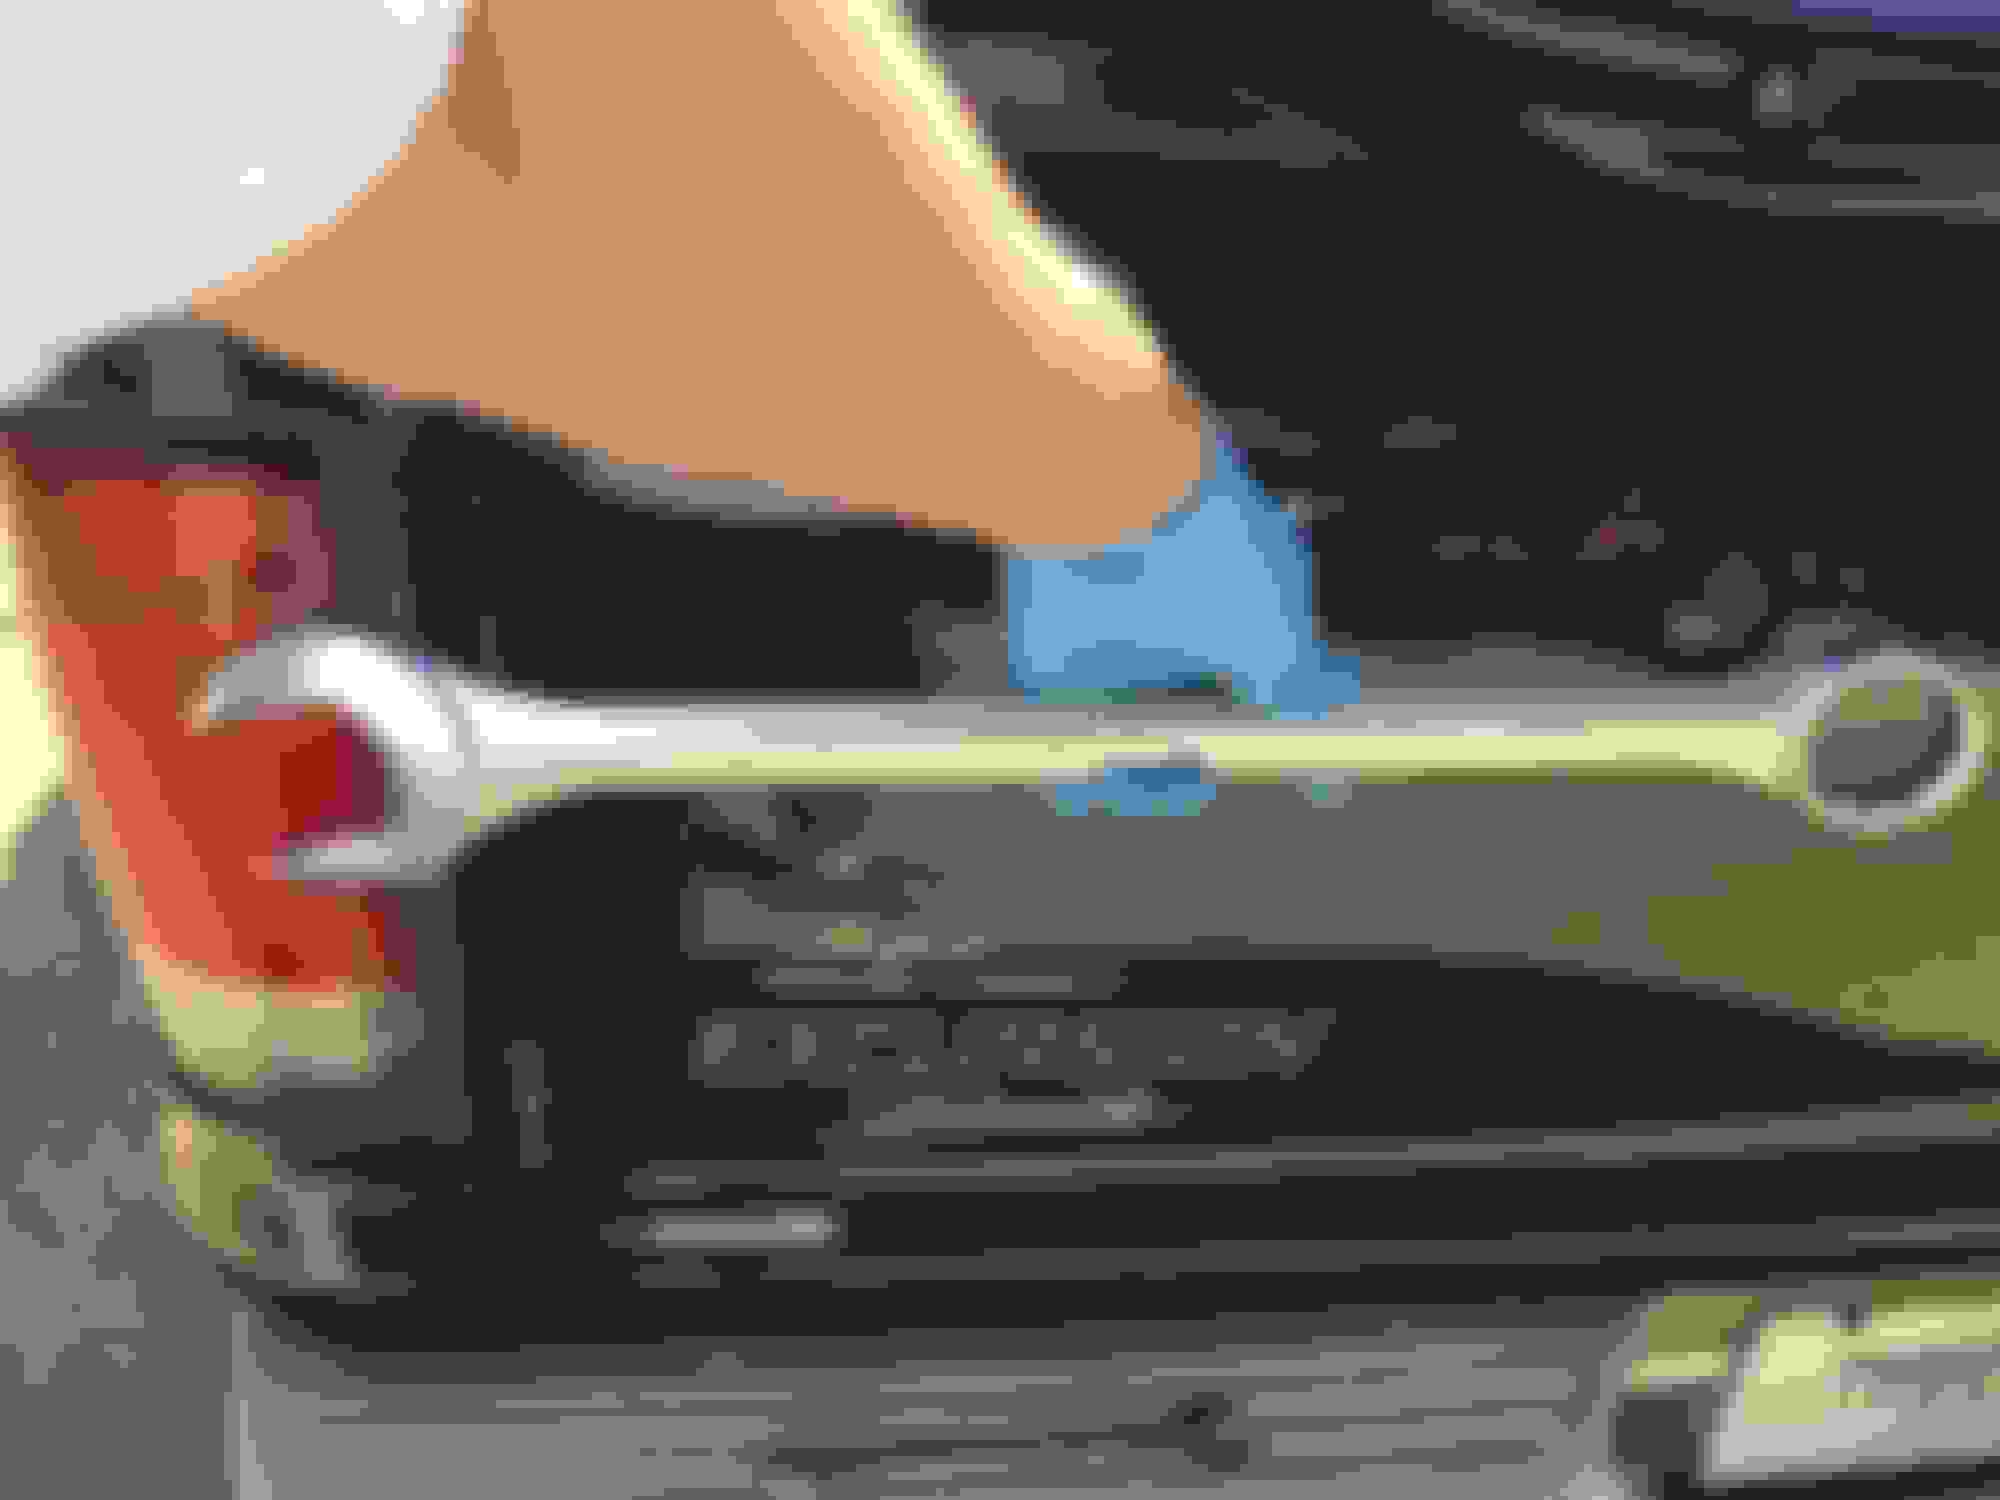
I spent a day trying to get the bolts out. My wife, ever doubting my resolve, also spent a day in vein working on the bolts. I had long since resigned myself to buying a new water pump. After a misrouting of the first attempt at getting said pump, the UPS gods assured me it would arrive today. In preparation I started taking things apart. I had seen some reviews of the cheep *** 47mm wrench that you can "rent" from AZ or O'Reily's. I decided to nip that one in the bud: That's not a wrench... (19mm) This is a WRENCH! 1-7/8" eBay special. Big *** wrench in action loosening the fan from the clutch. The clutch holder thingy I got from AZ was almost not worth the price I paid for it $0. That said, the fan came right off.
After removing shroud and fan, I followed someone's wise advice and covered the radiator with cardboard. When futzing around with the broken bolts I noticed my idler pulley was shot. Instead of just ordering that, I also bought a tensioner and new belt. View before the idlerectomy.
I removed both the idler and tensioner. I then loosened all the water pump bolts in preparation fo my visit from Mr UPS.
While waiting on my promised water pump, I moved on to other tasks: This last weekend I decided to sand blast my sway bar and bushing brackets. Blasting cabinet not quite big enough. Oh well, I made due. I did find that my extra fine glass beads I use for finishing aluminum parts before anodize is not the stuff to take off rust and grime from steel. Went to a local equipment rental place and got 100 pounds of 20/30 medium/coarse sand. Worked much better.
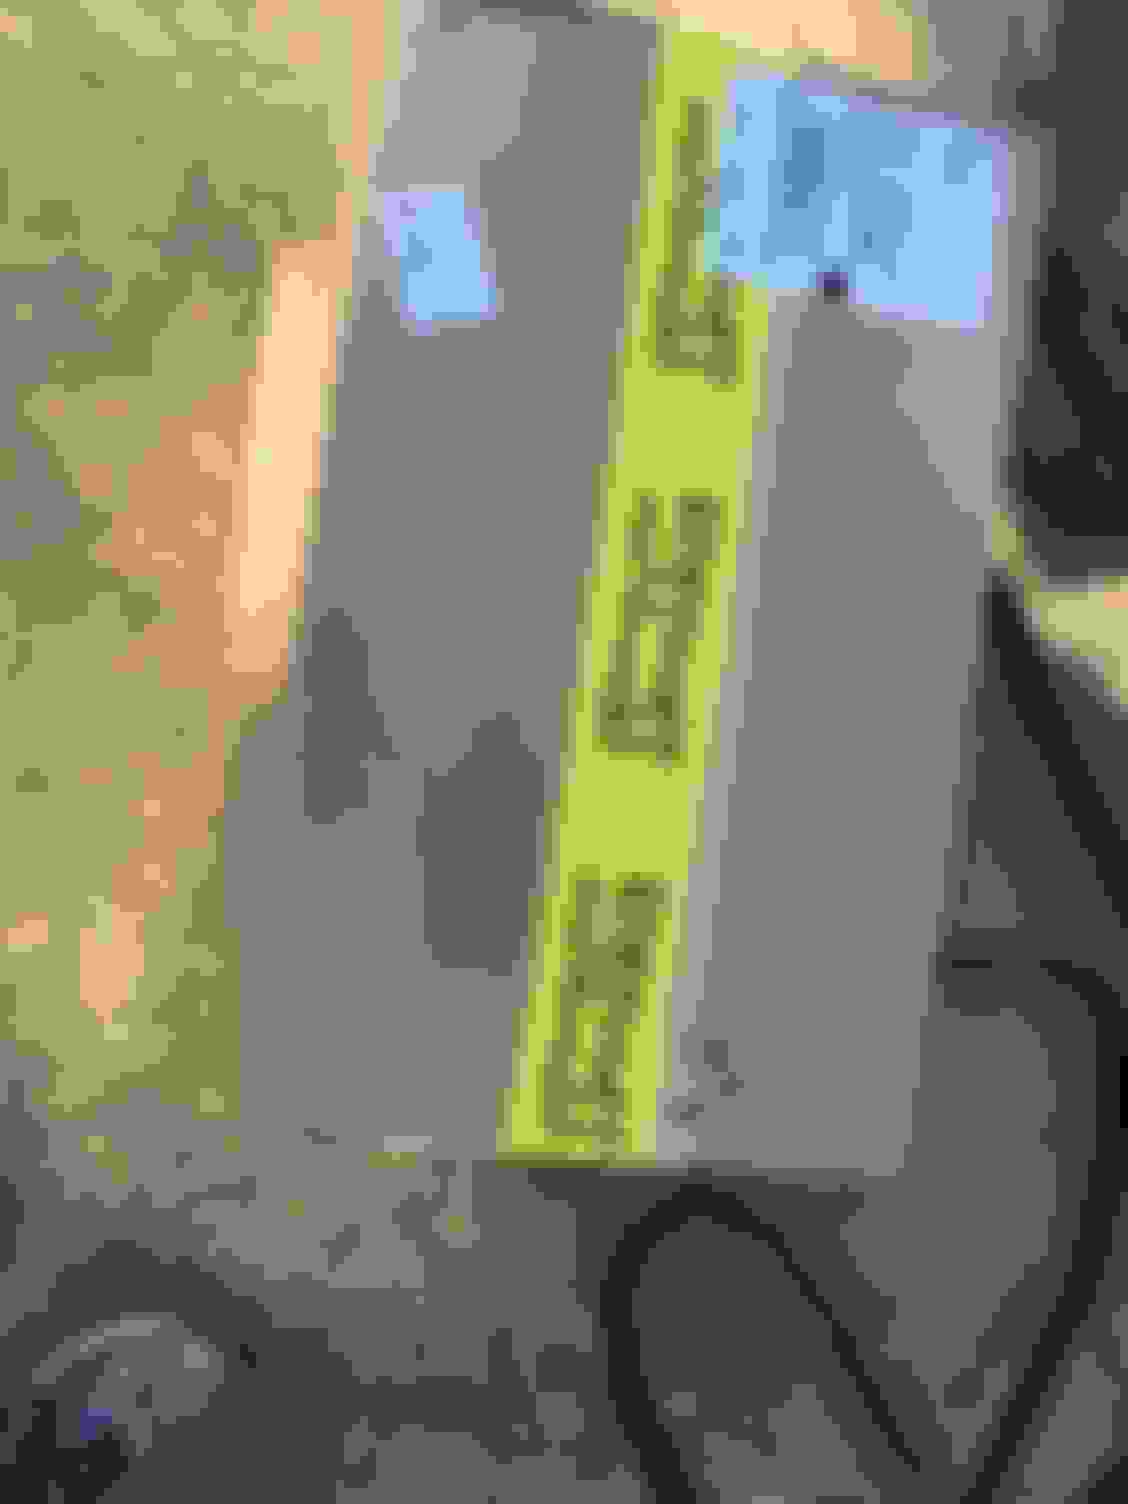
Primed with two coats of Eastwood primer and painted with two coats of Eastwood Extreme Chassis Black.
Connecting my freshly painted sway bar to my new Moog links. Sway bar reinstalled. Not the rusty mess I started with!
Literally the minute I finished with the sway bar this was delivered:
Water pump is here, finally!
Old pump is out. Swapping parts over to the new pump.
Water pump mounted. Hoses installed, including the dual alternator around the belt hose. New tensioner installed. New belt with new idler pulley. Almost unnoticed is the Riffraff "billet" thermostat housing. Notice it is getting darker out?
New degas tank installed and plumbed.
After all that I just did the Gooch flush and fill with Rotella ELC. No pictures as it was dark and I was trying to get done.
Next day topped off the tank with distilled water. Looks like punch!
USER GUIDELINES
Current Email Address. You must maintain a current email address within your FTE User Account. If for any reason an Administrator is unable to contact you due to returned emails, your FTE account may be suspended or removed until you contact our support team.
Personal Conduct . Post language and material suitable for the home or office. Do not post foul language, racial epithets or sexually explicit content in any form. Personal attacks will not be tolerated. Posting for the purpose of gaining access to additional features of the site is not allowed.
Signatures . Please do not post overly large or obnoxious signatures. Users are here to read the content, not to be annoyed by your signature. Do not use your signature to post “for sale” items and links to “for sale” items or FTE Classified ads. Using your signature to post political slogans, sexual, racial or religious content is not allowed.
No Advertising. Ads, solicitations or other commercial content are not allowed . Site sponsors are encouraged to respond to questions about their products.
Vendor Promoting. Recommendations of vendors by users is encouraged, but excessive promotion of vendors (cheer leading) will be viewed as advertising. Please make sure your participation on FTE is more than just promoting or advertising for a vendor or product.
Personal Items For Sale . For Sale items are not allowed in the automotive and general discussion forums of FTE. This includes placing ads or links to ads in your signature. We have a Classifieds section that you can list your items in. Want ads are allowed in the forums so long as you post a follow-up when you find the part(s). Vehicle value discussions are permitted, however, if we find it turning into a for sale thread, the thread will be removed. The only exception to this guideline is the Chapter Forums. There is a specific thread in each Chapter Forum, for Chapter Members only, that is intended for local for sale items.
Copyright Materials. You may not post any copyrighted material that you do not have rights to. Please link to external articles rather than post them in the forums.
Legal Actions.
You may not use this site to discuss or organize any legal action including, but not limited to, class-actions. FTE does not give legal advice or host legal discussion. If you have any legal questions or concerns, please consult your attorney.
You may not create posts or threads which discuss or request by-passing payment of online services including, but not limited to, Carfax reports.
Issues with Moderation and Site Policy. If a situation arises in which you have a problem or conflict with the Moderation Team of FTE or FTE Site Policy, please contact an Administrator through email or private messaging systems rather than in open forum.
Other Terms. You also agree to the Gallery Guidelines (Click Here) and the web site Terms of Use (Click Here).


 04-25-2017, 08:16 PM