When you click on links to various merchants on this site and make a purchase, this can result in this site earning a commission. Affiliate programs and affiliations include, but are not limited to, the eBay Partner Network.
Wiper arms look great, but I will offer that the springs on mine gave out last year. They would only wipe 80% of the window no matter what blades I tried. Finally replaced them both for a total of about $35 (RockAuto), and they went back to wiping the whole window again. Just be aware the springs do wear out.
Ok doesn't look like much, but this is my newly resealed back window. With some experimentation I determined it was the glass to hatch seal where the water was getting in. I found a "how to" on this site by Nicmike https://www.ford-trucks.com/forums/1...-and-info.html But, this seemed like a project I could really screw up. Paid an auto glass place $100 to fix it.
Today was power steering/brake booster flush. This is the last of my planned fluid replacement and flushes! Start by removing this line. Attach 3/8" ID clear tubing. Route to a bucket or other suitable container. Remove cap to PS reservoir. Insert long funnel into PS reservoir. A longer one would have kept ATF fluid from blowing everywhere from the fan 🤦 With engine running, have an assistant slowly turn the steering wheel and pump the brakes, while you keep the PS reservoir filled. I ran about 3 quarts of Mobil 1 ATF through. It didn't look bad to start but was pure new when I finished. I put in a 3/8" Magnefine PS filter while I was at it. New, all metal model. I installed it here, where I knew the flow direction. On a different site, they installed the filter right before the cooler. I like the access better here.
Unlike most of my Ex projects, this one went smoothly. Less than an hour. Having an assistant really helped.
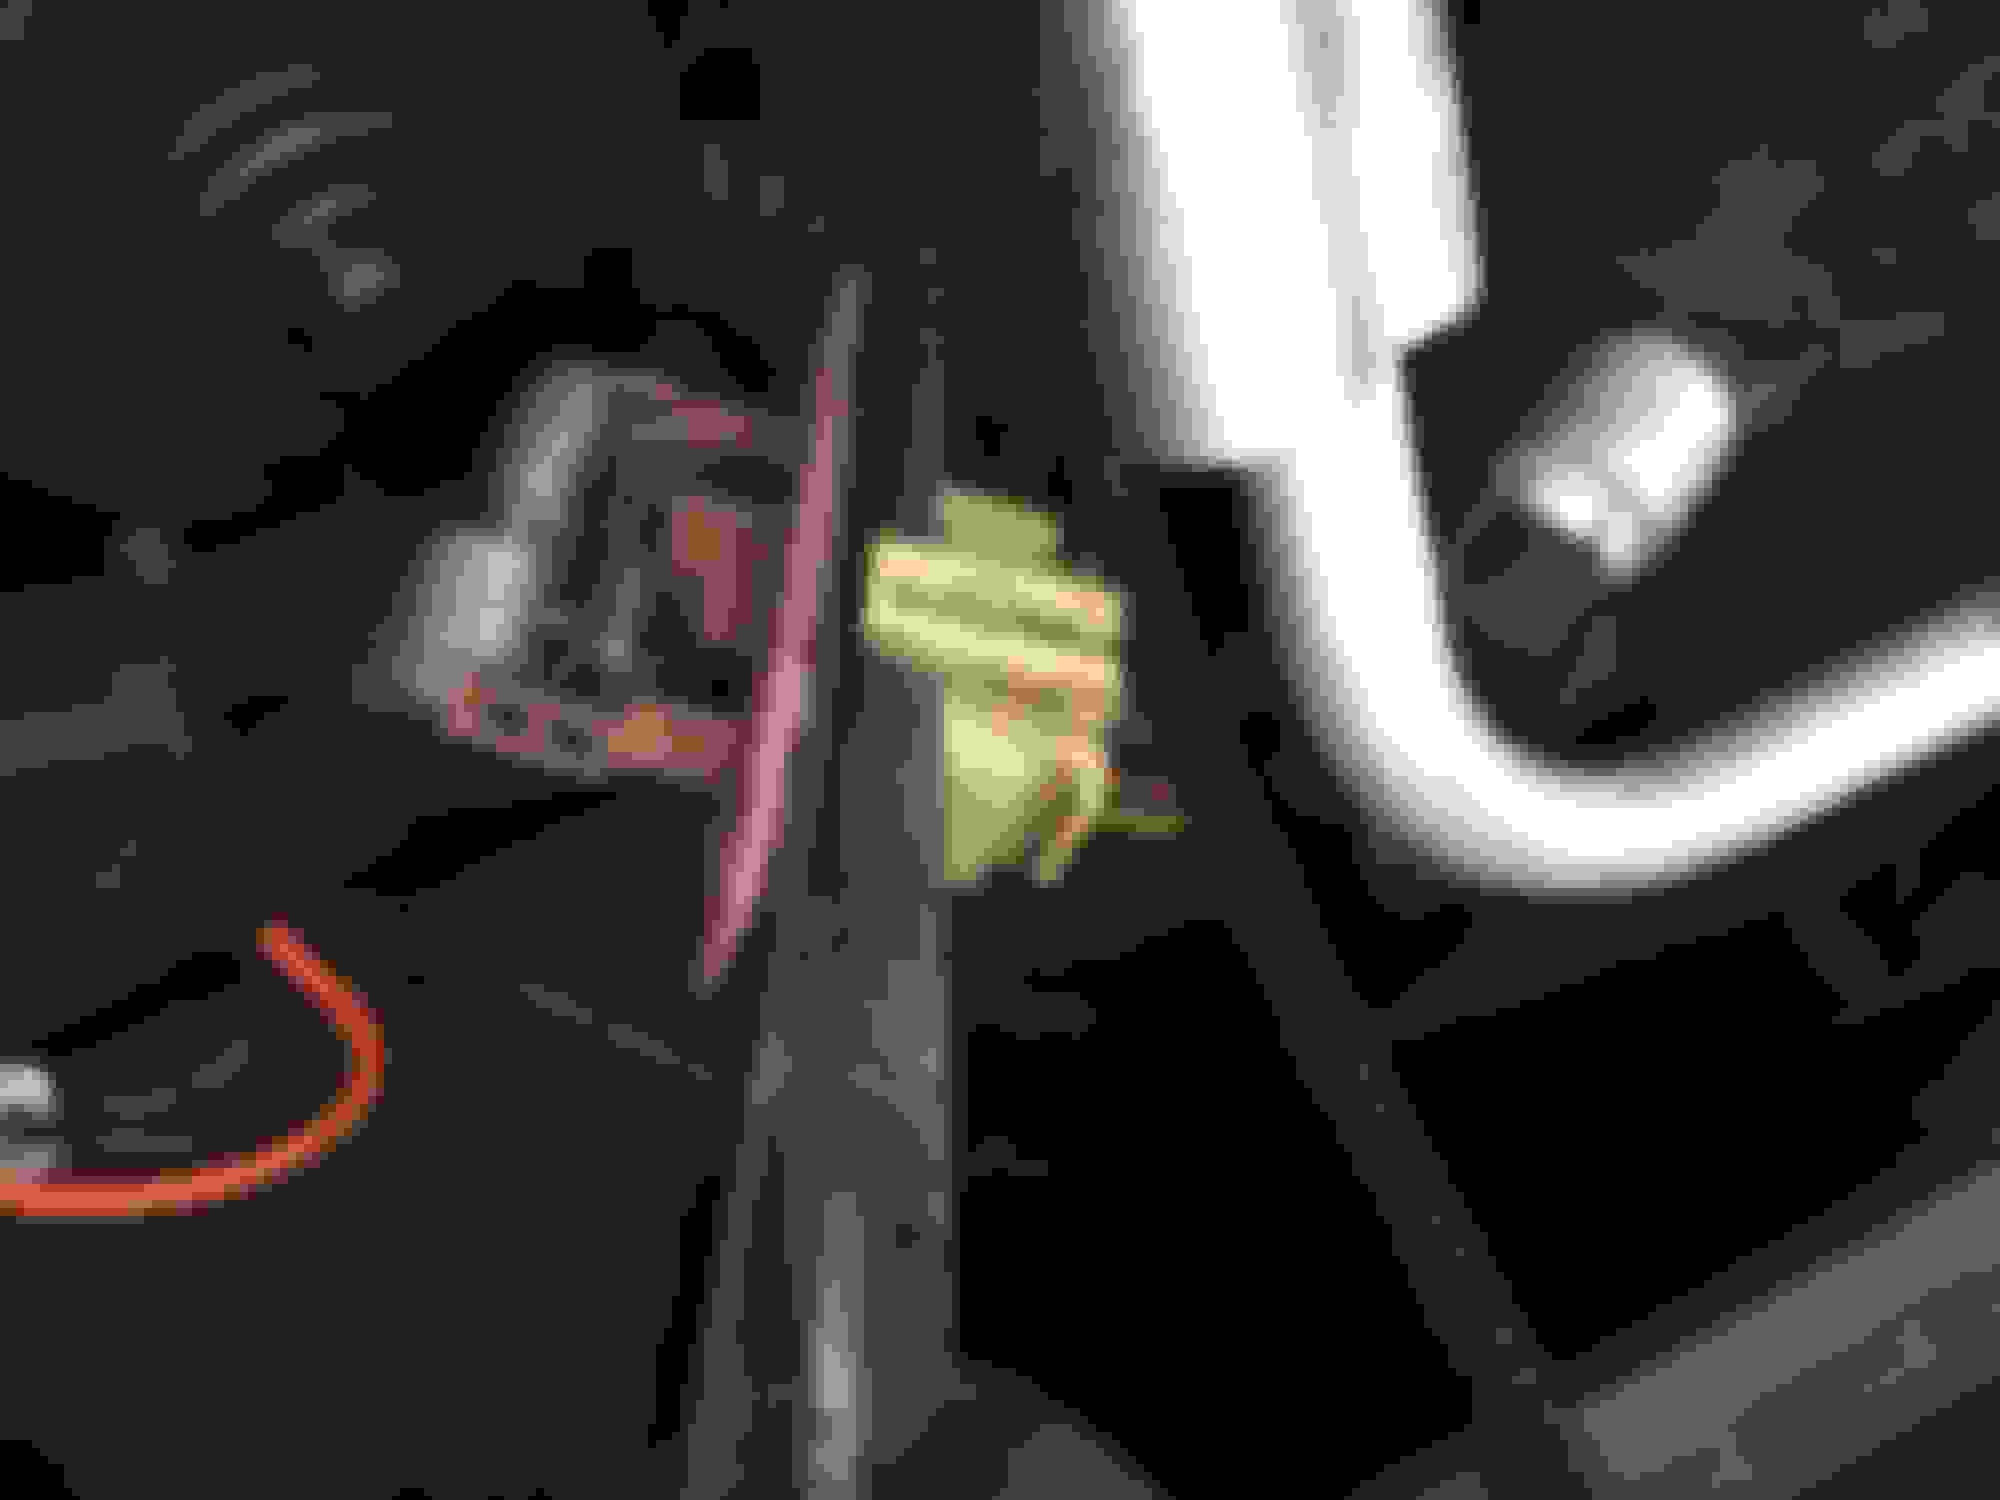
Great writeup from Nicmike on HVAC blower replacement: https://www.ford-trucks.com/forums/1...l#post13549509 Replaced the front HVAC blower motor. Hardest part for the motor itself was getting the gasket back on correctly. Not enough hands. Very corroded resistor. Heart of my AC problems. Sawed off the retention tabs from the resistor. Even after doing that it took some work getting the connector off. Contacts were also corroded.
Not shown is the 2nd hardest part of the job...getting the vacuum pump back on the bracket and mounted to the truck. What worked for me was using silicon lube on the rubber isolation doohickeys. Pull them into the bracket with needlenose pliers until locked in. Repeat process mounting vacuum pump to bracket. Now, hope you have mini hands to mount bracket to truck.
I also took another 1/4 turn on the steering gearbox adjuster. All in all went smoothly. All four things I did today took less than an hour. Both window washers work now, the passenger window switch works, the AC blows nicely now, and the last of the slop is gone from the steering wheel.
Only things left on my planned list are a new stereo and storage for the cargo area.
Installed a Tekonsha Prodigy P3 brake controller in my Ex today.
Found the brake controller receptacle. Mounted it under the cubby hole. Instead of keeping it centered I opted to move it toward the left side of the hole so I can still see and reach it while using my tablet/TorquePro. Used four screws since it is just screwed into plastic. I also used varying thicknesses of washers on the left end of the bracket to keep the mount level on the curved surface.
Picking up the new toy Friday...my whole purpose of getting an Ex in the first place.
My impression of Grand Design has been great so far. Compared to most of the other brands we've looked at over the years the build quality is a bit better. They still use the same components the rest of the manufactures use so there is only so much they can do. We'll see how it goes when it's time for warranty work...
Well, haven�t done much on the Ex in a while. Travel, work, vacation, sick, etc, has put a damper on projects. Even though sick this weekend I decided to tackle installing a new radio. Old one had some issues, and I wanted some modern functionality.
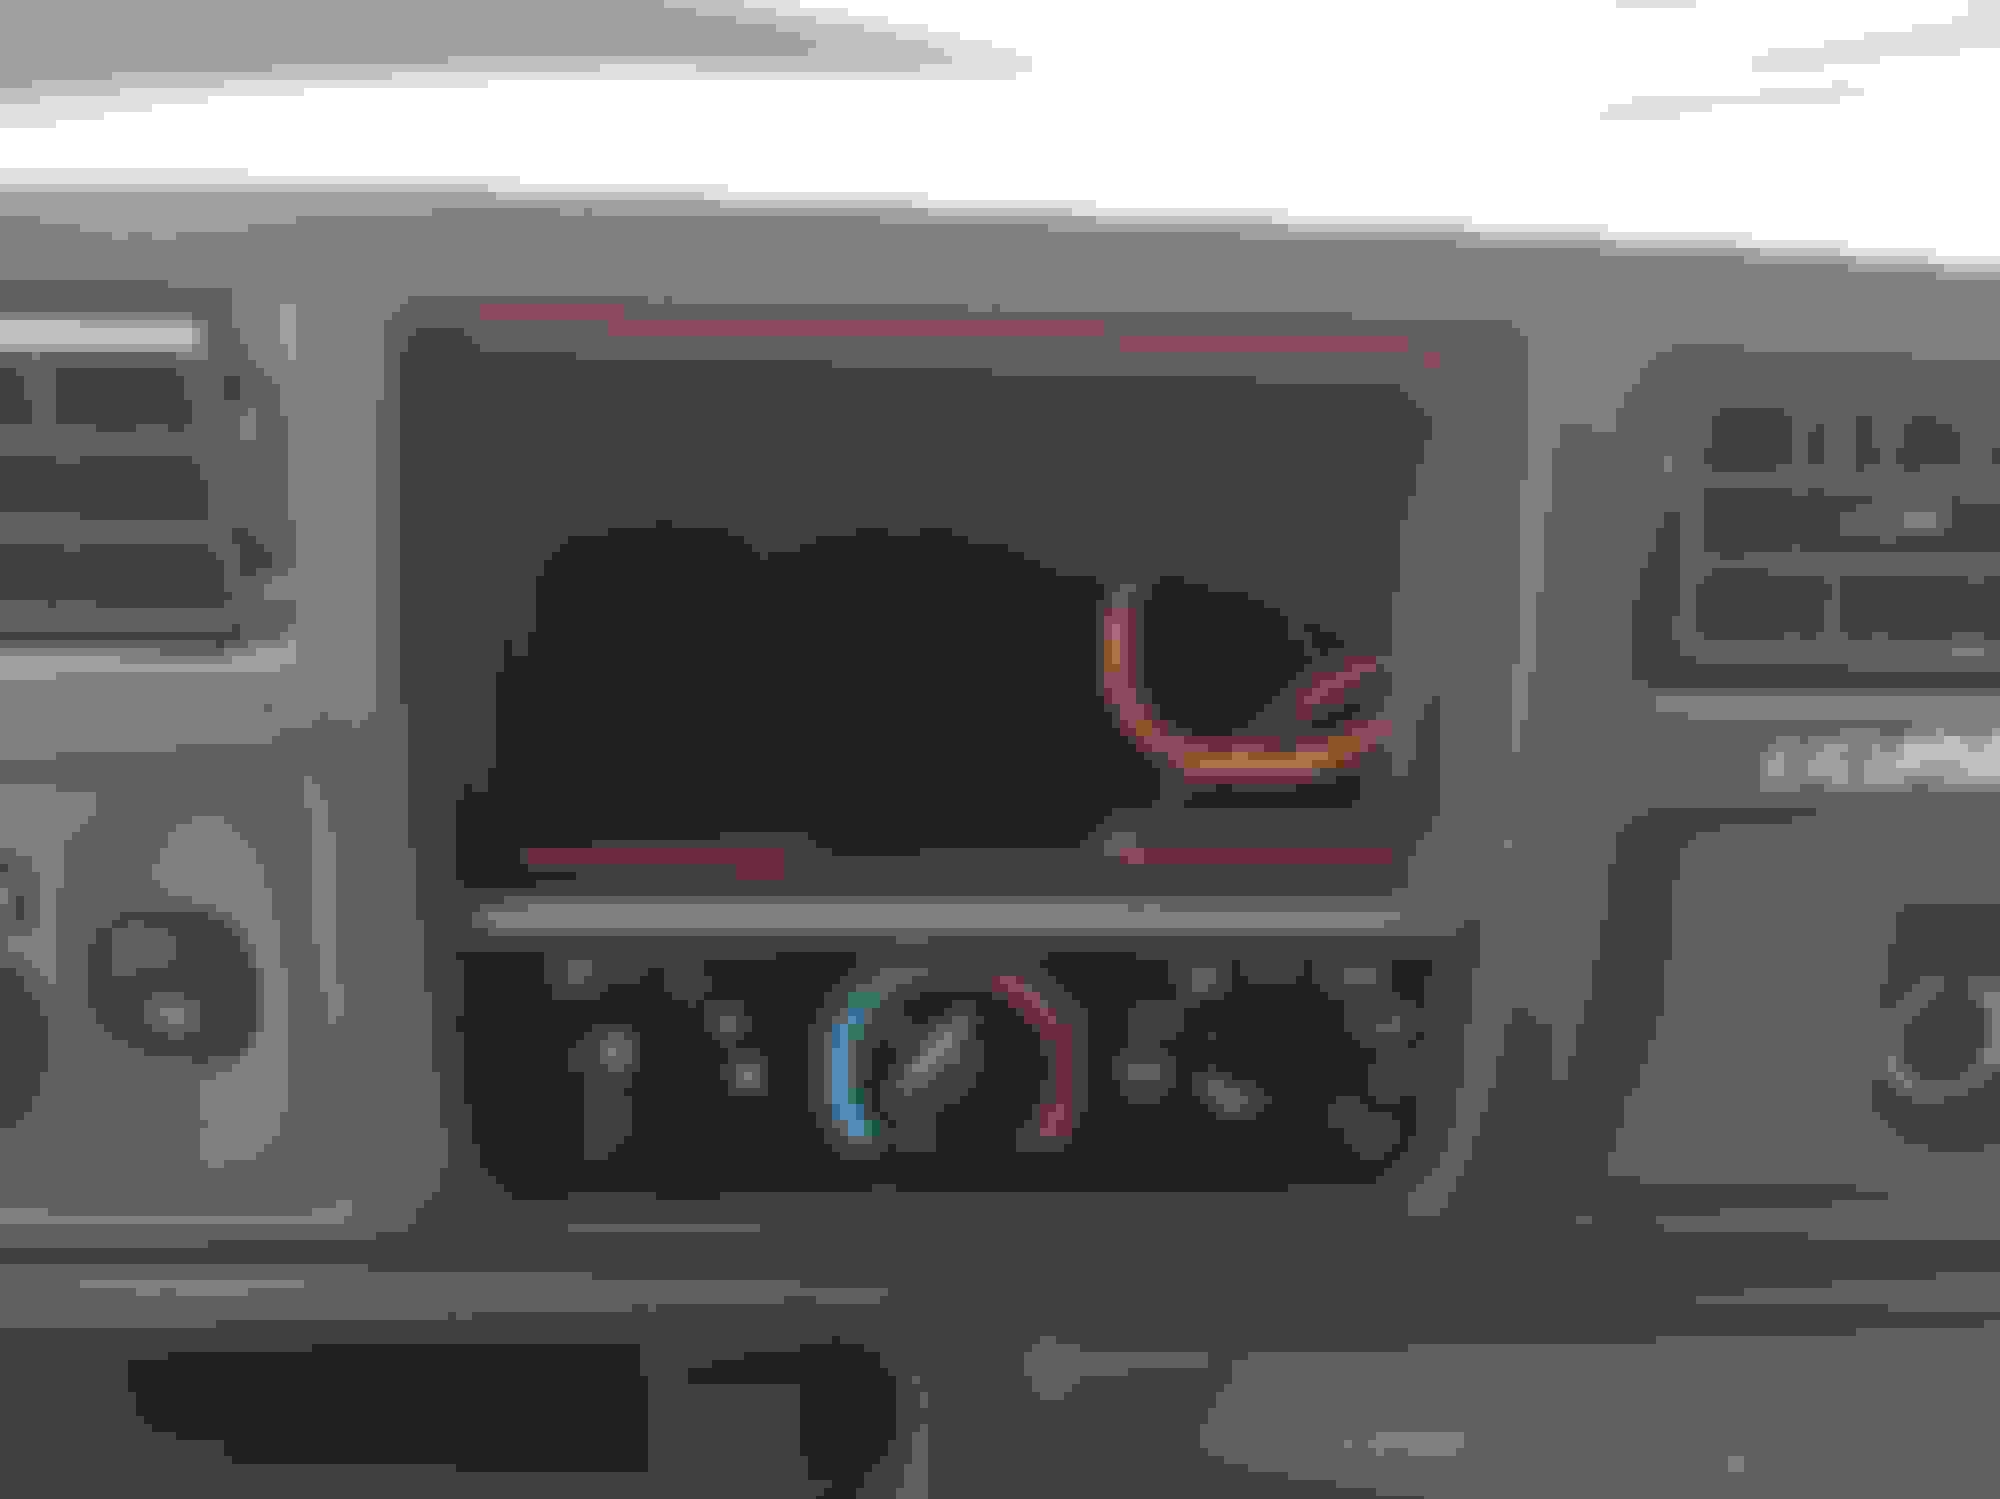
To install almost anything new requires trimming some of the dash away. Trimmed radio hole. Problem with my new radio is it was completely flat on the top. The screws that hold dash pieces together stuck down too far. I tried button head screws with washers...still stuck down too far. Ended up not using the screws at all. Seems ok so far. If I were to do it again, I would try some flat heads with washers. Well, I wanted to turn the 12V socket under the sliding cover into a USB recepticle to tie into the rear of the radio. Couldn�t figure out how to get it out without removing the dash. If I�d known that before hand it would have made trimming the dash much easier. Sony XAV-AX100 installed. Liked this model because it has Apple CarPlay, and the reason I needed a front access USB (socket to the right).
Got the radio from Crutchfield. They also offered a service that wires the vehicle specific adaptor to the radio plug ($20). Loved that! So far I like it a lot. Previous owner had already upgraded the speakers so it sounds pretty good to me. I love the hands free phone operation and Maps.
After reading through some other threads, I found that my spare tire was from mid 2004. I bought an OEM alloy wheel to replace the steel one and another Yokohama. Now I can put my spare in rotation with the first four and not have to worry that it may be past it�s safe age.
And by the way...what a wrestling match getting the new spare back into the tire cover!

 07-25-2017, 09:26 AM