When you click on links to various merchants on this site and make a purchase, this can result in this site earning a commission. Affiliate programs and affiliations include, but are not limited to, the eBay Partner Network.
I had mentioned I'd start my own thread to simply share my work on my Excursion. I'll add to this as I have time, I'll try to be chronological with all that I have done, but that may not happen.
I'm not very good at narration, or write-ups. I'll find something doesn't seem right, and needs to be fixed, or improved, or simply come up with an idea and get to creating. I usually take random pics during the progress, rather for instructional purposes. I'm always open to questions about where I got stuff, or how I achieved something.
I had been recently asked about the cup holder lights I just added, so I'll start there.
I had found the LED's in my local Walmart and bought one package which contained one pair of lights. After deciding I wanted a total of 3 individual lights some 2 weeks later, I went back to the Walmart and found they no longer stocked them in the stores but were on their site. It took a while to come up with a finished product that didn't completely molest my console. Usually when ever I mod something I always try to obtain a spare, weather it be new NOS, or good used. SO in this case I did find a NOS front cup holder just in case. For the front I ended up cutting the light assemblies apart so I could just use the SMD's, and cut the entire light assembly in half to use for the rear.
I diffused the LED light with factory diffusing plastic found behind the drivers, ,aster slave, and slave A/C climate controls, the Excursion is usually green filters, and the Navigators are usually blue. Since I had blue lights, I used the blue diffuser material. In addition I added a LED dimmer to get the amount of light where I wanted it.
Dremel cut the opening
Dremel cut the opening
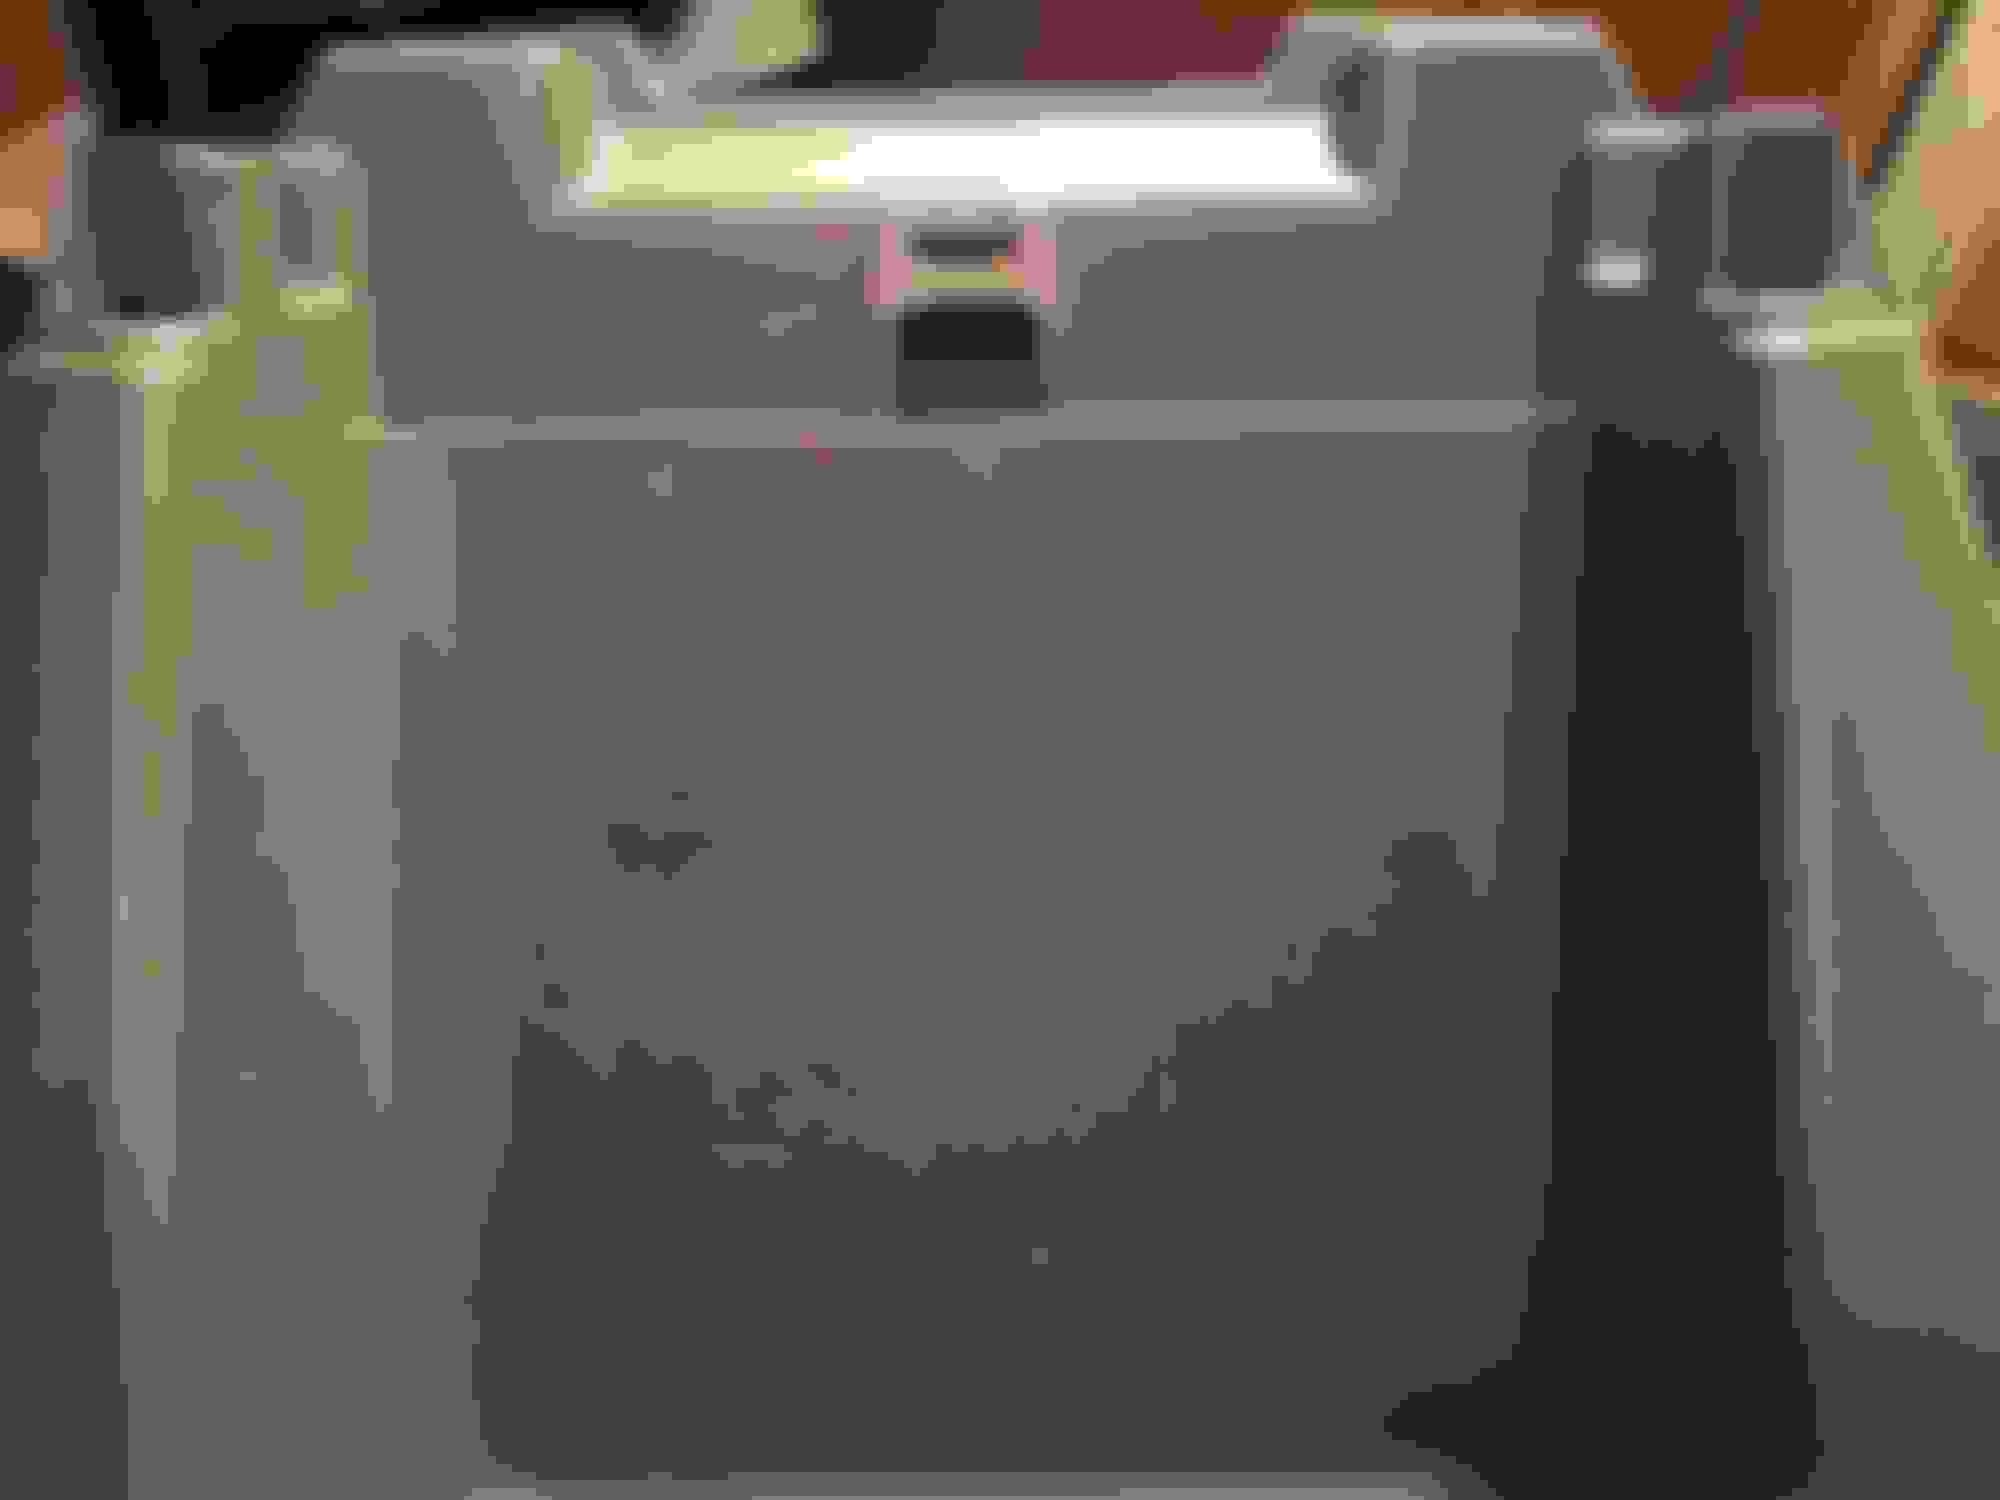
Fixture before cutting in half
cut in half white diffusing plastic added between SMD and clear lens, re sealed with hot glue
Green pictured, Blue/White was used
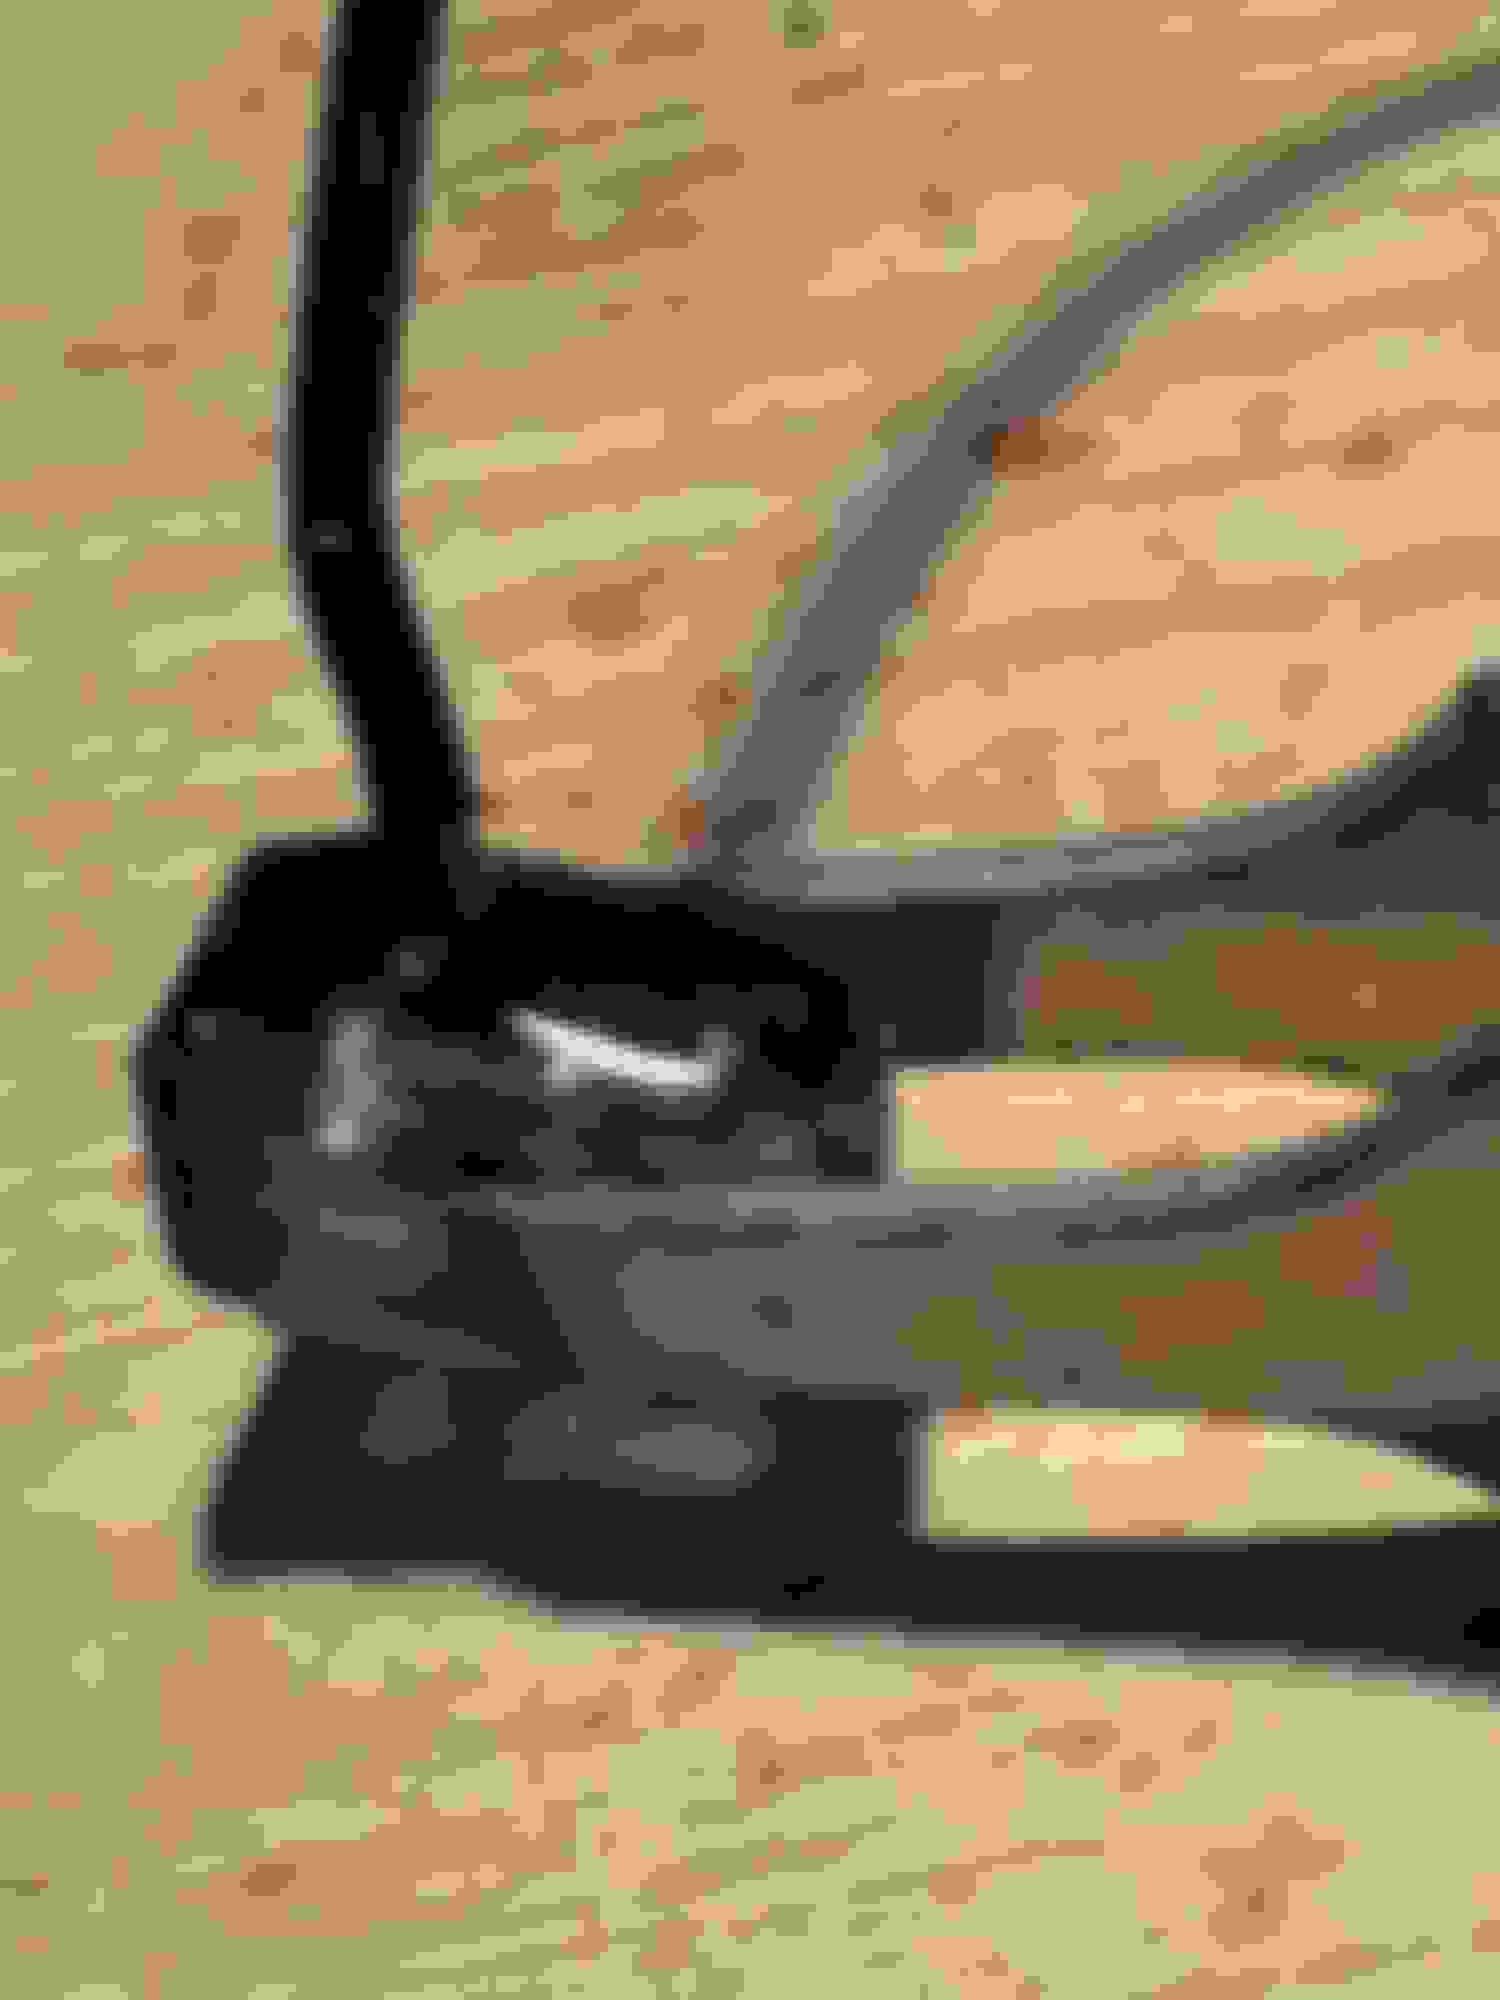
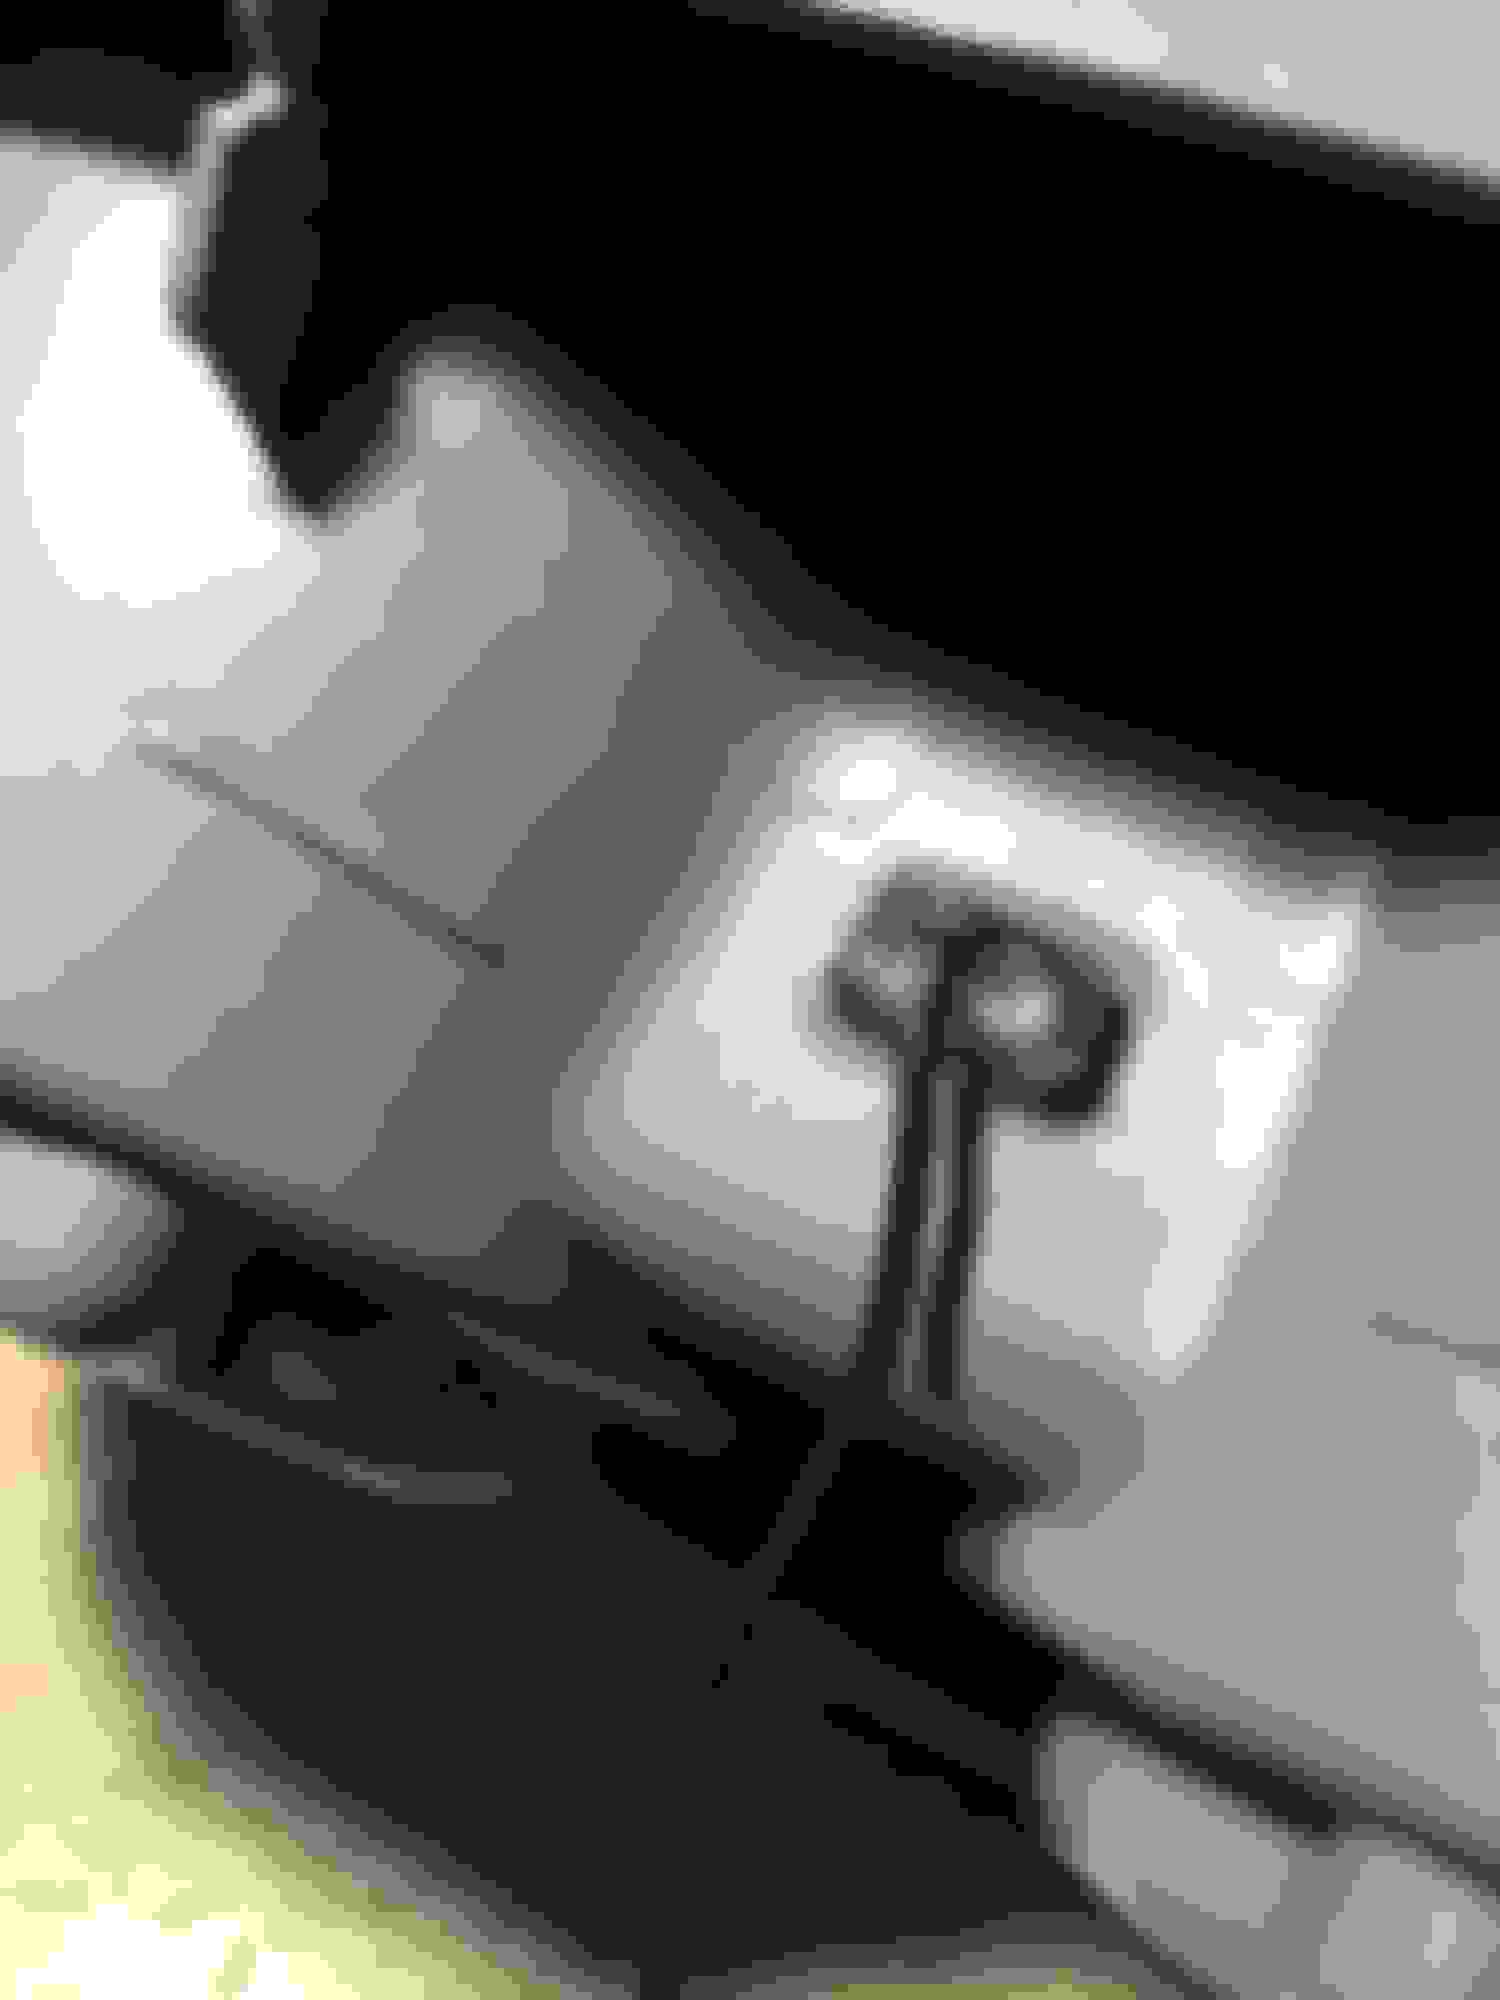
Mounted, hot glued in, flush on inside of the cup-holder
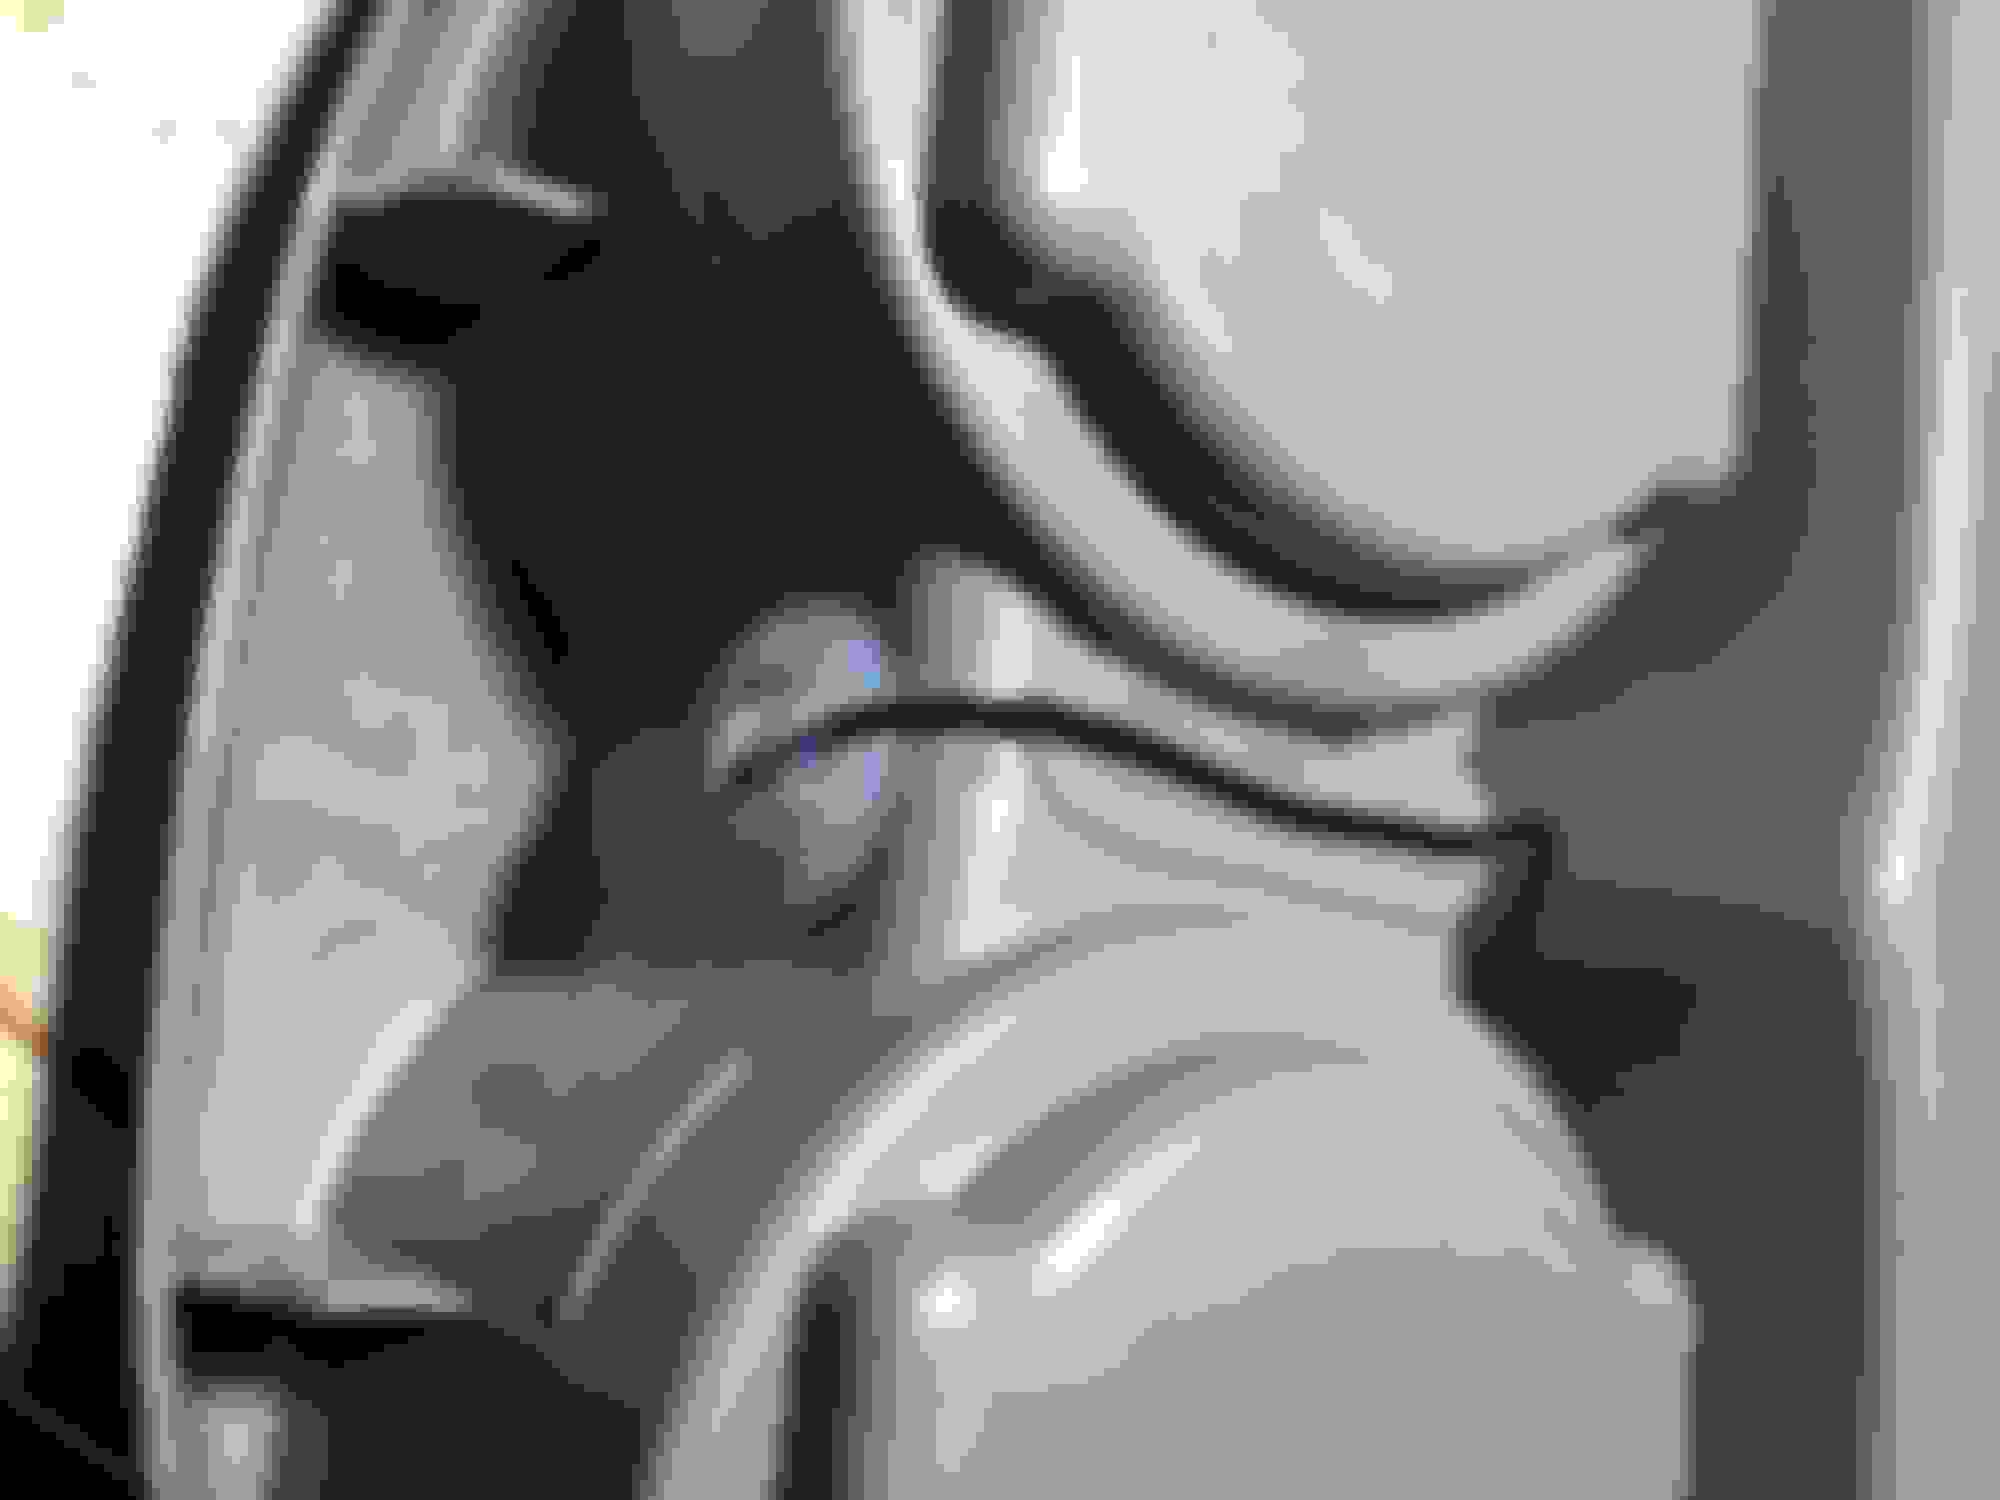
slack wire glued in place
Fitted to the opening, tacked with super glue, flush on interior side
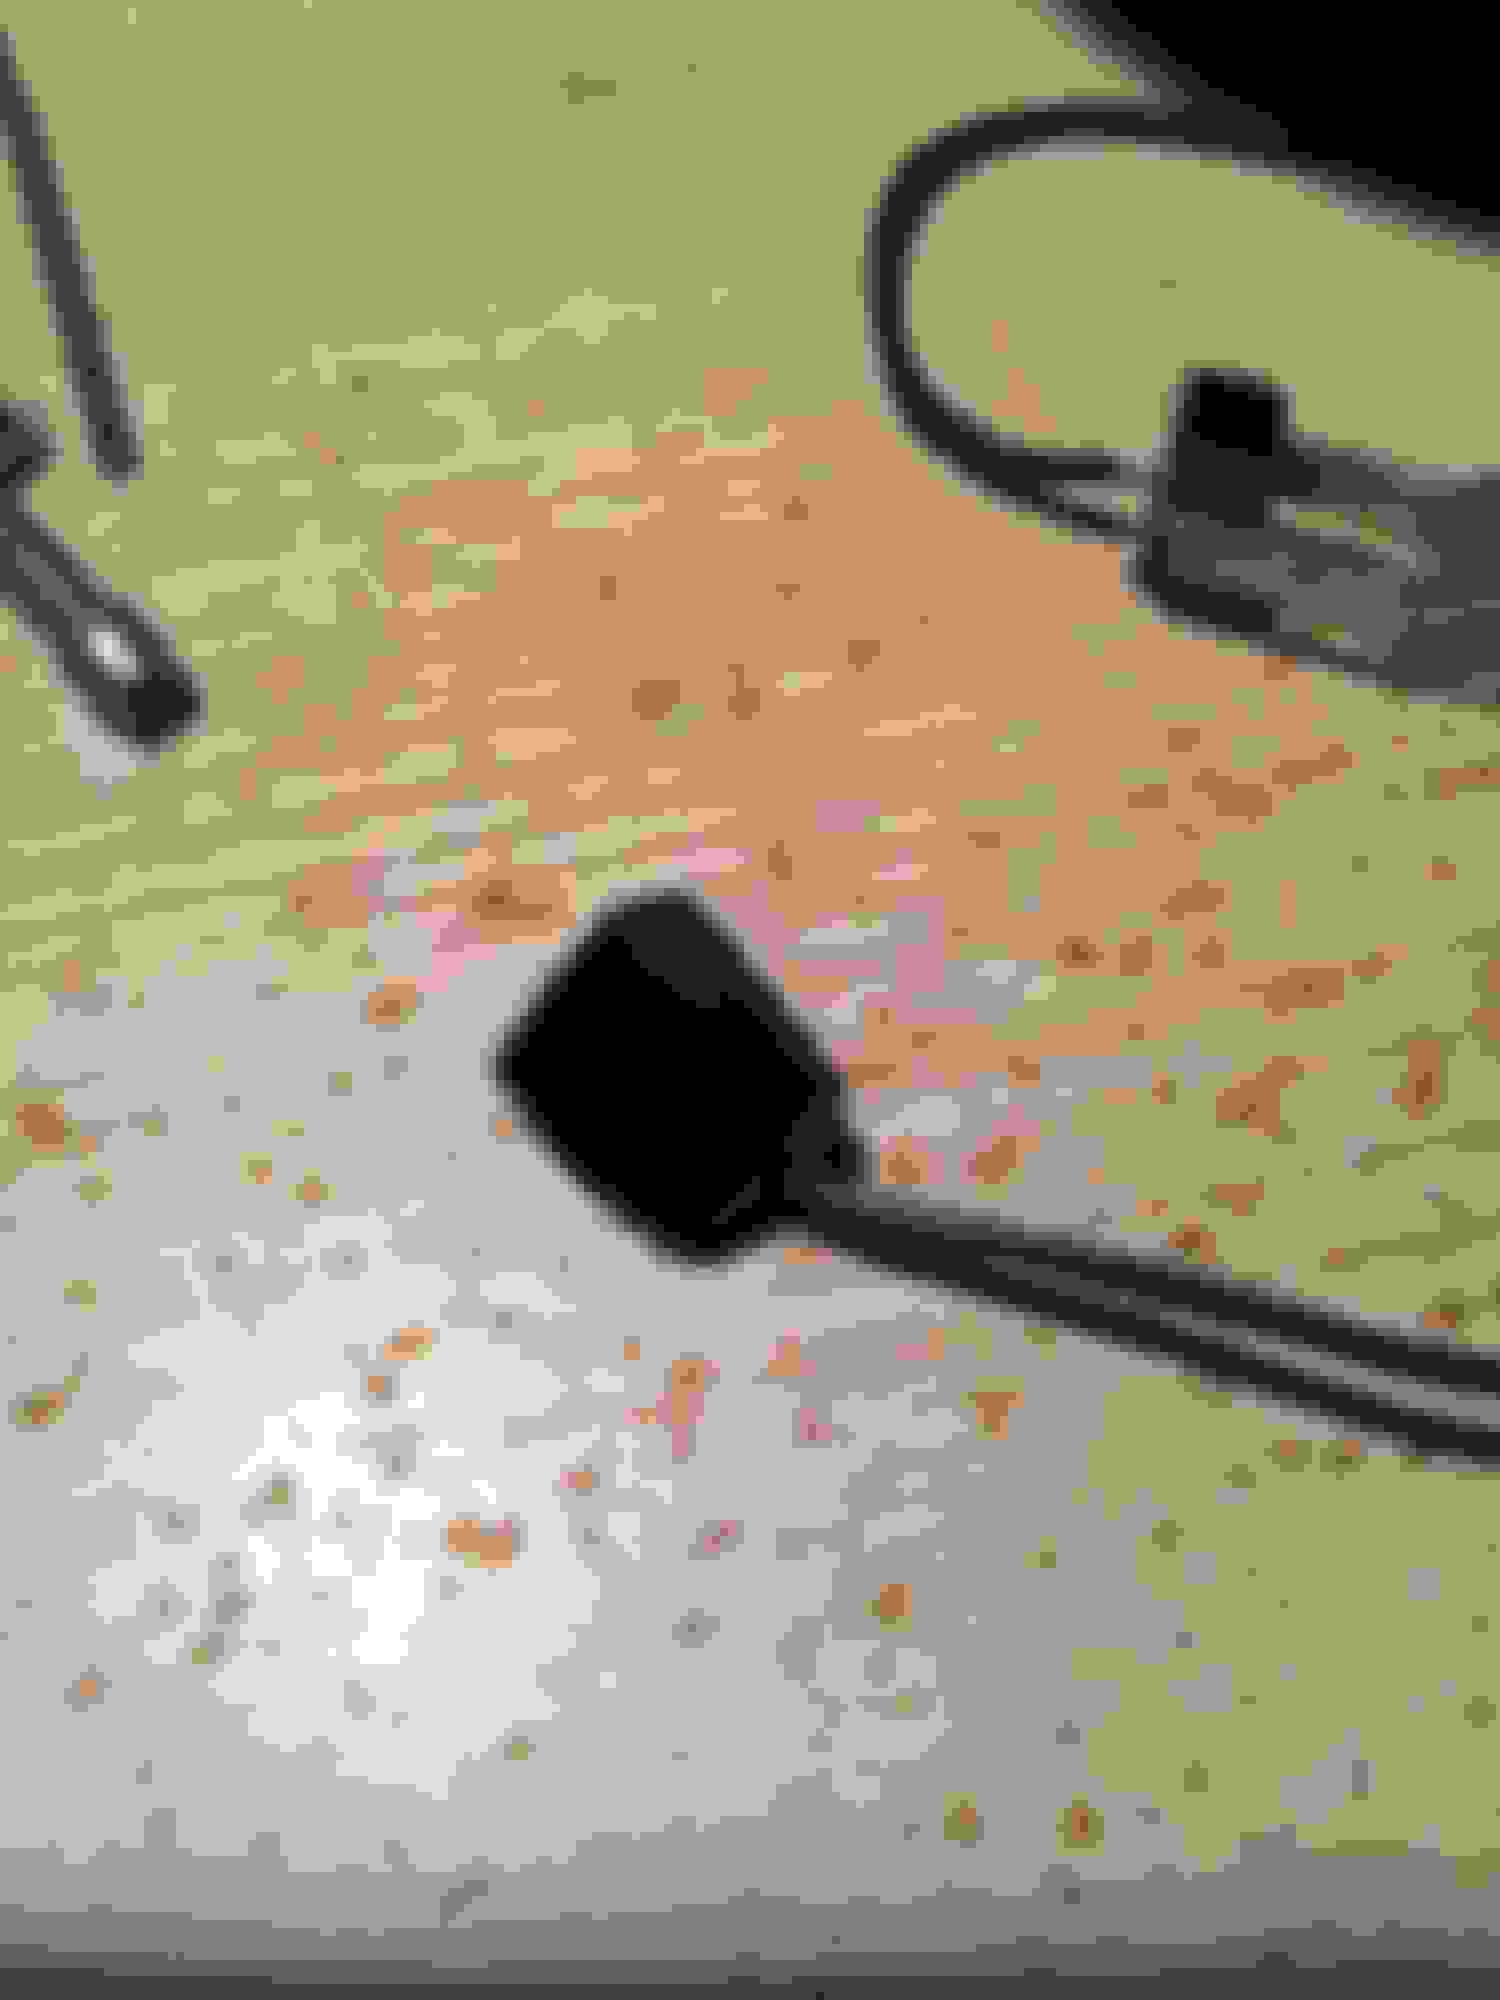
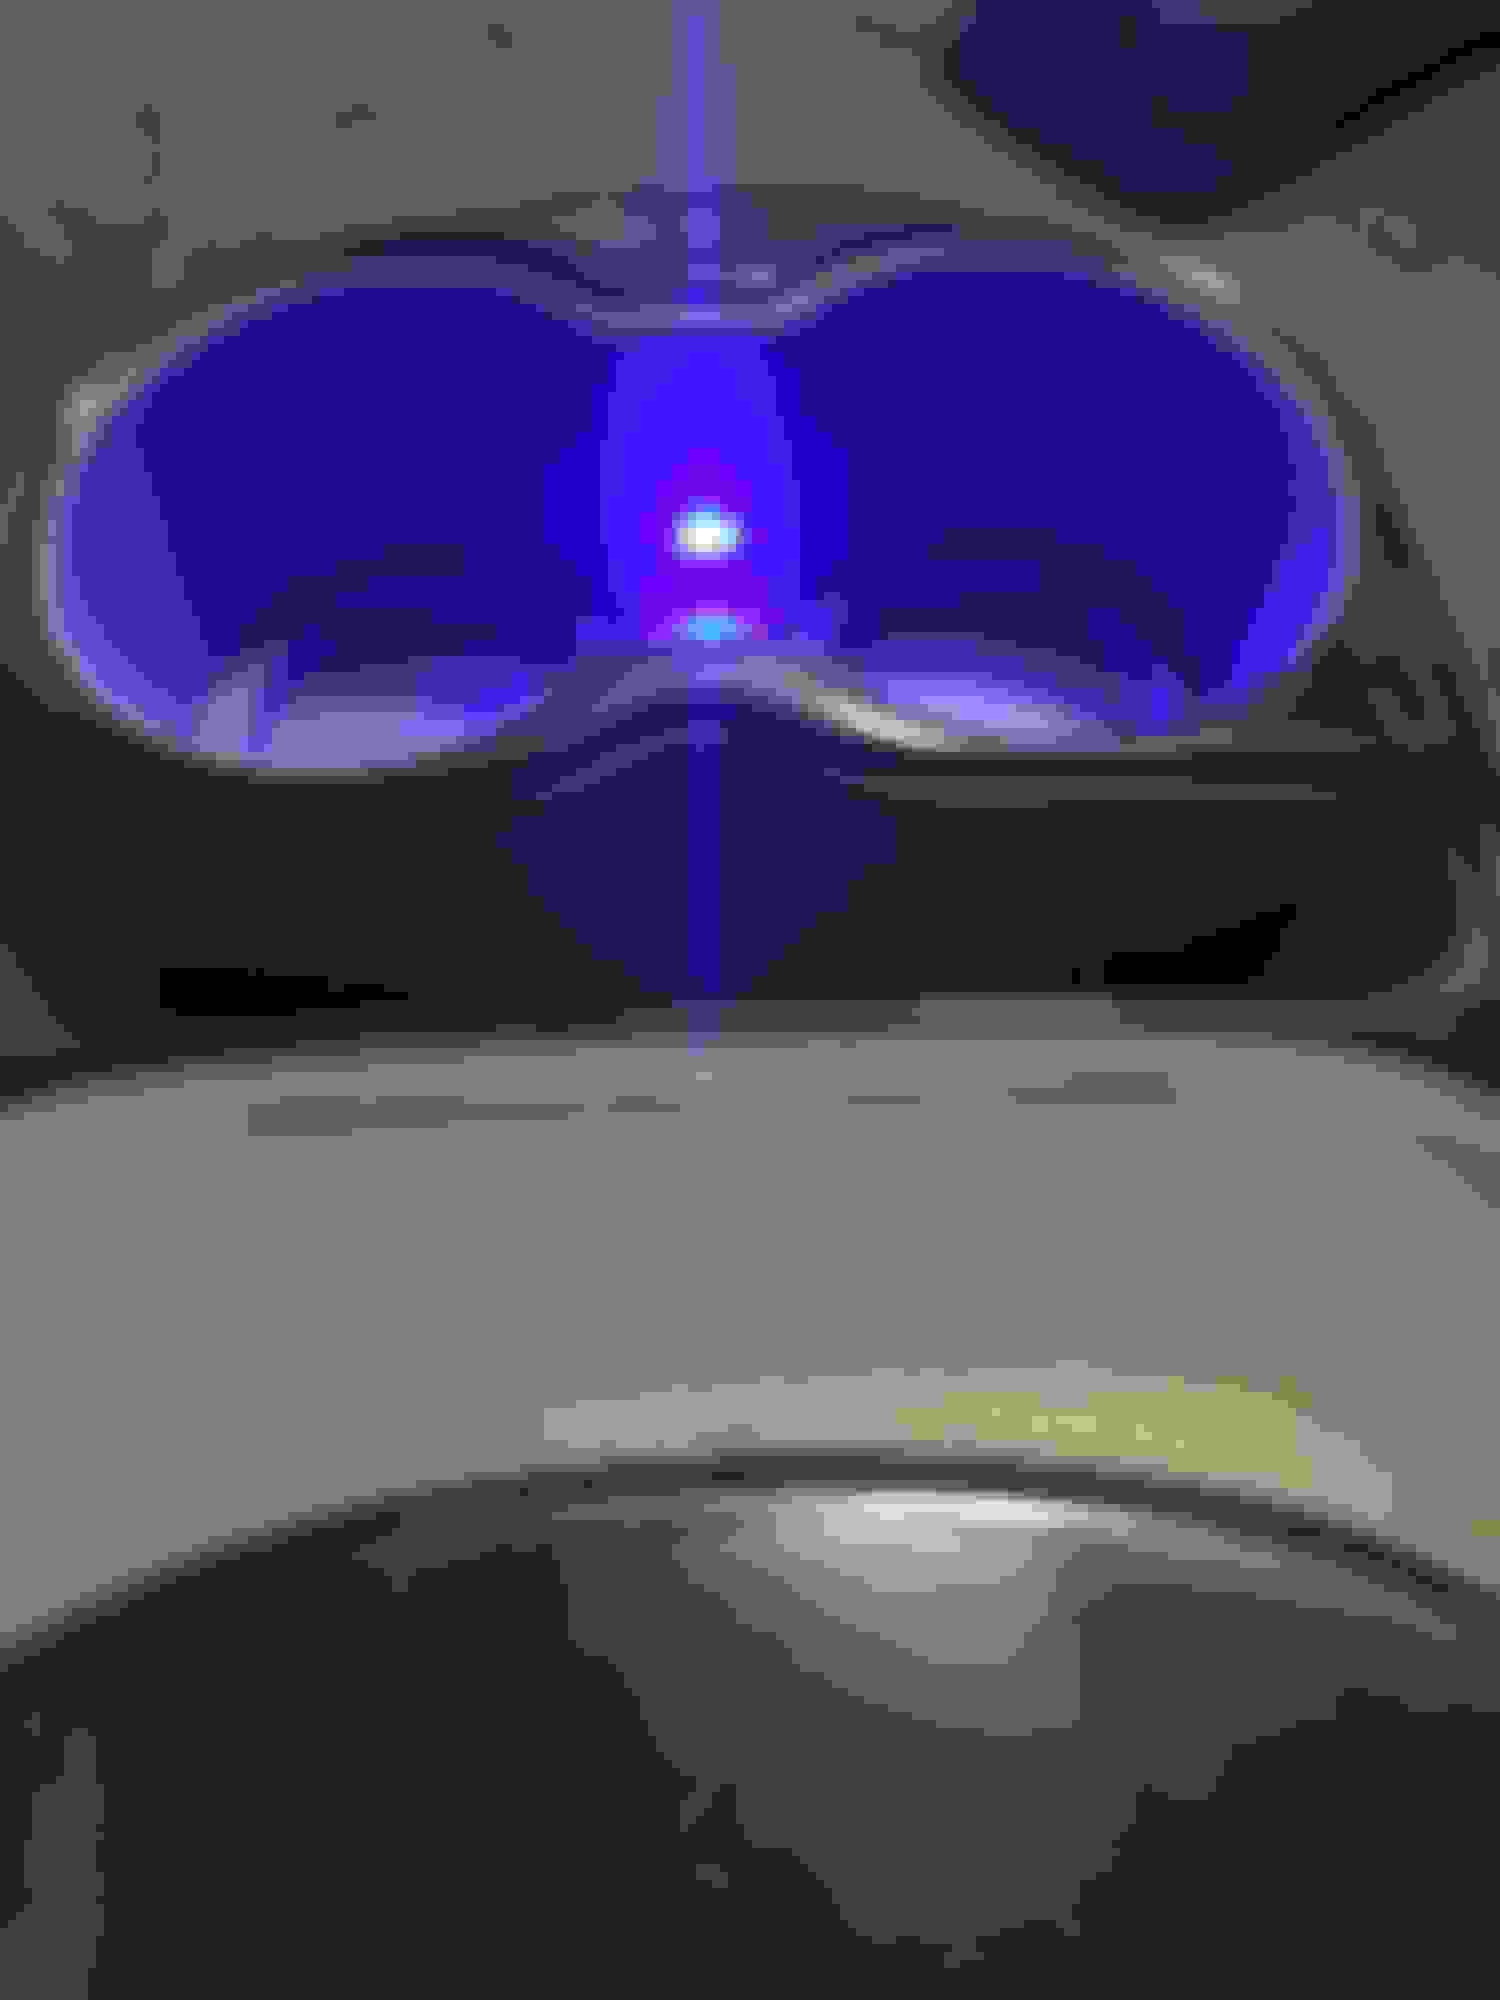
Testing with 9 Volt battery, too bright toning down still needed
Testing with 9 Volt battery, too bright toning down still needed
Testing with 9 Volt battery, too bright toning down still needed
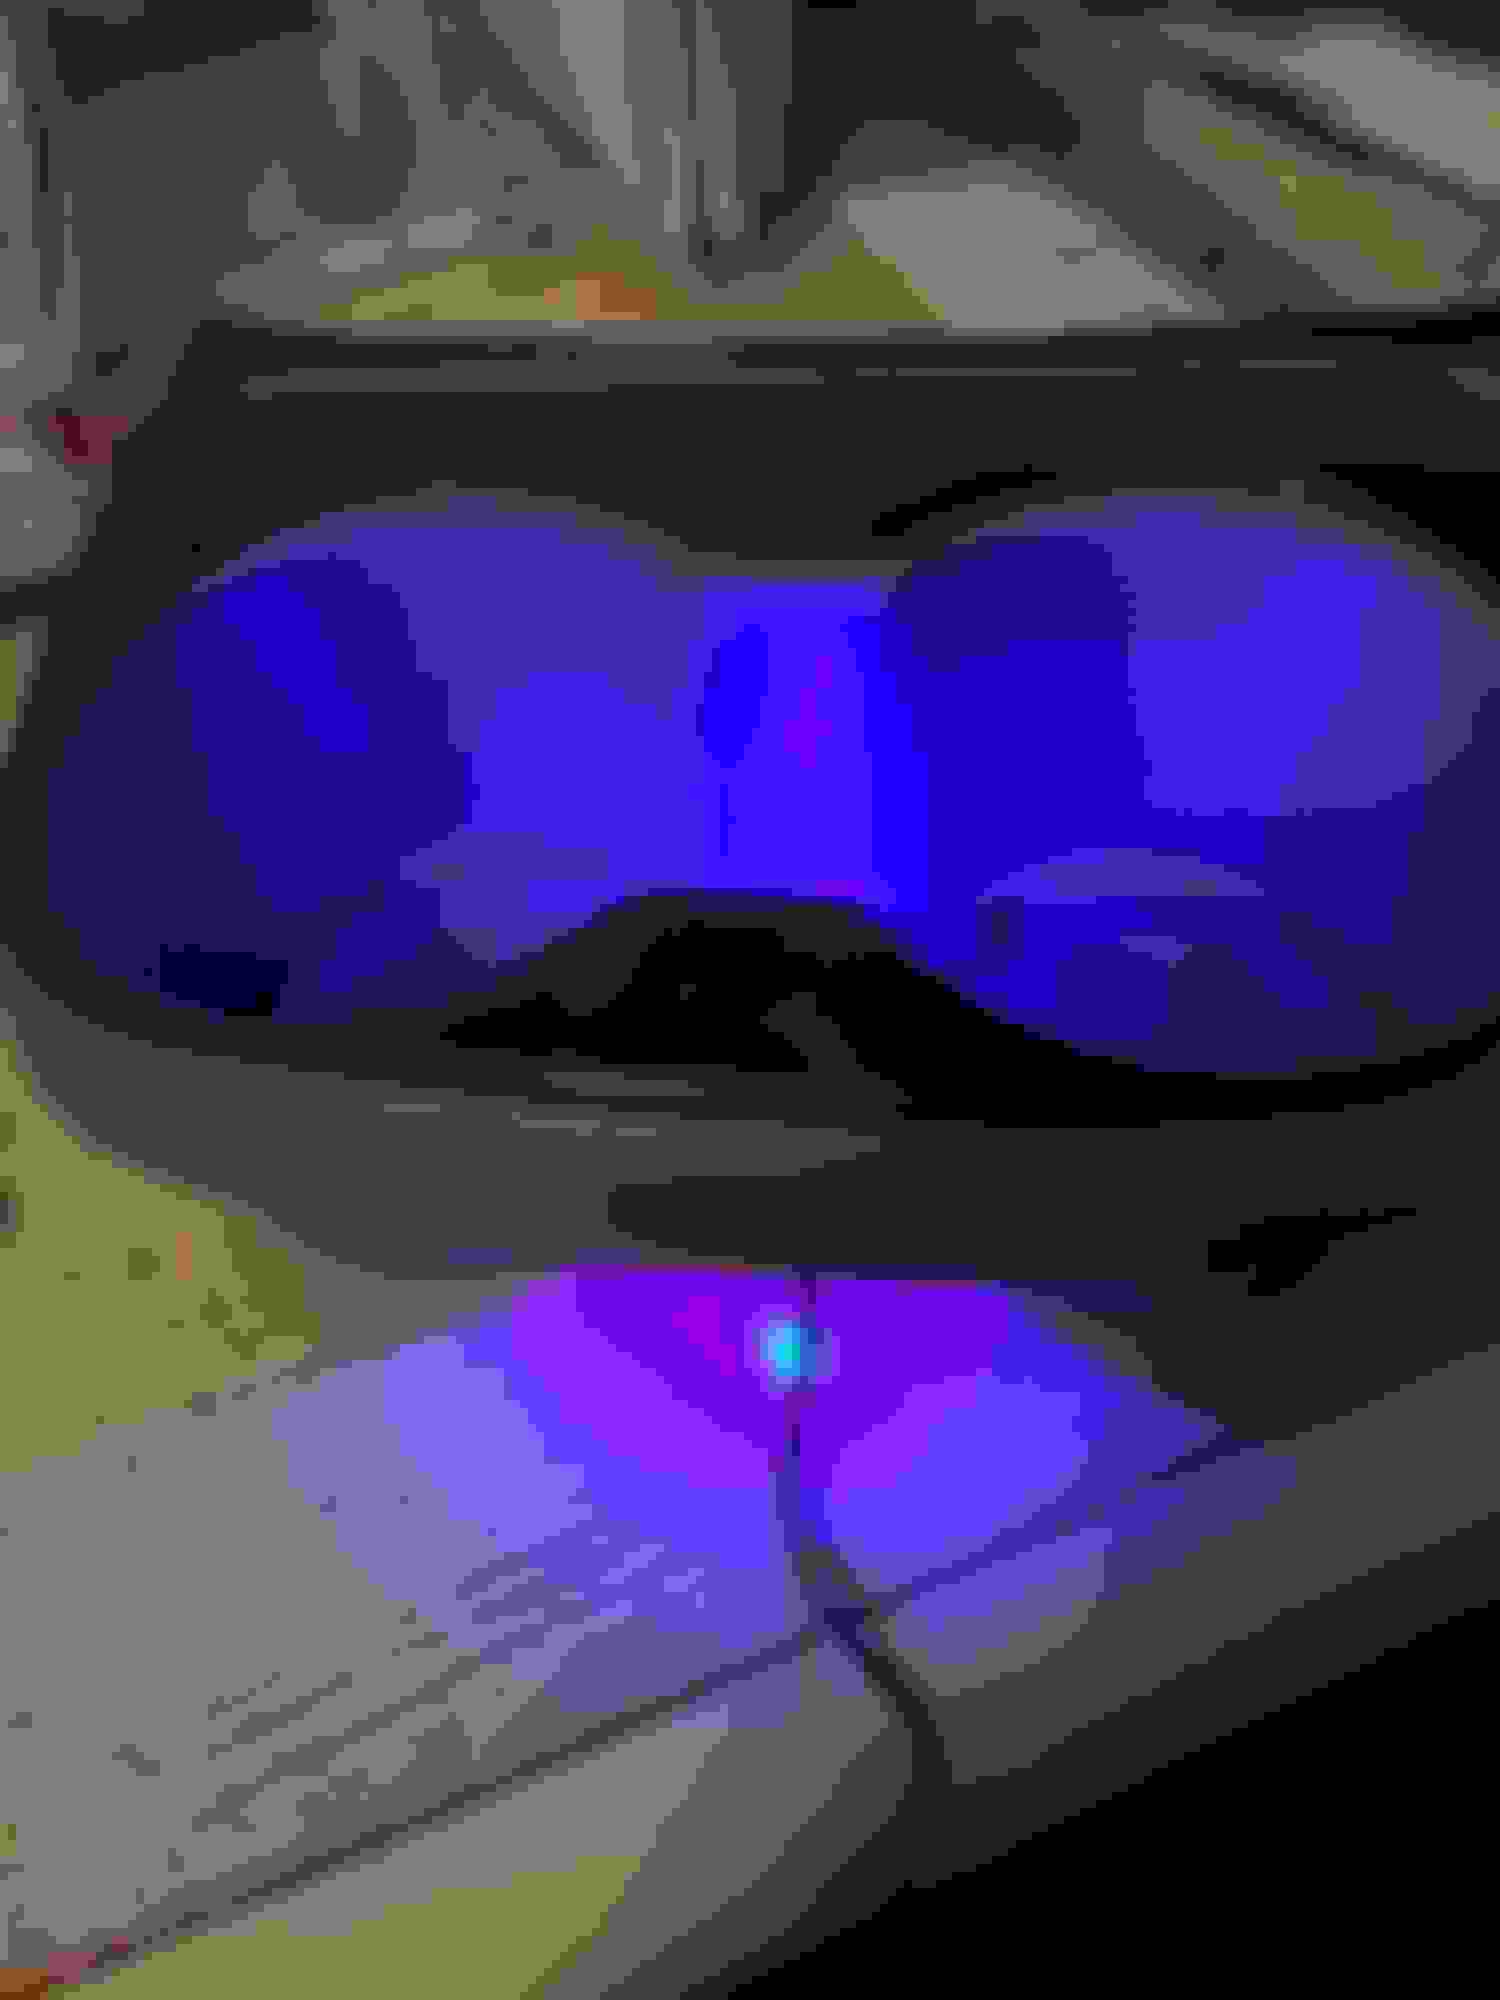
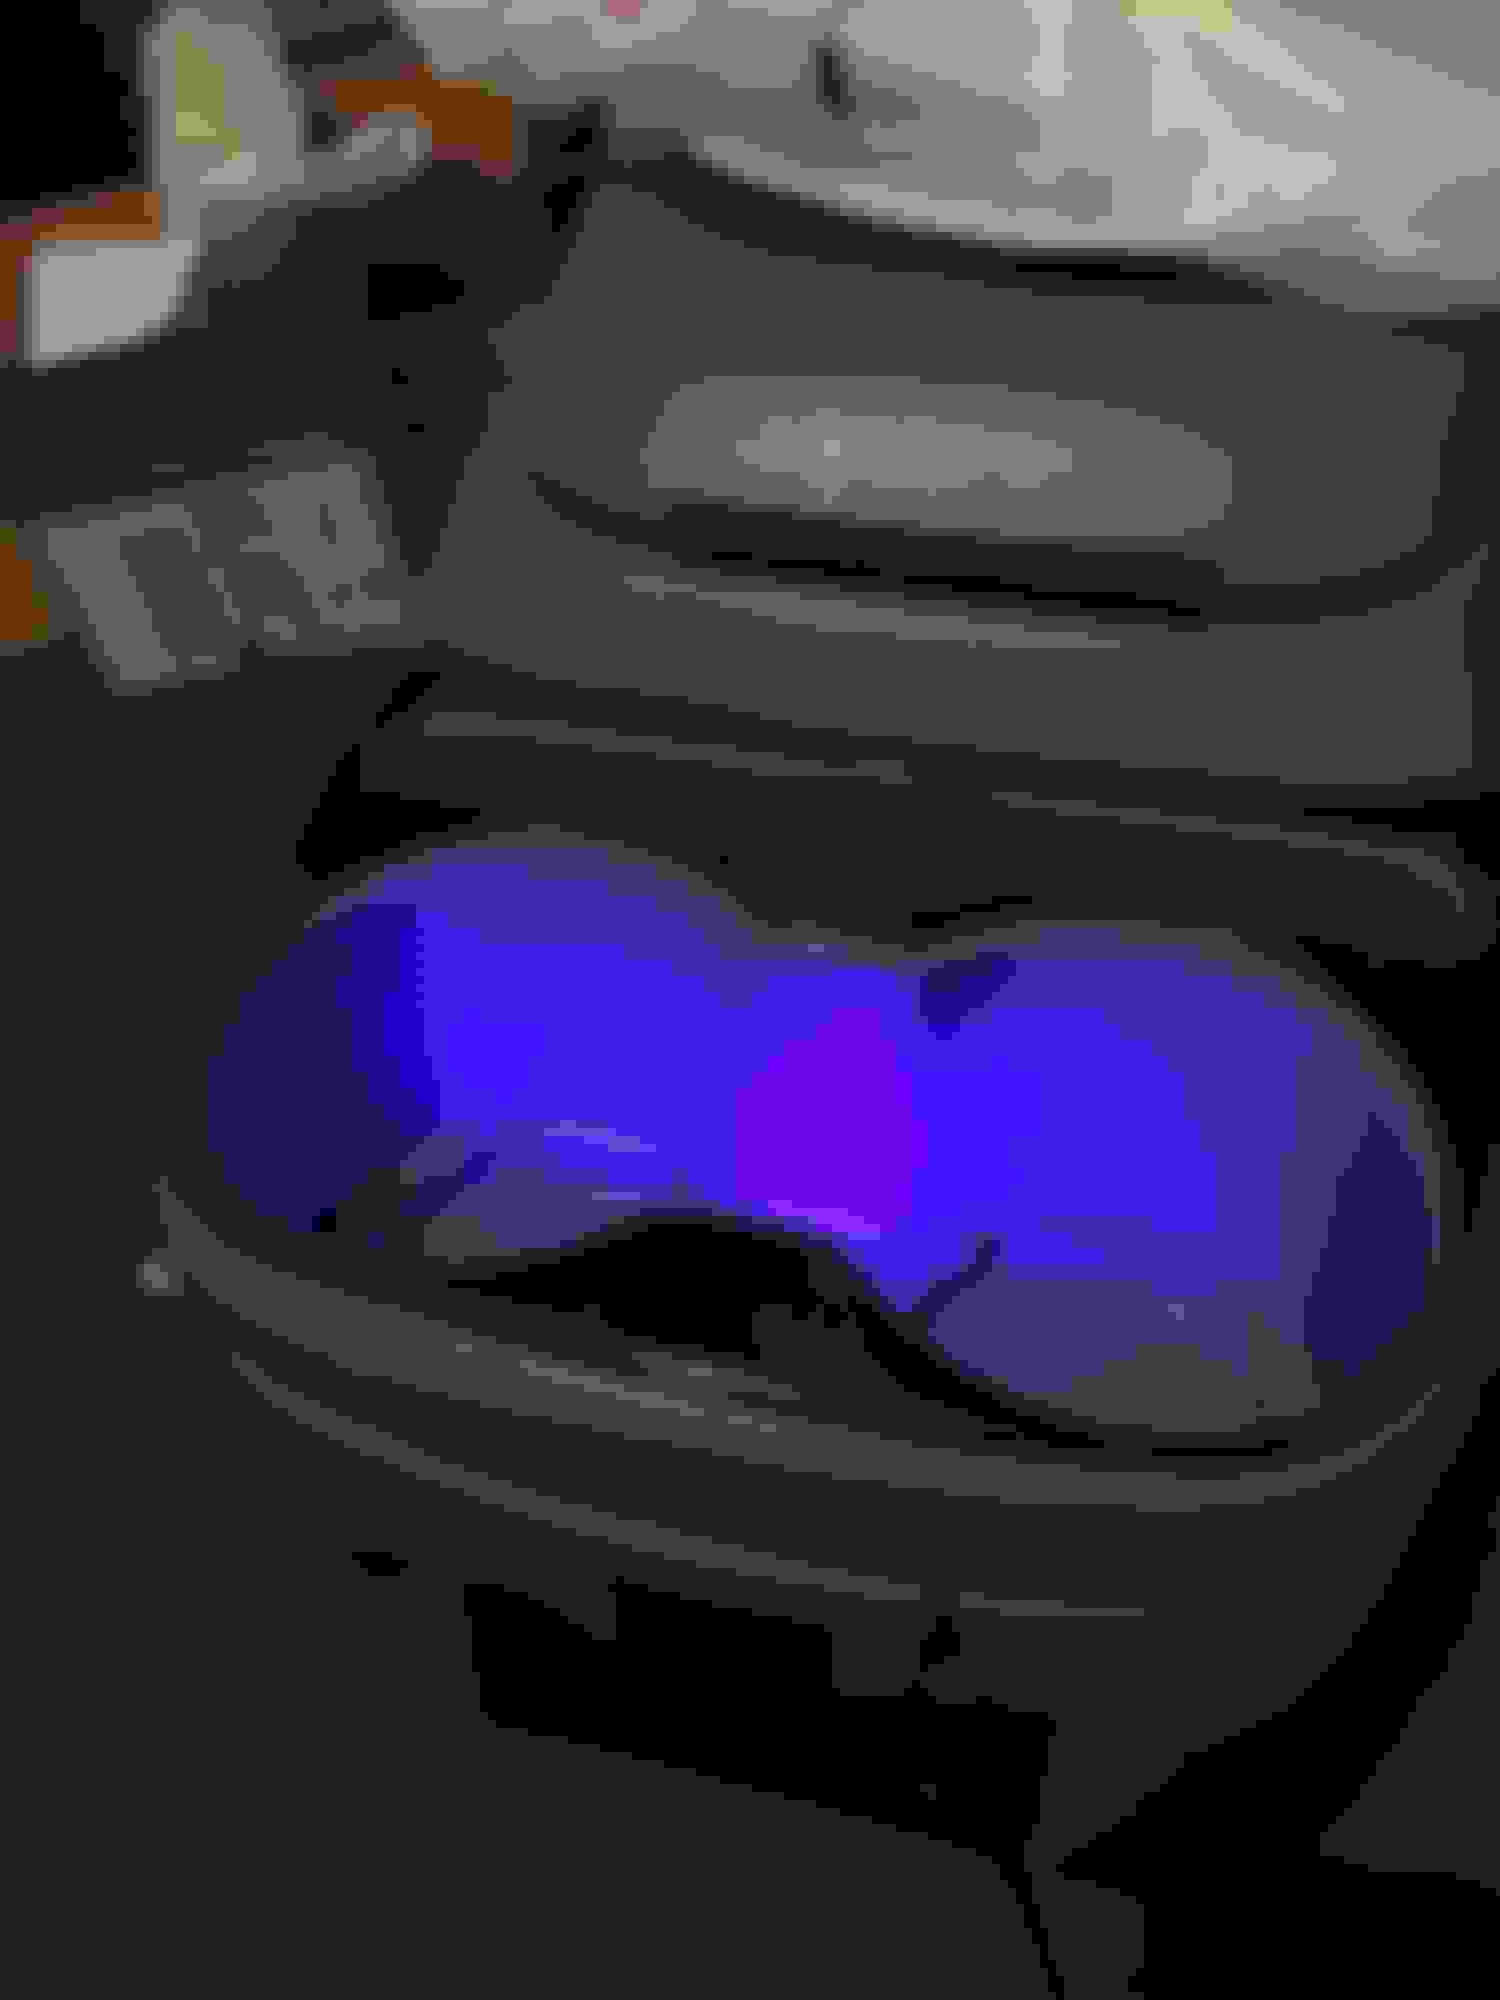
Testing in the dark, will tone down later
Flush install, blue diffusing plastic to be added when finished.
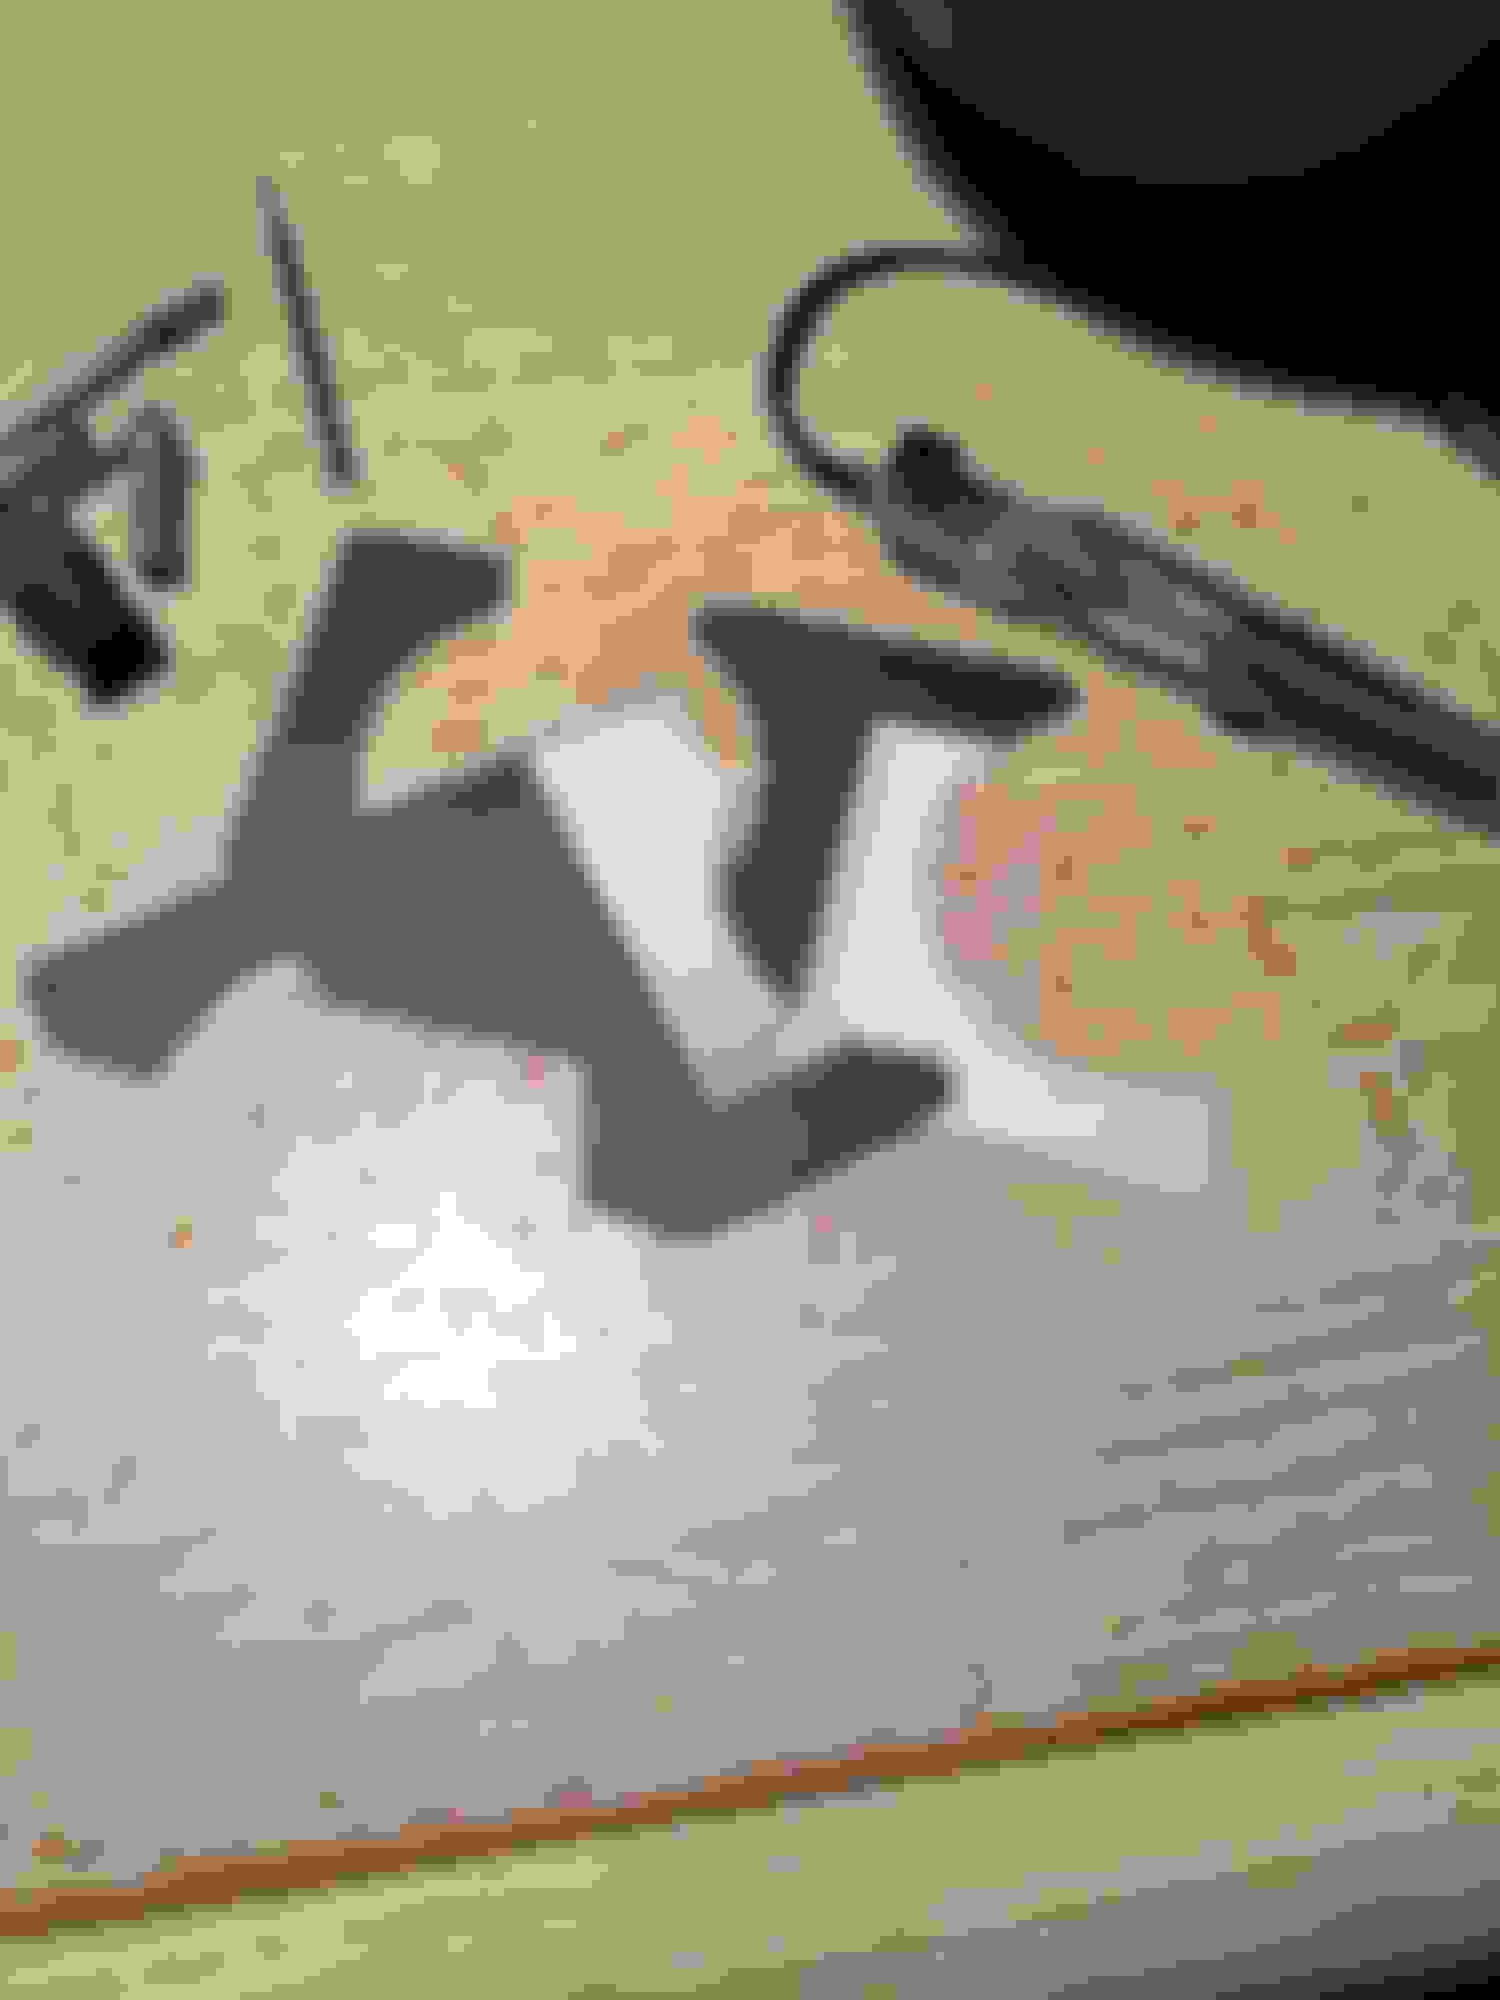
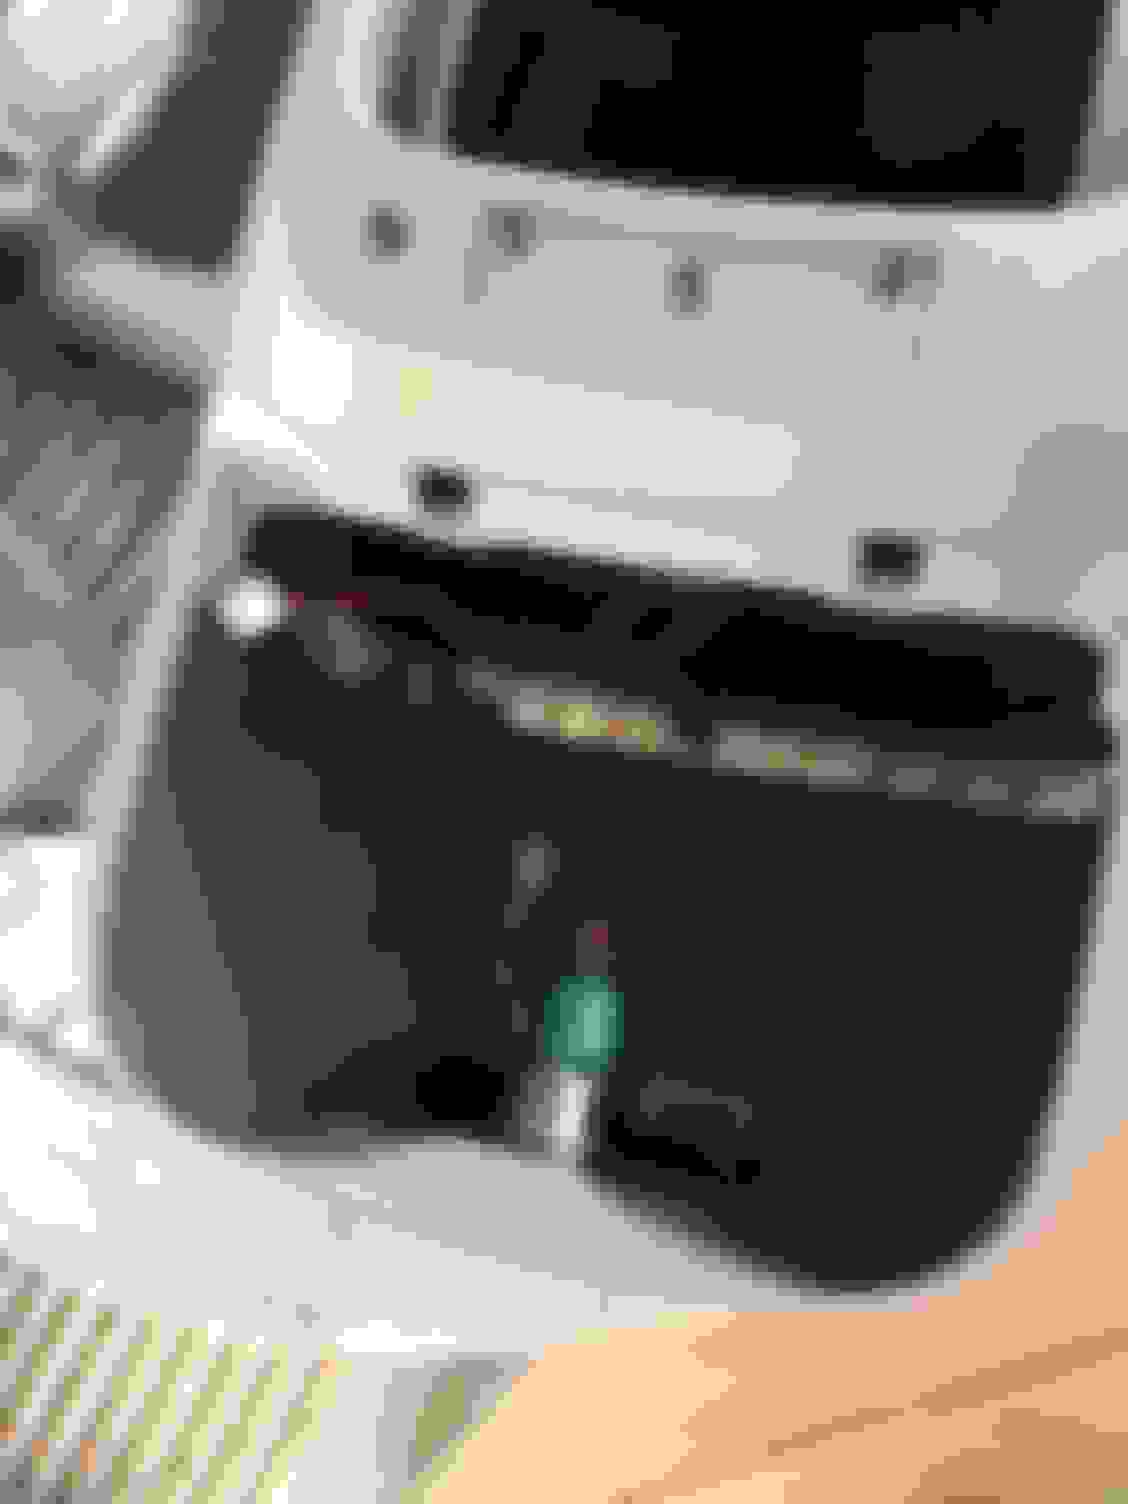
Console completely taken apart, holes drilled for each front holder
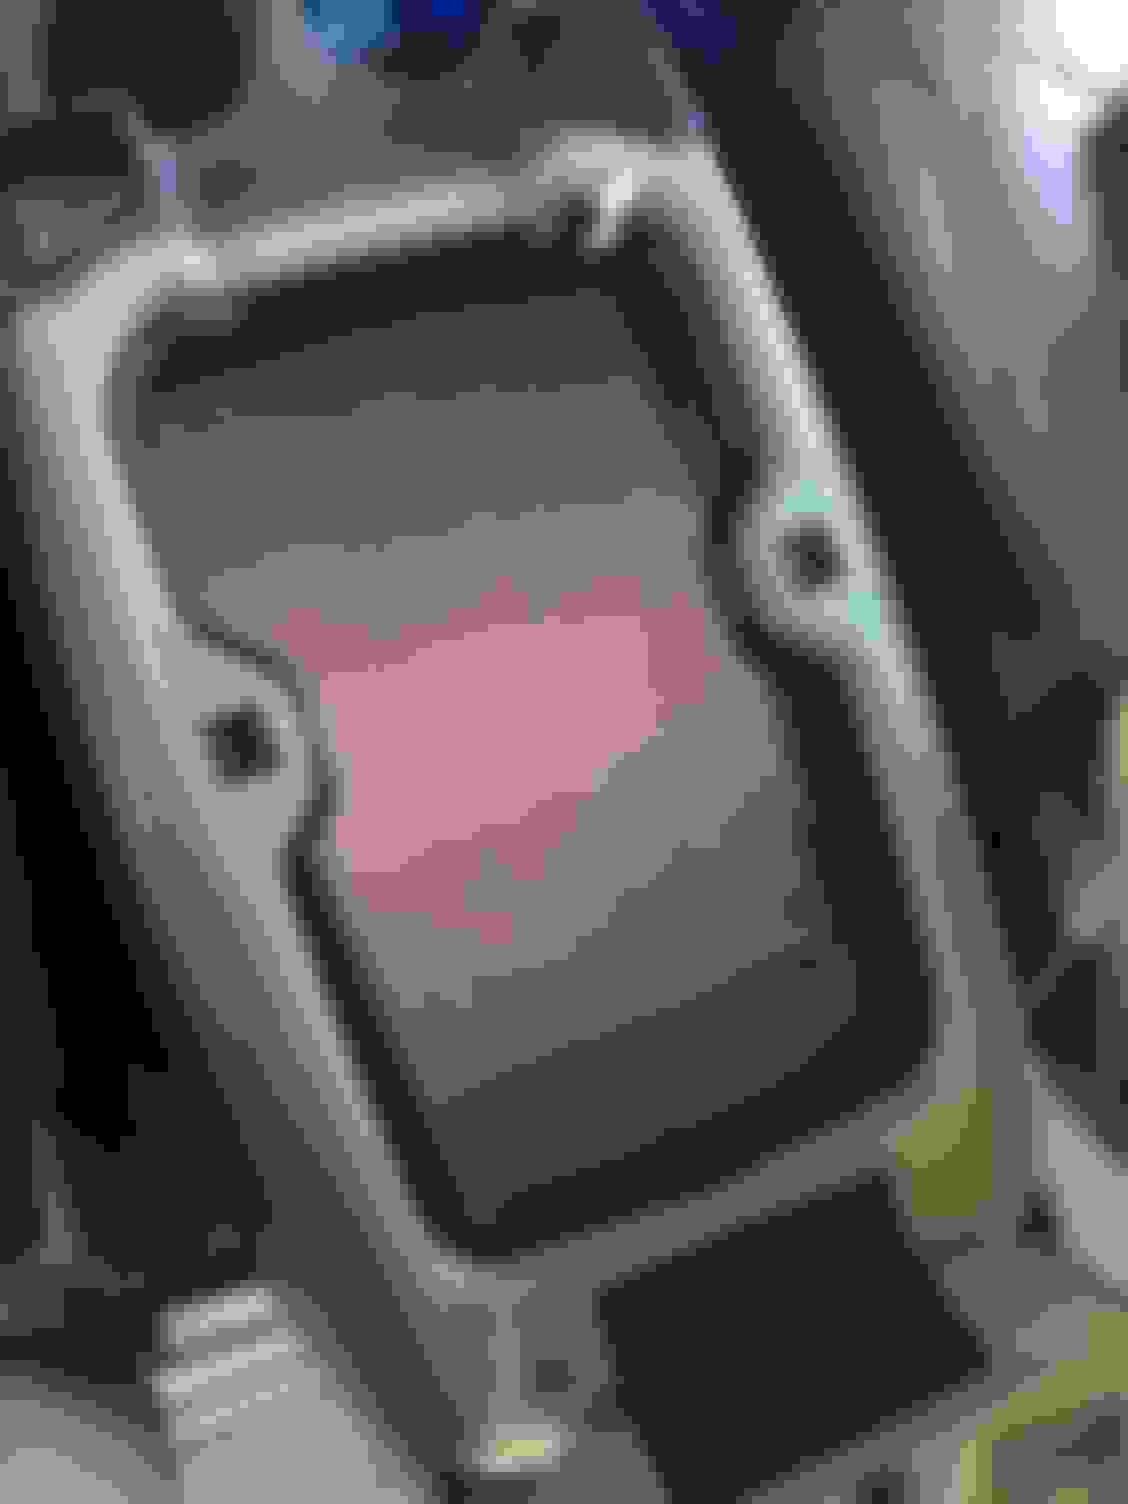
Larger holes drilled and beveled in front holders, with white plastic diffuser material tacked in with super glue
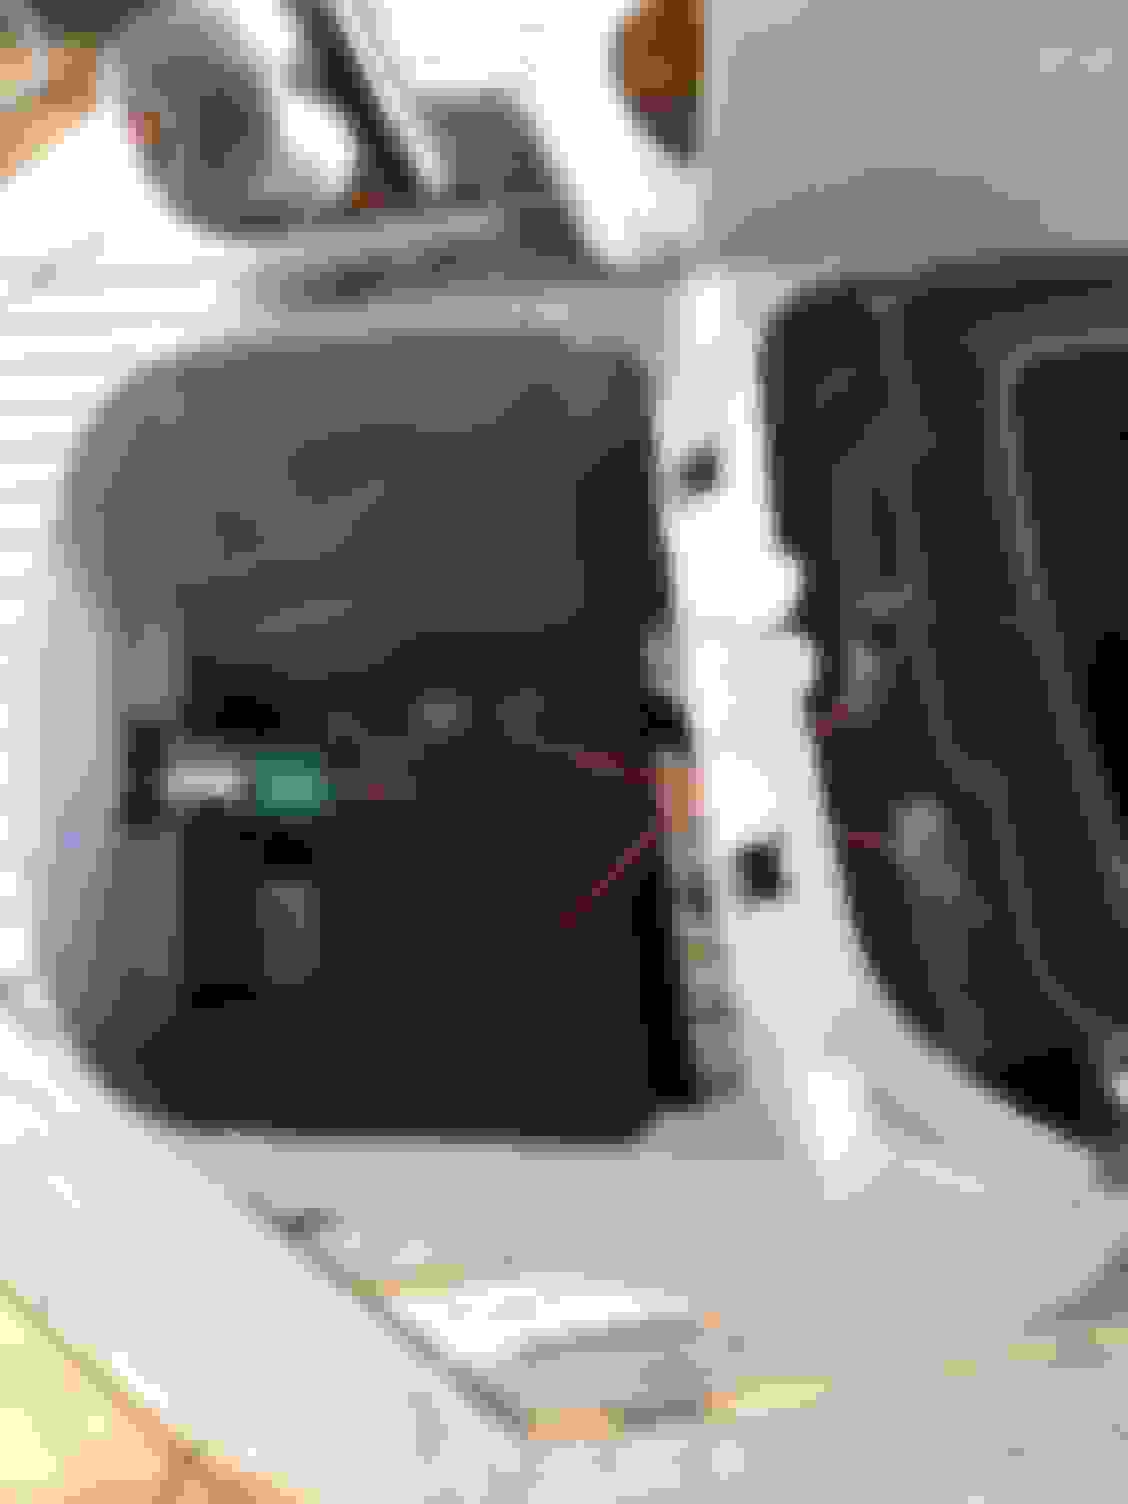
SMD's were secured from the inside of the console base with hot glue, testing in progress
SMD's were secured from the inside of the console base with hot glue, testing in progress
SMD's were secured from the inside of the console base with hot glue, testing in progress
SMD's were secured from the inside of the console base with hot glue, testing in progress
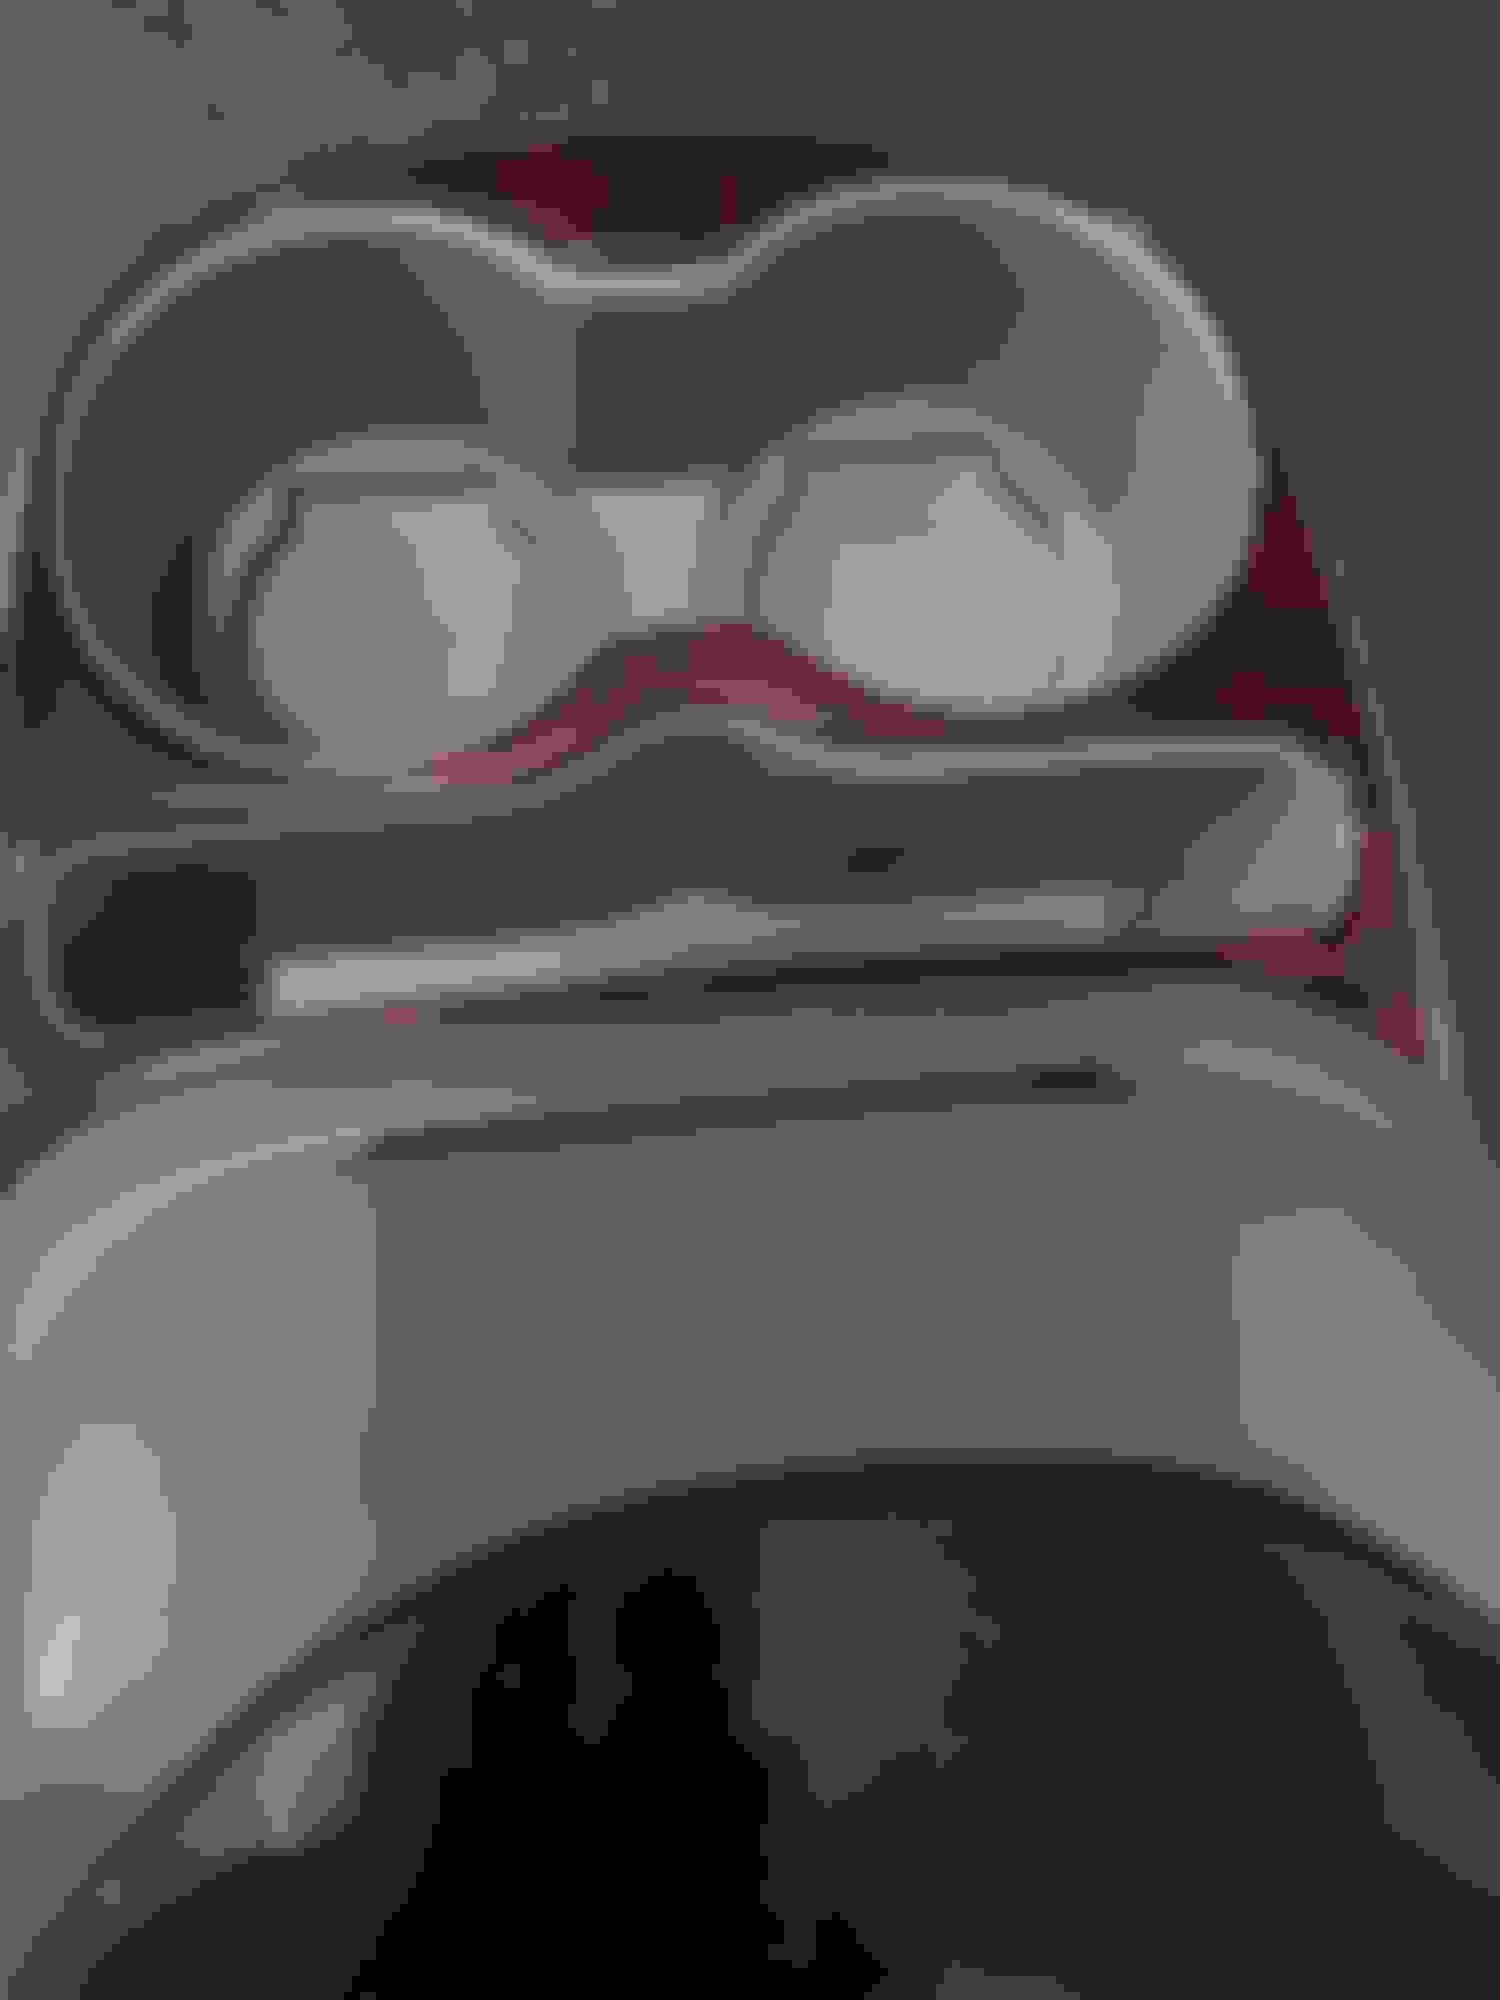
Cup holder removed, revealing the SMD's mounted from behind
Dimmer switch from Amazon
Dimmer switch from Amazon
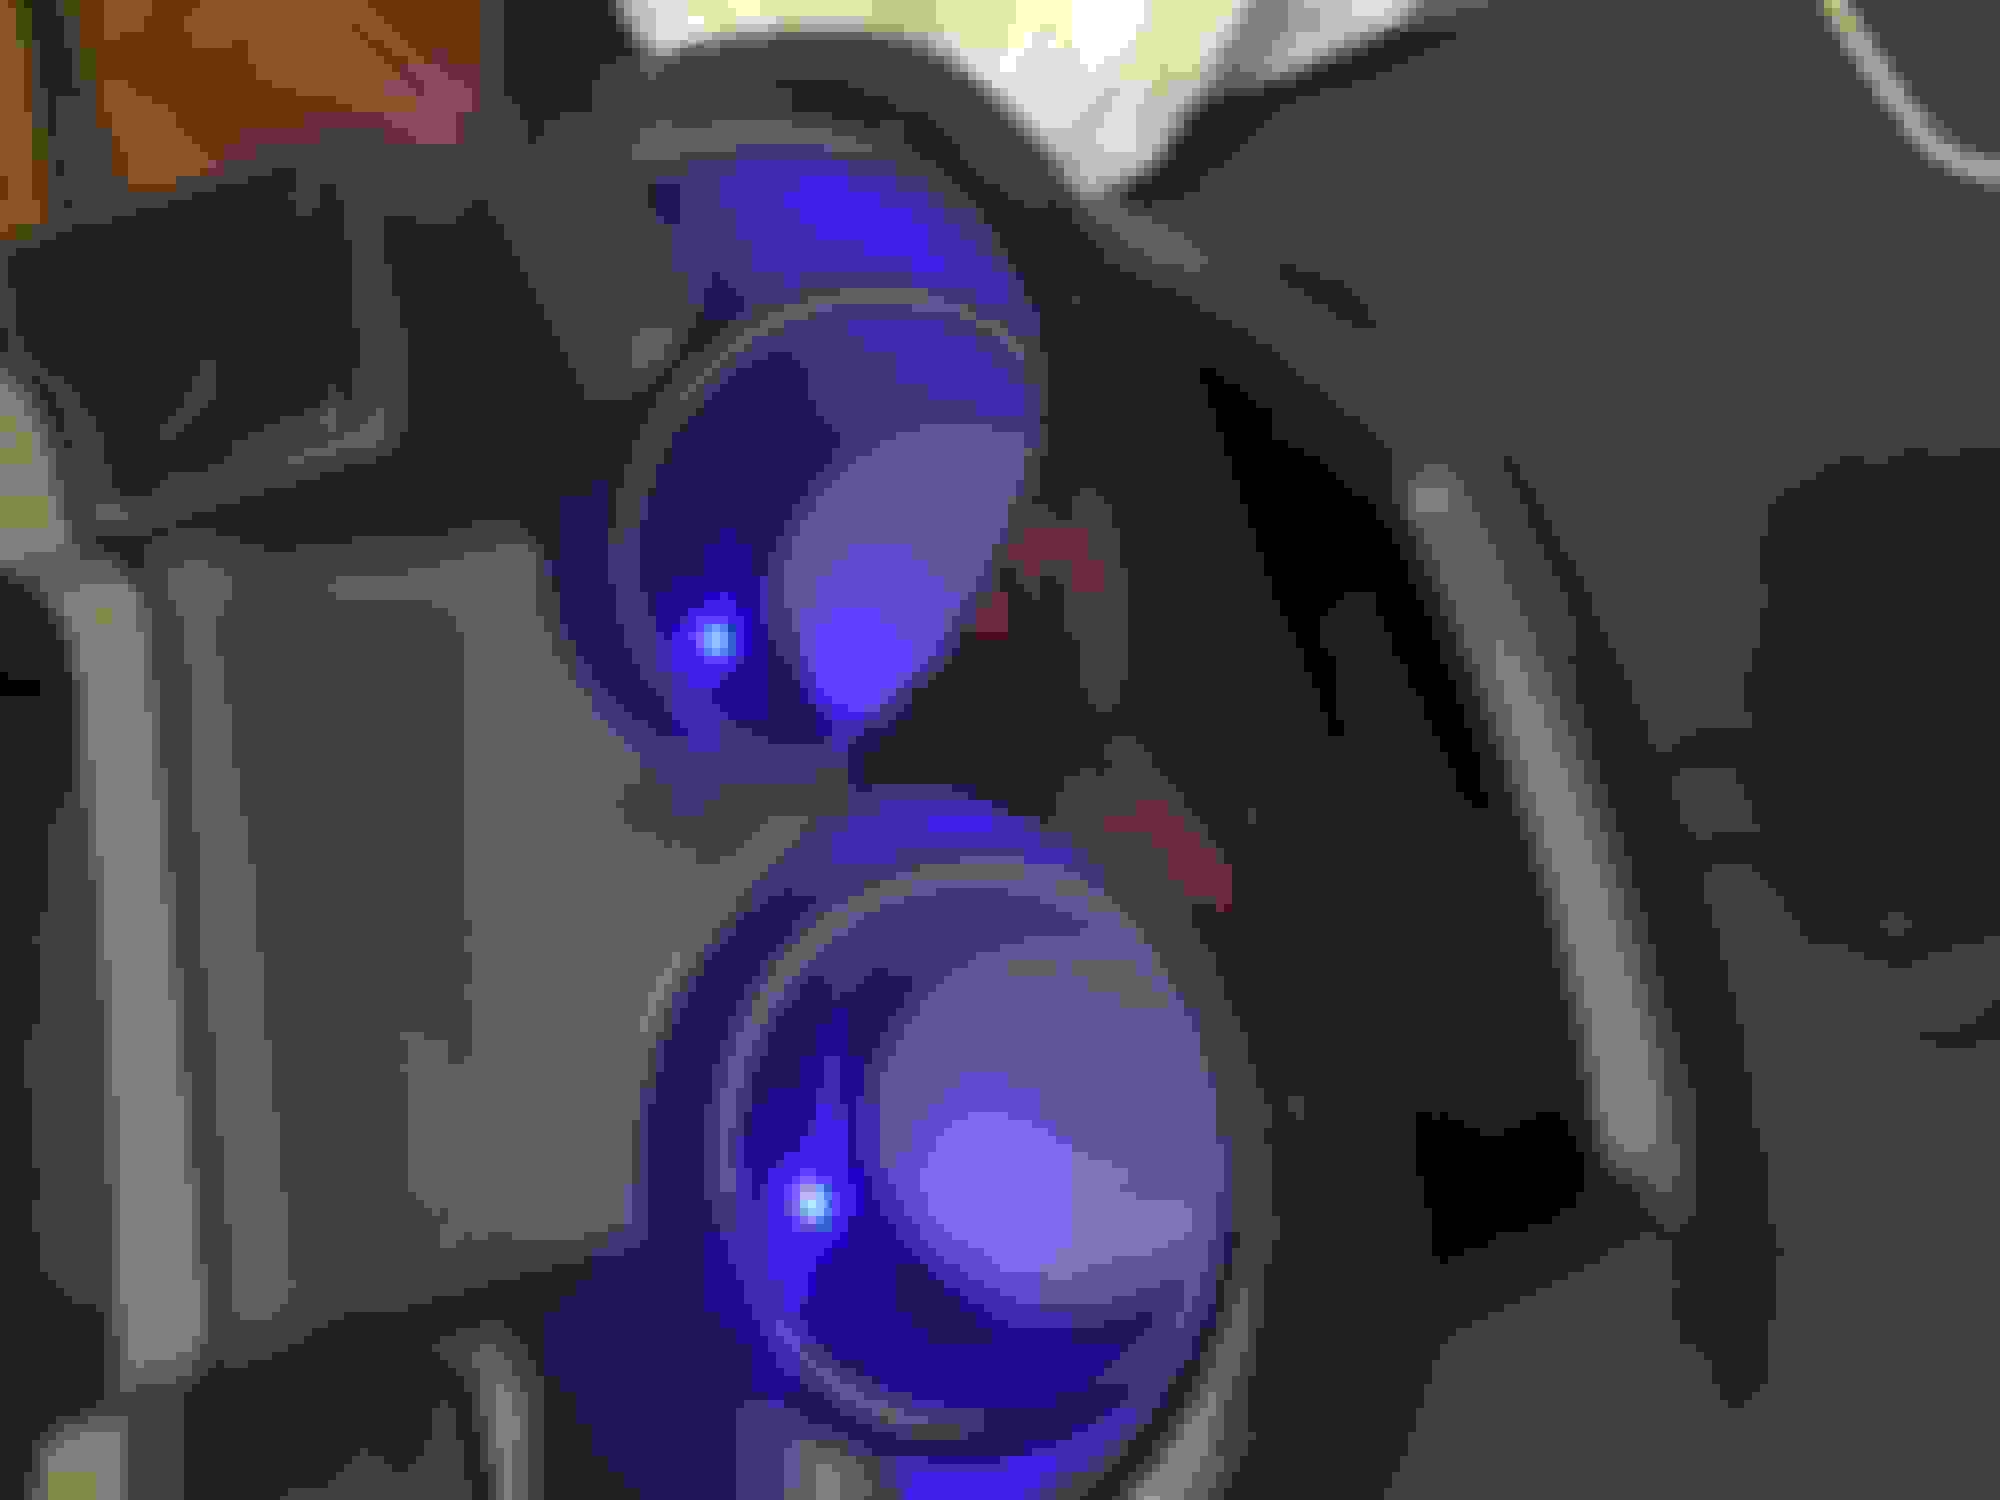
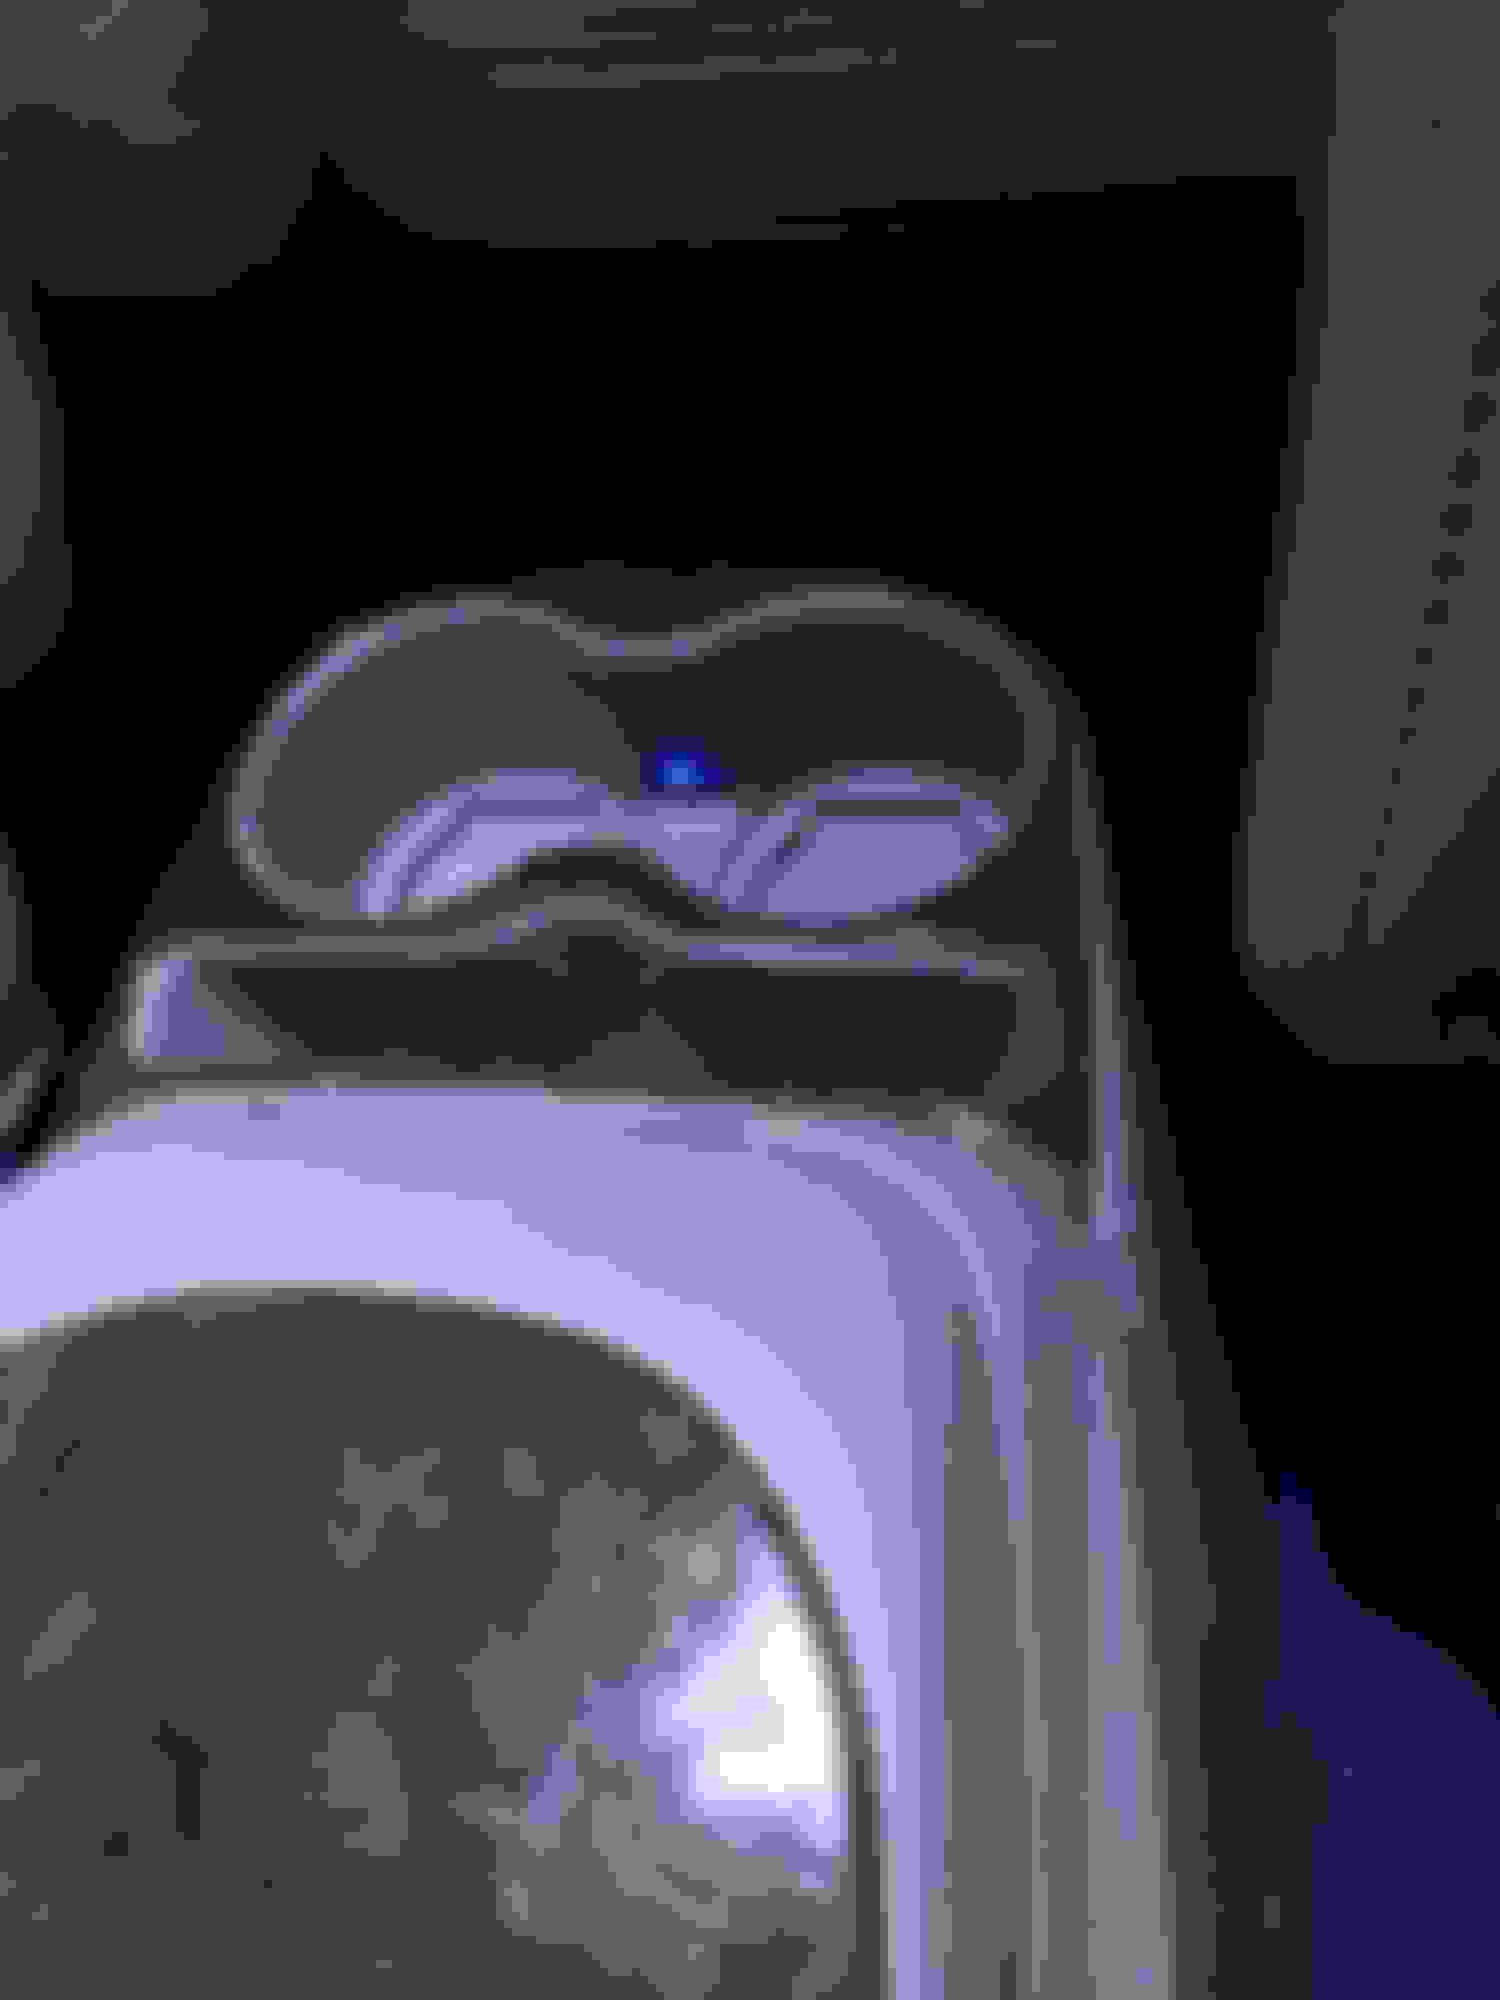
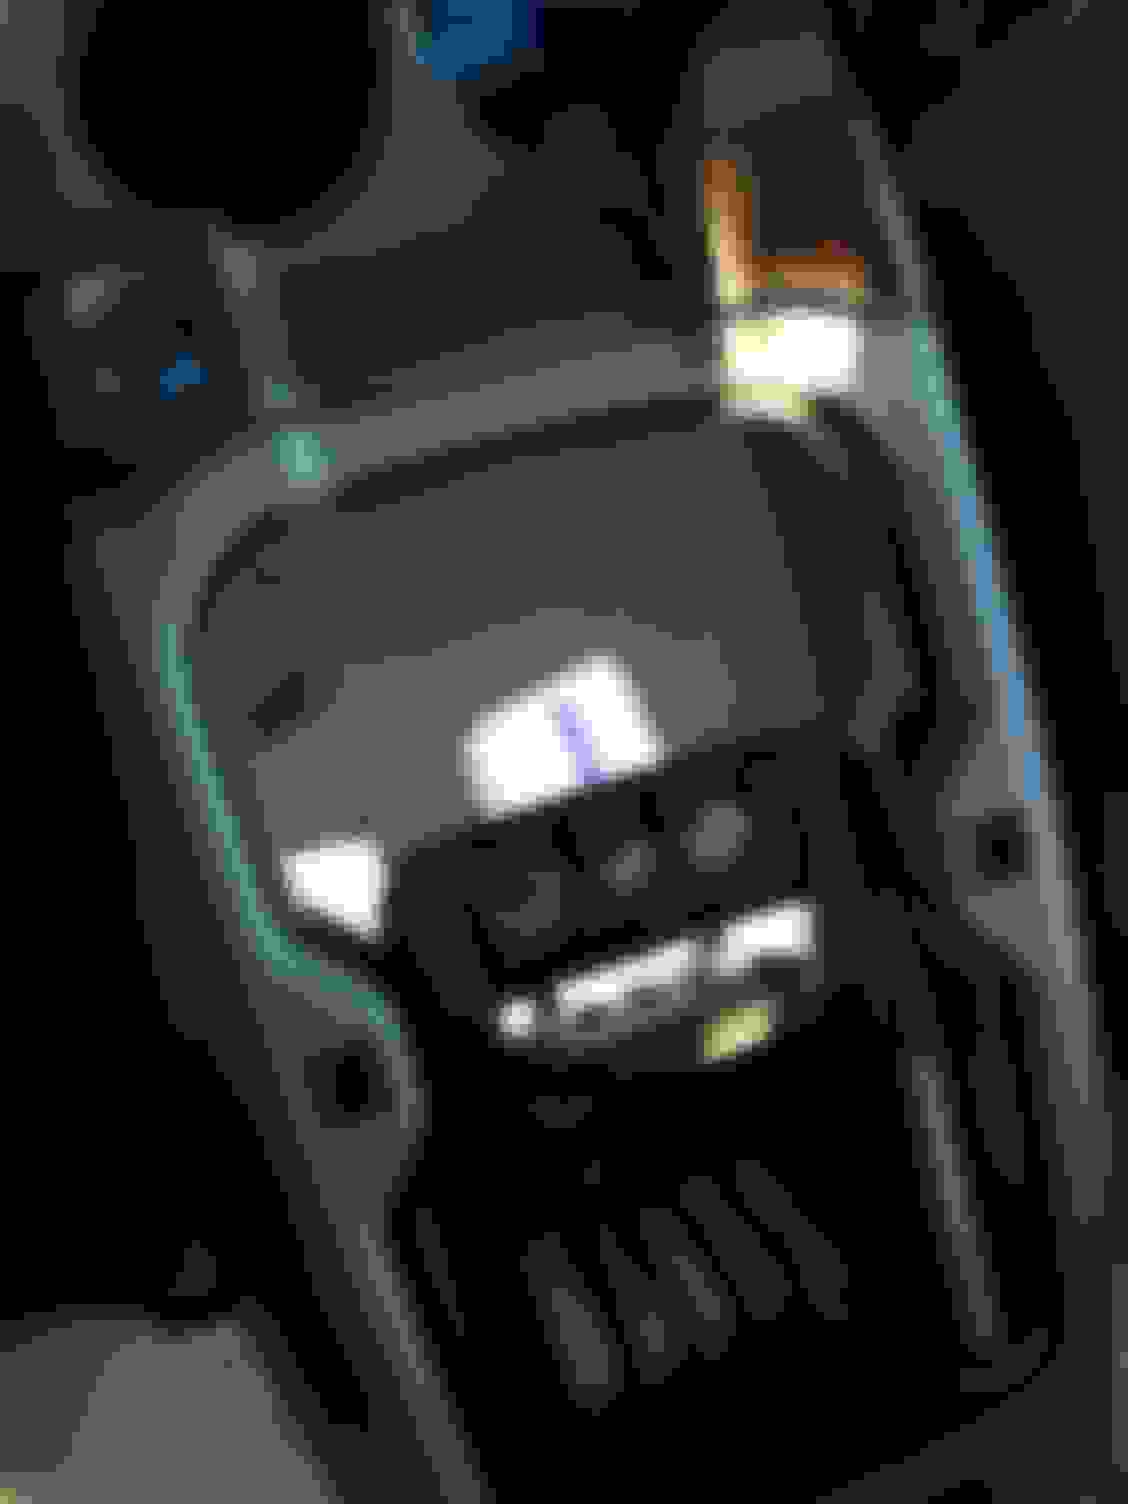
Dimmed to where they glow nicely when in the dark, the camera doesn't show how the holder nicely glows
Dimmed to where they glow nicely when in the dark, the camera doesn't show how the holder nicely glows
I tapped off the dash illumination wire that supplies dimmable voltage to the rear console illuminated audio controls, while this worked, at the lowest setting it was still too intense, so the inline dimmer was added.
I really dig the cup holder lights...I�ve been tooling around in my head how I�d mount a switch in mine with lights so that they come on when you pull the cup out of the holder and go out when you put it back. I�m not a huge fan of extra light inside when driving at night and tend to turn my dash lights down pretty far, but I think it�d be both convenient and cool to have a light in there. Well done!
I really dig the cup holder lights...I’ve been tooling around in my head how I’d mount a switch in mine with lights so that they come on when you pull the cup out of the holder and go out when you put it back. I’m not a huge fan of extra light inside when driving at night and tend to turn my dash lights down pretty far, but I think it’d be both convenient and cool to have a light in there. Well done!
Many thanks.
I drove to Lake Powell on the AZ/UT line last August, once night fall set in and your eyes were adjusted to the road light I kept missing the mark on my cup holder. That second dimmer dims the LED's down to where they almost don't fire, and has an off setting. I was trying to achieve the same effect as the window switches on the doors. You can find cup holder rings & disks, I was trying not to alter the cup holding capacity at all, when you're on the long distance, you want the biggest cup it will hold in there.
Those rings are pretty cool too! Definitely want to have as much capacity as possible and not limit it. I was thinking a switch like this (design) would work for turning them off and on. Haven't done much work on it yet, but now it's on the list!
Those rings are pretty cool too! Definitely want to have as much capacity as possible and not limit it. I was thinking a switch like this (design) would work for turning them off and on. Haven't done much work on it yet, but now it's on the list!
Ahh yes, the fridge door switch. That puts you down the same road I just went, that is, keeping the cup holders fully functional, and able to hold liquid.
You may want to look at pressure pad switches at the base of the cup holder, an optic eye, or an infrared setup at the very top for your LED trigger.
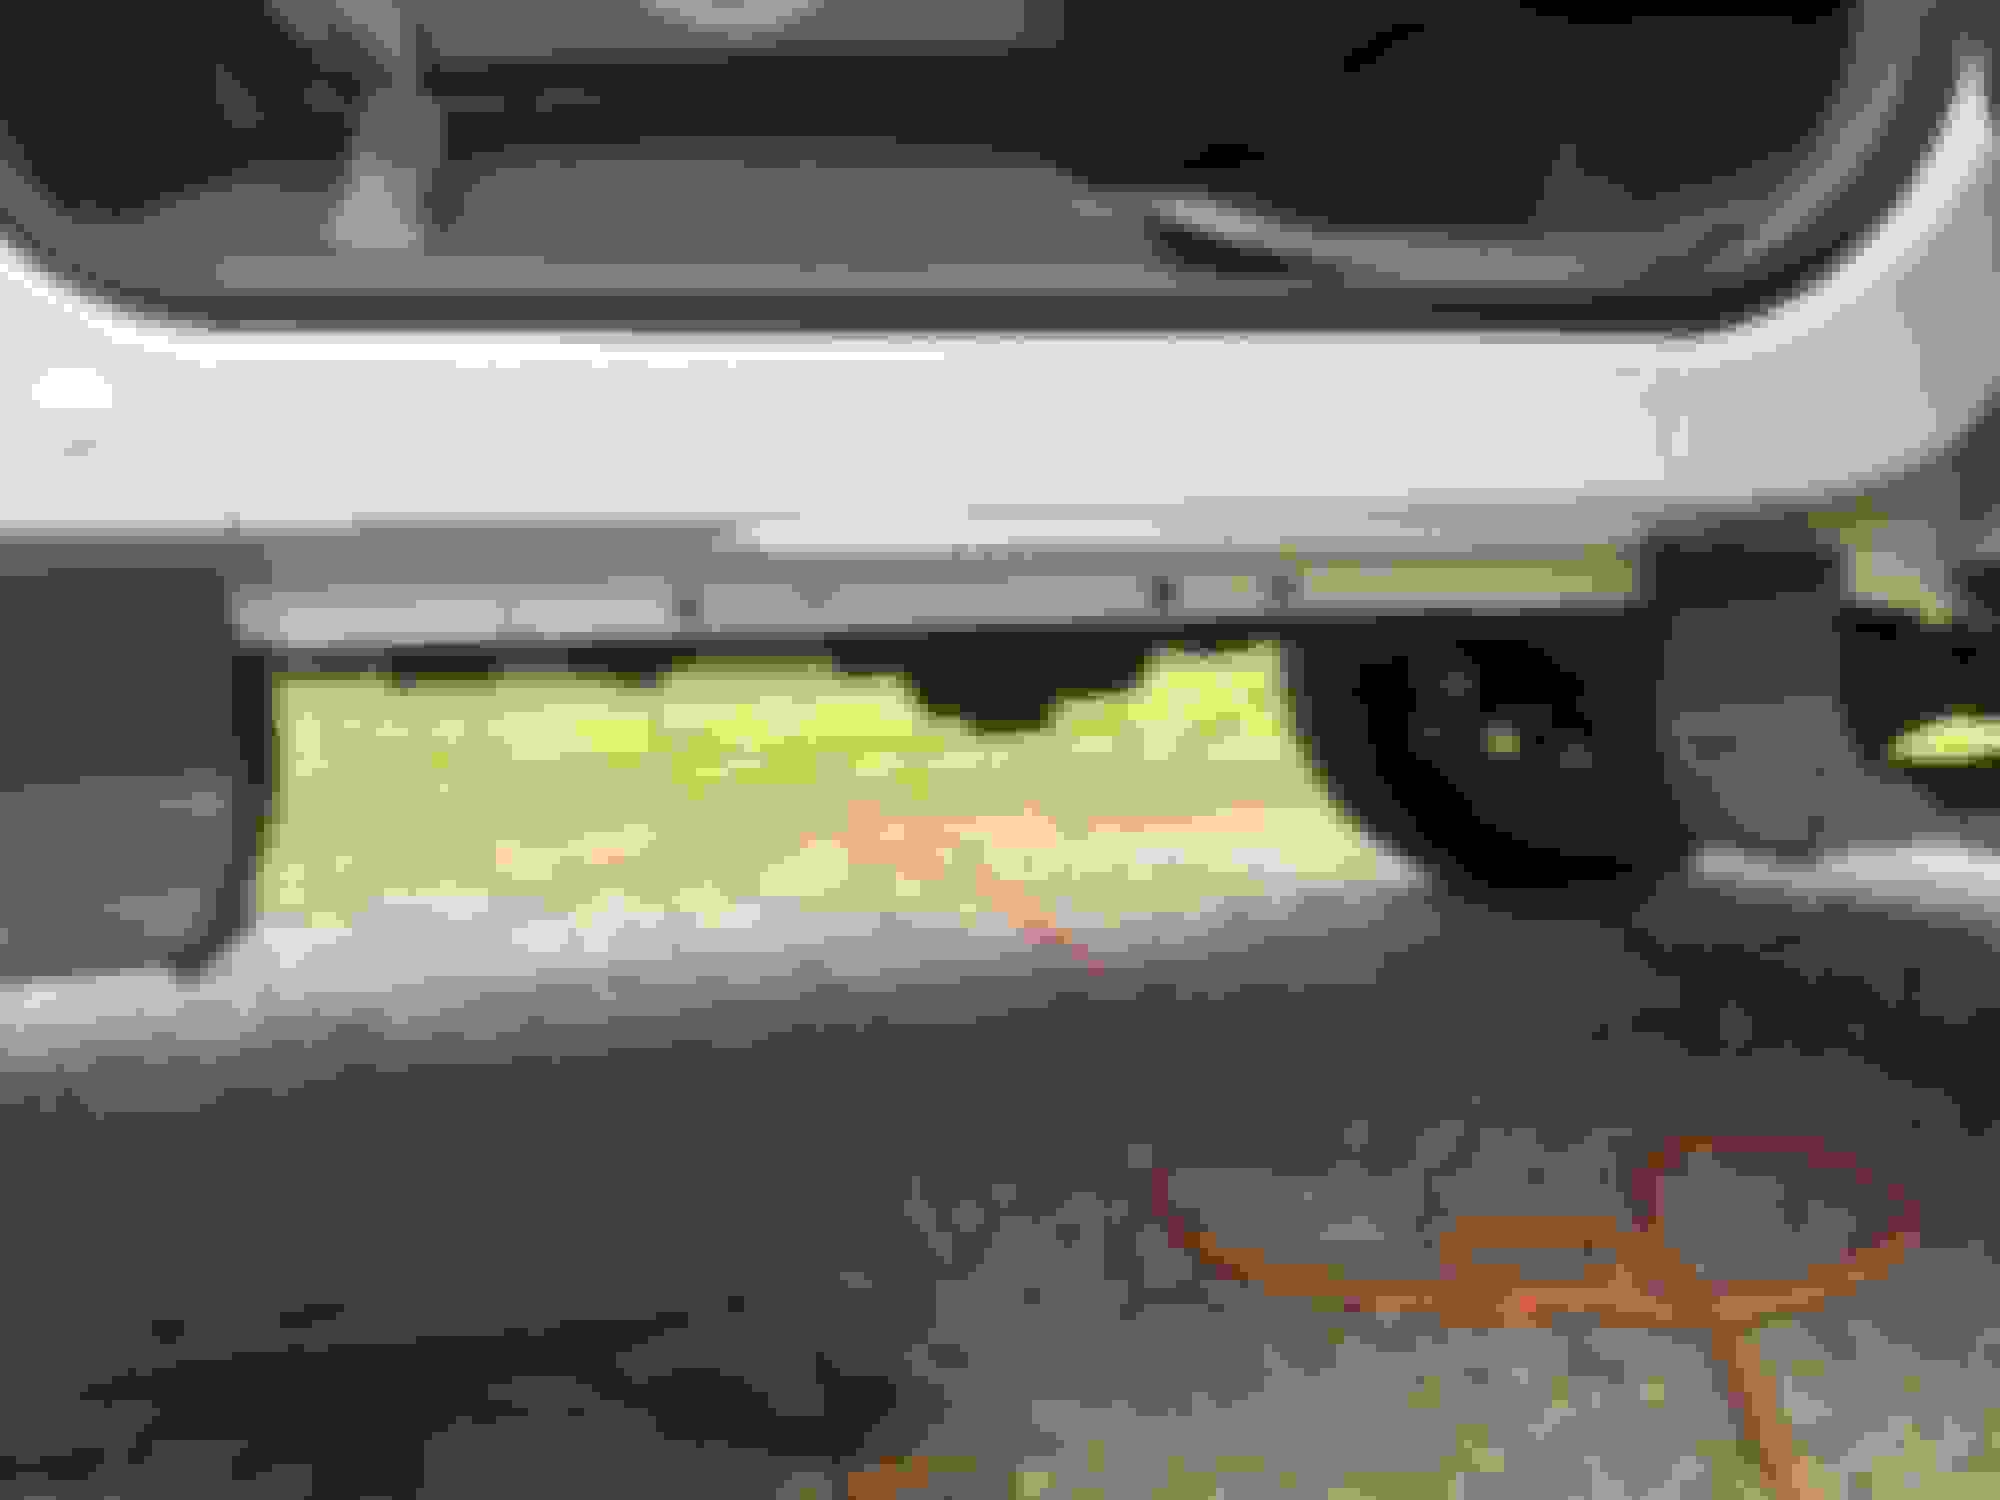
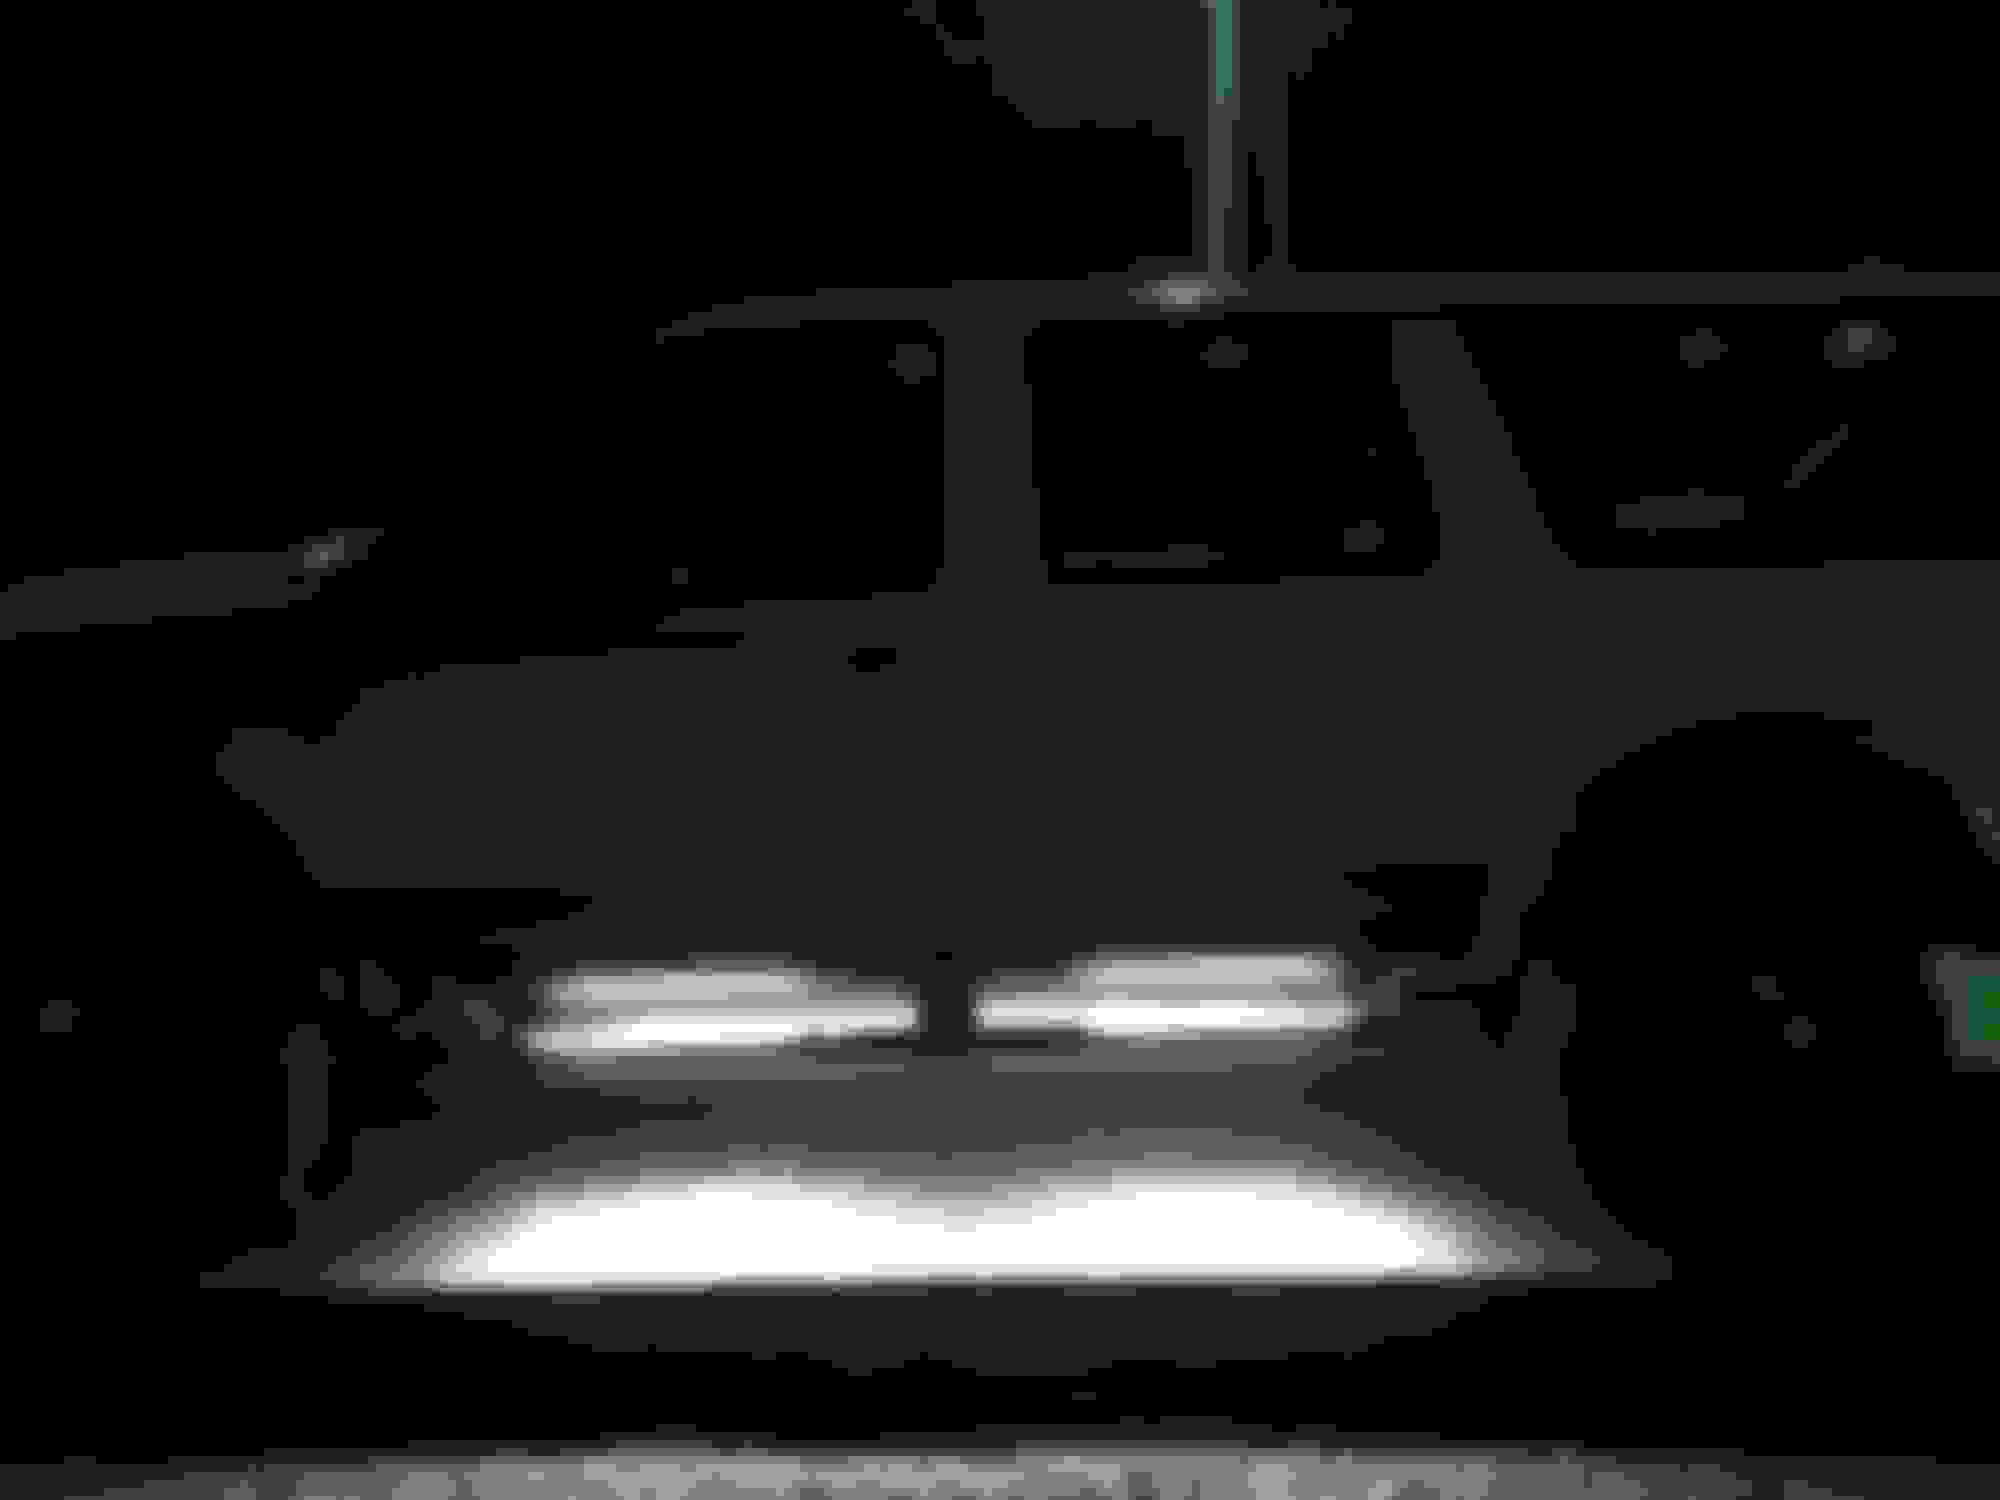
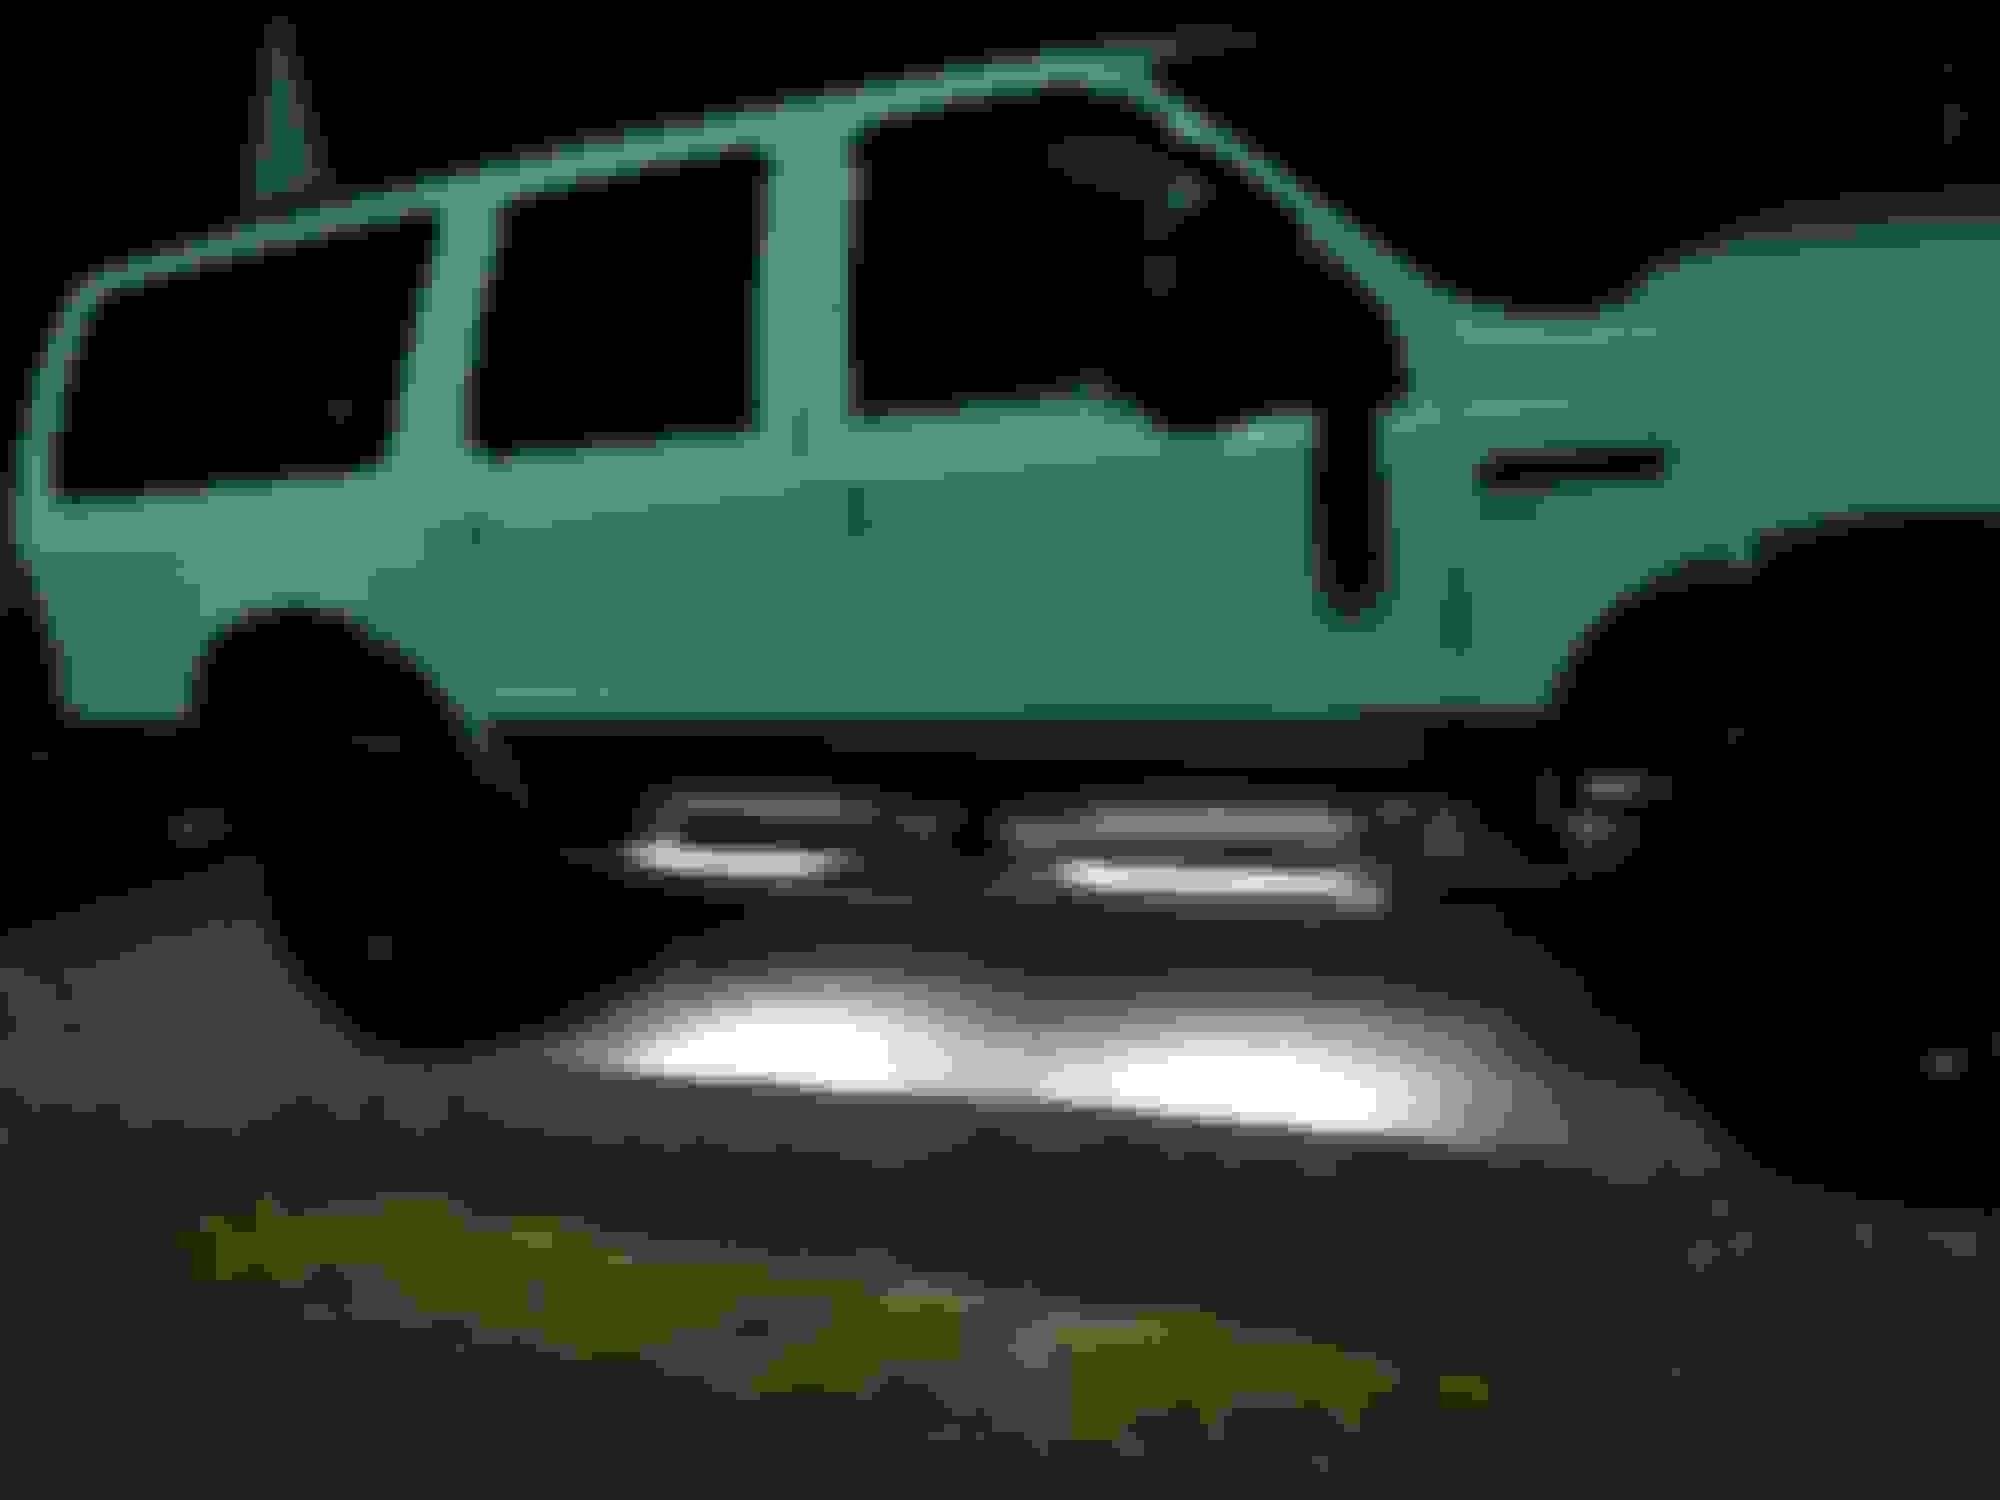
Shortly after I bought the truck (2016) I realized I had no running board lights, well running boards for that matter. At some point someone added the factory nerf bar accessory. Although I liked this a lot, I still wanted the illumination feature too. I easily located the dangling plugs for the original running board lights, and got to work. I found plugs and running board harnesses from an Epedition which matched my round plug style. The LED light strips I purchased were from Super Bright LED's, these are exterior grade, aluminum framed, water proof, and rubber coated over the pc boards. The light strips are now discontinued, but have a replacement which does not have as many lights per strip.
I'd like to do something similar, as my PO did the same as your PO and installed the nerf bars. I also like them better since they don't hold moisture next to the rocker panels like running boards do. However, I'm not sure mine came with the lighted running board. Since it was an SSV with XLT trim, it may have either not had them at all or had the unlighted version. I've looked underneath and couldn't find any dangling wires. If mine did come with lighted boards, the PO may have tucked them up somewhere or cut them. Where were your wires located?
Originally Posted by 01__Excursion
Shortly after I bought the truck (2016) I realized I had no running board lights, well running boards for that matter. At some point someone added the factory nerf bar accessory. Although I liked this a lot, I still wanted the illumination feature too. I easily located the dangling plugs for the original running board lights, and got to work. I found plugs and running board harnesses from an Epedition which matched my round plug style. The LED light strips I purchased were from Super Bright LED's, these are exterior grade, aluminum framed, water proof, and rubber coated over the pc boards. The light strips are now discontinued, but have a replacement which does not have as many lights per strip.
Nice work on the ambient lighting and running board lights. I like the attention to detail. Gives me some ideas that I'd like to execute using the factory leftover running board light wiring in my truck.
I'd like to do something similar, as my PO did the same as your PO and installed the nerf bars. I also like them better since they don't hold moisture next to the rocker panels like running boards do. However, I'm not sure mine came with the lighted running board. Since it was an SSV with XLT trim, it may have either not had them at all or had the unlighted version. I've looked underneath and couldn't find any dangling wires. If mine did come with lighted boards, the PO may have tucked them up somewhere or cut them. Where were your wires located?
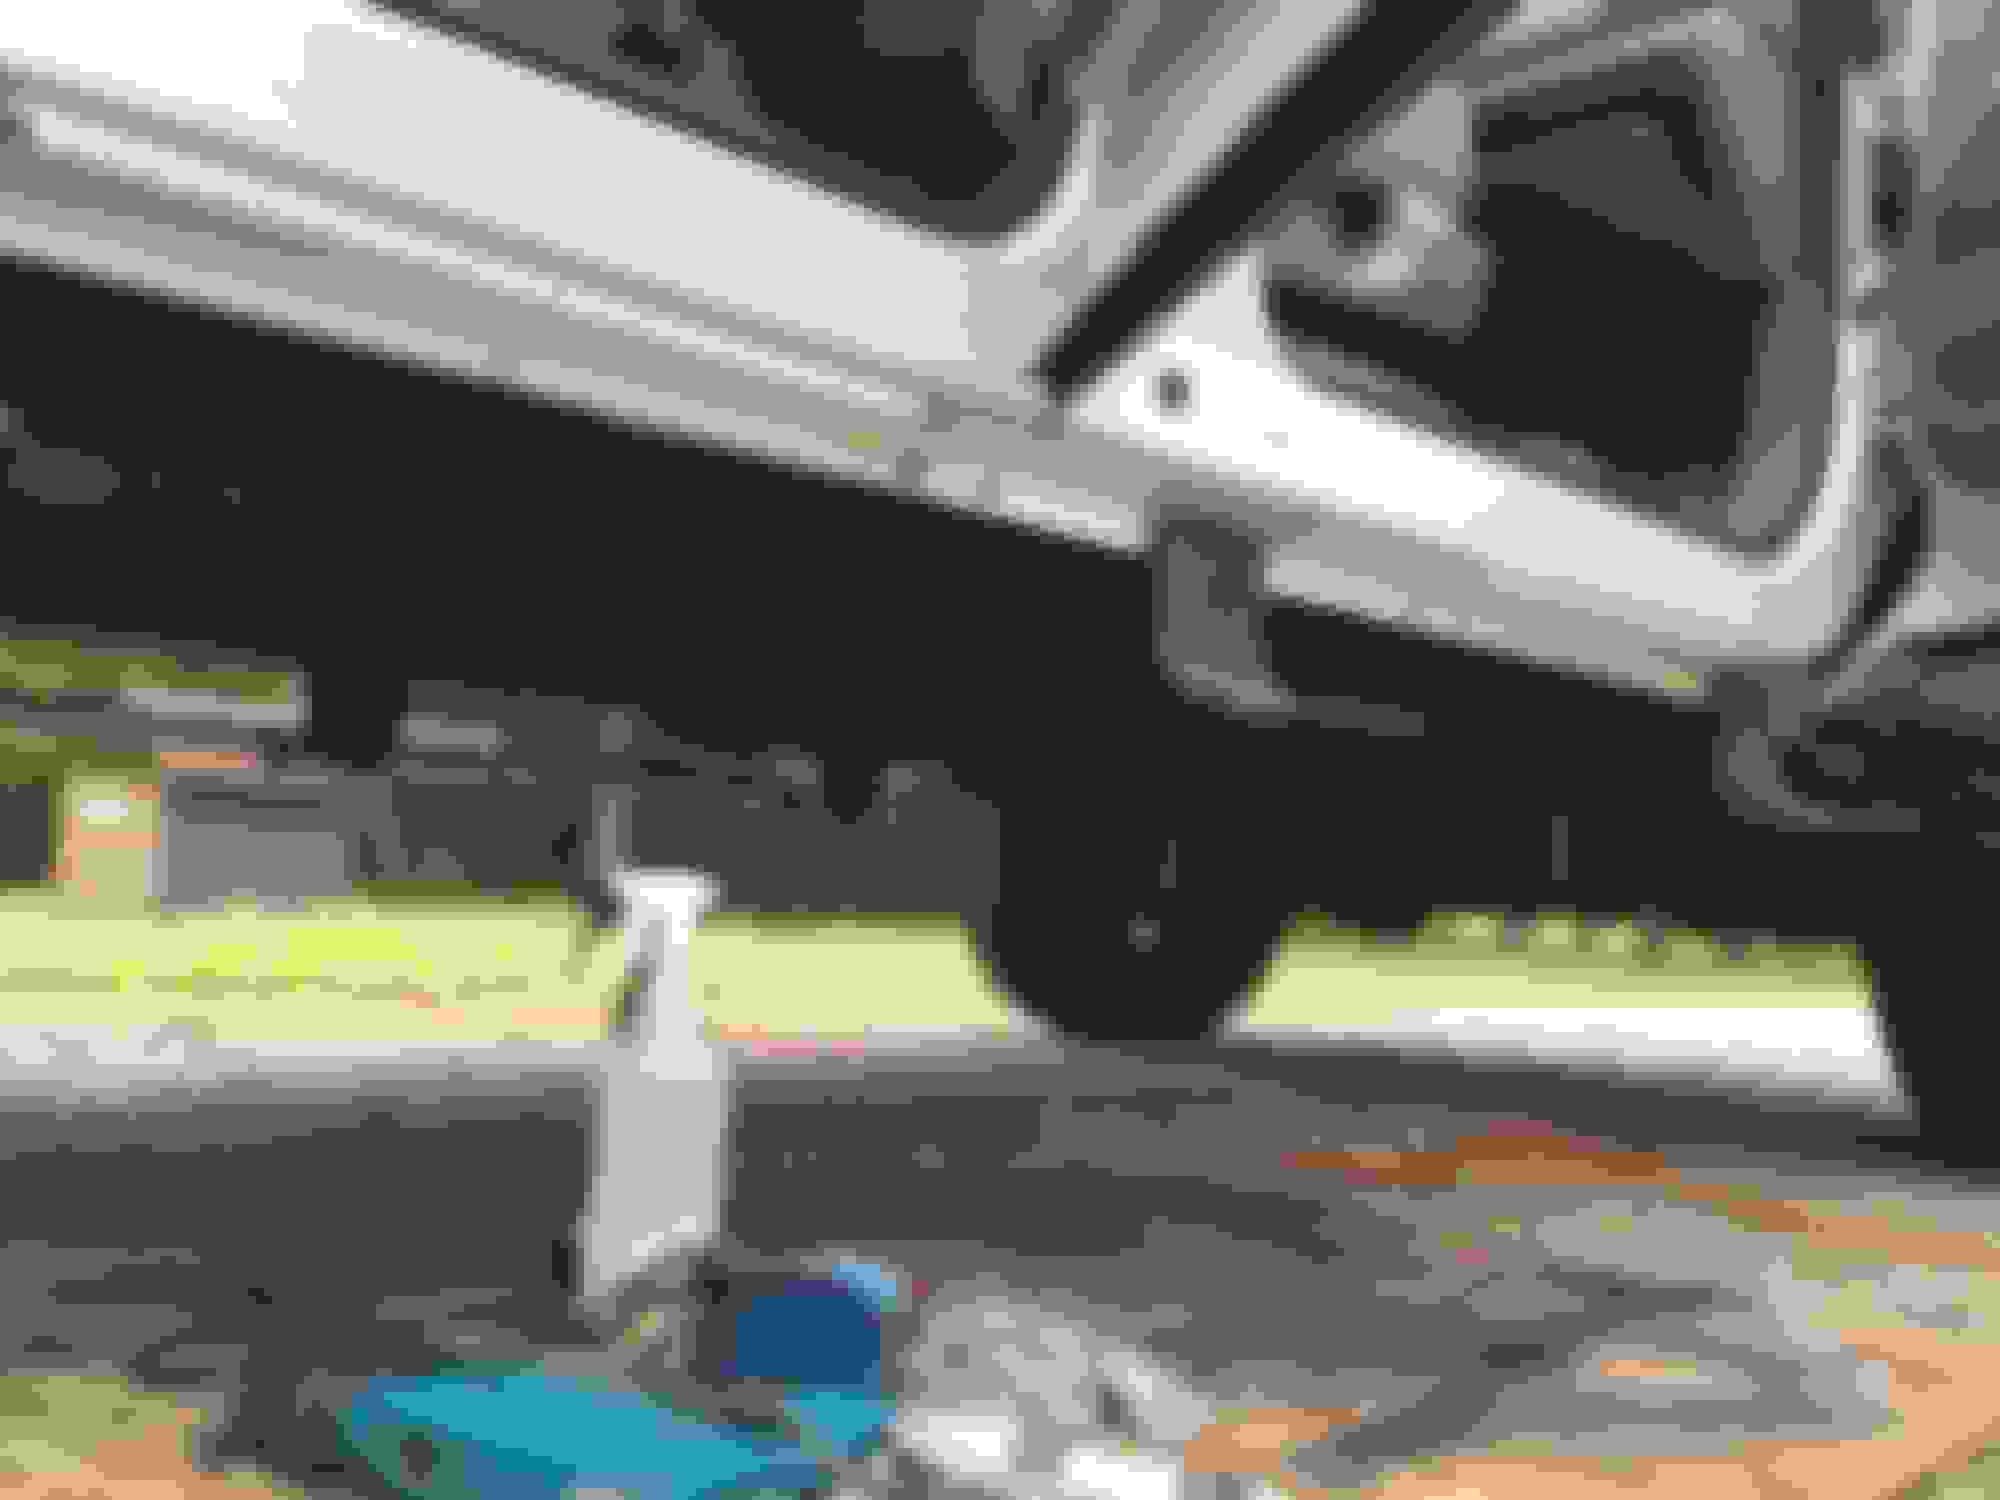
Drivers side, just aft of the front wheel well and frame bushing, the one on the wheel well liner is the ABS plug.
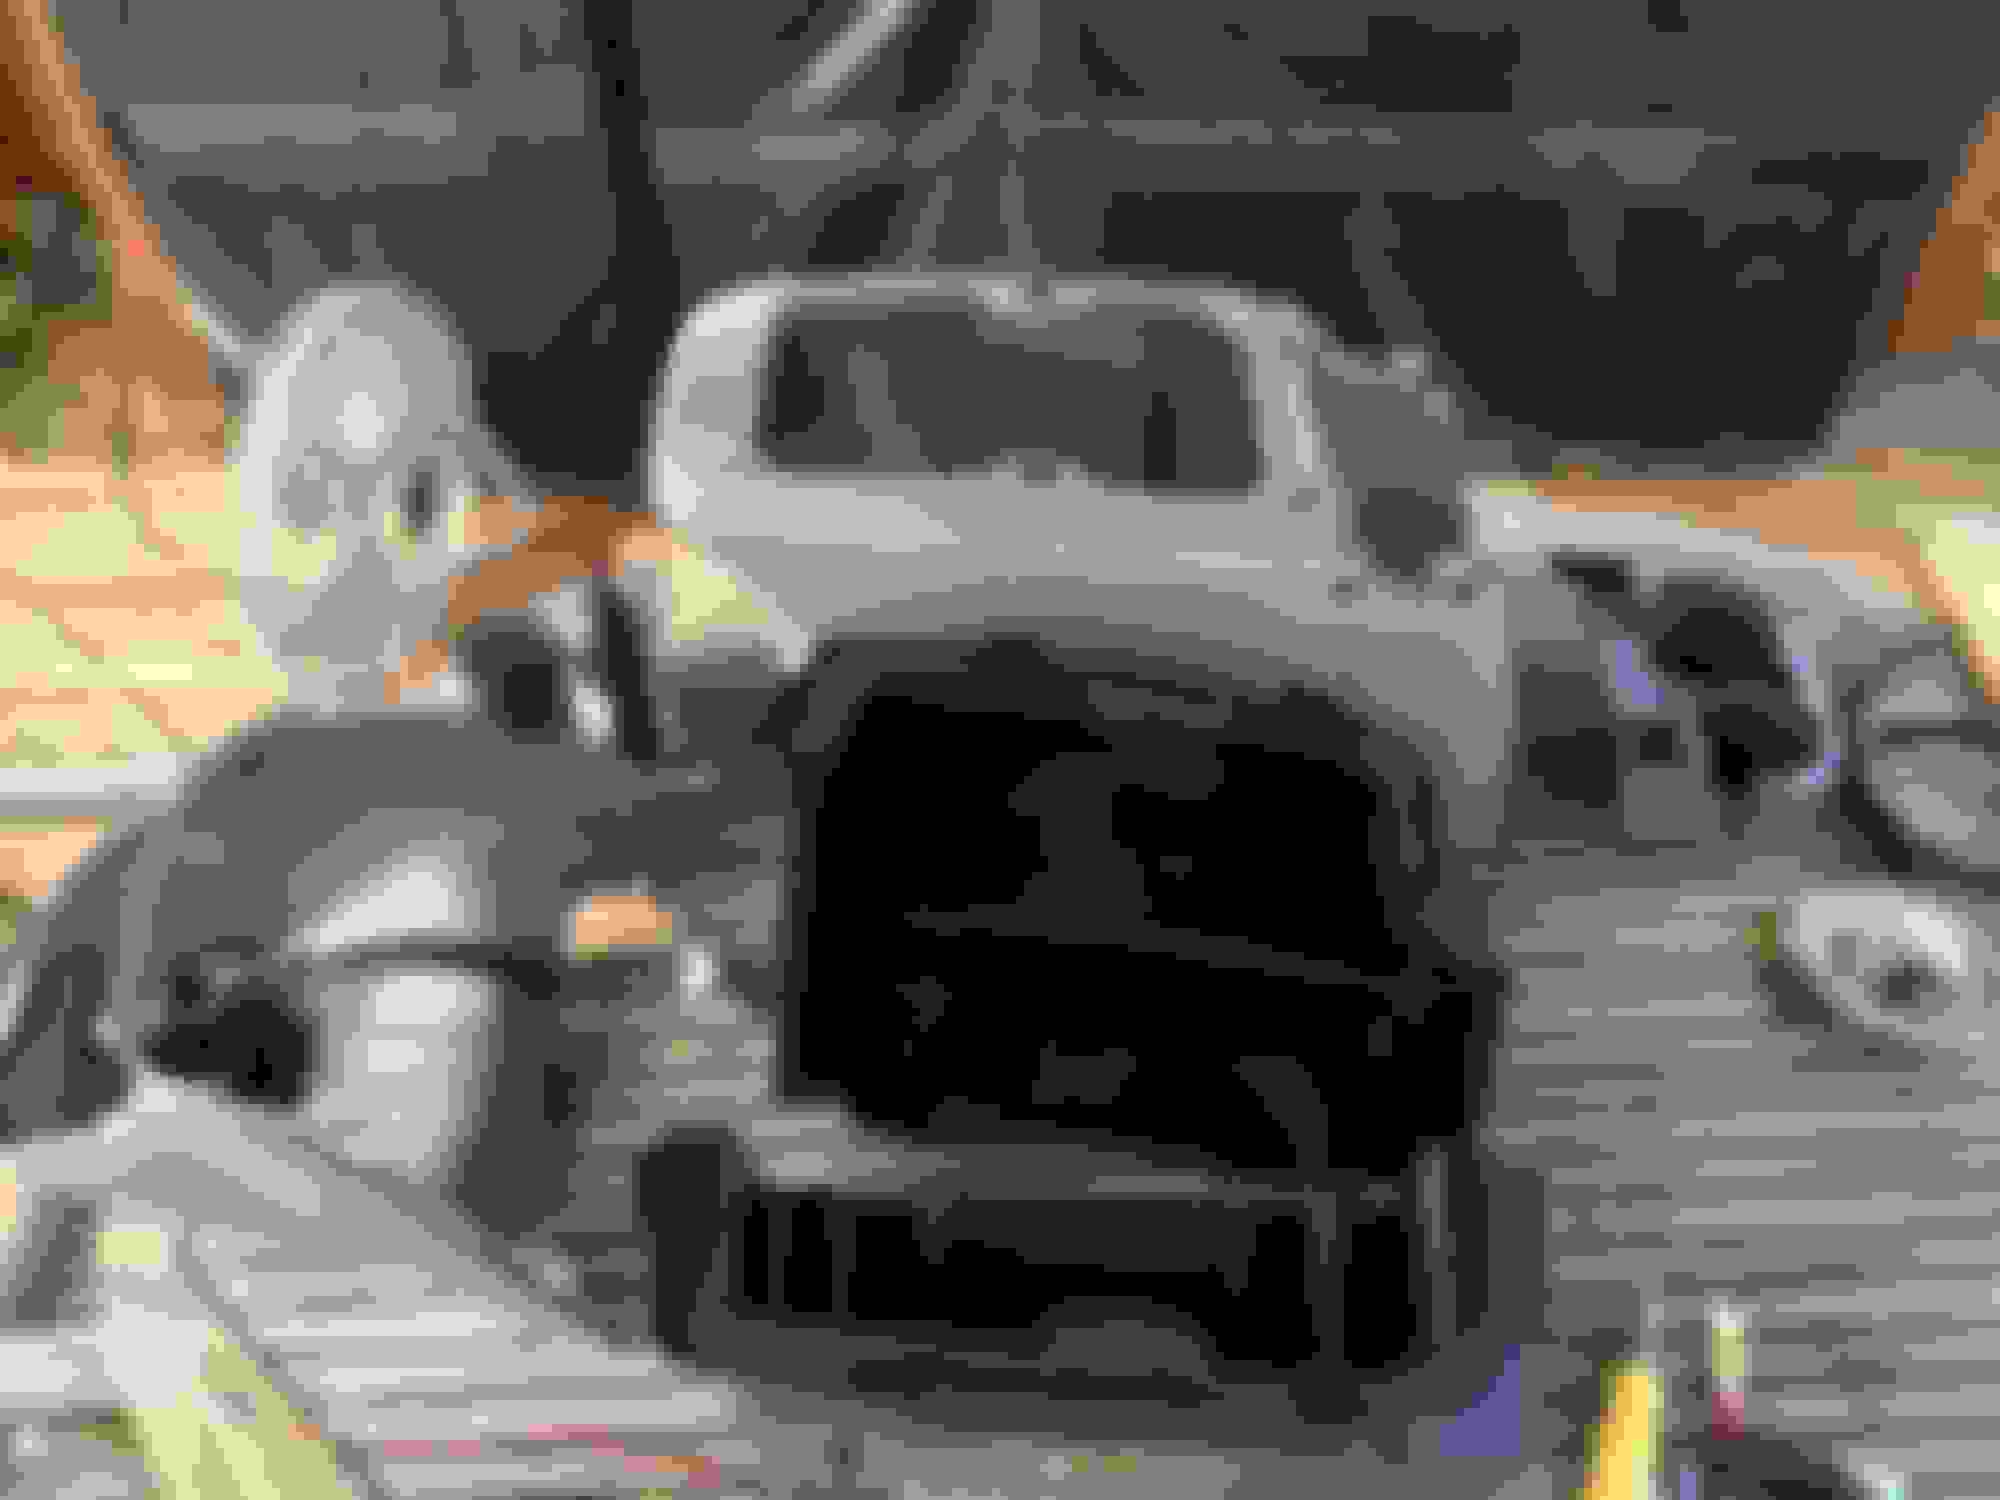
I have a couple spare tarps, probably twice the square footage of the truck. I sometimes fold one up to fit within the footprint of the tires, this gives some cushion, and comfort against the concrete.
I installed the Hellwig rear sway bar late 2016 after buying the truck. The previous owner had it, was going to do it, and just asked me if I wanted it. I had to buy an end link from Hellwig to perform the install.
Ignore the AirBags, and the aluminum spacers, these were deleted after I corrected a defunct lift.

 01-28-2018, 07:06 PM