When you click on links to various merchants on this site and make a purchase, this can result in this site earning a commission. Affiliate programs and affiliations include, but are not limited to, the eBay Partner Network.
Black carpet seems like a good idea, until you have it. My F-150 has black carpet and it shows EVERYTHING! PITA to keep clean, much like black paint which I also am not a fan of.
Based purely on the non-digital odometer it is likely a early (2000) 7.3. I think that it was only the 2000's that did not have the full digital odometer setup, but I have been wrong (only twice though)
Maybe you are just referring to diesels but my early 2001 is not digital.
I didn't lay in any sound deadening... I may down the road (wish I had thought about it for today but alas I didn't).
Installing the new carpet seriously sucked! The carpet came molded but not cut and the big girl needs lots of holes in the carpet. The carpet itself wasn't hard to cut just tedious. The pad on the other hand was terrible! It's a real dense pad that is very fibrous so the razor knife and heavy scissors were both mostly ineffective but they eventually got it done.
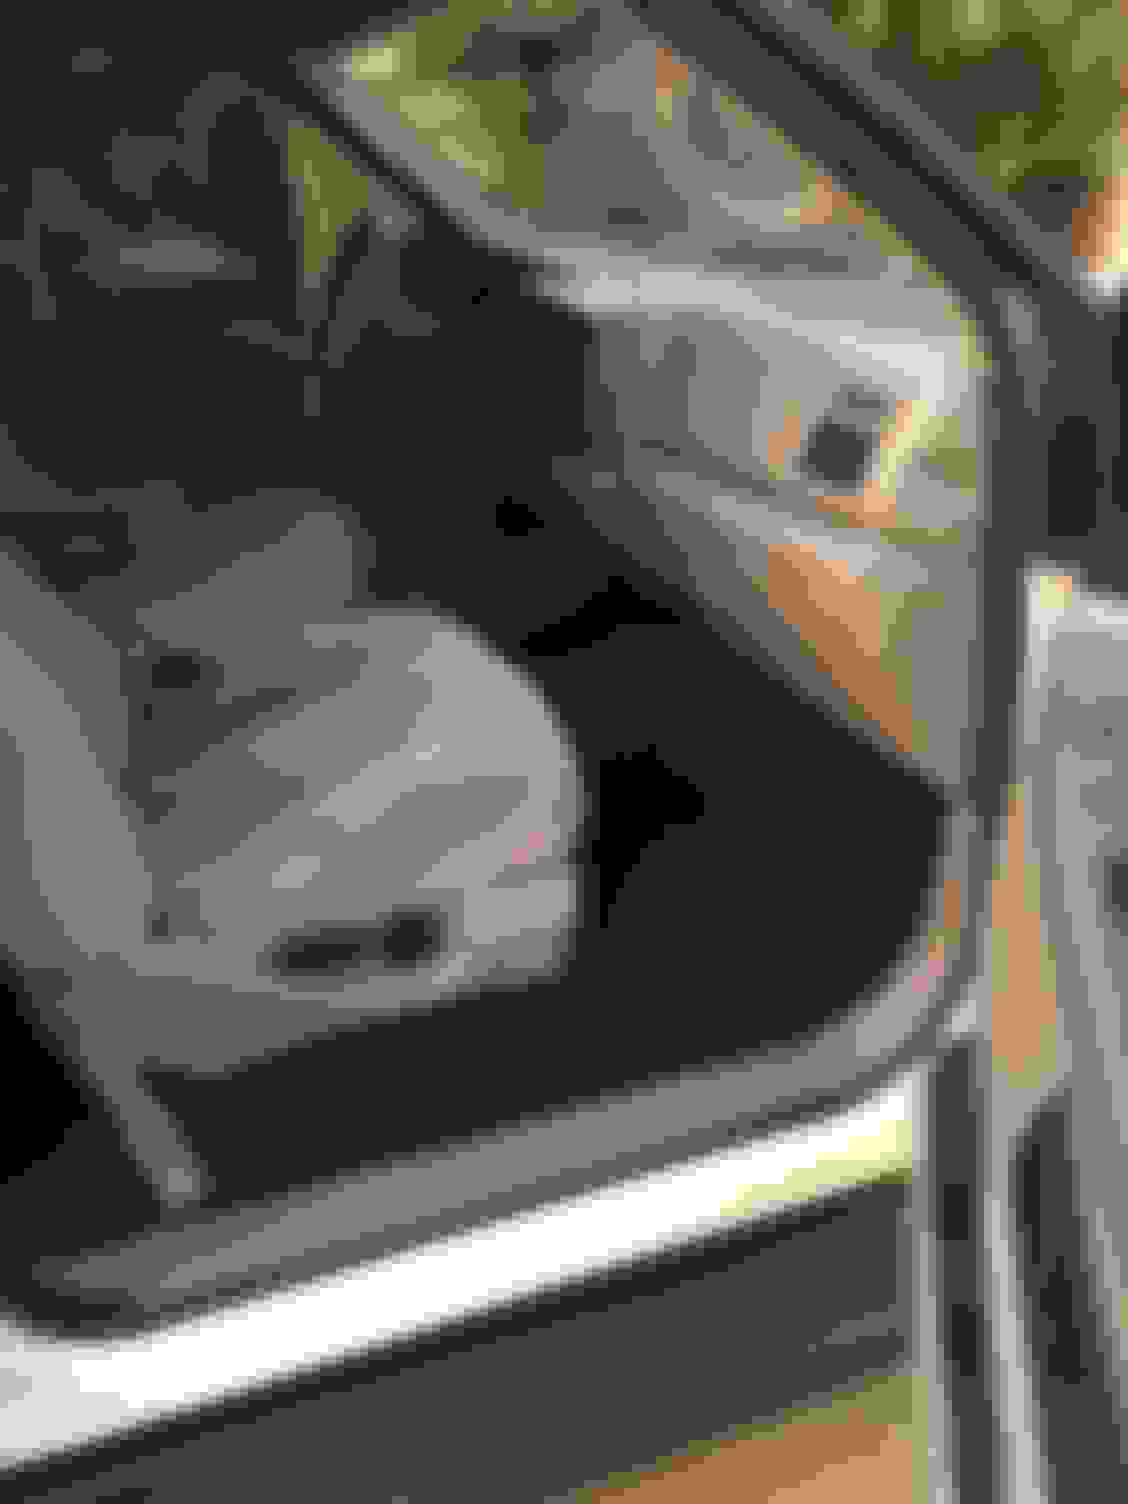
As much as I hated the install process I do love the Finished product. That said... Taking pics of black carpet is pretty futile but here you go:
Front
Middle seat
I did the way back too but that was a few days ago. I have ordered the matching floor mats to match the carpet.
like i said above, install looks great.
have you considered all-weather mats, specifically the digital cut ones that fit snug and cover way more carpet than the stock mats do? i've had weathertech, didn't care for them in my f350 personally, so i just ordered a set of Husky WeatherBeater mats for my dually, if i like them i may get them for the excursion also (haven't even looked if they offer them for it though)
Black carpet seems like a good idea, until you have it. My F-150 has black carpet and it shows EVERYTHING! PITA to keep clean, much like black paint which I also am not a fan of.
same here. black carpet looks great, and hides STAINS, but sand grass dirt, basically anything, will show up and it really is impossible to keep it clean if you actually drive your car. hell even if you take off your shoes before getting in, LINT will even show up if you have white socks lol.
black paint just sucks. i didn't want my f350 black but i couldn't pass up everything else about it ... one day maybe i'll paint it silver like i want lol
Took the Ex to dinner, still getting a creaking noise up front that I need to figure out because it's suuuuper annoying.
i like that sport trac. that's your...grandfathers IIRC? from the part showing in the pic it reminds me of my parents old 2001 f150 CC harley (2nd year they made them i think) we had back then. loved that truck, and back in 2001 if you had rims, let alone 20" rims, you were the ISH! those days are all gone now....lol
OCI Glue = Butyl tape. 2000-2004 EX requires the 9007 connector adapter while the 2005 requires the H13 connector.
Separate the lens from the headlight housing. You can either use a heat gun or stick them in the oven at 200*F for 10 minutes and then pry the two halves apart. Butyl tape sticks to everything and difficult to clean off. I found that isopropyl alcohol did the best job removing it.
Remove the reflectors. The one for the turn signal is bolted on with 3 phillips screws and the one for the headlight is clipped on. Be careful not to break reflector mounts the when prying/pulling the black clips.
Grind down the base of the reflector flat so the threaded shaft on the projector sticks out as much as possible. I used an angle grinder but a palm sander would have been ideal. Also, enlarge the opening with a dremel so the shaft fits through.
Install relay and ballasts. Install adapter connector to the 3 wires with connector pins on the relay. Connect it to either the right or left headlight harness on your Excursion. I chose to install it on the right (passenger's side). WHITE = Low Beam; Blue = High Beam; Brown = Ground
For 2000 Model Year:
Passenger's Side - Dark Green/Orange Stripe = Low Beam; Light Green/Black Stripe = High Beam; Black = Ground
Driver's Side - Dark Blue/White Stripe = Low Beam; Light Green/Black Stripe = High Beam; Black = Ground
Install reflector/projector assembly to headlight housing and bolt it up to your truck. Connect the wiring and turn on the headlights. Rotate the projector until the cutoff is horizontal. Then torque down mounting nut to the reflector housing while holding the projector.
Repeat for other side. Measure the distance between both of the projectors, back up 25 ft and measure the distance of the "steps" of the cutoff on the wall. Make sure those measurements are equal.
Install the turn signal reflectors and then apply the butyl tape around the headlight. Install the headlight cover, put the headlights in the oven for 10 minutes, and then squeeze the two halves together.
There were no instructions/diagrams included with this kit but I found these links to be helpful:
Installed XRF ball joints on Moog bearing over the weekend. Lots of works but not quite as bad as I thought it would be. I am in serious envy of those of you with garages or shops to work on your trucks in. Nc heat over the weekend was ridiculously hot.
Installed XRF ball joints on Moog bearing over the weekend. Lots of works but not quite as bad as I thought it would be. I am in serious envy of those of you with garages or shops to work on your trucks in. Nc heat over the weekend was ridiculously hot.
It was a scorcher. I'm not ready for the summer heat.

 06-12-2016, 11:02 PM

 . Bahaha


 ... one day maybe i'll paint it silver like i want lol


