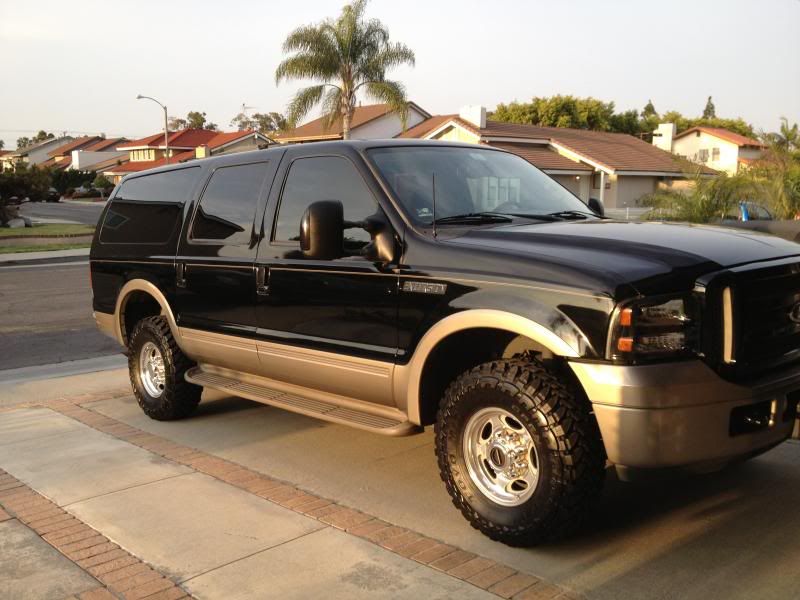
What did you do to the X today?
Got one side apart and all cleaned up about to install new parking brake shoes, got the shoes and a hardware kit with all new springs etc. It comes with a small packet of white lithium grease. Ok gonna sound stupid here but what's it for? Not mentioned in the write up I'm using or in the ford manual. Guessing the adjusting screw assembly but I want to be sure.
Join Date: Mar 2009
Location: Mt. Shasta California
Posts: 11,798
Likes: 0
Received 8 Likes
on
8 Posts

Thanks for the replies guys, did read them earlier but from my phone sitting under my passenger side axle. I now know why I see lots of comments from people with drum brakes and shoes and what a PITA they are to work on. One side installed, but wore myself out on those springs and (insert adjective here - mine starts with F ends in G) CLIPS. The actuator arm was frozen solid, stripped it down cleaned it up along with backing plate, used the white stuff were Tom suggested and used caliper lube on the actuator arm and the star adjusting mechanism. Took me all afternoon, but as usual there was some grinding rust, treating and painting time in there. And this was the good side, I saw them when I did bearings and the passenger side not terrible, drivers side one edge of the shoe is just metal left, I think it's hanging up worse. But since I had no idea wtf I was doing I figured I would do this first - always easier on the second side.
Before

After

Before
After
Hey now,  I have for almost a month now - but put my son on a plane to Spain this morning for the summer so I got the jeep back for a temporary daily driver. After the parking brakes I think I'm done for the summer. Didn't want to roll it into the lake pulling a boat in, god I would cry after all this work if something stupid like a parking brake cost me my truck.
 I have for almost a month now - but put my son on a plane to Spain this morning for the summer so I got the jeep back for a temporary daily driver. After the parking brakes I think I'm done for the summer. Didn't want to roll it into the lake pulling a boat in, god I would cry after all this work if something stupid like a parking brake cost me my truck.
Join Date: Mar 2009
Location: Mt. Shasta California
Posts: 11,798
Likes: 0
Received 8 Likes
on
8 Posts
There are tools for those springs but I never had them either and struggled with them for years since I didn't specialize in brakes. I think you put the grease in all the right places.
I was thinking you had enough material left to just hold the wheel once in awhile but after seeing the picture I see that you did treat yourself to a good addition.
I was thinking you had enough material left to just hold the wheel once in awhile but after seeing the picture I see that you did treat yourself to a good addition.
I installed the mirrors today, was a pretty easy install, had to only add the running light circuit. Everything else was in the door. I took lots of pictures and over the next few days I'll do the write-up on it. Man do they make a diference... Not used to seeing so much in the mirrors. Here's a couple quickies for now...
Needle nose vice grips are the only reason I am still not out in my garage cussing. Worked for the smaller two, my biggest issue was the rear one you put on before you install the shoes, then having to pull them apart. Had to go get my neighbor and ask him to help me, I could not get it far enough by myself to get it over the actuator arm. Have I mentioned my neighbors think I'm nuts?


