When you click on links to various merchants on this site and make a purchase, this can result in this site earning a commission. Affiliate programs and affiliations include, but are not limited to, the eBay Partner Network.
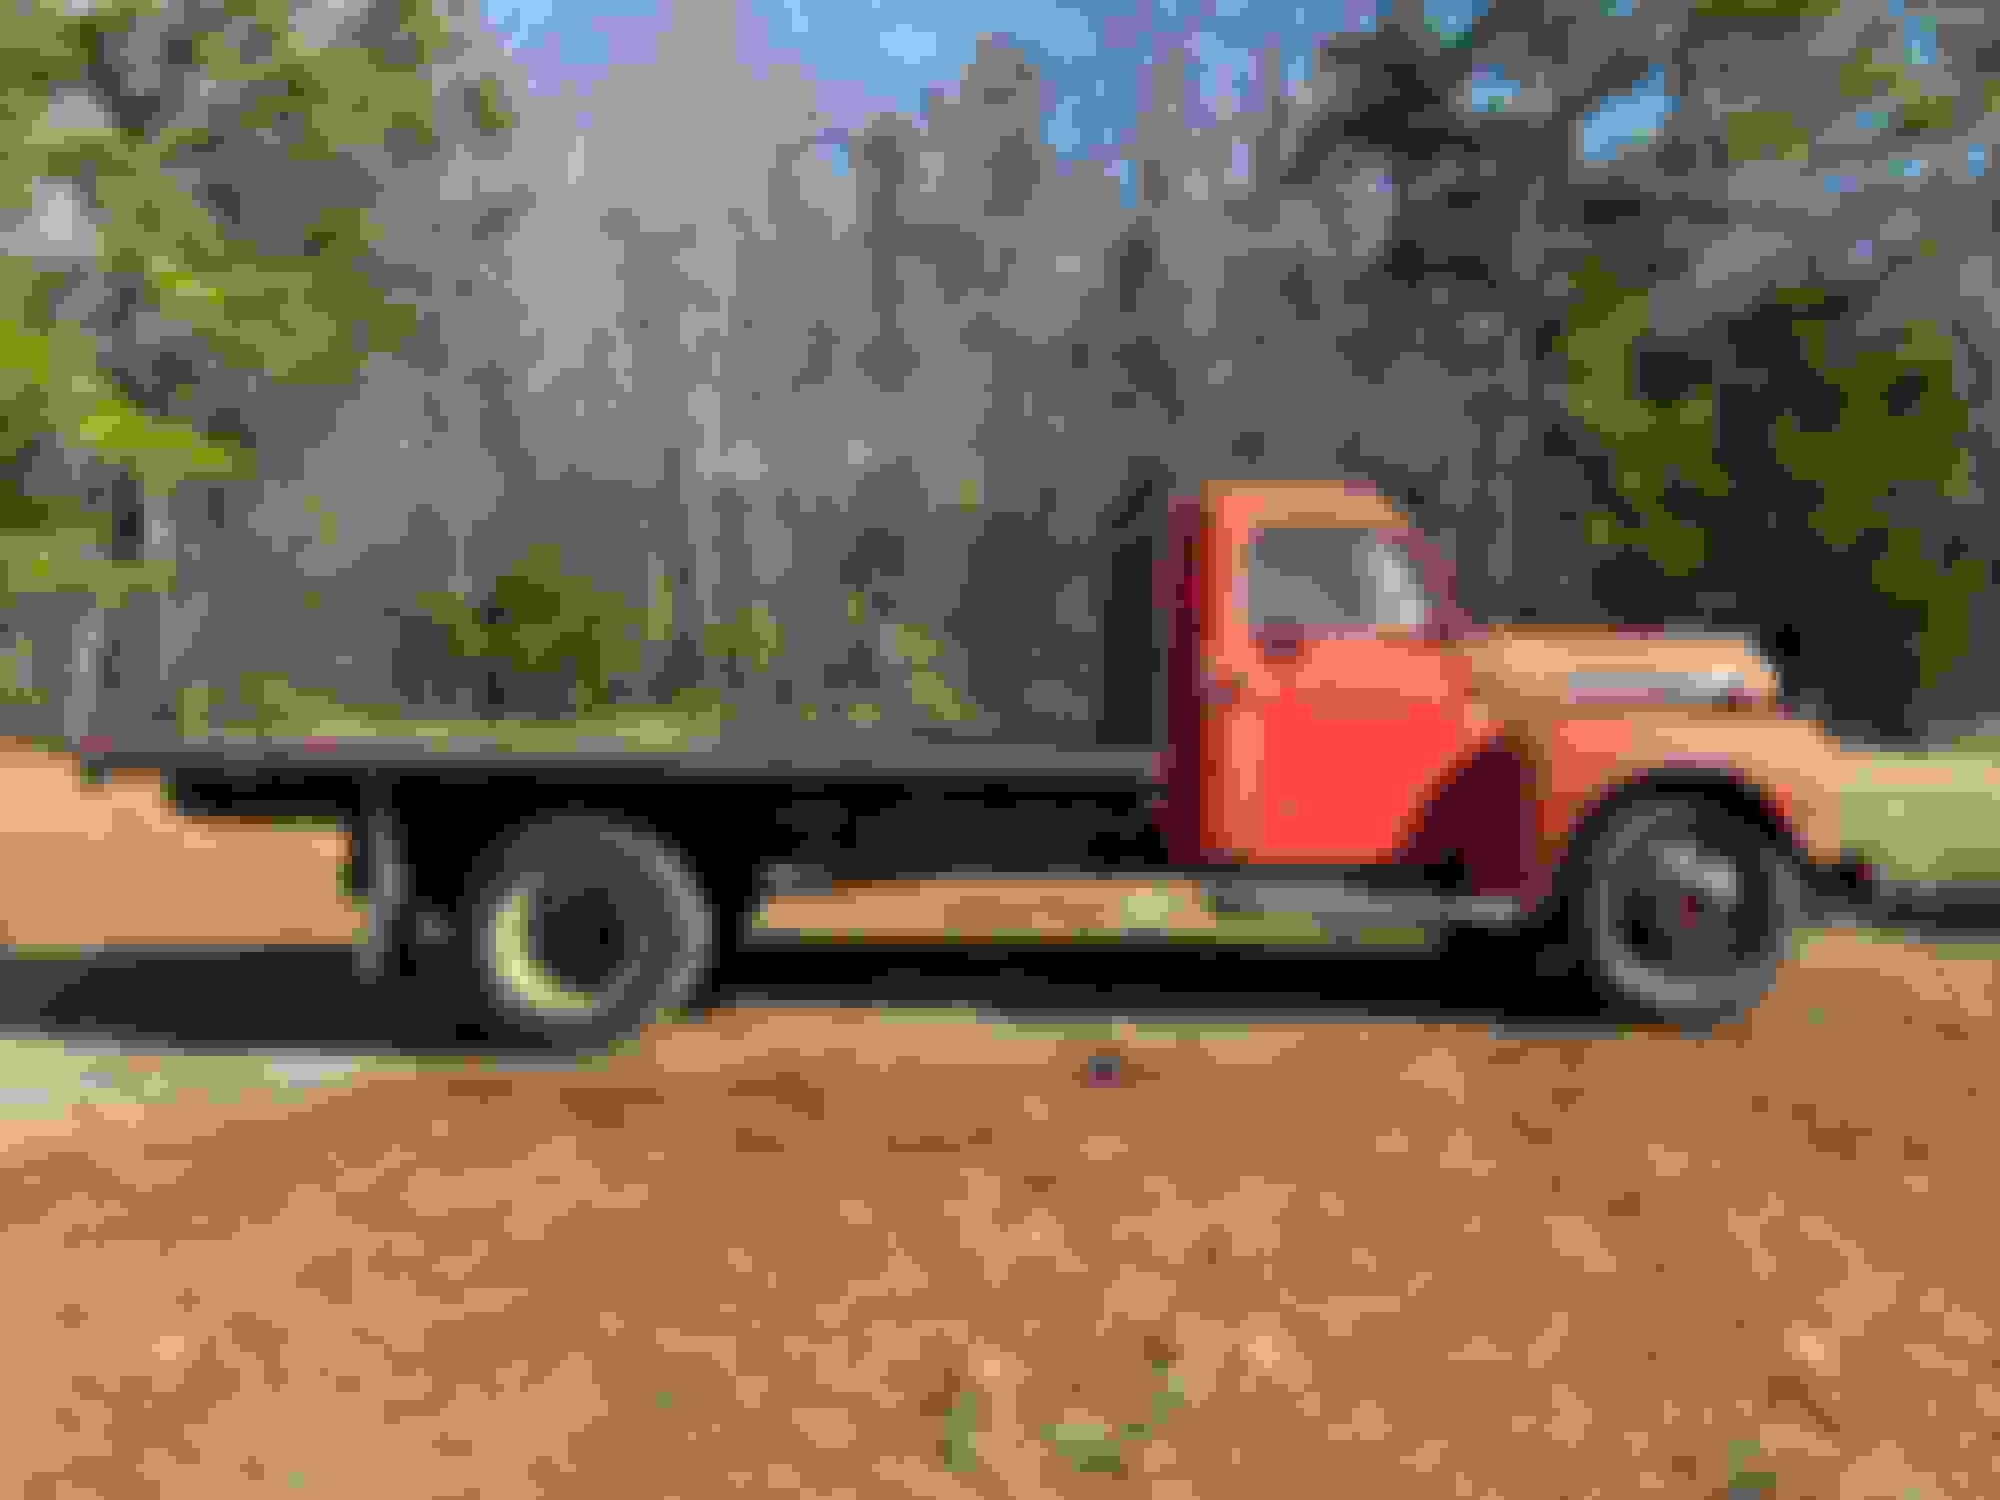
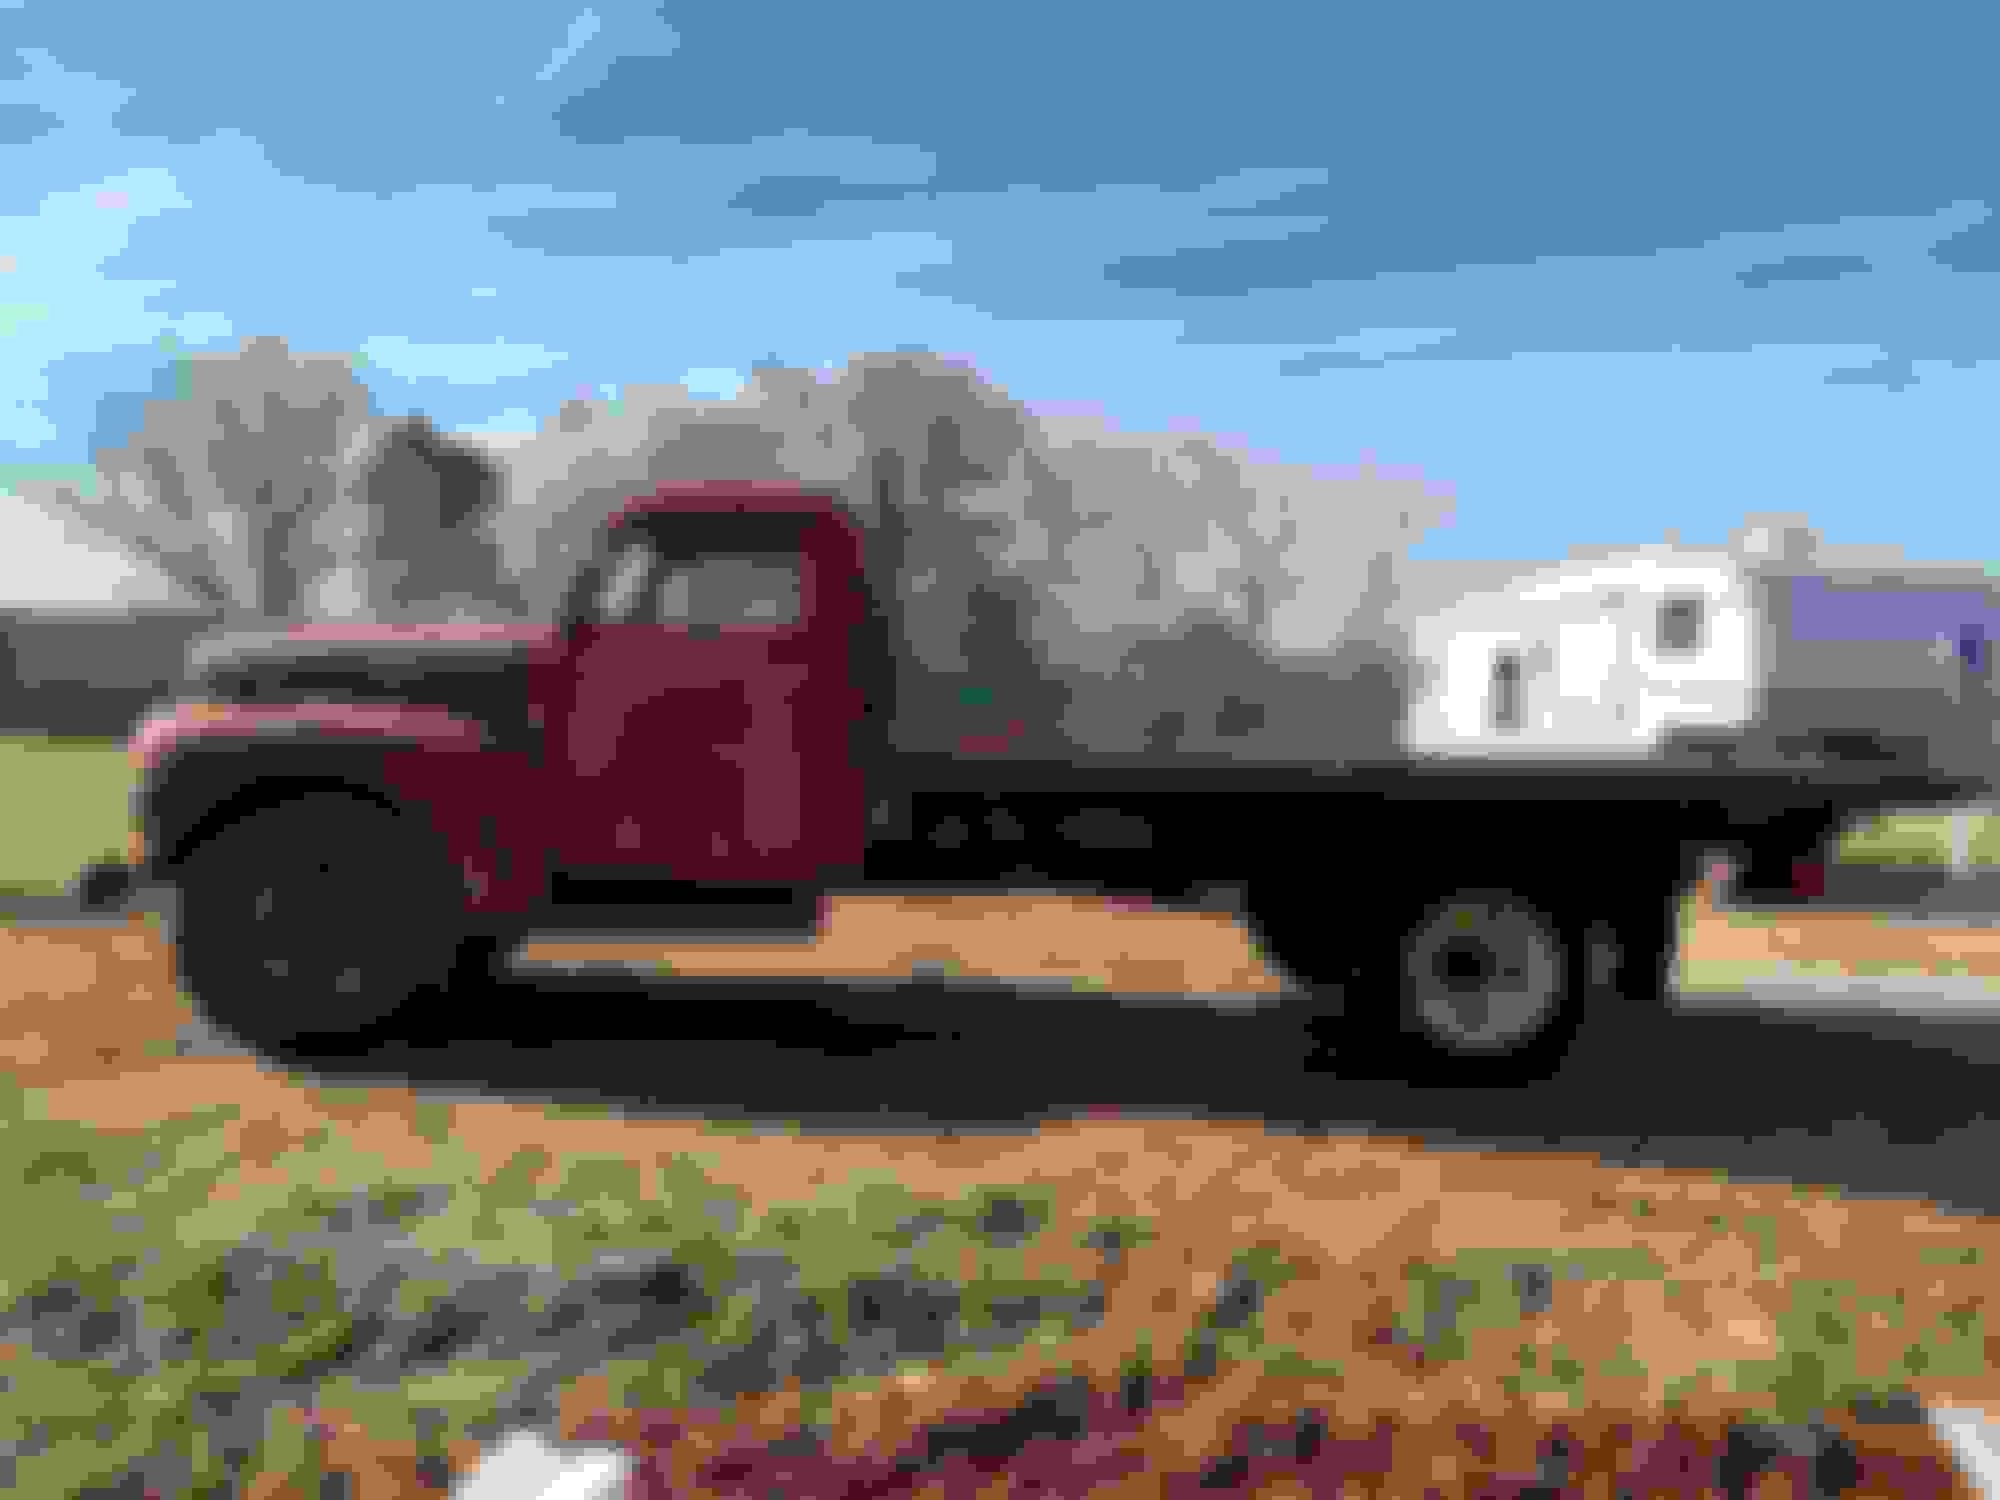
Picked up the truck this past weekend and have already started getting to work on it. Im not having a lot of luck finding any original pics, diagrams or restored versions. I've seen a few here and there but information seems to be scarce. Hopeful I have come to the right place. So where are the stakebed experts? Anyone in central North Carolina or near-by? Truck will mainly be used as a promotional piece for my real estate company. Parades, classic car drive-ins uptown, etc. Drive to lunch a couple times a week.
- Im planning on pulling the motor immediately and having it rebuilt. It's an 8BA. Not sure of the condition. "It ran 8 years ago"
- Would like to rebuild transmission and rear end unless its more cost effective to swap to something different?
- Pull everything off, blast and paint frame and go back with all the original parts unless unsafe.
- Fix rust spots on cab and repaint.
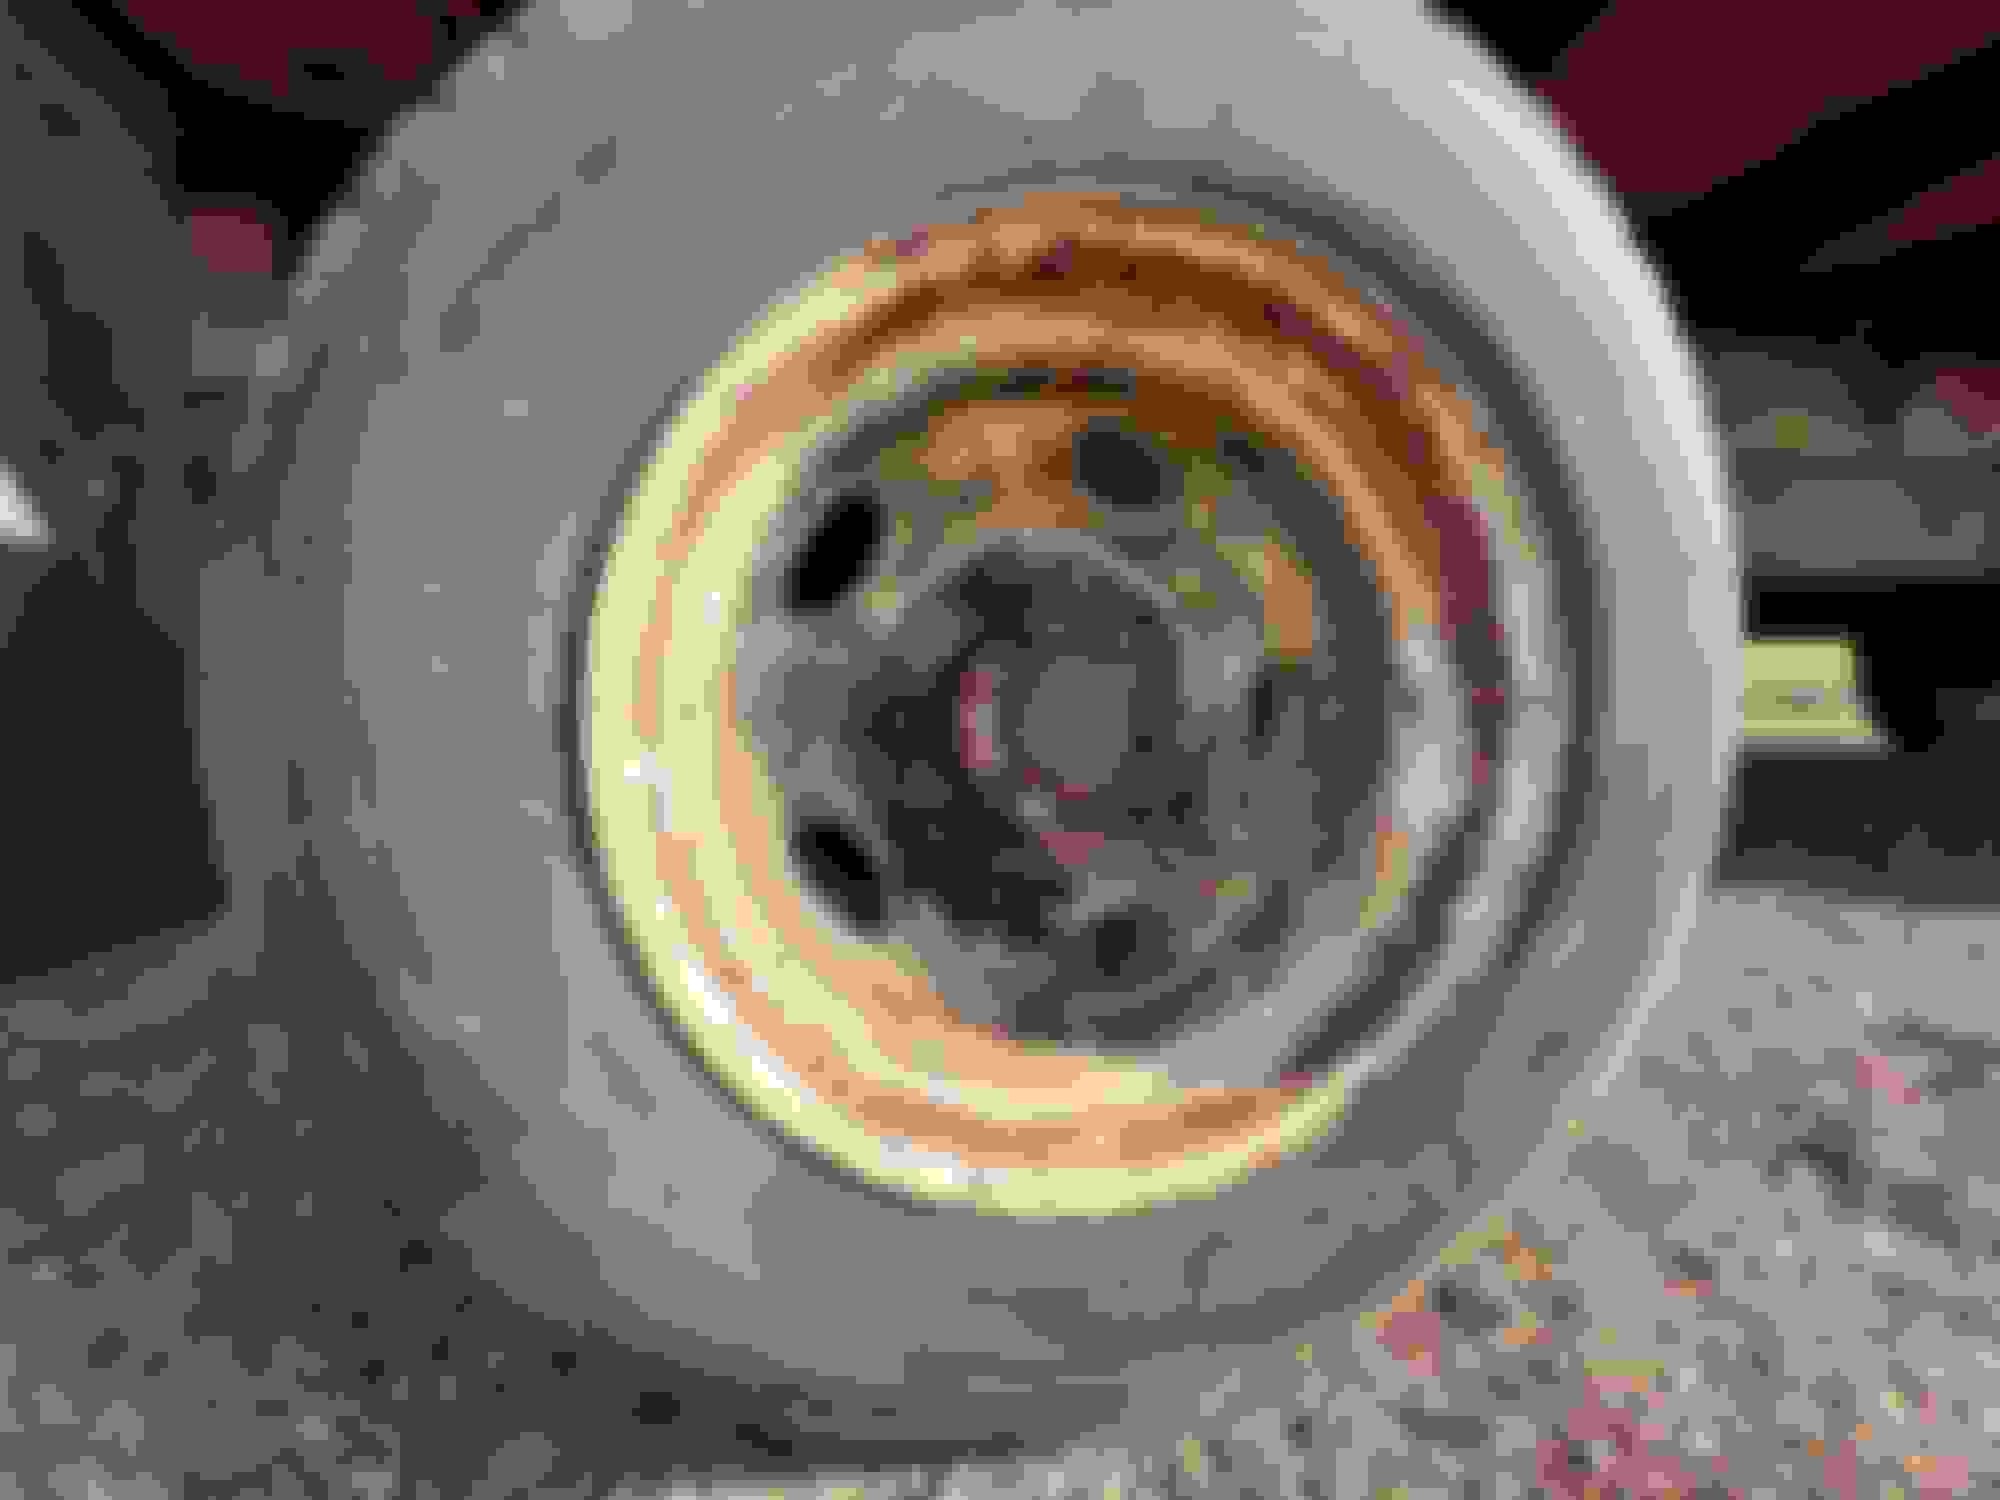
- The back wheels are not WM's. They are 19.5's. The guy I bought it from had these and I put them on. The fronts may be? Wish I knew the drivers side was reverse threads, haha.
Questions
- Would any mechanical parts be worth upgrading? Brakes, engine components, drivetrain, 6 to 12 volt?
- Recommendation for frame/component black paint?
- Cant seem to find the skid strips that go in the bed or a diagram of how the planks go down with strips.
- Pretty sure the fuel tank is shot. Would you go back in cab or relocate to under bed?
- I'd like to tow a trailer in the parades. Anyone have a towing setup?
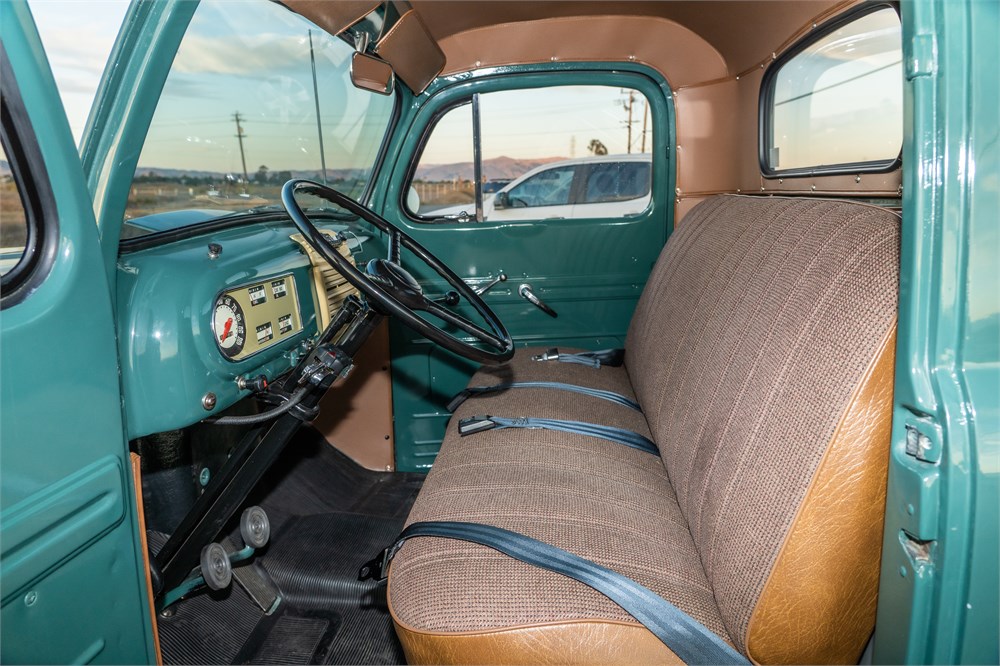
- What did the inside of these things used to look like? I have all of this old material hanging in my cab.
- Anyone nearby that can do the necessary body work on the cab?
- Any recommendations for good resources I'm missing?
- Anything in the pics that look unusual?
Thank you in advance for anyone willing to reply or give me their time and expertise. These trucks are brand new to me! Looking forward to this build!
Great project you have ahead of you. I have a fleet of these big trucks. Some highlights I would share:
The stock 6V electrical system is engineered just fine for these trucks. After 70 years, it will need some attention, but once serviced, will be up to the task for possibly less $$$$ and hassle than a 12V conversion. You mention a trailer - just throw some 6V bulbs in it if that matters to you.
Brake drums and shoes are not available. Any reputable brake/clutch shop can reline your existing shoes. There are no easy "upgrades" outside of frame/axle swaps which I wouldn't recommend.
If equipped with a vaccum brake booster, they are generally not serviceable as rebuild components are long gone. Finding newly refreshed ones or even compatible next generation ones have also become difficult. However, on an F-5, these were options and not necessary and you can bypass them if not carrying loads. You do, however, mention a trailer so....
Your rims look to be Firestone RH5 rims, the true window makers - this absolutely must be addressed to be a responsible owner/operator. You can find some multiple piece locking style rims from the era or find some 5 on 8 single piece 19.5 or 22.5 rims from a 70's or so Dodge RV.
I kept my original gas tank style in the original location. Took one to a radiator shop to boil it out.
Your engine may be a passenger 8BA swap as that is not an 8RT truck oil pan.
Hope that helps get you started and feel free to ask any clarifying questions!
Thanks for your insight bmoran4! Would like to get to know you other big truck owners on here.
-I may stick with the 6v system, don't see a lot of reason to change other than a lot of the wiring is going to have to be replaced.
-I'll try to get the brakes apart this weekend and get some pics. Do you have a pic of what that booster looks like?
-The fronts might be the WMs but the rears are some 19.5" 2 piece wheels the previous owner gave me. I'll try to get a better pic. I thought I read the WMs were 20". If anyone has a set of Budd replacements, I'd be interested.
-Will definitely look into the boiling route. Never heard of that.
-Do you have a pic of what the correct oil pan would look like? If it's the same core motor with just a bigger oil pan, what purpose would that serve? More capacity for longer intervals?
As for the brake booster, here is a picture of when I replaced one of mine - the original Midland C447 is on the left, the next generation Midland C462:
Your truck may have a Hydrovac style brake booster that looks something like this:
The 20" size is for the tubed bias ply setups. The 19.5 and 22.5 for the tubless radial sizes.
As for the differences between the 8BA and the 8RT, these are the ones I can recall off the top of my head:
Welcome to the forum! Your truck is absolutely beautiful, and seems largely unmodified. It's a great example of how they were done. The interiors are the same as the smaller pickups, so all parts interchange. Here's a couple pics I found of interiors. Cardboard-like headliner, back panel and kick panel covering material. Plain vinyl seat. Rubber floor mat.
Your underhood pic here shows the production code stamped on the firewall. CS indicates it was built at the Chester, PA assembly plant, and the 16L says it was built on November 16, 1949. It's a really late '49 and a great candidate to add to our registry database that we've been adding to for years, with the express intent of identifying the serial number cutoff between 1949 and 1950 production. If you wouldn't mind sharing your serial number, and you can do it privately if you don't want to post it publicly, it would be appreciated. https://www.ford-trucks.com/forums/4...n-cut-off.html
Last edited by 52 Merc; 01-15-2022 at 09:51 AM.
Reason: correction on build month
As for the brake booster, here is a picture of when I replaced one of mine - the original Midland C447 is on the left, the next generation Midland C462:
brake booster - Ford Truck Enthusiasts Forums
Your truck may have a Hydrovac style brake booster that looks something like this:
The 20" size is for the tubed bias ply setups. The 19.5 and 22.5 for the tubless radial sizes.
As for the differences between the 8BA and the 8RT, these are the ones I can recall off the top of my head:
Thats good Info, thank you. I guess when I have the motor rebuilt I can go back with all or some of those parts. With the heads being interchangeable I guess I wont really know what I have until I get it apart unless you guys know another way to tell what it is? Definitely needs exhaust manifold/headers. Whats there is completely shot. I didn't see that brake booster, unless I just missed it, but I did take a pic for you while I was down there. Also I did get some writing off the wheels that were given to me that I put on the rear. I didn't see any markings on the front wheels though.
Your underhood pic here shows the production code stamped on the firewall. CS indicates it was built at the Chester, PA assembly plant, and the 16L says it was built on December 16, 1949. It's a really late '49 and a great candidate to add to our registry database that we've been adding to for years, with the express intent of identifying the serial number cutoff between 1949 and 1950 production. If you wouldn't mind sharing your serial number, and you can do it privately if you don't want to post it publicly, it would be appreciated. https://www.ford-trucks.com/forums/4...n-cut-off.html
Thats awesome info Wayne, thank you. Hope I can make my inside look that nice. Really thinking hard about relocating the gas tank. I will DM you the serial. This truck spent most of its life in Burlington, New Jersey I believe.
Made some progress this evening. Got all the boards off the bed. Pretty sure these were the original boards. The underside of the boards was still red. Tried to get them off in one piece but it just wasn't going to happen. Nuts were rusted solid on the carriage bolts and the wood was so worn that the bolts would just spin when I put the impact on the nut. After spending an hour on the first board, the rest got the sawzall. I just cut beside each cross brace and what was left around the bolt would come with a wack of the hammer. Then I had to get a cutoff wheel to cut the bolts in two to get them out. Will definitely have to weld some new material on the cross bracing and possibly the inner bottom lip as well. Appreciate yall's input.
How would you refinish the frame? Blast and paint or knock off the worst of it and hit it with por-15?
If it were me, I'd sandblast and paint properly. It would also give you the opportunity to make any metal repairs much easier being able to weld to clean steel. It's not that much more work, and you'll have a far superior product when you're done. You'll be happy with the effort at the end.
I almost forgot to add that POR15 is not UV stable, which means it will deteriorate if left in the sunlight. You'll need to topcoat it with something else, anyway, and your finish still won't look as good as sandblast, prime and paint. The procedure and window for topcoating POR15 is narrow and something you'll want to research, as well, if you want any chance of success.
Your truck does not have power brakes. If you did, the booster would be right where your fuel pump is.
Are you sure you want to go away from your fine custom, everlast exhaust????
"Wish I knew the drivers side was reverse threads, haha."
The end of the lugs are marked "L" on the driver's side. We've all done that.....
I see you have an outside dualie off. The square drive inner thimble is fun. If you don't have one yet, you'll want to invest in a porkchop tool for those times when the duals come off together.
I bit the bullet and bought one of those and also a 4 way lug wrench for trucks that has the square drive. That plus a 6' section of 3" black pipe for a cheater and lug nut problems disappear.
If it were me, I'd sandblast and paint properly. It would also give you the opportunity to make any metal repairs much easier being able to weld to clean steel. It's not that much more work, and you'll have a far superior product when you're done. You'll be happy with the effort at the end.
I almost forgot to add that POR15 is not UV stable, which means it will deteriorate if left in the sunlight. You'll need to topcoat it with something else, anyway, and your finish still won't look as good as sandblast, prime and paint. The procedure and window for topcoating POR15 is narrow and something you'll want to research, as well, if you want any chance of success.
Your truck does not have power brakes. If you did, the booster would be right where your fuel pump is.
Are you sure you want to go away from your fine custom, everlast exhaust????
Yea I definitely think sandblast is in order. I researched por15 a little more and yea i think your right. Prime and paint. I said I wasn't going to worry about the pitting but now I'm thinking maybe I use some filler on the sides of the frame so its smoother where visible. Anyone have any experience with fixing pitting? Man that exhaust is rough 😂, you ought to see it at the block. Any recommendations for adding power brakes/booster to the truck?
Originally Posted by mtflat
"Wish I knew the drivers side was reverse threads, haha."
The end of the lugs are marked "L" on the driver's side. We've all done that.....
I see you have an outside dualie off. The square drive inner thimble is fun. If you don't have one yet, you'll want to invest in a porkchop tool for those times when the duals come off together.
I bit the bullet and bought one of those and also a 4 way lug wrench for trucks that has the square drive. That plus a 6' section of 3" black pipe for a cheater and lug nut problems disappear.
This is a 52 F6 I plow snow with
Thats awesome you are still plowing with it! Yea i have one off on each side. The other lug is still attached to the old wheels. The nut was so tight that it just took off the inner stud with it. Preciate you letting me know about that tool. Sounds like that is what I'm going to need to get it off the other wheel. Im sure I'll replace all the nuts and studs, but what is the correct way to mount them to avoid pulling them all off together? A little blue loctite on the inner and plenty of anti seize on the outer?
Originally Posted by abe
Diesel,
Did you break off any lugs off?
If there are several coats of paint on the end of the stud the "L" can be hard to see.
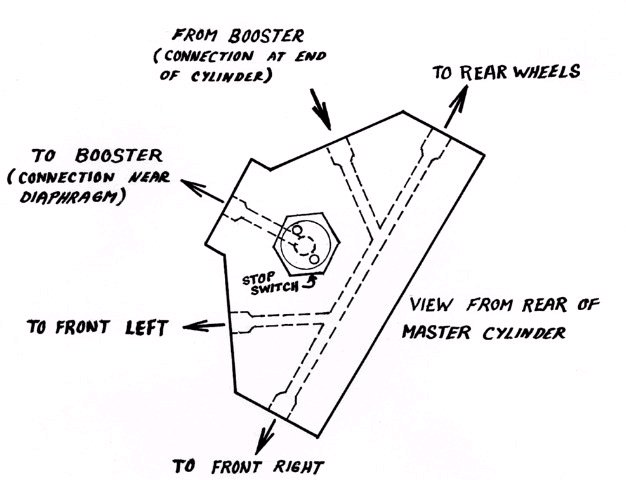
The easiest way to get power brakes is to get the stock 5 port brake manifold to replace your 3 port (or use off the shell brass brake fittings to construct an equivalent) and to add the Midland C462 brake booster. it is mechanically easy and minimal, but the parts will take some scrounging. Bonus is it is what the factory would have done. There are no real purpose built aftermarket kits for these large trucks.so anything else will likely require lots of fabrication.
Here is the 5 port brake manifold plumbing:
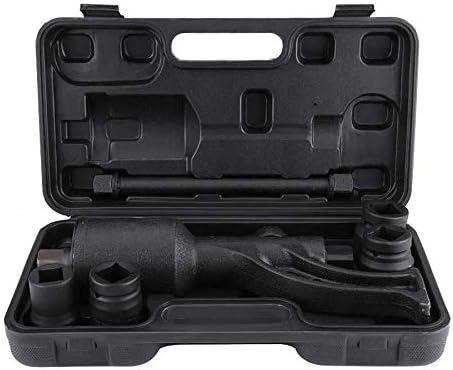
One shouldn't use anything but maybe a drop of 30W motor oil on the studs/lugs when installing - no anti-seize or LocTite. I have not regretted getting a pneumatic impact gun, a combination budd socket, and a porkchop. Also very helpful is a torque multiplier - there are many branded imports similar to this that seem to work well enough for the home gamer:
 01-12-2022, 04:30 PM