When you click on links to various merchants on this site and make a purchase, this can result in this site earning a commission. Affiliate programs and affiliations include, but are not limited to, the eBay Partner Network.
Scope:
Installed a Front and Rear dashcam. Hardwired solution. I did not use Upfitter switches.
Product:
There are many dashcams available and this isn't a review for one specific brand. I happened to use a Viofo A129 Pro Duo camera, but there are equivalent models from Blackvue, Thinkware, and others. Just be careful that if you want 4K that you actually get a true 4K camera. There are cheaper brands that advertise 4K that aren't really 4K.
I also used a HK3 ACC Hardwire Kit. Depending on the brand you use, there should be one or more kits that will work. Most dashcams will come with a wire that allows a more temporary connection to a USB power port. The hardwire kit allows more integrated installation. So, the kit I used may or may not work with your specific dashcam. Again, the point is not to endorse this hardwire kit, but to illustrate that you may have to purchase a hardwire kit in addition to whatever dashcam you end up purchasing.
Some people get by with a just a regular old microSD card. However, for the many, many write/overwrites that these cards get, a "high endurance" card is recommended. I opted for a 128 MB Samsung PRO Endurance card. These frequently go on sale for $20 and, at the time of this writing, are on sale for that price. Check out slickdeals and other deal sites for good pricing on microSD cards.
Tools:
I used the following tools:
10 mm socket (and 1/4' drive with extension). This is for the A pillar removal.
13 mm socket (and 3/8" drive with extension). This is for the ground bolt.
Dash trim tool. I used this casually for some window/door seal/gasket reseating. Don't need one, but my dashcam kit came with one.
Fish tape
Electrical tape (mainly for affixing wires to the fish tape)
Tesa tape. Not required. Only if you want your wiring to have the same cloth-like covering as the factory wires.
Bussmann ATR Add-a-Fuse kit. Our trucks take the ATR or Micro2 fuses. I have read that the Bussmann brand is preferred because it's a bit taller to clear the other fuses. You can get from amazon for $14 or go to Autozone and get for $7. Note that these don't come with any actual fuses. So, you'll have to provide the fuse you intend to use for the camera.
Step one is to remove the A-pillar piece. This is super easy. There are two little panels immediately on either side of the A-pillar grab handle. These easily pop out, but be aware that they are held in place by a captive plastic connector. They are NOT meant to be completely removed from the A-pillar. So, pop them and pull them out as far as you can and they'll sort of dangle from the A-pillar. This gives plenty of room to access the 10mm bolt heads. Remove the bolts. The A-pillar then just pops out ... just a few friction-fit tabs hold it in place.
If you have premium audio, there is a small tweeter in the A-pillar plastic. Just disconnect the electrical connector and the A-pillar can be removed from the truck completely.
Remove any insulation to expose all of the holes, gaps, and wires.
Remove the passenger fuse panel cover.
Optional: remove the plastic piece that connects between the bottom of the glove box down to the door sill plate. If you do this, it's much easier to wire this up. However, the panel is connected to a plastic runner in the door sill with a metal friction fit that is a major pain to remove. A small flathead screwdriver will be required to free this part up. But, it's worth it.
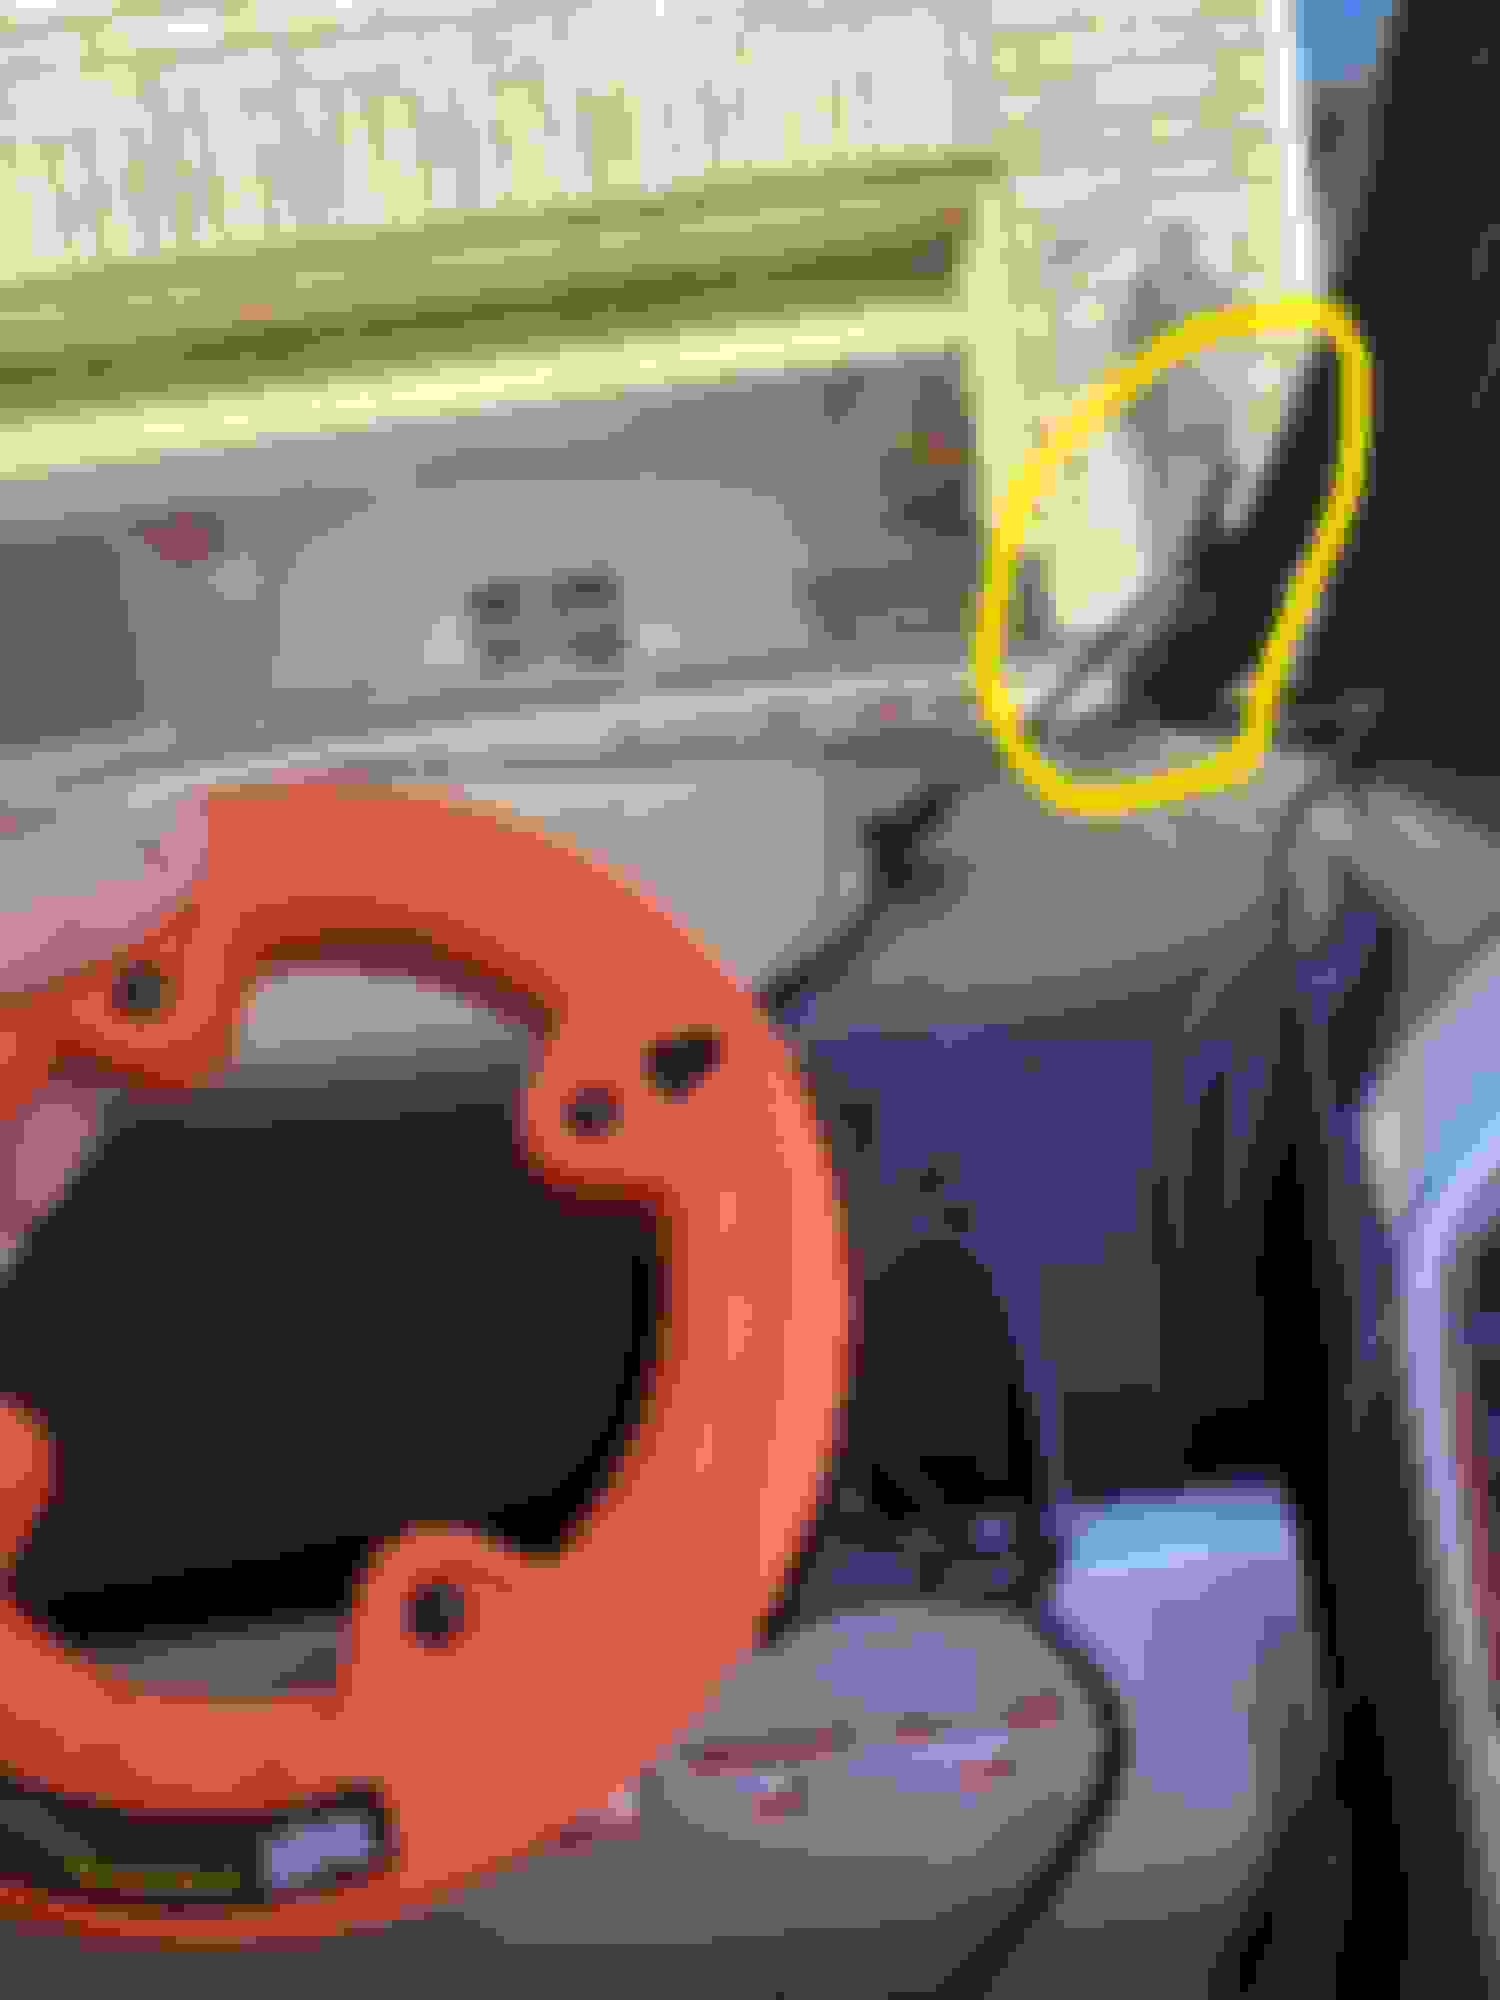
With access between the fuse panel and the A-pillar removed, you need to use your fish tape to poke down from above. This took me at least 15 minutes, as this is incredibly tight quarters. There are an amazingly large number of thick, rigid wire bundles, air vents, metal brackets, and other things in this space. So, finding a path takes a LOT of trial and error.
One you have your fish tape poked through, then attach your camera plug side of the hardwire harness to the tape and pull it back through.
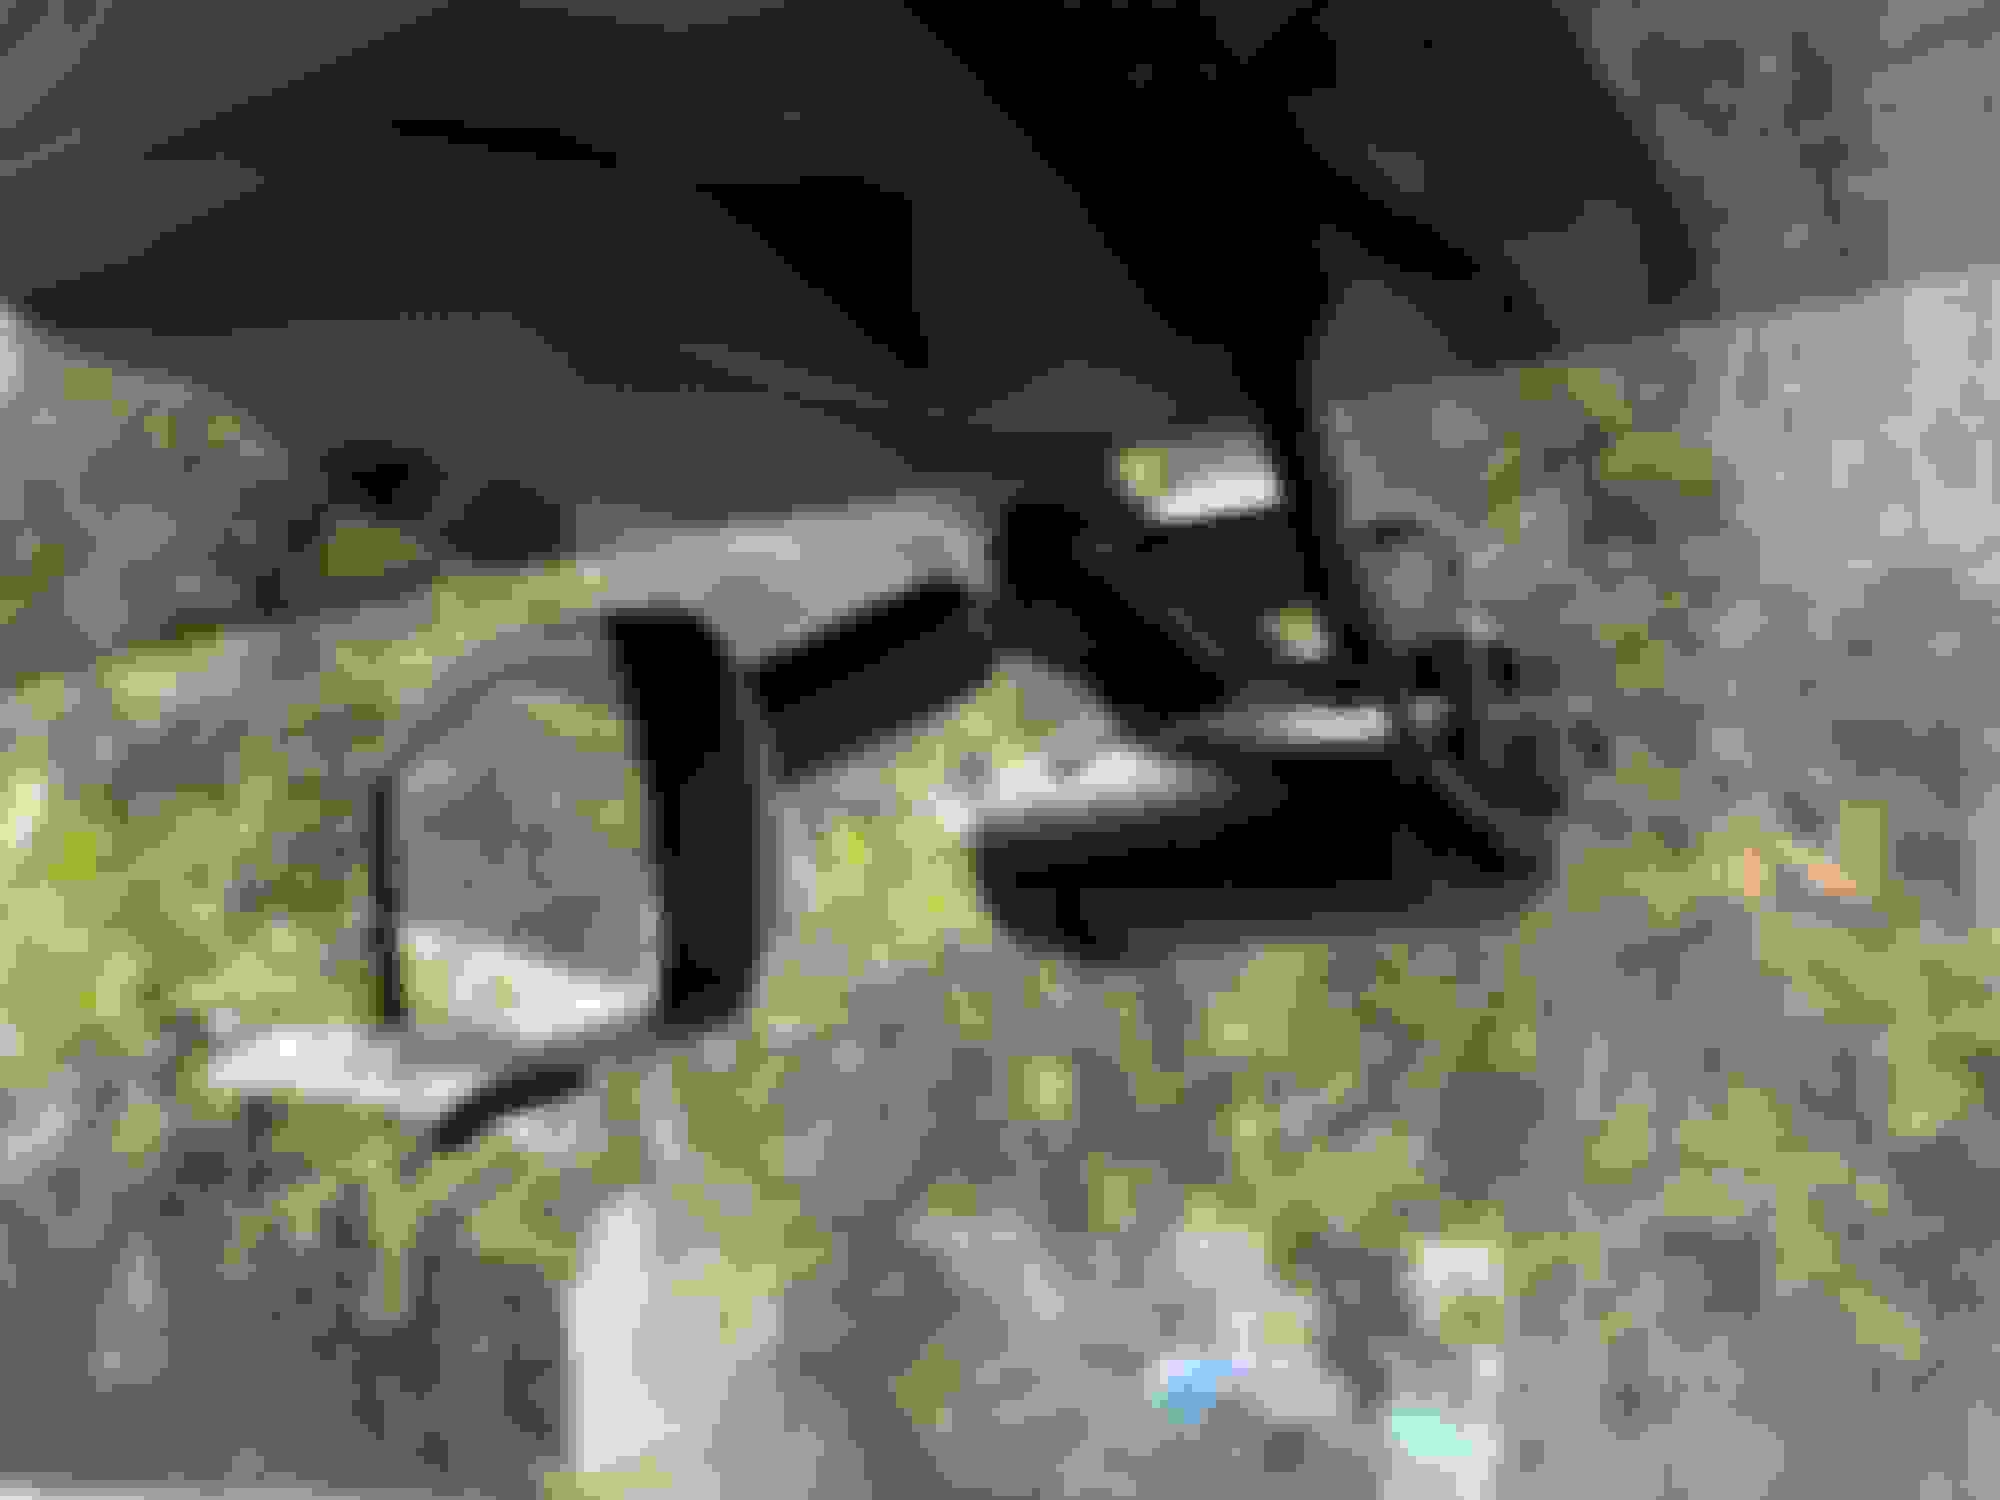
In the yellow circle above you can see how I've used electrical tape to fasten the hardwire cable to the fish tape. I try to use tape liberally and also to try to form a bit of a taper around the hard edges to help pull it through tight spaces more easily.
At this point, I turned to the rear camera wiring. The head liner in these trucks is easy to access and you can tuck stuff up reasonably will without dropping the head liner and such. So, at no point did I remove any of the fasteners of the headliner. So, without removing anything, I worked my fish tape from the rear to the front A-pillar area:
I then taped my rear camera wiring harness (that comes with the dashcam kit) and pulled through the cam-side of that cable.
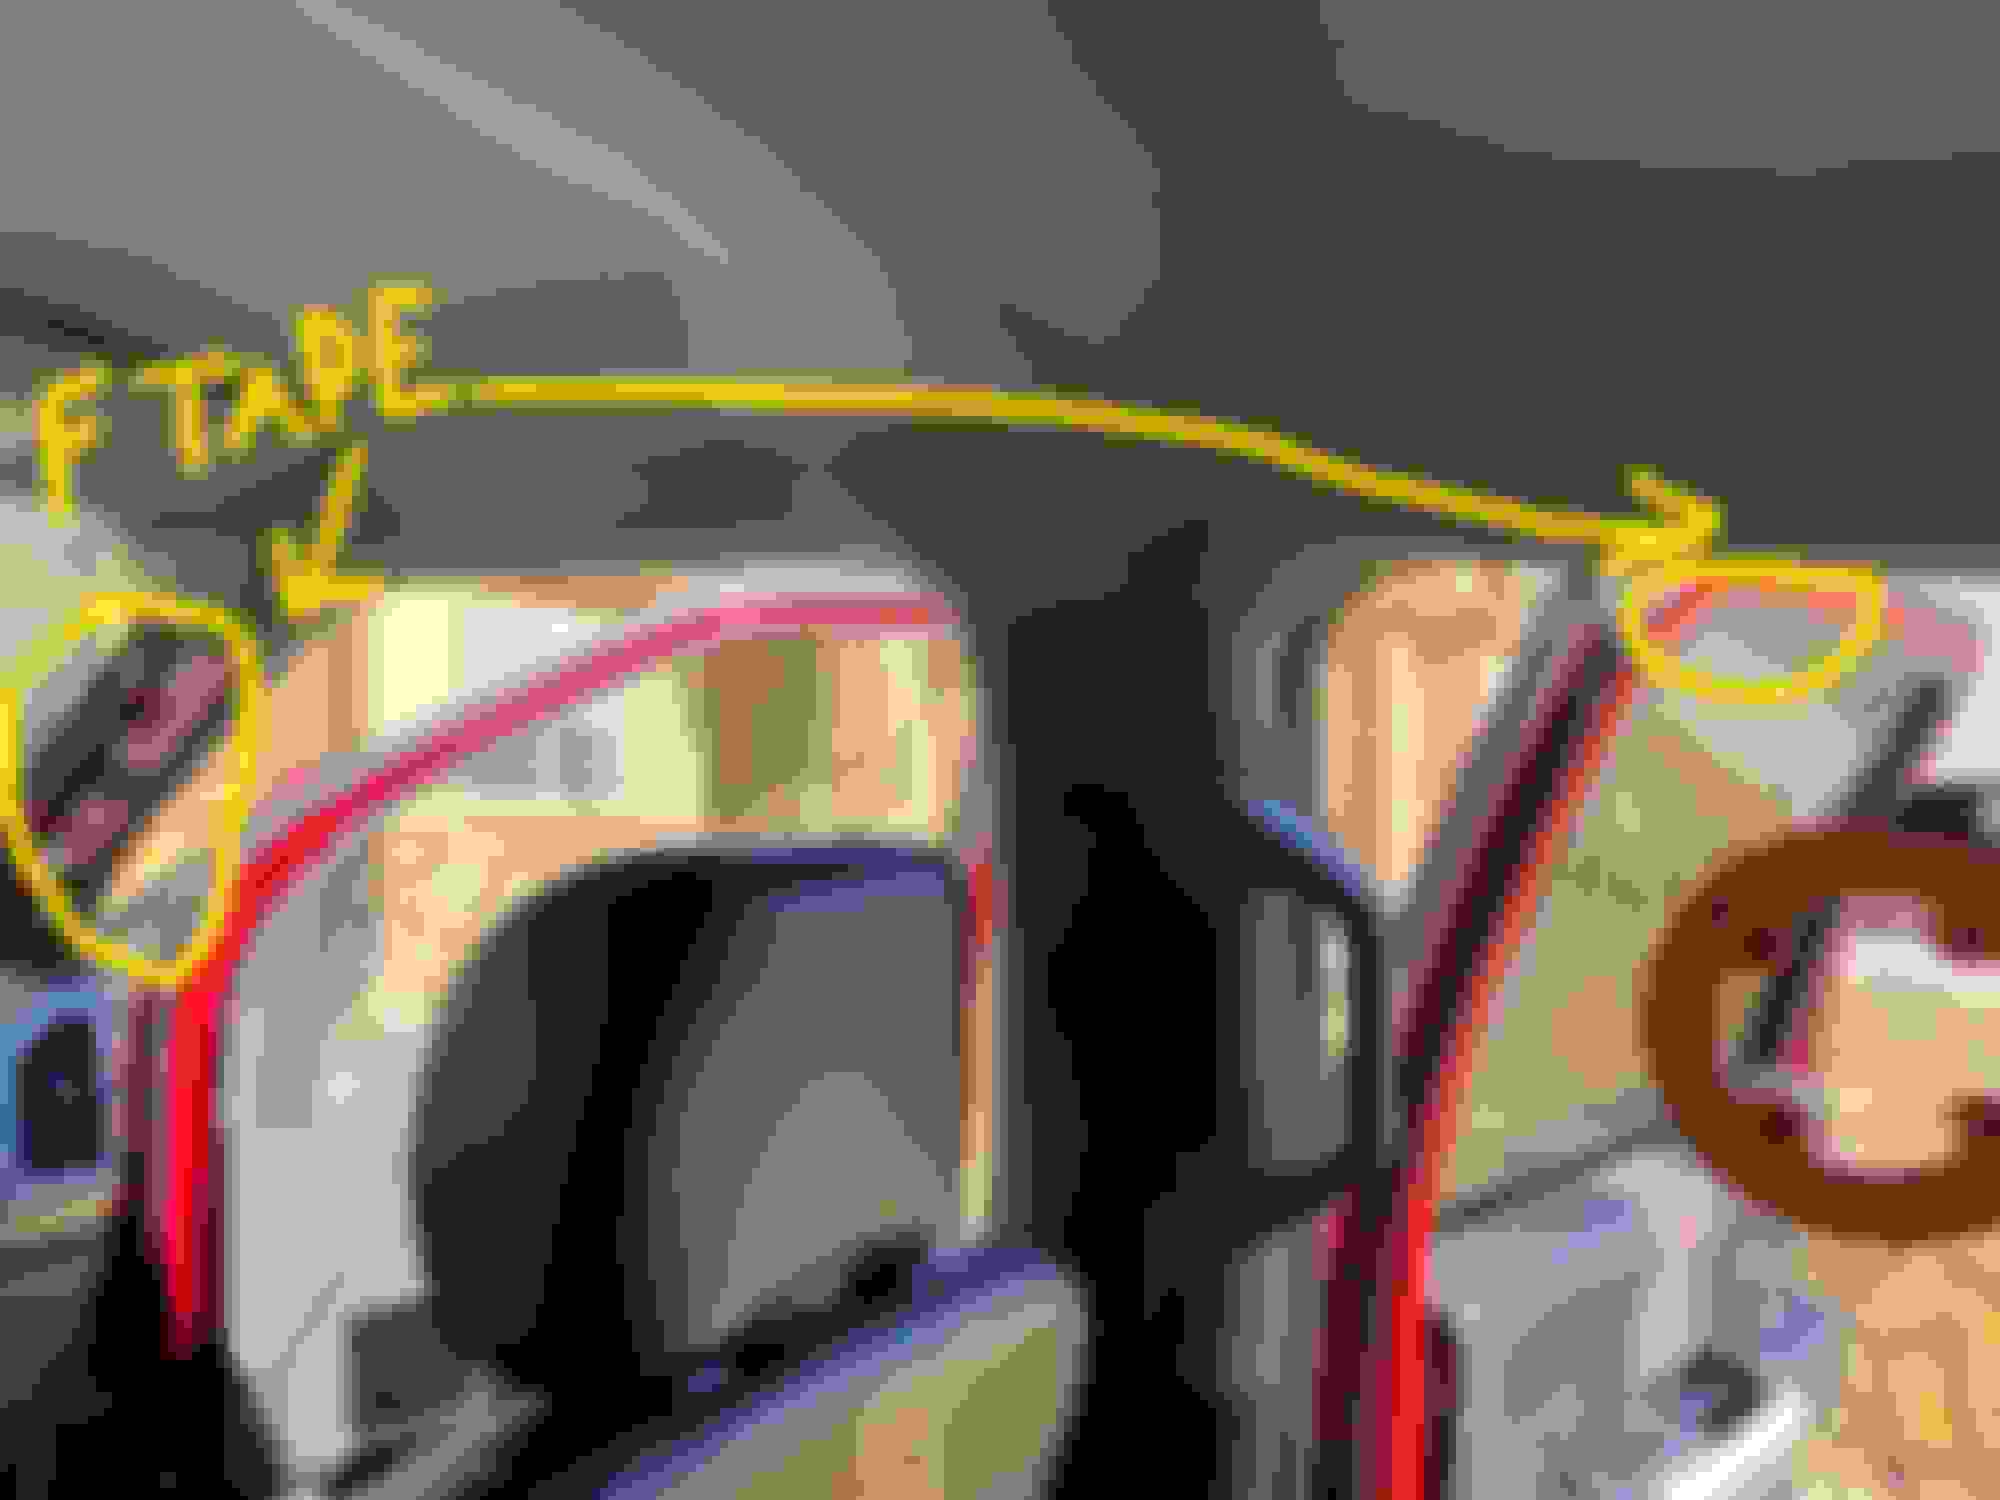
Just pull the cable back through the B-pillar and it's super easy. But, then you have to run this back along the rear window. The best way to do this is to pop out the C-Pillar plastic. This is the grey piece of plastic in the corner of this pic (which is actually an after pic):
Just grab the top of that panel and pull out. It quickly and easily pops out. Note that the left side of this plastic sits under that door seal. So, you'll have to reseal this afterwards, but that's super easy, barely an inconvenience. When you run your camera cable through there, you have to be sure to run it underneath/behind two large factory cables ... otherwise, these factory cables won't allow your camera cable to turn the corner flush with the wall of your cab. You can see these two cables labeled in the picture below:
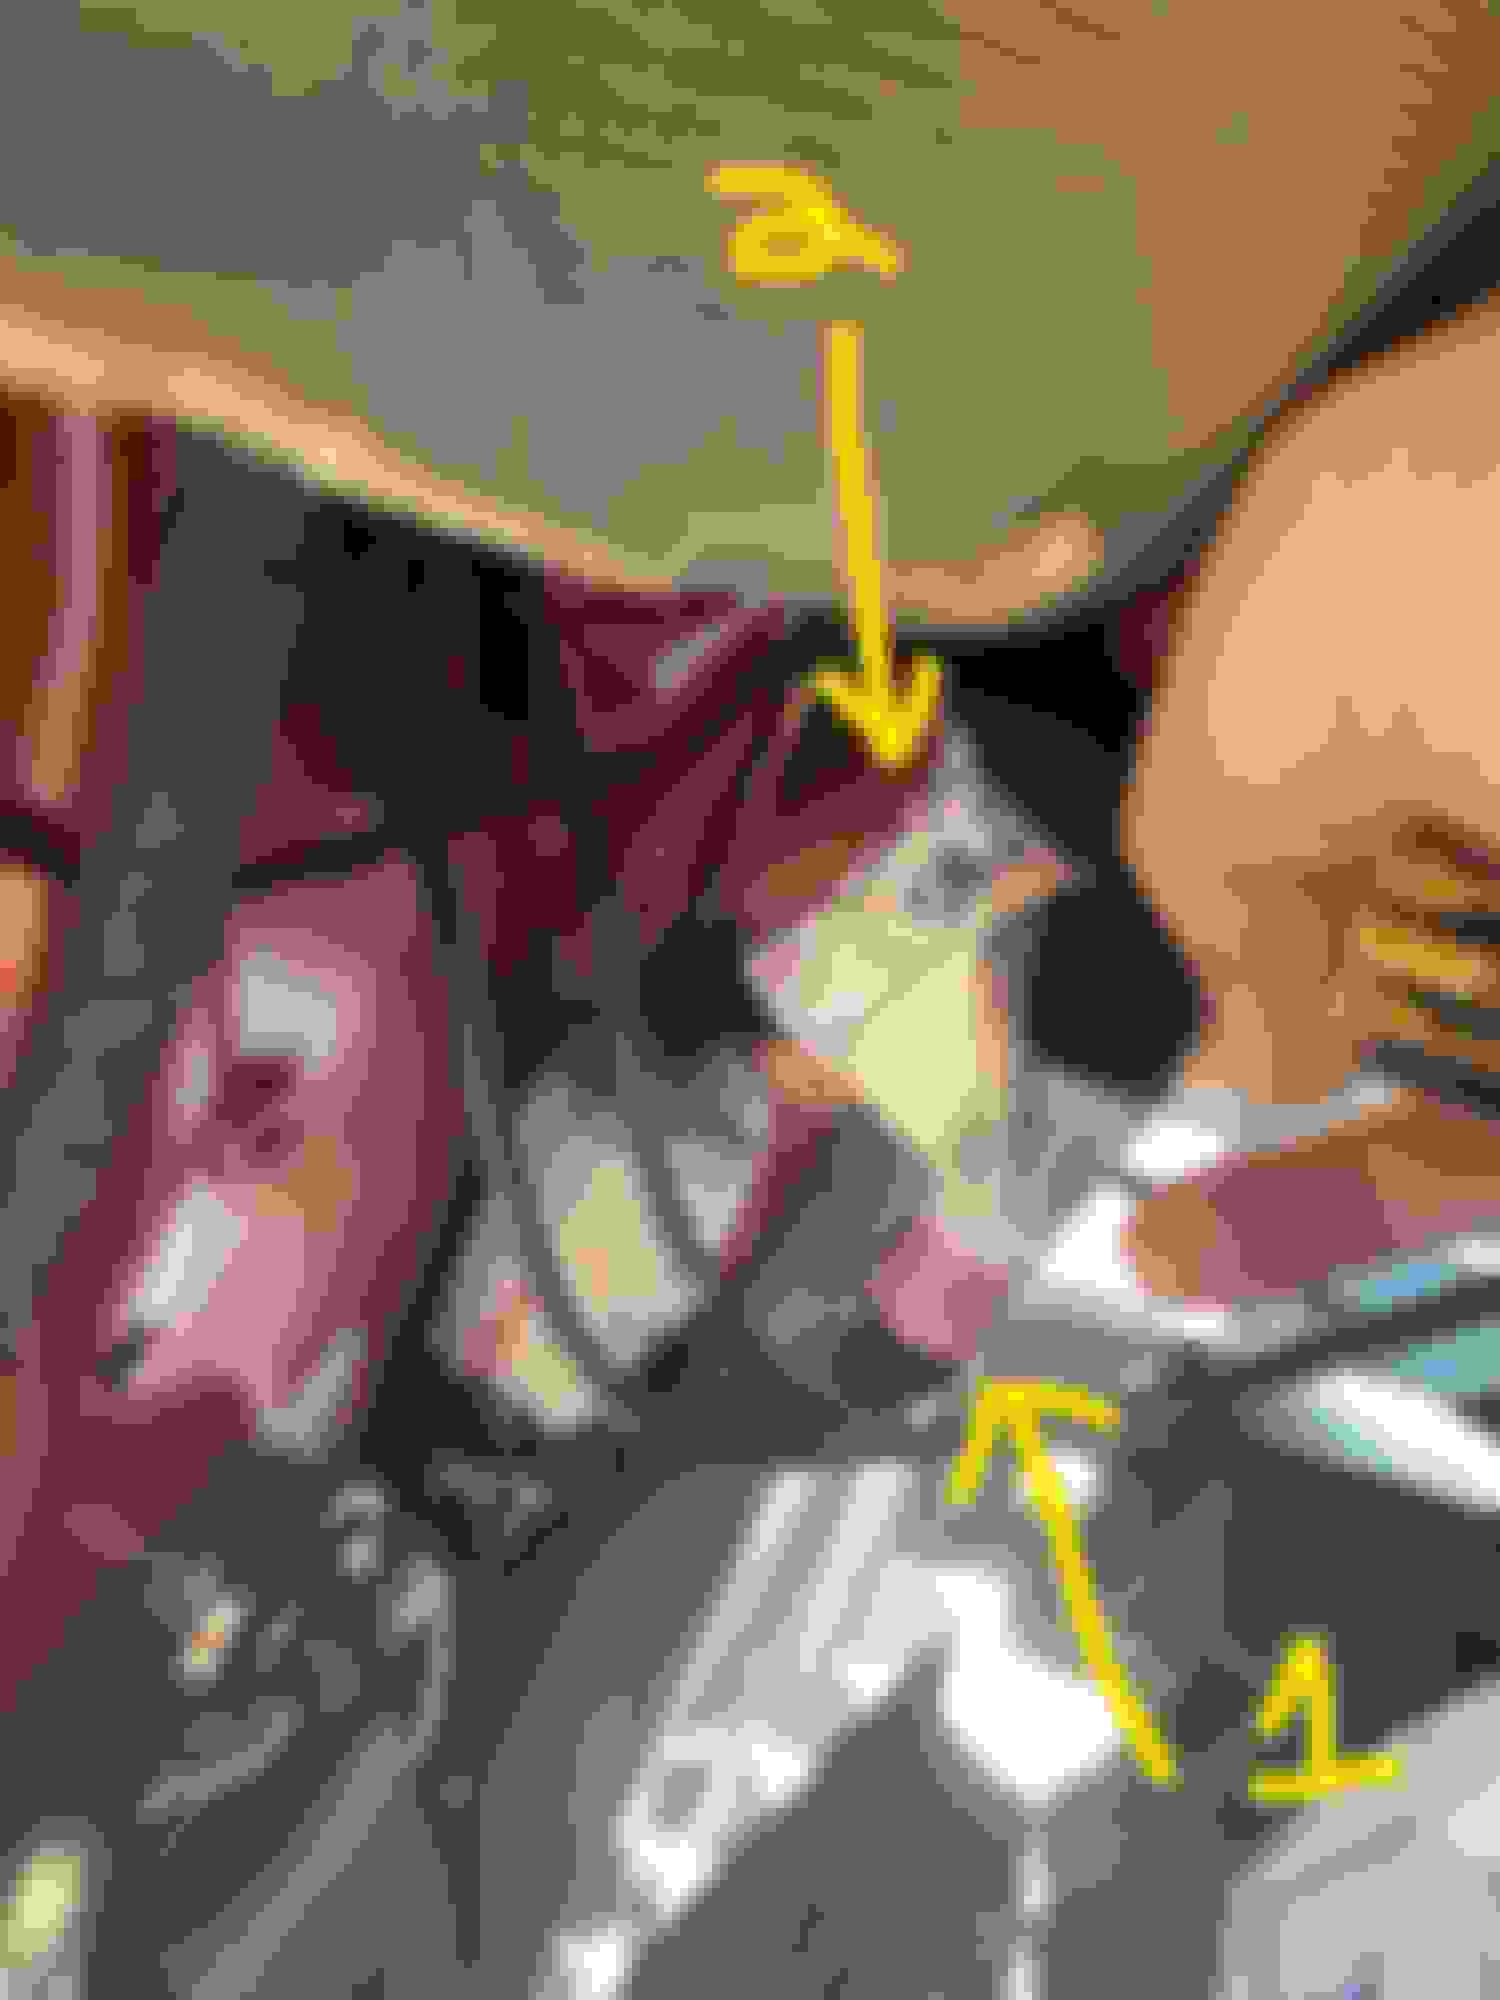
Note that if you have a sliding rear window, you need to mount the camera on the driver's side ... the slider opens to the passenger side. So, run your cable over to where you're going to mount the rear camera:
There's no real trick to running under the headliner. Just tuck it up. You can get a few finger in there to feel around. If the cable keeps dropping back out, feel for a lip and push the cable up a little farther. It's all by feel and trial & error.
Next step is to do the same across the front. I had both the main power cable and the rear camera cable. I think most of these dashcams work the same: power goes to the main front unit and then the front unit powers/communicates with the rear. After fighting with my mirror/header console for several minutes, I gave up and mounted my camera just to the passenger side of the mirror.
Optional step is to wrap the wires with Tesa tape. This can be done earlier, but I wanted to wires to pull through the spaces without the friction of felt/fabric. There's no real utility to doing this, other than pride. I mean, who among us hasn't had a friend tear off an interior panel, inspect our wiring, and make fun of the cut-corners we took by not felt-wrapping our wires? Well, I had the Tesa tape and just decided to wrap my wires. So, under my A-Pillar, e.g., my dashcam wiring looks identical to the factory cables already in there.
Next step is to wire the hardwire kit into the truck's wiring. We need a 12 V always hot, 12 V accessory triggered, and ground. The grounding point I used was just next to the fuse box. It's hard to access without removing the plastic panel referred to above. But, it's a great place to ground. You'll need a 13mm socket:
Note that the ground nut is red, so this may make it easier to locate. You can see its proximity relative to the passenger fuse panel and other wiring you'll find in there.
Also note the female harness with the yellow asterisk on it. This harness contains the SEIC, Customer Access circuit connector/pigtail referenced in this bulletin:
This can be downloaded from this site in a few places and elsewhere on the web. I didn't provide a link.
In this document is where we find our accessory power source:
As shown in the picture above, this harness is removable and I had already removed it. This makes it super easy to connect to the hardwire kit. Just snip off the blunt end of the wire and then use your preferred means of connecting wires. I prefer the auto-soldering, auto-sealing connections.
The last connection is the 12V constant power (always hot) line. For this, I used fuse 2 that powers the lumbar support:
To do this, I bought a $5 mutli-pack of fuses that came with a fuse remover. This fuse wasn't super easy to access and was incredibly tight. But, I yanked it, put two 7.5A fuses in the Bussmann add-a-fuse, and put it in place. Prior to installation, I had connected it to my hardwire line.
At this point, everything is connected. Plug the cables into your cameras and stick them on the windshields. I put most of my excess front camera/power cable in the passenger footwell area behind the fuse panel. I put most of my excess rear camera cable looped in the A-Pillar area. Everything went back on as expected. It's a nice install with no exposed wires.
One issue is that I didn't check the image before I stuck the cameras in place -- I just eyeballed where I thought the cameras should be. The bulky rearview mirror plastics actually clip a small piece of my camera ... so, I'll have to reposition this in the future.
I was able to just push the wires in behind the trim and door gaskets. On the right side I popped the panel out on the side (with the door HVAC port) and put the wire through the gaps.
The rear cam cable is about 10' too long but I was able to stuff all the excess down behind the seat belt trim panel.
Haven't installed the rear cam yet, will wait until I hook up to the RV to get the best view.
And Thinkware's instructions are very minimal, waiting for answer as to which wire is hot and and which one is trigger - if they actually are wired that way.
Got an answer from BlackBox my car (online dealer)
"Yellow is constant and red is ignition - please note the wires are also labeled for your convenience."
(and they are not labeled)
OP: kind of off-topic but when you had that plastic trim piece off on the back of the cab did you happen to notice if there were any grommets in the lower corner of the cab? I found a link that the 2016 150 had them but can't remember when they started sharing the same cab.
I didn't fully remove that piece. I only pried it away from the top portion enough to run my cables behind it. So, probably only the top half of the clips were disengaged from the truck and the bottom stayed mostly in place.
I have another write-up about installing a subwoofer and amp. For that, I think I did look around for grommets back there. I didn't find any. However, I didn't go all-out in my search. I felt around in a more casual way ... I didn't pull up carpet or yank out the jack mounts or ...
Dash Cam installs with pics are tight! Somebody watches Ryan George's Pitch meetings [...]
I literally throw in the "super easy, barely an inconvenience" line in some of my professional emails ... always wondering if anyone will notice. Nobody ever does ... sigh.
Reviving this thread rather than derailing another more current thread...
So, I picked up a BlackVue 590X and will be hardwiring it into my 2022 F250. The BlackVue comes with a hardwiring kit with 3 wires, ground, battery (always hot) and ACC (keyed on). I also picked up a set of add-a-fuses and was planning on using them for both, the battery and the ACC connection. However, after reading through this thread it looks like I can wire the ACC wire directly to a wire in my SEIC bundle. Looking at mine, it looks like I have the same CPB22 wire in my bundle. So, I just wanted to clarify that I could wire the ACC wire coming from the Dashcam to this wire, and then only use the add-a-fuse for my constant power/battery? Also, if so, are there certain fuses that I would want to steer clear of? I guess are some more important than others, or will the add-a-fuse be fine in any of them (assuming they re always hot).
Here are some photos of my SEIC bundle.
Grounding location I plan to use. The SEIC bundle. Flip side of SEIC bundle.
So just to add to this post, I got mine all installed! I went with the BlackVue DR590X 2 channel. The 590X is their "entry level" dash cam but it claims full 1080 and it includes the local WiFi connection (which only allows me to connect my phone/tablet/computer to it locally to download clips.) It does not offer the a cloud service, which I have decided would be nice to have... And it is 2 channel, so it does come with both the front and the rear camera's. I paid $278 for the dash cam, the upgrade to the BlackVue 64GB card, the fuse tap bundle, and a polarizing filter from The Dash Cam store. The order shipped the next business day and arrived as expected. And as an afterthought, I ordered the GPS antennae from Amazon for $30.
Installing it was pretty straight forward, thanks to the OP's post! I did end up having to move the dash cam because the first location had a small obstruction which was bothersome, so I ended up having to get some more VHB tape. I ordered a few more pieces for the 590X from The Dash Cam Store for $4 + shipping. I also ended up ordering some Tesa tape and after running the wires under the headliner I taped the last few inches, which I think makes it look better than just a few stray wires coming out of the headliner and plugging into the camera itself.
I mounted the dash cam right below the mount for my (non-powered) rear view mirror. The GPS antennae is right above the camera and it fits nicely I think. I routed all the wires directly under the headliner and ran it across to the passenger side. I removed the A pillar and then fed the hardwire down to the kick panel at the passenger side foot well. I attached a tap-a-fuse to the battery (always hot) wire and the ACC wire. I taped into fuse #29 (power foot pedal - which my truck does not have) for the always hot wire, and fuse #35 (listed as "not used-spare") for the ACC wire. I grounded it to the same grounding screw as seen in the OP's post. As for the wire to the rear camera, I made to sure to go around the air bag and then back up to the headliner rather than just rounding the corner. I don't know if it actually made a difference, but I felt better knowing that the wire is ran behind the airbag rather than in front of it. I then rain it all the way to the back of the headliner, and then across to the driver side. Since I have the sliding rear windows, I had to mount the camera off center. There was more than enough wire so I just shoved it all up in the headliner.
Anyway, I'm glad I finally got a dash cam installed... you just never know what will happen on the road, and it's nice to know I will have proof if I ever need it. And I will say that it is nice that this unit also features the parking mode too. I can also spin the rear camera around and use it for inside the truck if I choose too, which may come in handy when I have the camper hooked up and there is nothing to see behind me anyway.
Chad I like the wrap you used to clean up the wires, the installation came out very nice. My blackvue has been out of site, out of mind since I installed it nearly a year ago. I saw your other post regarding the front filter. I agree its a catch 22. Without the front filter, I get a ton of glare from the dashboard. My front windshield has 80% tint on it, with the filter I get a little polarization effect from the tint, but its better than the dashboard glare, so I keep the filter on. Maybe just lighten up picture in settings a hair. Also I think the filter has a 12' position on it too that needs to be aligned.
I think the rear facing camera is the best piece of insurance, mine is placed similarly.
I have the 900S, I don't use the advanced features, none of the cloud stuff or parking features but do record in 4k in the front. Prob could catch a license plate if I'm lucky, but def not all of them. I keep speed overlay and audio off but keep time display on. Turned off all the voice prompts and beeps unless there is an error.
About the adhesive pads. My truck was parked at the airport for 4 days in the heat, and it detached from the windshield. I had a sunshade up, plus its wires, "caught" the camera when it detached. I ordered a new pad. This time, when I installed it, I was careful to make sure everything was clean (alcohol). I installed the mount, and did not install the camera for 36 hours, I read in a few places this will allow the tape to bond better. The camera has stayed put now.
Once everything is up and running its just kind of running in the background, you never have to mess with it, it's good peace of mind. good job getting it done.
I do have a 35% brow on my front window, but the dash cam is beneath the brow. I am not really a fan of the brow though and have been thinking about having it removed and just get a full ceramic tint like you have. It�ll be a while though� I gotta quit spending money for a while, LOL! But I did go up 1 setting on the brightness level. I think it�s ok and probably won�t worry about making anymore changes. I have messed with the filter and I don�t think it matters which orientation it is in when it comes to the vignette�
In my case, I was wondering if the higher frame rate would be better than higher resolution� it would be nice if the clarity was good enough to capture license plates, but I guess as long as it�s good enough to clearly capture an incident that would be all I really needed (unless it was a hit and run). At first I did think about keeping the speed and location turned off, but decided to leave it on. I did opt to turn the audio off though�
And I am waiting for the same thing to happen with my mount� I cleaned the windshield with an alcohol pad and let it dry before sticking the camera on, but in the south vehicles get hot� especially windshields and we have had other mounts come unglued from the windshield. I am hoping the VHB tape will be different though than the glue on those suction cup mounts� I also use a sunshade, and I have wondered if that makes everything else even hotter since it�s reflecting the heat back up�.
 11-22-2020, 03:02 PM