When you click on links to various merchants on this site and make a purchase, this can result in this site earning a commission. Affiliate programs and affiliations include, but are not limited to, the eBay Partner Network.
On mine..... I have the same problem with A/C ducing in the ceiling...... I used 1 1/4" or 1 1/2" Sch 20 PVC pipe pushed into the ducking. Since the PVC pipe is Sch 20 it is light weight. Doesn't offer any real resistance to air flow because the air just blows through it.... The performance of the A/C in the trailer improved a whole bunch due to double the air flow.
I just reread this post. That's a brilliant idea Roy.
I took the rest of the "wallpaper" off today. It was easy peasy. I used a heat gun and that stuff just peeled right off in big chunks. What came off was more plastic than paper.
It left a nice clean surface that I hit with a damp rag.
The three walls with the new FRP panel and trim pieces installed.
Just to make sure the panels get good adhesion I used a roller and then put up some bracing. The glue was a little thin, which allowed the panels to shift down. I used my staple gun to secure the panels at the top edges. The ceiling panel trim will cover up the staples.
With the braces in place I couldn't do much else, so I finished the wiring for the new switch by installing the flag connectors and heat shrink tubing.
Back from working on the trailer. I may have wasted most of the day. First, I waited in line at Home Depot with 40 other people. Then I spent most of the day cutting out the trim pieces that attach to the bathroom ceiling panel. I'm having a very difficult time getting my mitre cuts to look decent and not have gaps. It's like I failed geometry class. The lack of 90� corners isn't helping.
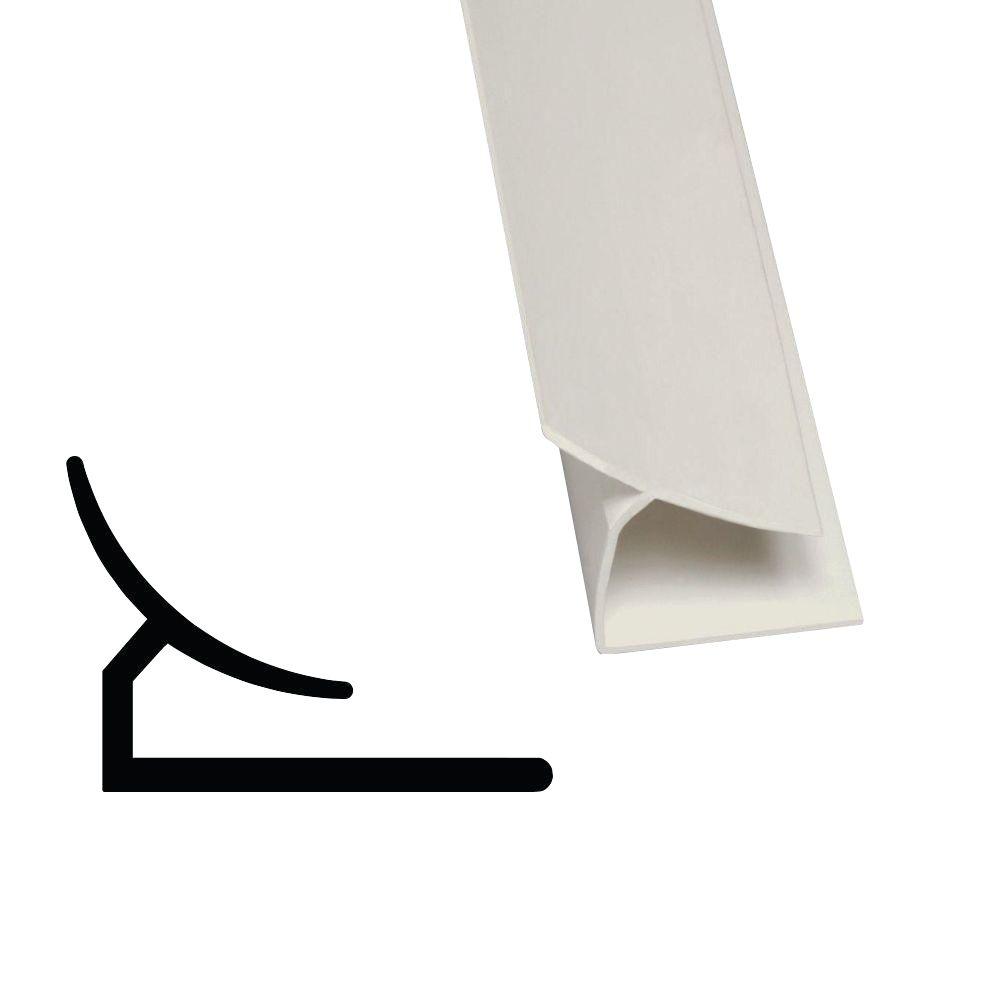
This is what the trim piece looks like. It has to be put on the ceiling panel after the glue is applied and BEFORE the panel is put on the ceiling.
I first tried to cut it with the circular saw blade but the trim just blew up, wasting a few inches of trim. It was pretty epic - good thing I was wearing eye protection. I made myself a mitre box and then used a hacksaw blade to cut the trim. That worked pretty well!
The challenge is going to be getting the panel up without the trim falling off or shifting position. The first panel will be fairly easy as it has four simple sides. The second panel is going to be difficult because there are a lot of small trim pieces ranging from 3/4" to 6", plus four pieces that are 15" or more.
I thought I bought plenty of that trim but I ran out. I only had one more piece to cut.
I'm considering not using the plastic trim altogether. It doesn't look good (my fault) and it's going to be a lot work coordinating all those pieces. Instead, I'm thinking of using 1/4 round that will be installed after the ceiling panel is put in place. I don't know how well the plastic trim will take caulk to cover up my lack of skill. Quarter round is a known quantity in that area.
Either way, I need to make another trip to HD for trim.
Since I ran out of trim and still had daylight, I worked on another project. A couple years ago I had to access the area behind the wall in the bathroom to fix one, two, maybe three pipes. The only way to get there was to push out the Luan from the opening shown below.
In the process of removing the panel, I broke it. It was just Luan, so breaking it wasn't that difficult. Today I cut a 3/4" thick board to fit in that opening and covered the board with contact paper. The grain is a close match but the color doesn't match well at all. It's better than an open panel or a broken piece of Luan, so it's a keeper. If I keep the light low maybe nobody will notice.
I made some progress on the ceiling panel today. The smaller section was installed. I'm getting smarter at this. I had all the support pieces ready to go before I put the panel up. Once the panel is up, and before I hit it with the J-roller, it did not want to move. I had to peel the panel off the ceiling to adjust one of the trim pieces. If the glue adheres the FRP half as well as it sticks to my hands, these panels aren't going anywhere.
I took measurements for the next ceiling panel and cut it out. I didn't want to disturb the glue on the first panel, so I shifted gears. I opened up the wall on the side of the tub. The wallpaper was in bad shape there, so I figured I would replace the wallpaper with the plastic panels like on the ceiling. While the tub was opened up I disconnected the water lines and test them. The faucets on the tub are backwards. Hot is cold, cold is hot. The knuckleheads at the factory attached the faucet hoses to the wrong Pex pipes. It took some contorting (the toilet is in the way) to get the lines reattached.
While I was under the tub, I inspected the wood frame and found more loose joints. I added a vertical 2"x2", as show in this picture, and then also a horizontal 2"x2" under the lip of the tub. The left panel under the tub now has a plastic FRP panel instead of wallpaper. The right panel attaches with screws and I ran out of daylight to complete that.
The second section of ceiling panel was installed today. Looking at this picture, I realized I didn't check to see if the T-molding pieces are parallel. It's too late now!
The new wall switch was installed. I need to put labels on each switch, otherwise my wife will be testing every switch, every time.
Here's an interesting observation. These pieces of T-molding were both purchased from Home Depot. They aren't the same size!! Functionally, I'm not sure there's any difference. Visually, the part that is seen is slightly different. But I don't have any T-molding butting up against other T-molding, so nobody would ever know.
This Hennessey Takes the Expedition Tremor's Off-Roading Capability to the Next Level
Slideshow: The VelociRaptor Expedition gains a lift, upgraded suspension, Brembo brakes, and trail-ready equipment while retaining the stock 440-horsepower EcoBoost V6.
Rezvani's Latest Post-Apocalyptic Monster Is a Ford F-150 Raptor Underneath
Slideshow: Called the Fortress, the 850-horsepower pickup combines Raptor underpinnings with military-inspired features, survival equipment, and a starting price of $285,000.