When you click on links to various merchants on this site and make a purchase, this can result in this site earning a commission. Affiliate programs and affiliations include, but are not limited to, the eBay Partner Network.
Last weekend I had several incidents of the blower not running, then restarting. 2007 E-450 diesel on a Class C motorhome. A hot weekend, headed up to the mountains to dry camp. We stopped at a grocery store after an hour of driving, and the A/C blower would not run. I switched to 'vent' setting, and still no blow. After about 5 minutes, it started up again, and we ran the A/C again. On the way home Sunday, we stopped twice (rv dump, and gas station). The fan came on after 5 minutes the first time, then the second time we stopped it wouldn't come on for about 20 minutes. It actually turned on just as we pulled into our driveway.
I'm suspecting the blower motor resistor. From what I gather there is a thermal switch that can reset itself, as well as several resistors. I have an old style pink circuit board motor resistor that I can see from the front. I'm thinking the thermal switch is getting heat soak while I stop. This is the first time I've had problems with it, so I don't know if the part is getting corroded or what. The connector looks okay, and no reason to suspect the 4 position blower switch on the dash board quite yet. Am I on the right track? It's not an expensive part, just looks like a bit of a pain to access the board in an E-450 6.0L engine bay. Is this a part that fails frequently?
I feel like I had this happen and it was the blower motor. I think the resistors have more to do with certain speeds not working on your fan of I understand correctly. I am fighting that now.
That infernal resistor network would be my first suspected cause too. And while the connector you can see looks okay chances are its been damaged by excessive current draw---they've been known to melt or appear burned--the same noticed on the actual resistor network too.
However that resistor network does NOT come into play when the cabin blower speed switch is set to High---at that point current flows directly from the battery to the blower motor through the Blower Motor Relay. In this case I'd be suspicious of the cabin fan speed switch--also a known point of failure over time. They're cheap switches even the OEM versions and just can't seem to stand up to constant current draw over time. If that's a problem area the connector from the chassis wiring would also be a good candidate to replace along with the switch.
I'd also recommend you obtain an EVTM or "book of schematics" for your year chassis. Even though it's an RV most of the Ford factory wiring would still be as built. You really only need the EVTM if you'll be doing much of your own maintenance and repairs--otherwise an honest, trustworthy and knowledgeable mechanic is good to find.
Thanks for your comments, JWA. I do have a set of schematics for the E-450 chassis on disc, a very extensive version with several thousand pages. I don't recall if I tried to put the fan in High or not. I'm sure it didn't function in positions 1-3.
I swapped out the blower motor resistor card yesterday evening. As usual with a van, there wasn't much room to work with. The hardest part was getting the card off the wiring harness. There are 4 stabs that while they didn't appear to be spot welded or melted were still very hard to get going. While I was struggling to get the connector off I may have bent up the resistor coils. The old one looked to have the small and medium coil touching, which would be an issue. Otherwise, the old part didn't look that bad. The thermal switch would be the culprit anyway. One end of the switch looked a bit darker than the new one. The new resistor was working fine, but I'll have to give it some heat soak to tell if it's really fixed.
Good to hear---almost nothing worse than not having air flow through the heating/cooling system.
When I'm changing that resistor or the blower motor I remove the battery and the plastic battery tray too---access is soooo much easier. Of course fiddling with the battery tray can add issues of striped bolts so taking that aggravation on along with the blower motor is something to ponder before going that route.
Welp, the blower motor resistor wasn't the problem. Another long road trip with the same problem. I have figured out the blower speed is fine, it's just the a/c is coming out of the defroster vent. A/C works fine with a cold motor, but warm it up good and stop for diesel during the day, and the airflow disappears. This trip the a/c never would come back out the vents once we stopped. The a/c is still blowing cold, just out the wrong vent holes.
141 posts over 8 pages, quite a history of a similar problem. The visibility & access under the passenger dash is horrid. From what I gathered over the course of reading the issues, the problem may extend into the 2006-2007 model year for E-450's and E-350's?? Not sure how heat soak factors into my intermittent problem, but stranger things have happened.
Almost 100% sure you're dealing with the common issue where a permanent or intermittent loss of vacuum to the air flow control solenoids causes that system to default to the defrost position.
I'm in-process creating a video and still photo "how to" thread here dealing with just the vacuum controlled air flow issues--unfortunately its not quite ready to publish. Once done it will show how to perform an easily accomplished work around to the dreaded vacuum reservoir failures that are so commonly the problem to your wrong vents situation. While it pretty much just re-hashes what's already been posted numerous times across a lot of different threads here on FTE the hope is it can serve as an introduction to the system and its proper operation as well as an easily accomplished work around or repair costly less than $35 using factory parts.
I've not yet worked on or around an E-Series with the newer style dashes but if your RV has the typical E-Series cab your year is most likely no vacuum reaching the cabin interior vacuum controlled air flow direction solenoids. If you open the top center dash board access panel you'll see two vacuum solenoids and a small bundle of hard plastic lines. Regardless where you move the Function Control Switch (Heat, Defrost, Vent, A/C etc etc (engine running) those solenoids won't move. If this is the case you definitely have a loss of vacuum signal to the system.
That access point is here:
Vacuum system schematic:
Note #1: Vac Sol #2A is only present with factory rear A/C. Aftermarket systems may not use vacuum control switching from heat to cool.
Note #2 Vac Sol #3 is near the fuel intertia switch, below dash.
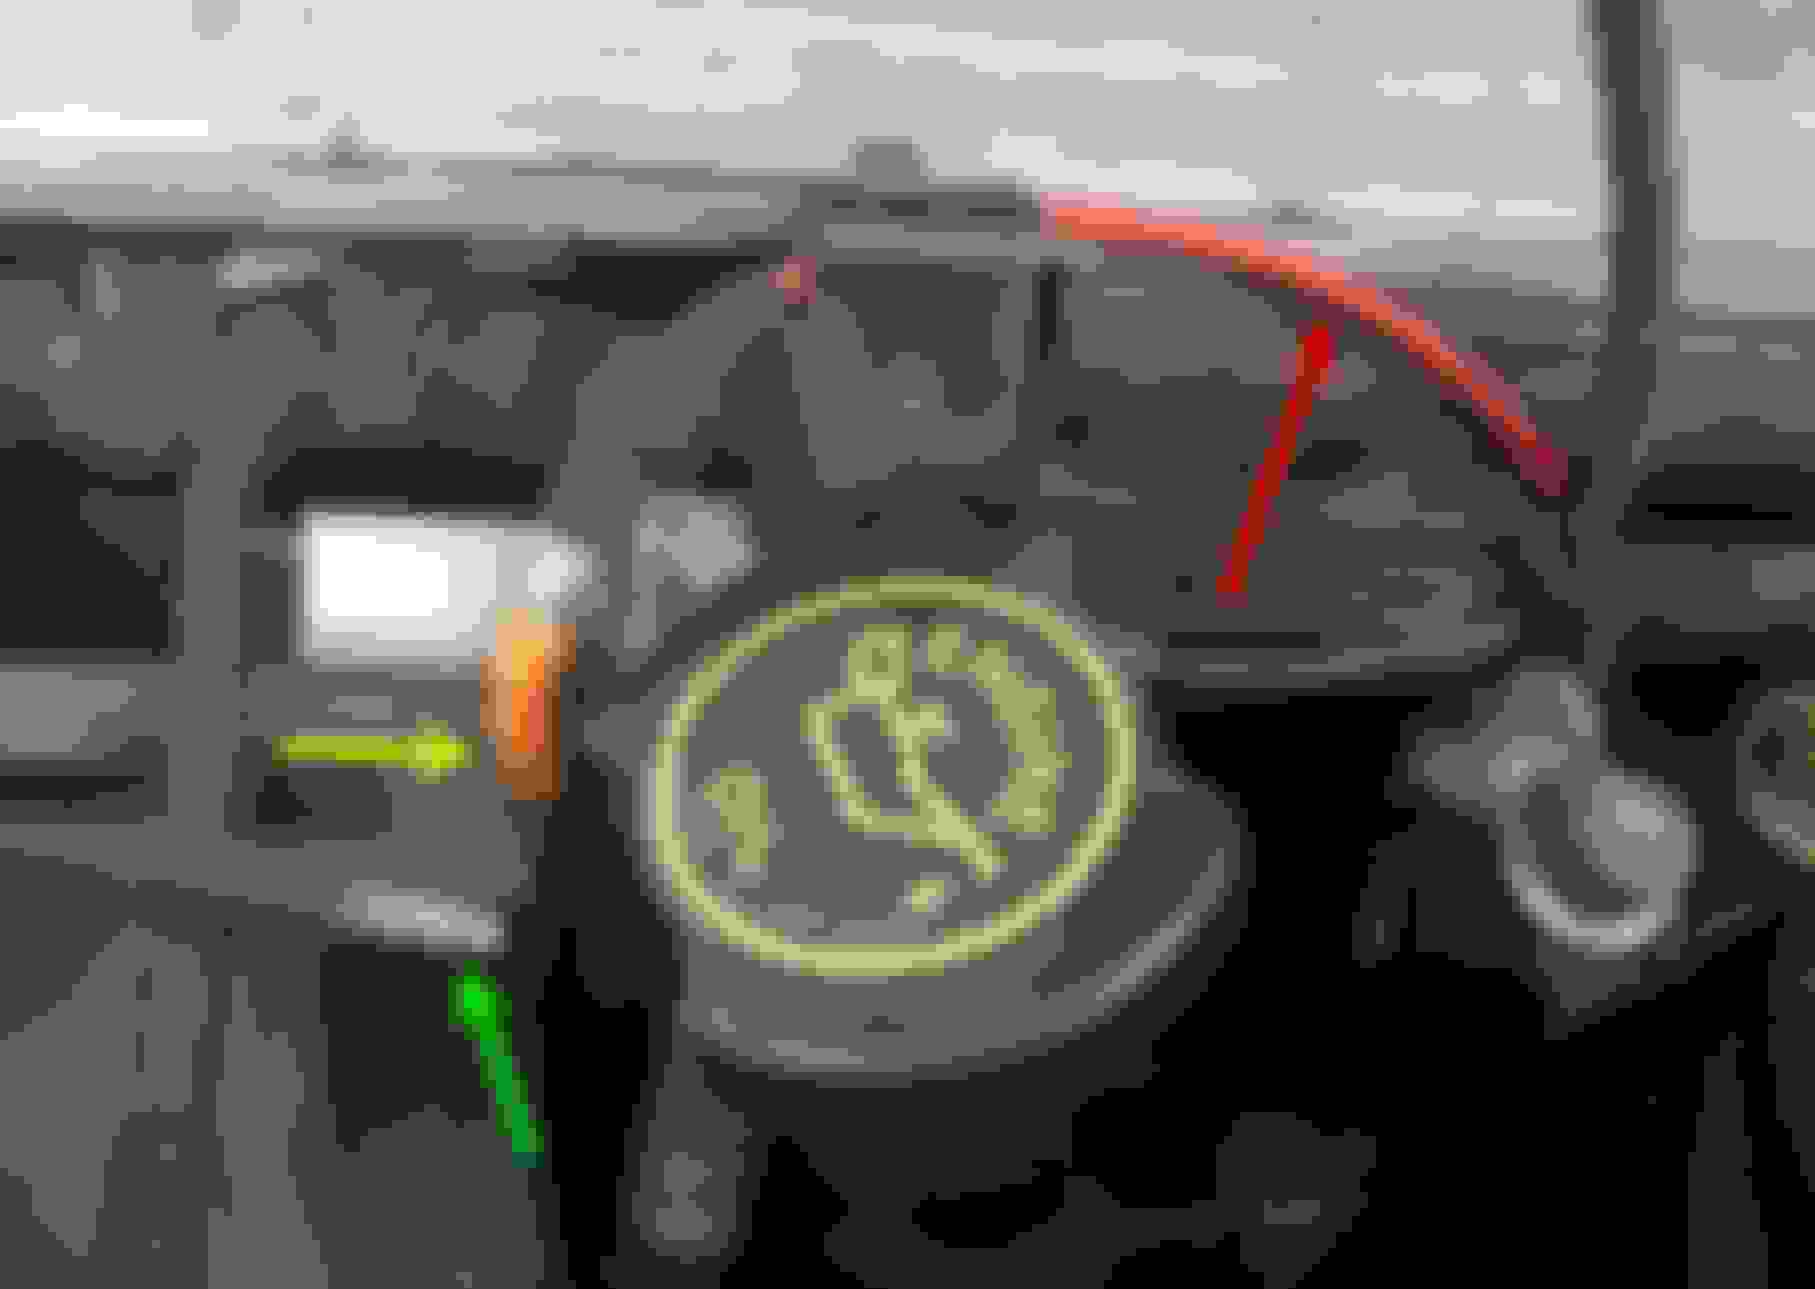
Check this photo for similarities to your E450 RV:
This area is at the cowl area, on my gasoline vans its directly above the battery--oil fill tube shown here.
Green arrow = original vacuum signal line running to vacuum reservoir.
Red arrow = factory vacuum signal typically from gasoline engine intake,
Yellow arrow = added vacuum signal line poked through heater core tube and fished into the cabin.
I begin working inside by removing these panels:
And this: (4 8MM bolts)
Once the added tube is connected as shown you can add a reservoir or simply connect the new hose to the existing hose like this:
I use Ford parts found both on Amazon (reservoir) and dealer (check valve) as those are the best prices I've found so far; Ford part numbers:
Reservoir: YC2Z-19A566-AA
Check Valve: D70Z-19A563-A or Motorcraft YG-193
The little hose adapters are Dorman 47380 Vacuum Connector Value Pack, can be found at Auto Zone or Advance Auto fairly reasonable, >$9.00 usually.
Once this you're this far and the system is properly directing air flow you can tuck the shown reservoir under those trim panels like this:
Yellow arrow points to a 10MM headed bolt that secures the reservoir perfectly in place.
Fantastic post, JWA. I did some work last night, and popped the cover over the solenoids like your first picture. The solenoid #2 is where the issue originates, at least with my E-450. When the Max A/C is switched on, the solenoid will weakly pull in, but not all the way. When the A/C is turned off, the solenoid releases smoothly.My first thought is "well, the solenoid is bad" (Motorcraft 2345220). However, if the vacuum is weak or non-existent, it's probably not the solenoid's fault.
Another tip I gleaned in looking at several Youtube videos was this: Pull apart the red vacuum line by the oil fill cap at the connector. Blow into the black line that goes into the fender well (your green arrow on picture #2) - the check valve should click closed and you can't blow through it. Suck on the line next. If you can get air, then there's something bad happening, like a cracked hose. I gave it a try, and could suck a little air. That's a quick (and dirty - ptooie!) way to diagnose the issue. On my 6.0L diesel, both of the hoses are black.
I'm going to do the new vacuum line with a check valve and reservoir. Several videos show the new line being snaked through the doghouse using an existing bolthole. Great picture of the check valve/vacuum reservoir layout, which is necessary if you don't want to have the A/C revert to the defrost upon heavy load (i.e. low manifold vacuum).
I've taken the doghouse off a few times, and it's not that hard. I haven't taken off the cover under the passenger airbag. It's pretty tight, and I'm a bit skittish about cranking too hard on it. It would sure help with access and getting the new line tucked in.
How did you snake the new vacuum hose into the cabin. You mention heater core tube - can you elaborate? Hose type - I wonder about high temperature integrity with plastic hose like tygon tubing, and am thinking of using fuel hose.
I'd not mess with the dog house to run a new vacuum line directly into the cabin---just use what's already there, we're only relocating the factory mounted original vacuum reservoir to inside the cabin.
Looking at the third photo in my post showing the oil fill cap follow the orange hose back towards the heater core---you'll see a hole through the firewall that's larger than the heater core tube that protrudes into the engine bay. With the lower plastic trim and metal plate removed you use a straightened coat hanger to push through the heater core tube hole in the firewall to use as a fish tape of sorts. Hose wise anything automotive duty would work just fine---the biggest concern is whether you use an OD that'll fit through the heater core tube hole. Don't over think this--if that nylon hard line Ford uses holds up under the heat and vibration something like typical vacuum hose will work just fine.
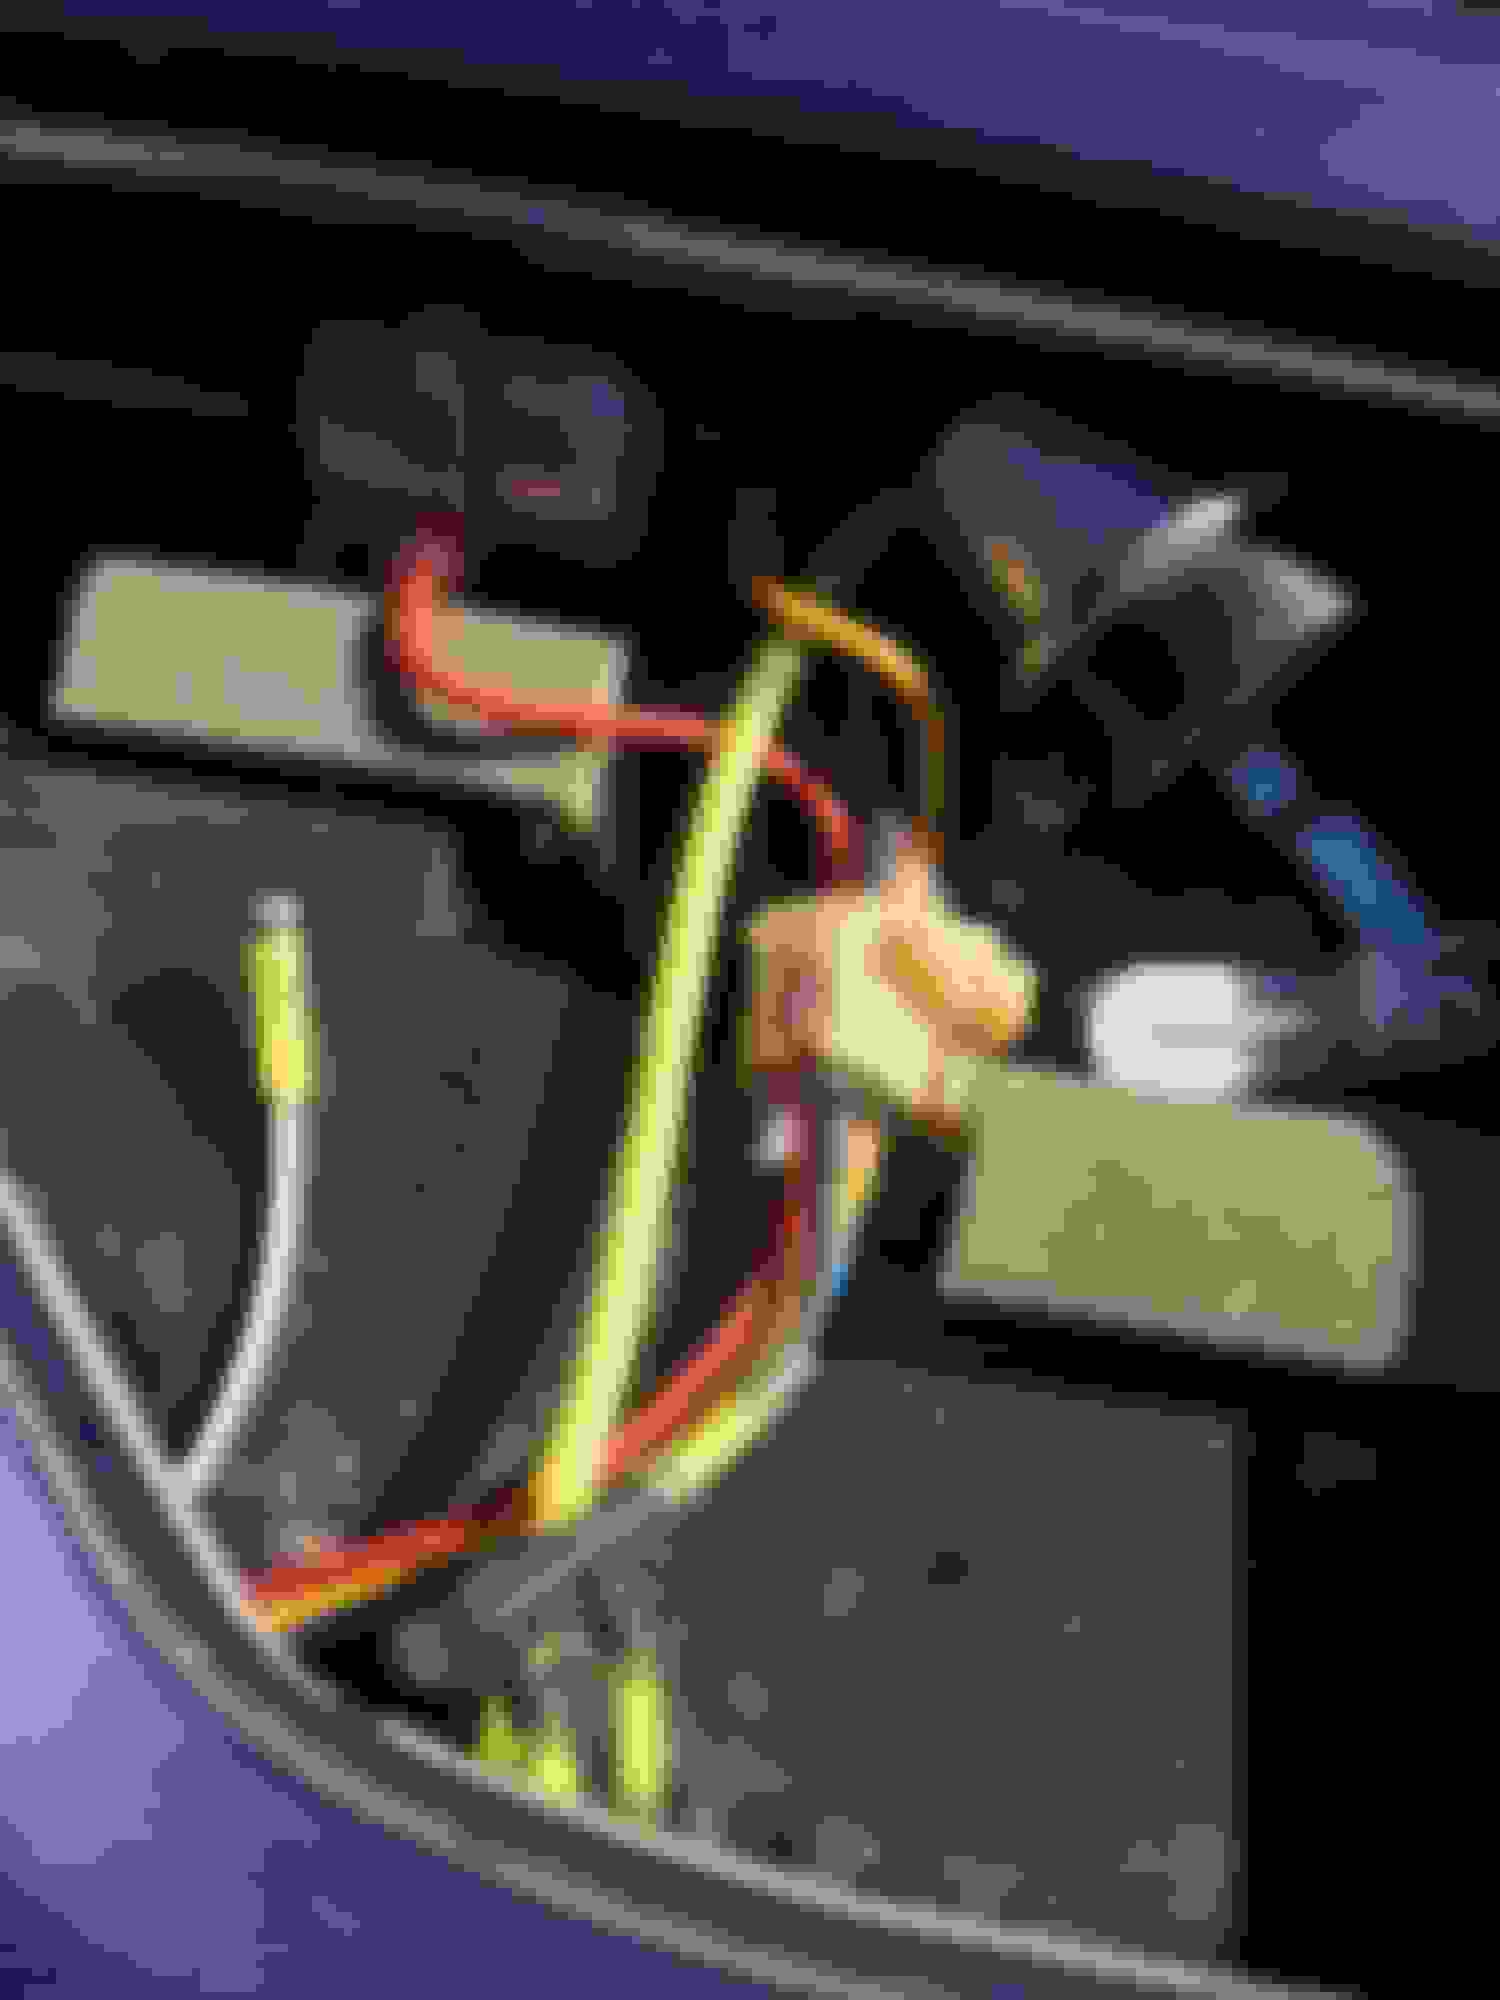
The following photo shows where I poked my replacement hose through the firewall. I think you can see the gap between the heater core tube and firewall---there's nothing more than a loose-fitting sealing fabric that's easily penetrated with a straightened coat hanger etc. You won't damage anything forcing a hose through that area---its not sealed all that well in the first place:
Photo #6 shows how the hose, reservoir and check valve would connect to the system. Again all we've done is eliminate the original vacuum reservoir and replaced it with the same parts but now located inside the cabin.
Tugging outward on the plastic trim panel is easy enough---it's a bit tight and snug but will pop loose if you pull outward sharply by grabbing it at both ends or at just one end top and bottom. The metal plate is just bolted to parts of the dash board super structure or "frame".
Hope this gets you closer SpikeDog---post again of PM me if more help is needed.
I actually kind of hope this turns out to be my problem, because the excellent write-ups and videos detailing the repair make this seem so simple to fix, it will almost be a pleasure to do it.
A minor correction to JWA's post above - Part number YC2Z-19A566-AA for the vacuum reservoir. Post #8 lists the Ford part as YX2Z-19A566-AA.
Sheesh, nobody lists the diameter of the connectors. One has to dive into the comments, reviews, and questions to get this vital info. I'm guessing I need 5/32" ID hose (4.0 mm) too. I went with 15 ft of blue vacuum hose good to 374 degrees F
A minor correction to JWA's post above - Part number YC2Z-19A566-AA for the vacuum reservoir. Post #8 lists the Ford part as YX2Z-19A566-AA.
Thanks for catching my goof up---very much appreciated, corrected now.
Originally Posted by spikedog
Sheesh, nobody lists the diameter of the connectors. One has to dive into the comments, reviews, and questions to get this vital info. I'm guessing I need 5/32" ID hose (4.0 mm) too. I went with 15 ft of blue vacuum hose good to 374 degrees F https://www.amazon.com/gp/product/B0...?ie=UTF8&psc=1
Got all my parts on order from Amazon today.
Good information on the hose size---good find on Amazon too. In fact I'll keep them in mind as I need larger silicone hose for a PCV catch can I'll be installing soon.
SpikeDog let us know how your repair works out. As I've mentioned anything we can add to what'll be a how-to on dealing with this vacuum reservoir problem might be helpful to others in the future.
A large syringe works as a cheap vacuum pump to test the various operators. In a jam, on similar Ford truck systems, I've used nylon tie-wraps to hold the vacuum operator in position due to low vacuum uphill, to buy time before digging deeper.
A couple of pictures of fuel lines used as connectors. On the two-port vacuum tank, a line within a line. On my '94, one of the ports has the check valve inside.
When sucking on a line, don't forget to stick your tongue on the line to see if it holds.
Made another camping trip to the boonies last weekend. While I'm still waiting for parts to show up, I came up with a little work around for the A/C. With the dashboard cover off, the vacuum solenoids exposed, all I had to do to get the A/C blowing the right direction was push the slider into the #2 solenoid. There's still enough vacuum to hold it in place. Not enough to move into place, but enough to hold it in. I actually had better A/C than I've had in quite a while - I think that blend door has only been opening partially all summer.
 07-08-2019, 09:55 AM