When you click on links to various merchants on this site and make a purchase, this can result in this site earning a commission. Affiliate programs and affiliations include, but are not limited to, the eBay Partner Network.
My long over due winter project is a light rebuild of my '81 f150 with the flareside body and wood bed. I've kept the poor thing outdoors for quite a few years but I finally have the resources to fix it up and get the rust under control. I'm going to document it in here as I go, and hopefully get some pointers as I don't know far/in depth it's worth taking the rebuild. I generally live by the rule "Don't fix if it's not broke" but as I started taking the truck apart I realized that tearing the truck down is really the way to do it right. So I want to find the balance between getting the project DONE before end of spring, but at the same time not missing crucial points that I need to address while the truck is in pieces. So any help in this respect is appreciated.
I want to hit all these points before I'm done:
repair and abate the rust (address EVERY body and chassis part on the truck)
light blast and repaint the frame ("Chassis Saver" brand coating),
refinish the exterior body with the cab still on the frame
pull stock intake exhaust and emissions
install my new Clifford setup.. headers, water cooled intake and single 2bbl holly weber carb
fab up stainless single exhaust
finally fix that damn windshield washer fluid sprayer thing
I've always kept her stock under the hood but I'm ready to get a little more out of the old 300 in there.
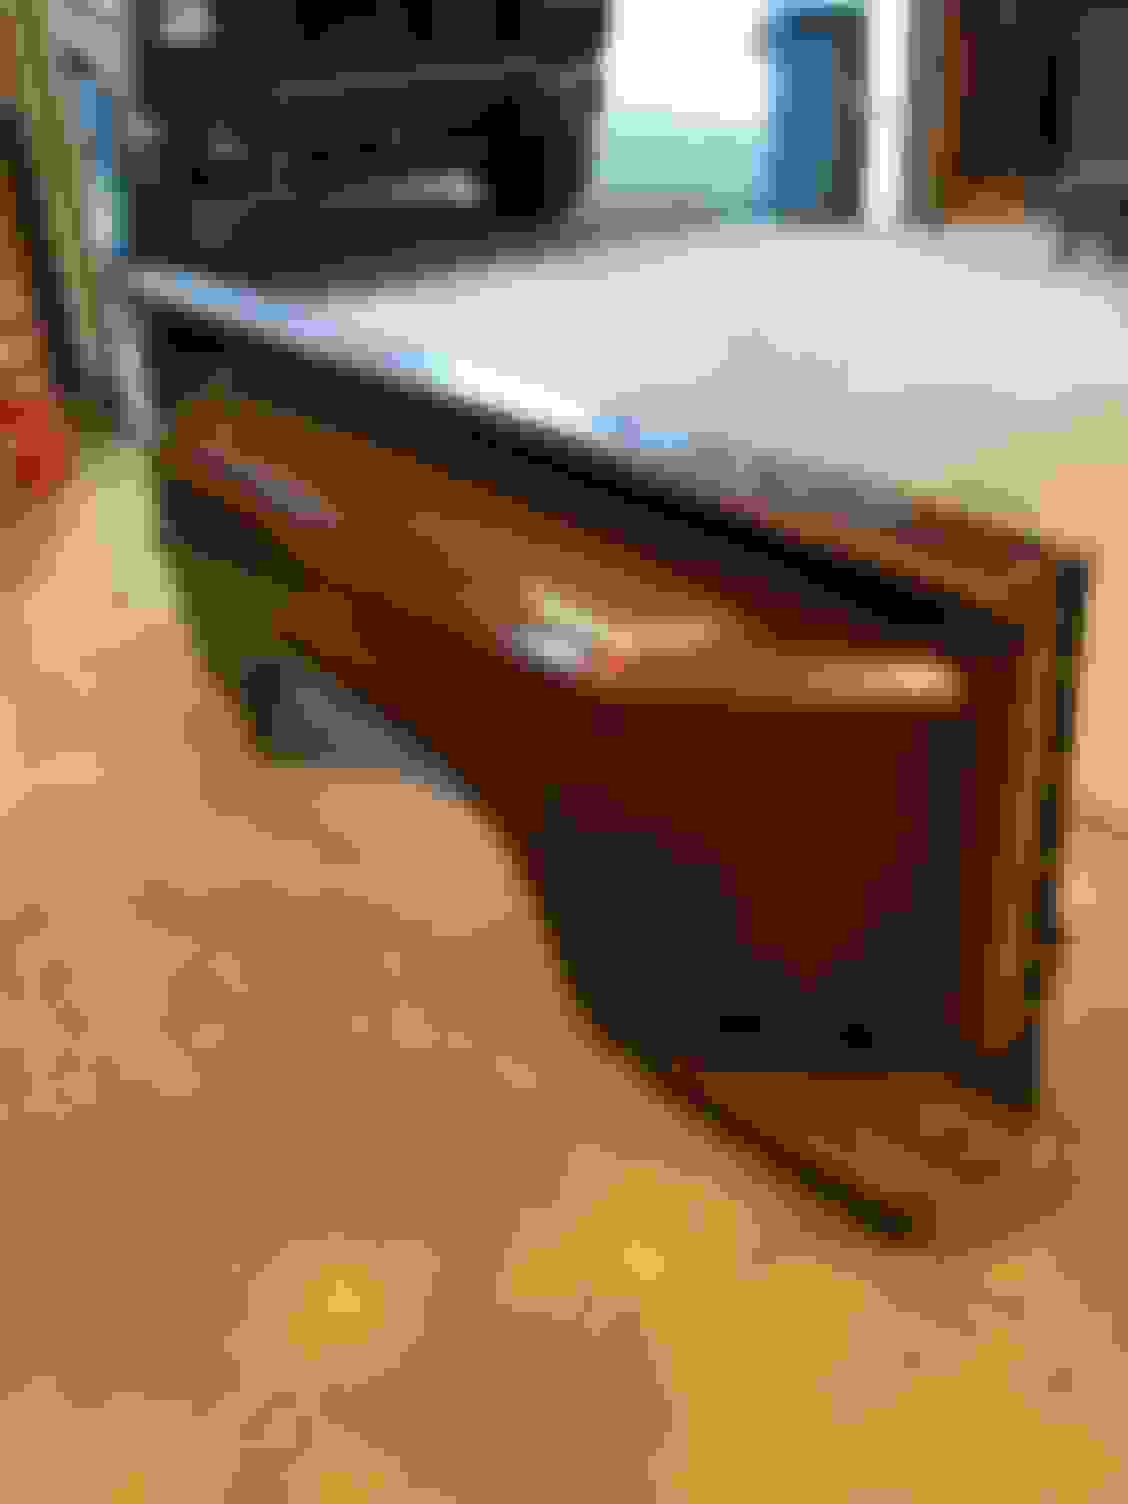
Right now I'm focused on body restoration and rust abatement. My main focus is the on the rear of the truck. Due to a nice oil leak the front end of the truck is in much better condition than the rear! Anyways I haven't seen any aftermarket parts for the flareside bed so I will need to put some time into these panels. Flareside trucks from this era seem few and far between so I really want to give it the attention it needs. The fabrications of the panels and tailgate are pretty complex and I'm still in between just bolstering the existing metal, or cutting it out and replacing it the hard way, or some happy medium between the two options... As for the wood bed I will be replacing it entirely as the screws have been stripped and replaced and stripped again.
I'll be replacing the front quarter panels with LMC parts:
New shackles and a new spring mount from LMC for this mess here:
Here's the inside of the rear quarter panel where it mounts to the bed... A lot of really disgraceful oxy acetylene welding done on these two panels:
The existing finish has serious spider cracking issues. You can see it on the tailgate pretty good. Someone told me it's something to do with the hardness of the clear coat that was used.
So as of now the plan is to do all the fabrication I can. I have a sand blaster setup that will hopefully make things easier. It's a lot so all I can do is take it one panel at a time. I can't wait for the final finish. I got a gallon of paint from sherwin williams that's the color of a brand new shiny 2019 penny. She's going to be lookin good.
Fabbed up my new wood stove'll be keepin me warm while I work. Pipeline scrap from some 20"
That's a lot of work Rob, good luck with it! I'm just going through the exact same process with a 1984 Flareside, also hoping to have it back on the road by spring.
You guys are only doing half the job https://www.ford-trucks.com/forums/1...lare-side.html
Now that's a full rebuild!
It started as a $800 truck to take the trash to the dump but when I got into what it needed just to be safe it got out of control.
Got it December 2015 and hope to have paint on it this spring, on the road the following year if lucky.
I will be following this one like I do Cory's
Good luck
Dave -- - -
The area down below is very important (that is a shot of the lower rear part of the bed correct?) on the regular style side pickups, not sure about your flareside and how it's put together. That "box" below the taillights has a channel piece inbetween on the stylesides, and that holds the bedsides upright where the tailgate latches in. A lot of rust here means some serious metal work or a replacement from the junkyard so the rear bedsides don't flop around wihen the tailgate is dropped.
The "alligator" or crazing of the paint is caused by the top layer that was sprayed onto a lower layer of paint that was not fully cured, or the lower layer was attacked and softened by the upper layer. This can happen if a low grade "regular" paint is used, and then a high performance automotive paint is sprayed on top of it. The powerful solvents in the automotive paint will soften the lower layer that it is sprayed on.
So the upper layer dries, the lower layers underneath are not. A year or so later the lower layers finally dry and when they do they shrink. This caused the hairline cracks in the upper layer of paint. Several ways to prevent this. Always use one brand of paint products from the primers all the way to the top coat. And or use a sealer before the top coat is applied to seal the unknown paints underneath.
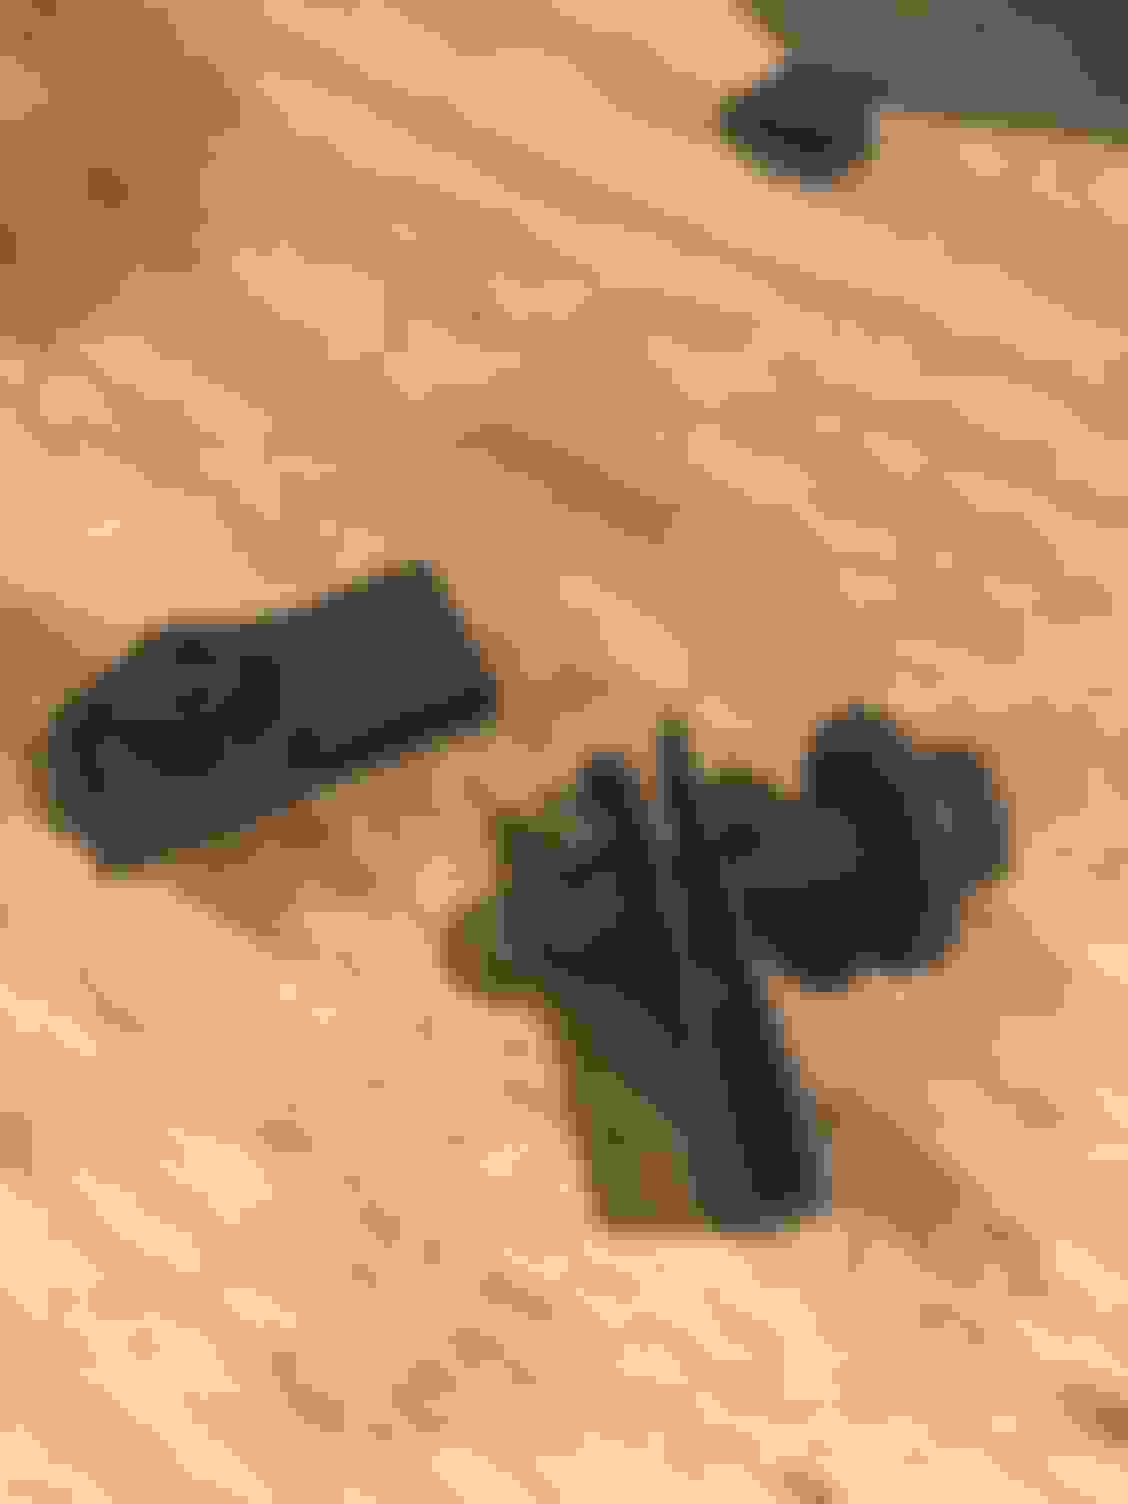
These brackets fail so often, the local parts stores actually keep these in stock in my area. The Ford dealer keeps them also, and they were right in line with the pricing of the local stores when I went to them and bought it. That was several years ago though, don't know the pricing lately.
P.S. I just checked Autozone, they have the rear bracket for $48.99 and they also sell the front spring bracket for $105.99. Dorman is reproducing them.
install my new Clifford setup.. headers, water cooled intake and single 2bbl holly weber carb
One more comment, the coolant through the intake is to heat the intake, not cool it. If you will notice the factory stuck the exhaust manifold and the intake manifold together so they touch. This is to heat the intake and keep the air/ fuel atomized. When you put the header on it, and the aluminum intake, the carb will be sitting out there with no heat at all, and it will freeze up in 40 ish degree weather. The coolant will warm the intake, not as good as the exhaust the way the factory had it, but it's better than no heat at all.
That's not a bad price at all, don't know what shipping would be as my brother found one for me and shipped it from California to NorthCarolina on his dime.
Dave - - - -
Saw the craigslist add posted by Osagebow and decided to check it out. Turns out it was my new neighbor's buddy who lives down the road! It's a small world of bullnose fords!
Good score
As for other sheet metal I would look at http://tabcoparts.com/
I was vary happy how they were shaped and fit, not cheap thin junk.
I don't know if they make full fenders as I did not need them so did not look.
Dave ----
Thanks for the feedback all. I am checking out replacement body parts and planning repairs now. Good info on the paint spider-cracking. Does this mean I can sand the clear coat down to get to a good base layer that I can paint on? The Sherwin Williams guy recommended I sand down to 500 grit and paint on top, using a rattle can primer on any bare metal repair spots. Do you see a need to blast/sand down to bare metal? Know any good suppliers for these U Clip nuts?
And what is this pile of spaghetti mounted to the passenger inside front fender? Wired to the alternator, battery etc... Definitely frayed and detached in spots. There's one galvanized box, a cylindrical component on the right that was painted with the fender, and a small battery shaped piece underneath the box. It all looks so beat that I wonder if it was even working before I took the truck off the road.
On the cracking it is hard to tell from pictures but that can also happen if the products, body filler / primer / paint / clear (if it has any as the truck is a single stage paint system) is too thick. Temp change can then make it crack. On my truck there was rust under the filler and that is why it was cracking.
What ever you do you have to get rid of the cracks and thinking down to metal.
Now you have to be careful if you blast because it can warp the panels turning them to junk. http://www.eastwood.com/7-in-cleanin...sc-system.html
I have had good luck using this Eastwood system. The gray disc is the way to go as the red is too fine for my liking so if you can get the backer and a few of the gray pads then do so.
I also see they sell a 4" disc system now or did not see it before? I may get it because I have 2 or 3 of the 7" used gray pads and I can cut the warn edges back to use on the 4" backer.
I also have some smaller disc that fit my 90* die grinder to get into tight places.
If you have not seen this thread I posted what I use to fight rust https://www.ford-trucks.com/forums/1...st-repair.html
On my truck I used the gray stripping discs and the rust gone acid. On another project I have used the other products listed.
Dave ----
That box to the left is the voltage regulator.
The little round thing below it is a condenser to keep the ALT from making noise over the radio.
From what I can tell them wires bolted to the large stud may be a way someone replaced the fuse links that should be bolted there.
I think there are 2 fuse links, 1 for the ALT output and the other is power to the inside of the truck.
Dave ----
 01-13-2019, 08:50 PM