When you click on links to various merchants on this site and make a purchase, this can result in this site earning a commission. Affiliate programs and affiliations include, but are not limited to, the eBay Partner Network.
Build thread for my wife's '65 F100 a.k.a. "Stitch"
We bought my wife a project 1965 F100 2WD long box in January 2017 and it has been on the back burner every since. We bought it right after moving to our new house, so we knew that it would sit for a while. It's hard to believe that it has been taking up half of the garage for a year and a half now. Perhaps that is why I am starting to get less and less subtle hints to get started on it, lol. Well I finally started tearing into it yesterday, so it is time to start a build thread to document the process and for the inevitable questions that will come up.
It all began with a 4+ hour adventure up north of Seattle as all of the slicks we could find locally were over double the price. We ended up settling on $1000 and an extra $300 for spare tailgate a box of extra parts that I am still digging through. The driver side rear wheel bearing had disintegrated and it was a bit of a challenge to load on the U-Haul trailer. I ended up wrapping the axle with a huge ball of kite string and slapping the bearing retainer back in. The nylon string acted well enough as a bearing for the 50 feet or so we had to move for loading and unloading and more importantly kept the axle from falling out. Redneck ingenuity for the win! (There are no pictures of this particular stellar repair to protect the identity of the guilty... OK, it was my idea...kind of proud, kind of ashamed all at same time on this one.)
According to the PO, he was using this as his daily driver until the axle failed. The bed was swapped from a 64 (obvious with the color difference) and he swapped to 3/4 rear springs. The only major body damage is the passenger side front corner. He claims he forgot to set the park brake at one point and rolled forward into his girlfriend's truck. I would guess that it was going a little faster than that, but it is really the only body damage to speak of. The initial inspection appeared to be mostly rust free except both front fenders and some shoddy rust repair in the bed, but as we all know that never stands up to the more detailed disassembly inspections. This truck is no different as I am finding out. But still mostly rust free and the engine does run really well. The clutch and throwout bearing are pretty noisy, but it made it the three miles to the DMV for a VIN number inspection under its own power once I replaced the axle bearing. Once again, upon further inspection I probably should have trailered it, but more on that later. Here's what we hauled home:
Everyone's first question answered- here is the warranty plate. So far it all matches except the transmission is now a four speed instead of the three-on-the-tree.
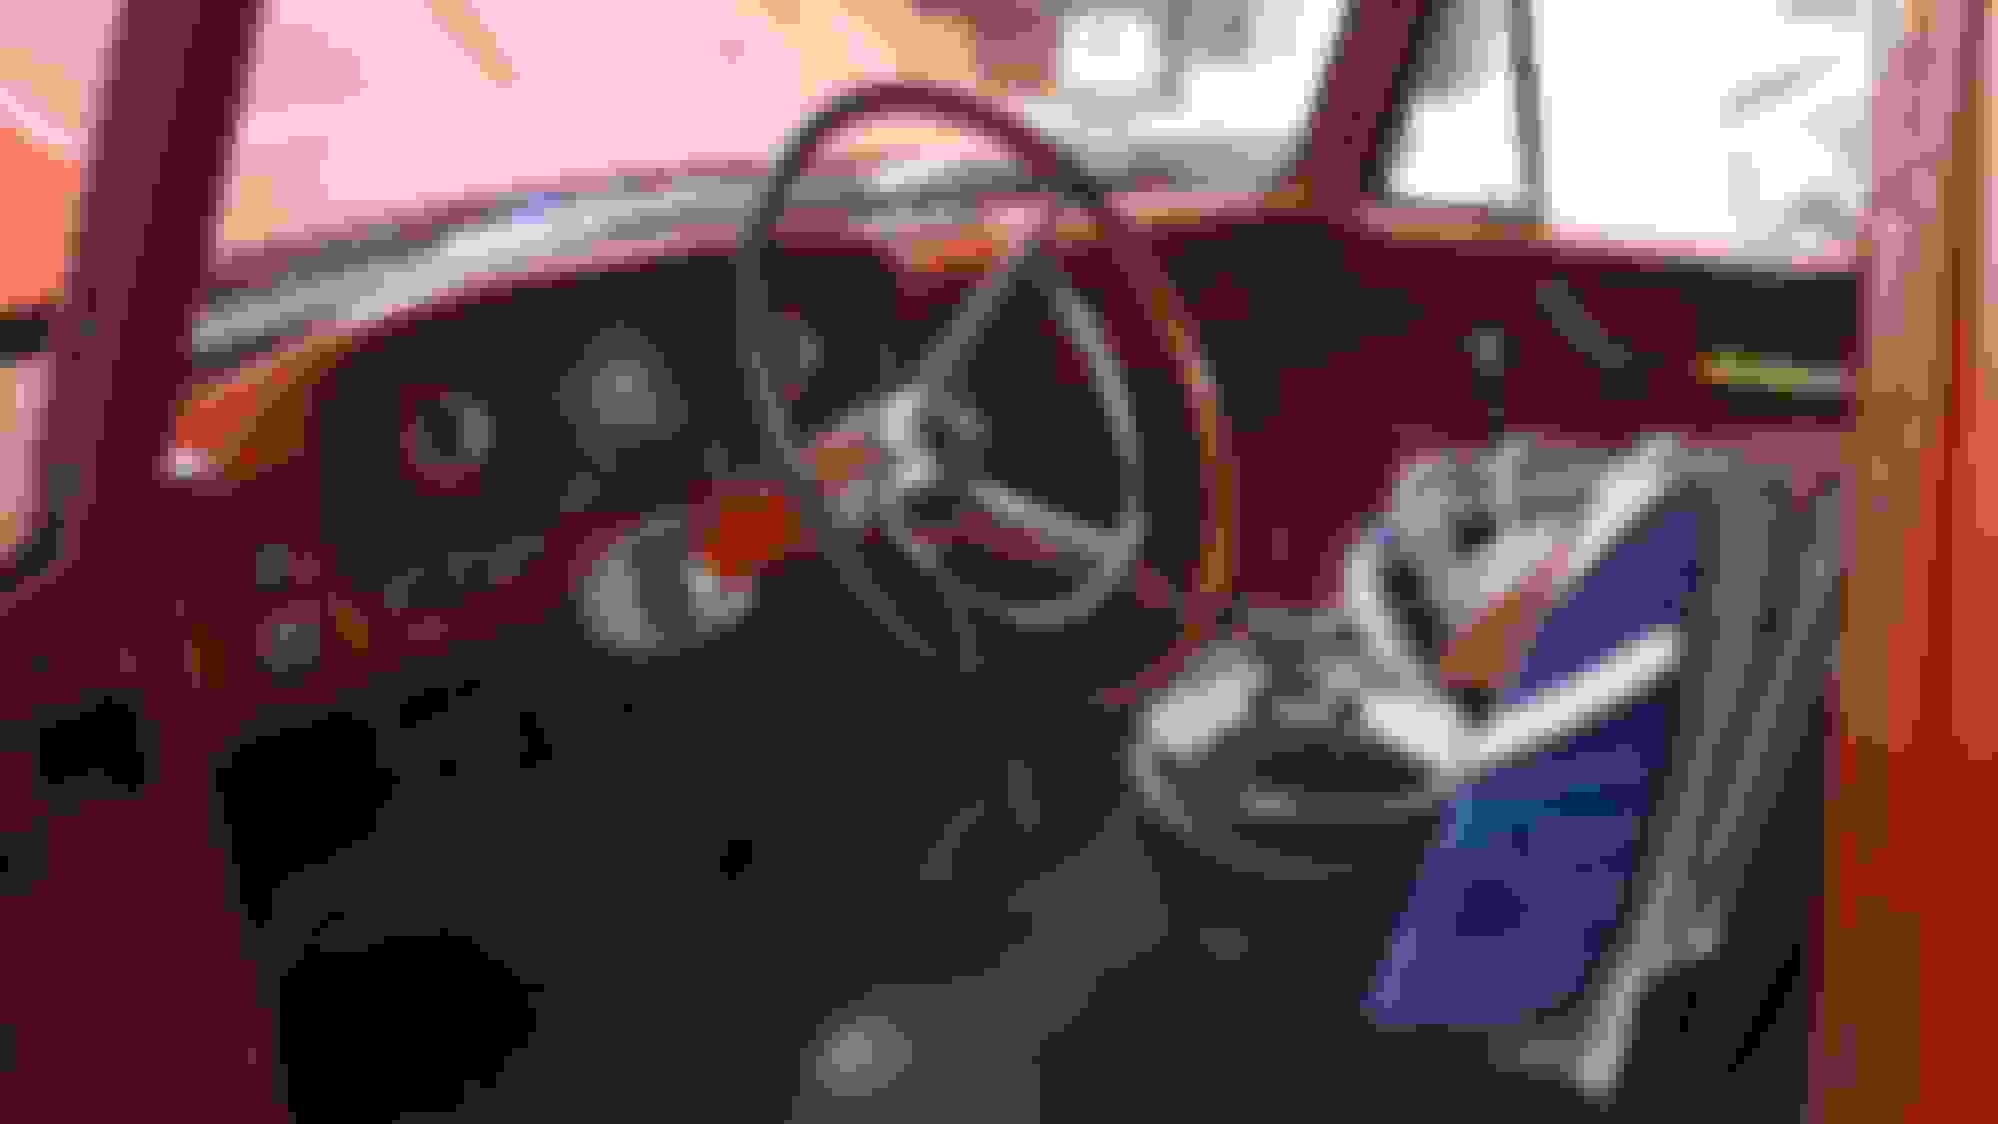
(Yes that is a piece of plexiglass for a window... better than the duct tape wing window... complete with a hole for flicking cigarette ashes...)
Yeah, this is a little more than a rolling forward on a hill kind of hit. He had to have an ignition interlock removed before we drove up to look at it. I think I know how he got caught on the DUI...
Mostly unmolested interior except the hole in the dash for the stereo.
The current plan is a full frame off restomod. She wants to keep it mostly original looking but add some creature comforts and modernize a bit. Obviously this includes the rust repairs that I have already found and the several that I am sure are still hiding. It will get a full mechanical and electrical rebuild, add fuel injection from later model 4.9L, convert transmission to automatic w/ overdrive, convert front to disc brakes from a dentside, ditch the single master cylinder for modern dual chamber with power booster, swap in power steering, add air conditioning, and repaint to a bright blue. My wife has already named it Stich as we are assembling pieces from all over to build it. Her choice of blue kind of finalized the name. I'm going to have to work a sticker in somewhere.
The more I looked at Stitch, the more "redneck ingenuity" I found. I only claim the string on the axle. The rest of these are all PO...
No radiator catch bottle? No worries as long as you like Gatorade...
Yes, that is baling wire holding the clutch linkage together...and I drove it like this...
Look carefully at the interior picture- tachometer duct taped to the column...
More duct tape...
This block of wood holding the passenger side window up. Recall the driver side plexiglass and duct tape...
I'm sure I will find more as this project progresses.
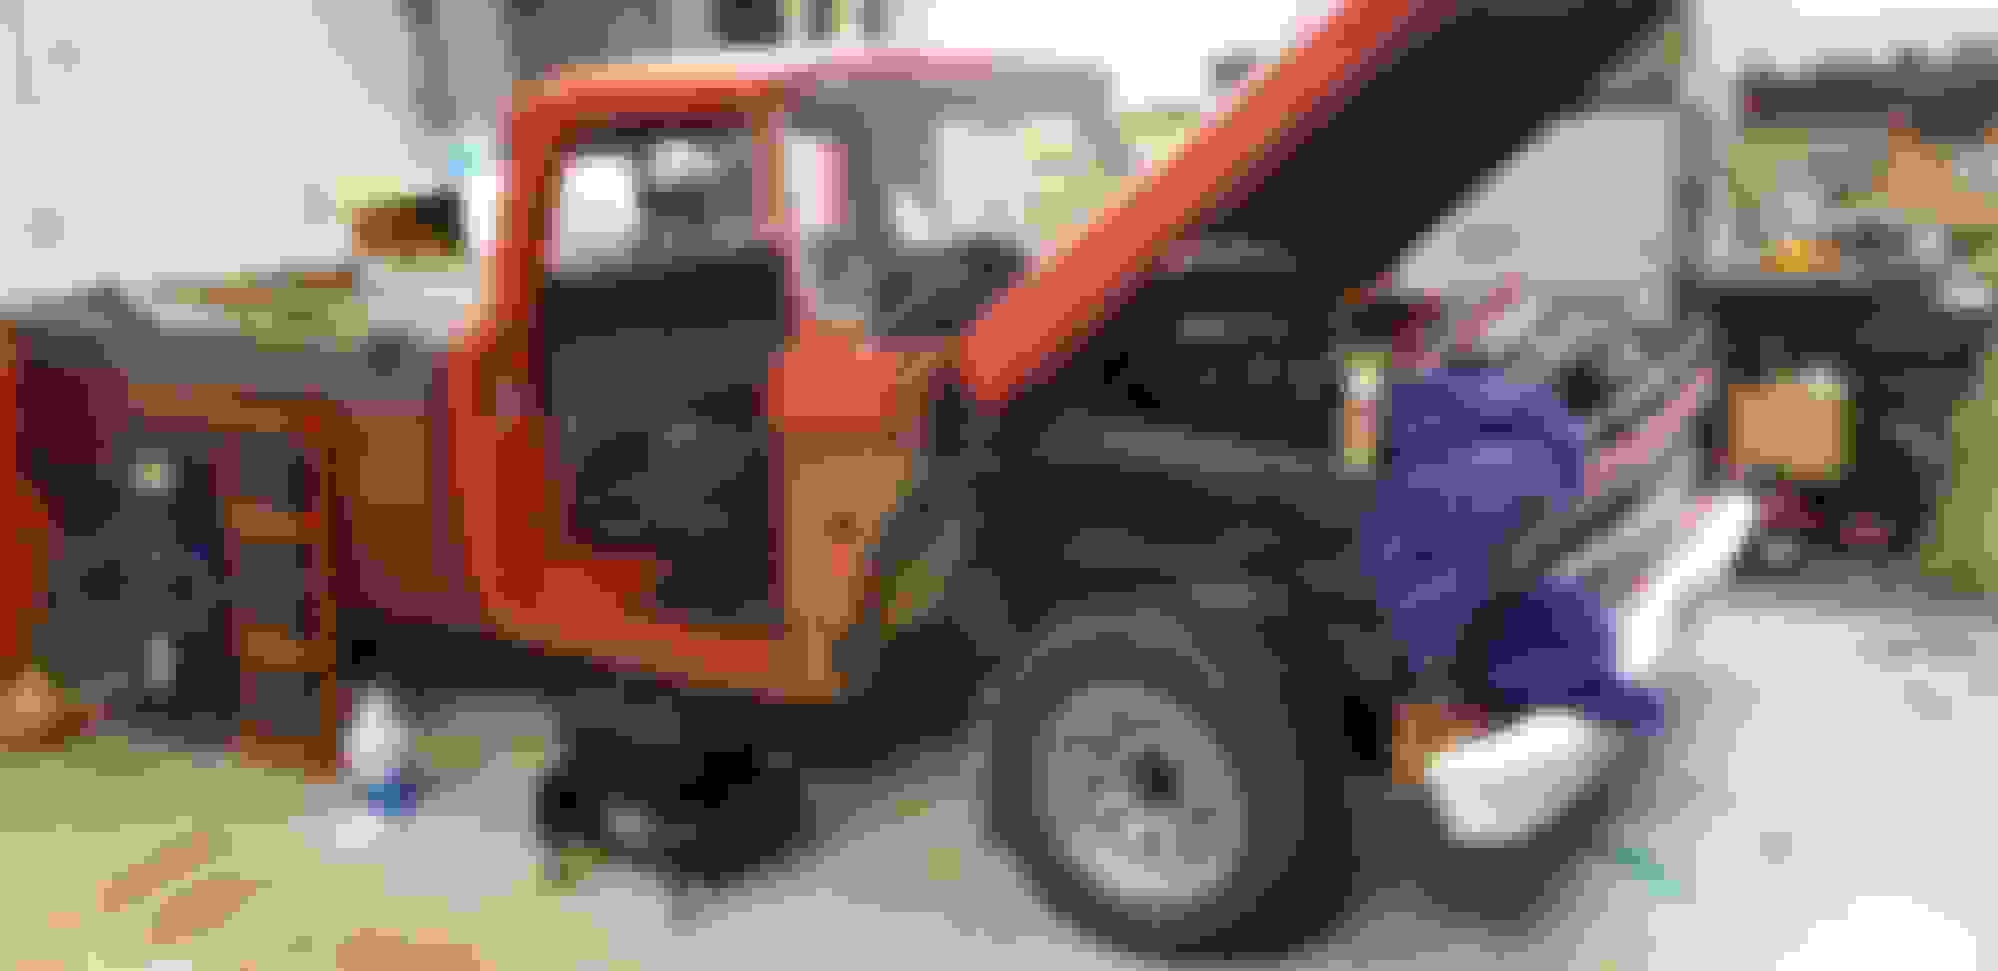
As mentioned I started disassembly yesterday, about a year and a half late. Got the dented fender off and the passenger door. Fender took most of the day with rusted bolts and trying to get the ones obscured by the crushed corner. Both doors have really minor rust bubbles starting to form and rather than patch them I found a replacement pair on CL.
I got my first really good look at the front header/ radiator core support and gravel pan while trying to get the fender off. Needless to say, both of those will be getting replaced/ repaired.
Rust on front header panel continued onto the frame rail and rotted out part of the frame horn or maybe from a previous battery explosion that was never cleaned up very well. Either way, that top area on the frame rail will need some love.
Some more rust along the edge of the passenger inner fender. A chunk came off just above the suspension and a crack/ more rust just forward of the cowl.
Found some minor bubbling on the kick panel while removing the rear fender bolt from inside the cab. Checked the driver side- it has the same issue.
Found this gem a while ago when I took the bug shield off the hood.
And I save the ugliest (so far) for the last. Found this hiding on the back side of the cowl in the door jamb. This one will not be a fun repair.
They got a little crazy with the undercoating in spots- almost 3/4" thick in the corner near the cowl. The undercoating didn't adhere very well, so it created almost as much rust as it saved. Nothing too serious as a direct result of the undercoating...yet.
I haven't had much time to get more done lately, but we did order up Stitch some new shoes for the wife's birthday. She fell in love with the rims as soon as she saw them, with one caveat. The old back tires were too wide/ too much positive offset and were way to close to rubbing on the fender for comfort. It's hard to see in the picture, but now, we have the opposite problem with them set a little too far in. I kind of knew it was coming, but we wanted the same size on all four corners so we could rotate them. We haven't decided whether to leave it that way or try and offset them back out some. I'm not a fan of wheel spacers, but it's that or just swap in a dentside rear end for the extra 3" width. I will have to experiment some, because 1 1/2" on each side will probably put us right back where started. I'm probably going to have to learn to live with spacers.
Anyways, for those interested, they are American Racing VN309 17x8s (0 offset) with Cooper CS5 Grand Touring 235/60 R17s
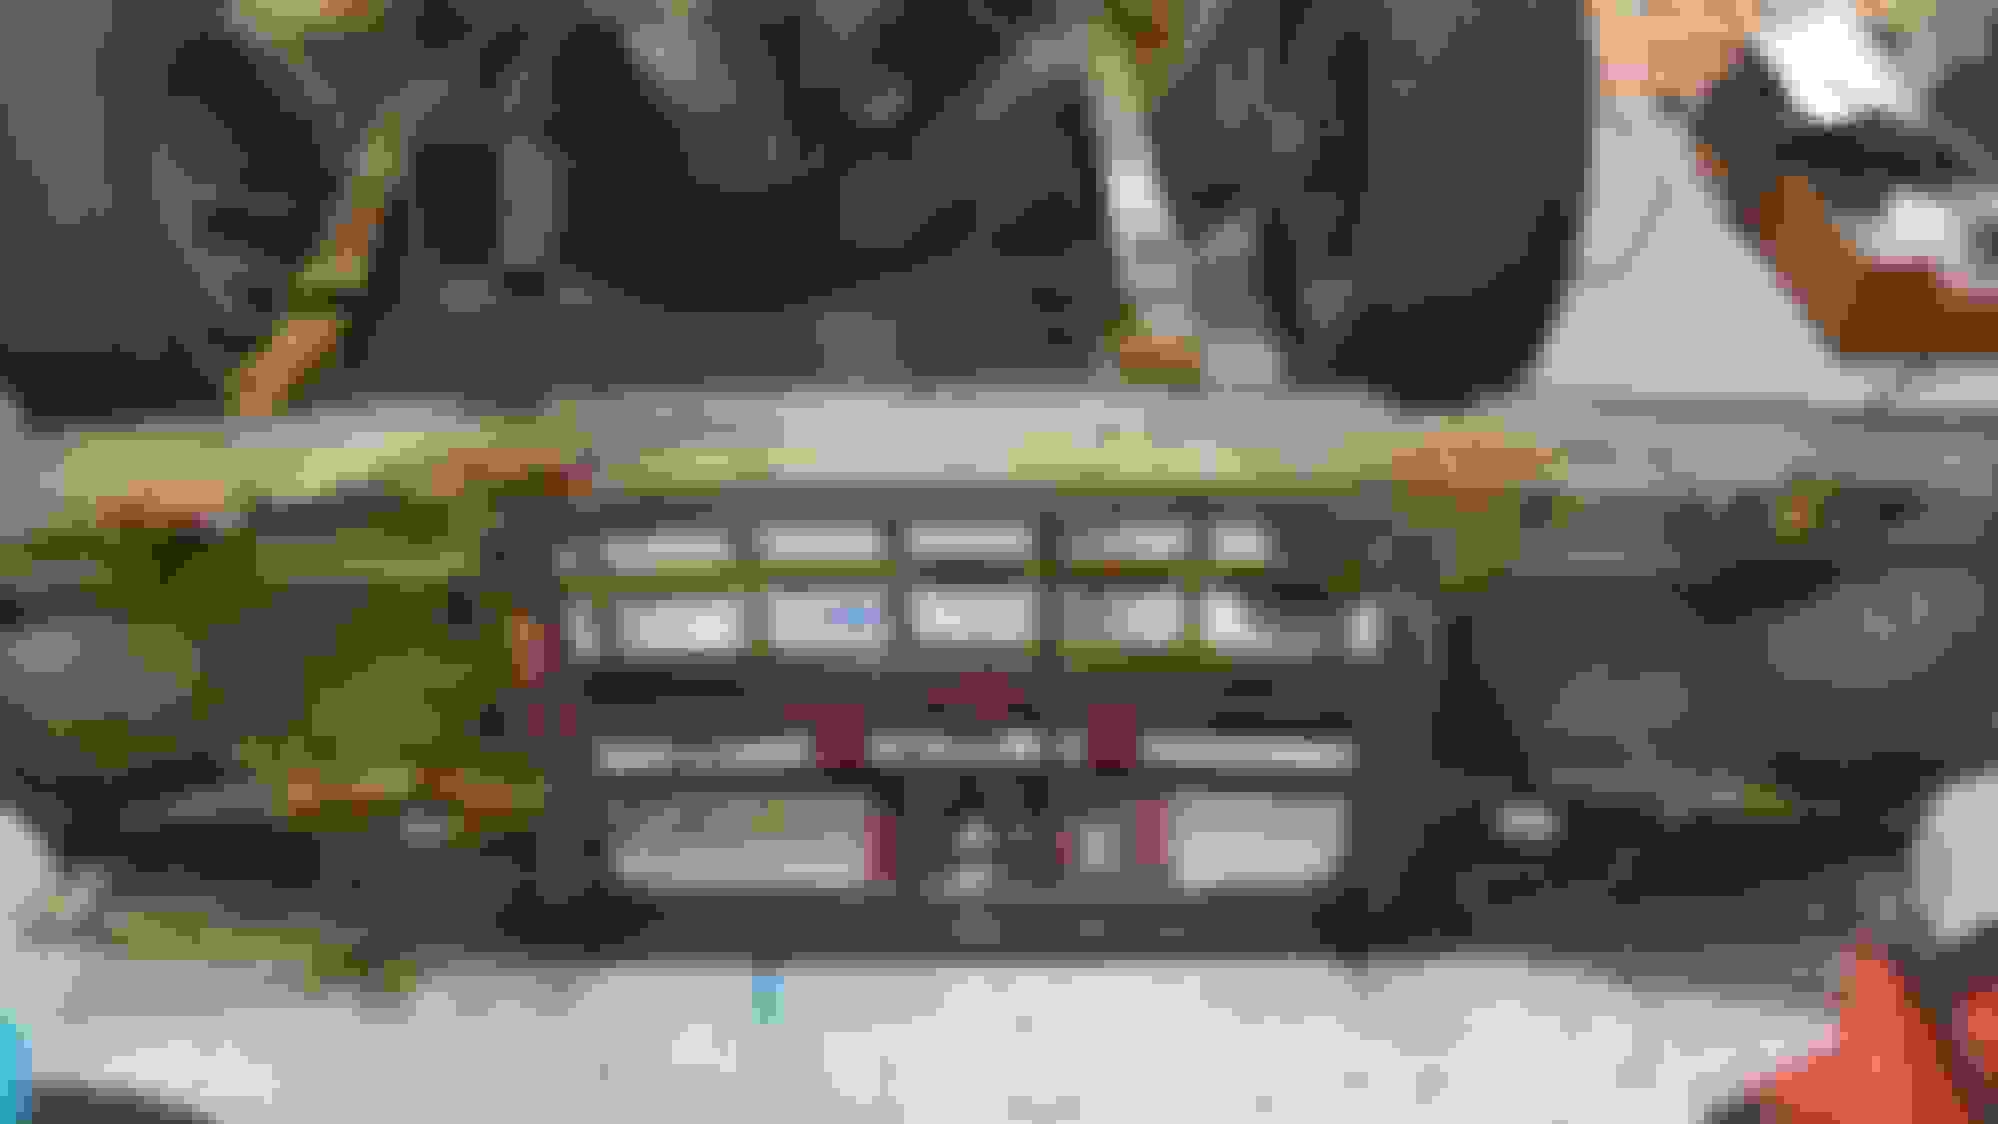
I spent part of the day at the local wrecking yard trying in vain to recue two disc brake spindles from a 73. I succeeded only in cussing a lot and smashing my hand twice with the 4 lb sledge hammer I was using. Well, that and I got the dust shields and one brake hose bracket. I may go back in the next couple days with some larger wrenches and just pull the I-beams and all. I didn't want to because they are both visibly bent and they said they will have to charge me for them anyways.
I didn't want to end the day with the truck winning, so I went back to tearing off the front clip. I got the rest off, though the valence, grille, gravel pan, and radiator support are still not completely disassembled. Too many rusty bolts and too little patience. As it was, I had to Sawzall two bolts on the driver fender and had to cut the radiator pad on the driver side. The passenger side pad literally crumbled in my hand, so it was pretty easy, lol. The front edge of the driver fender apparently met with a curb at some point and rolled it under a bit. It's not terrible, so hadn't noticed that before. I was just going to patch the rust on the back corner of the panel, but now may just replace it. The sad thing is that I could have got the fender at the same time as the doors and passenger fender- we just didn't think we needed it at the time. The pleasant surprise for the day was the driver side inner fender. It was in much better shape than the passenger side with only one small rust area/ crack in the same low spot spot near the cowl.
The radiator support and gravel pan are both completely roached. The grille and valence should be salvageable.
The frame around the passenger side radiator pad is pretty much as bad as it looked.
The driver side pad had quite a bit of rust scale too, so I hit it with the wire wheel to see the full extent. It is pretty pitted, but not completely rotted through. I am debating just doing the same repair as the passenger side while I am at it. Does anyone make any kind of patch panel for these or a plate to weld on the inside or outside of the frame rail to repair/ reinforce it? Or is it just a fab your own kind of deal?
I had the same problem with my frame holes on the truck I was working on back in the 90s. At the time the guy doing my body work just welded a large fender washer over top of the rad support hole in the frame which worked but didn't look super pretty because it was welded on top of the frame as opposed to cut in to be flush.
Hmm, it may not look pretty when the radiator support is out, but I bet you can't see the washer once everything is back together. I was planning to cut the sections out and weld in good metal, but a washer over the top would give better support too I bet.
Hmm, it may not look pretty when the radiator support is out, but I bet you can't see the washer once everything is back together. I was planning to cut the sections out and weld in good metal, but a washer over the top would give better support too I bet.
It did not look too bad at all and I might have a film photo of it. If I find it I will post the pic. Only the concours purists will care.
So I have added the rusted out radiator support and gravel pan (apparently a front bumper stone deflector in Ford MPAC speak) to my replacement parts search. I heard that the radiator support was not reproduced, confirmed by my previous searches... or is it? I found this on DC's site today. I can guarantee at least one order on January 9th if this is accurate before they go out of stock again.
However, I am completely striking out on the stone deflector. I waded through the manual and finally found the part number of C1TZ-17A862-C. (This part was not easy to find!) Are these reproduced or available anywhere? If so, I am not finding anything so far.
Edit: Figures. As soon as I post the question, I find one at Eckler's, but it does not look the same at all.
 08-19-2018, 07:00 PM


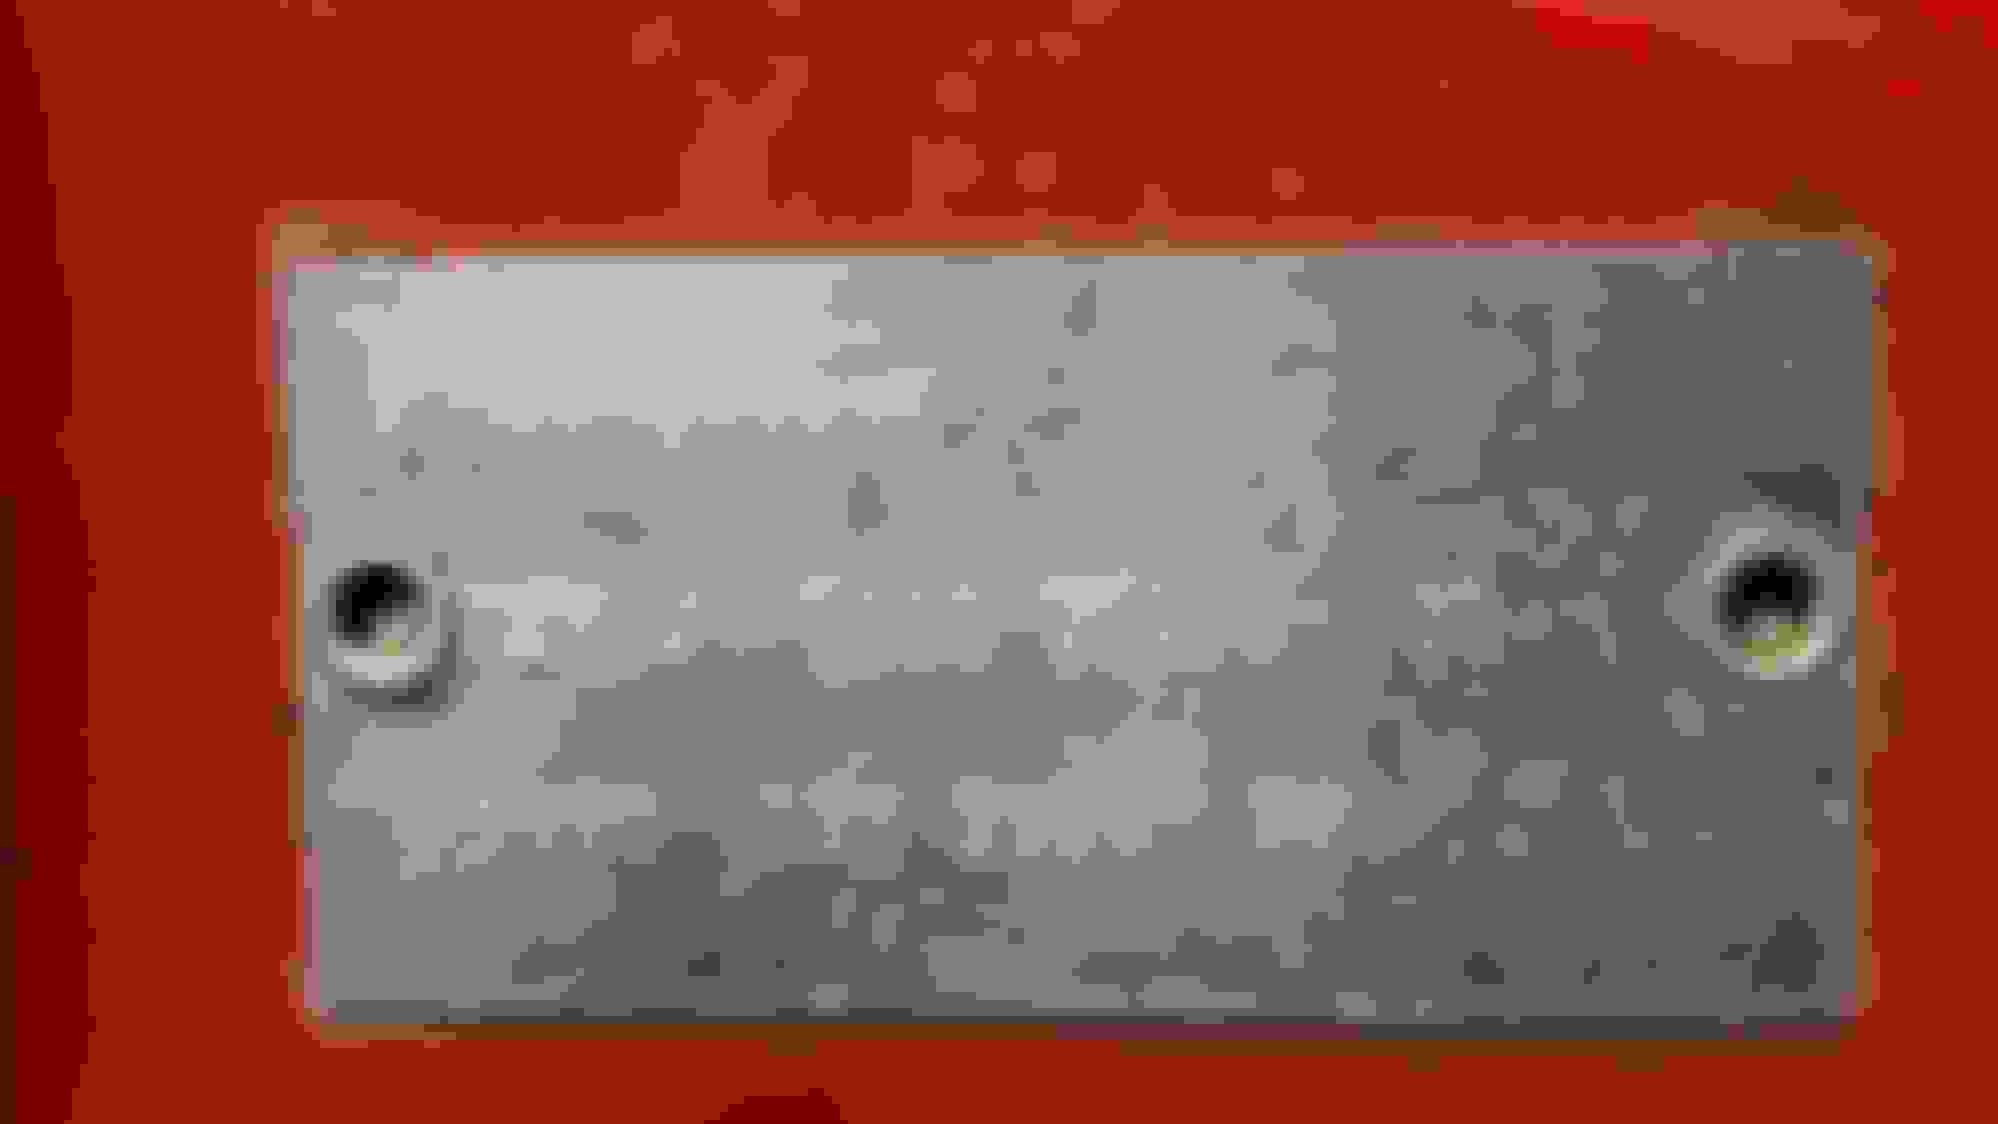
 So far it all matches except the transmission is now a four speed instead of the three-on-the-tree.