When you click on links to various merchants on this site and make a purchase, this can result in this site earning a commission. Affiliate programs and affiliations include, but are not limited to, the eBay Partner Network.
NO.. Many people use the new races that come in the new rotors, if you are replacing the old bearings with new bearings. I just like to change them because they probably have a cheap race in them and I like to use a good quality bearing and the matching race for that bearing.
If you are replacing the bearings in an "old rotor" then yes replace the race also. The old races would have wear patterns from the old bearing.
If you were replacing rotors and plan on using the old bearings, then I don't know about that. The old bearings and races would have wear patterns in them. If you swapped the old races to the new rotors, the race may not seat in the new rotor exactly as they were seated in the old rotor due to machining differences in the rotors where the bearing race seats inside the rotor.
It looked like to me that there were already angled areas in the new rotors i ordered that seemed to fit the old bearings. The old bearing looked ok to me. I dont believe they were stock, looked to be TIMKEN manufacturing. i dont know if motorcraft did bearings when they were produced.
Maybe you should start a new post about using old bearings in new rotors and see what others say. I have never personally don it. I guess it would depend on the amount wear on the old bearings which you would not be able to see with the naked eye... The rollers in the old bearing could look fine but still have just a tiny bit of taper on them due to wear. They would match fine with the old races if you were just cleaning and re-packing the bearings. If the old bearings have a bit of taper and are mated with new races that are not worn, I would guess that the old bearing and new race would wear in together if the old bearing was only slightly worn. BUT while doing so, you would wind up with loose bearings as they wear in and need to re adjust the pre-load on the bearings much sooner then normally necessary.
Another possibility might be if the old bearings are slightly tapered from wear, where they mate up with the new race, The thicker area on the old bearing would put more pressure on the race causing premature failure.
I am not advising this (legal disclaimer) but since you are probably finished with this job, I would think you will be fine for a while meaning it is not something you should do today!
yeah so I went back to the old rotors and was able to hammer out the old races, so have those now. I guess I installed the old bearings in the rotors without any racers.... I should remove and replace them all, right?
At this point I would just replace the bearings. New rotors normally come with new races installed in them. If you installed the old bearings in the rotors with out any races, it probably scared up the bearing rollers. Are you using the bearing race install tool I posted? If not and you are using a punch or screw driver to install the races, be VERY careful not to chip or nick the edge of the race or they will eat up the new bearings. You can use a large socket that fits inside the rotor bore and fits good on the outside of the race without touching the surface where the roller bearing seats. Being your first time doing this I recommend the bearing installer tool.
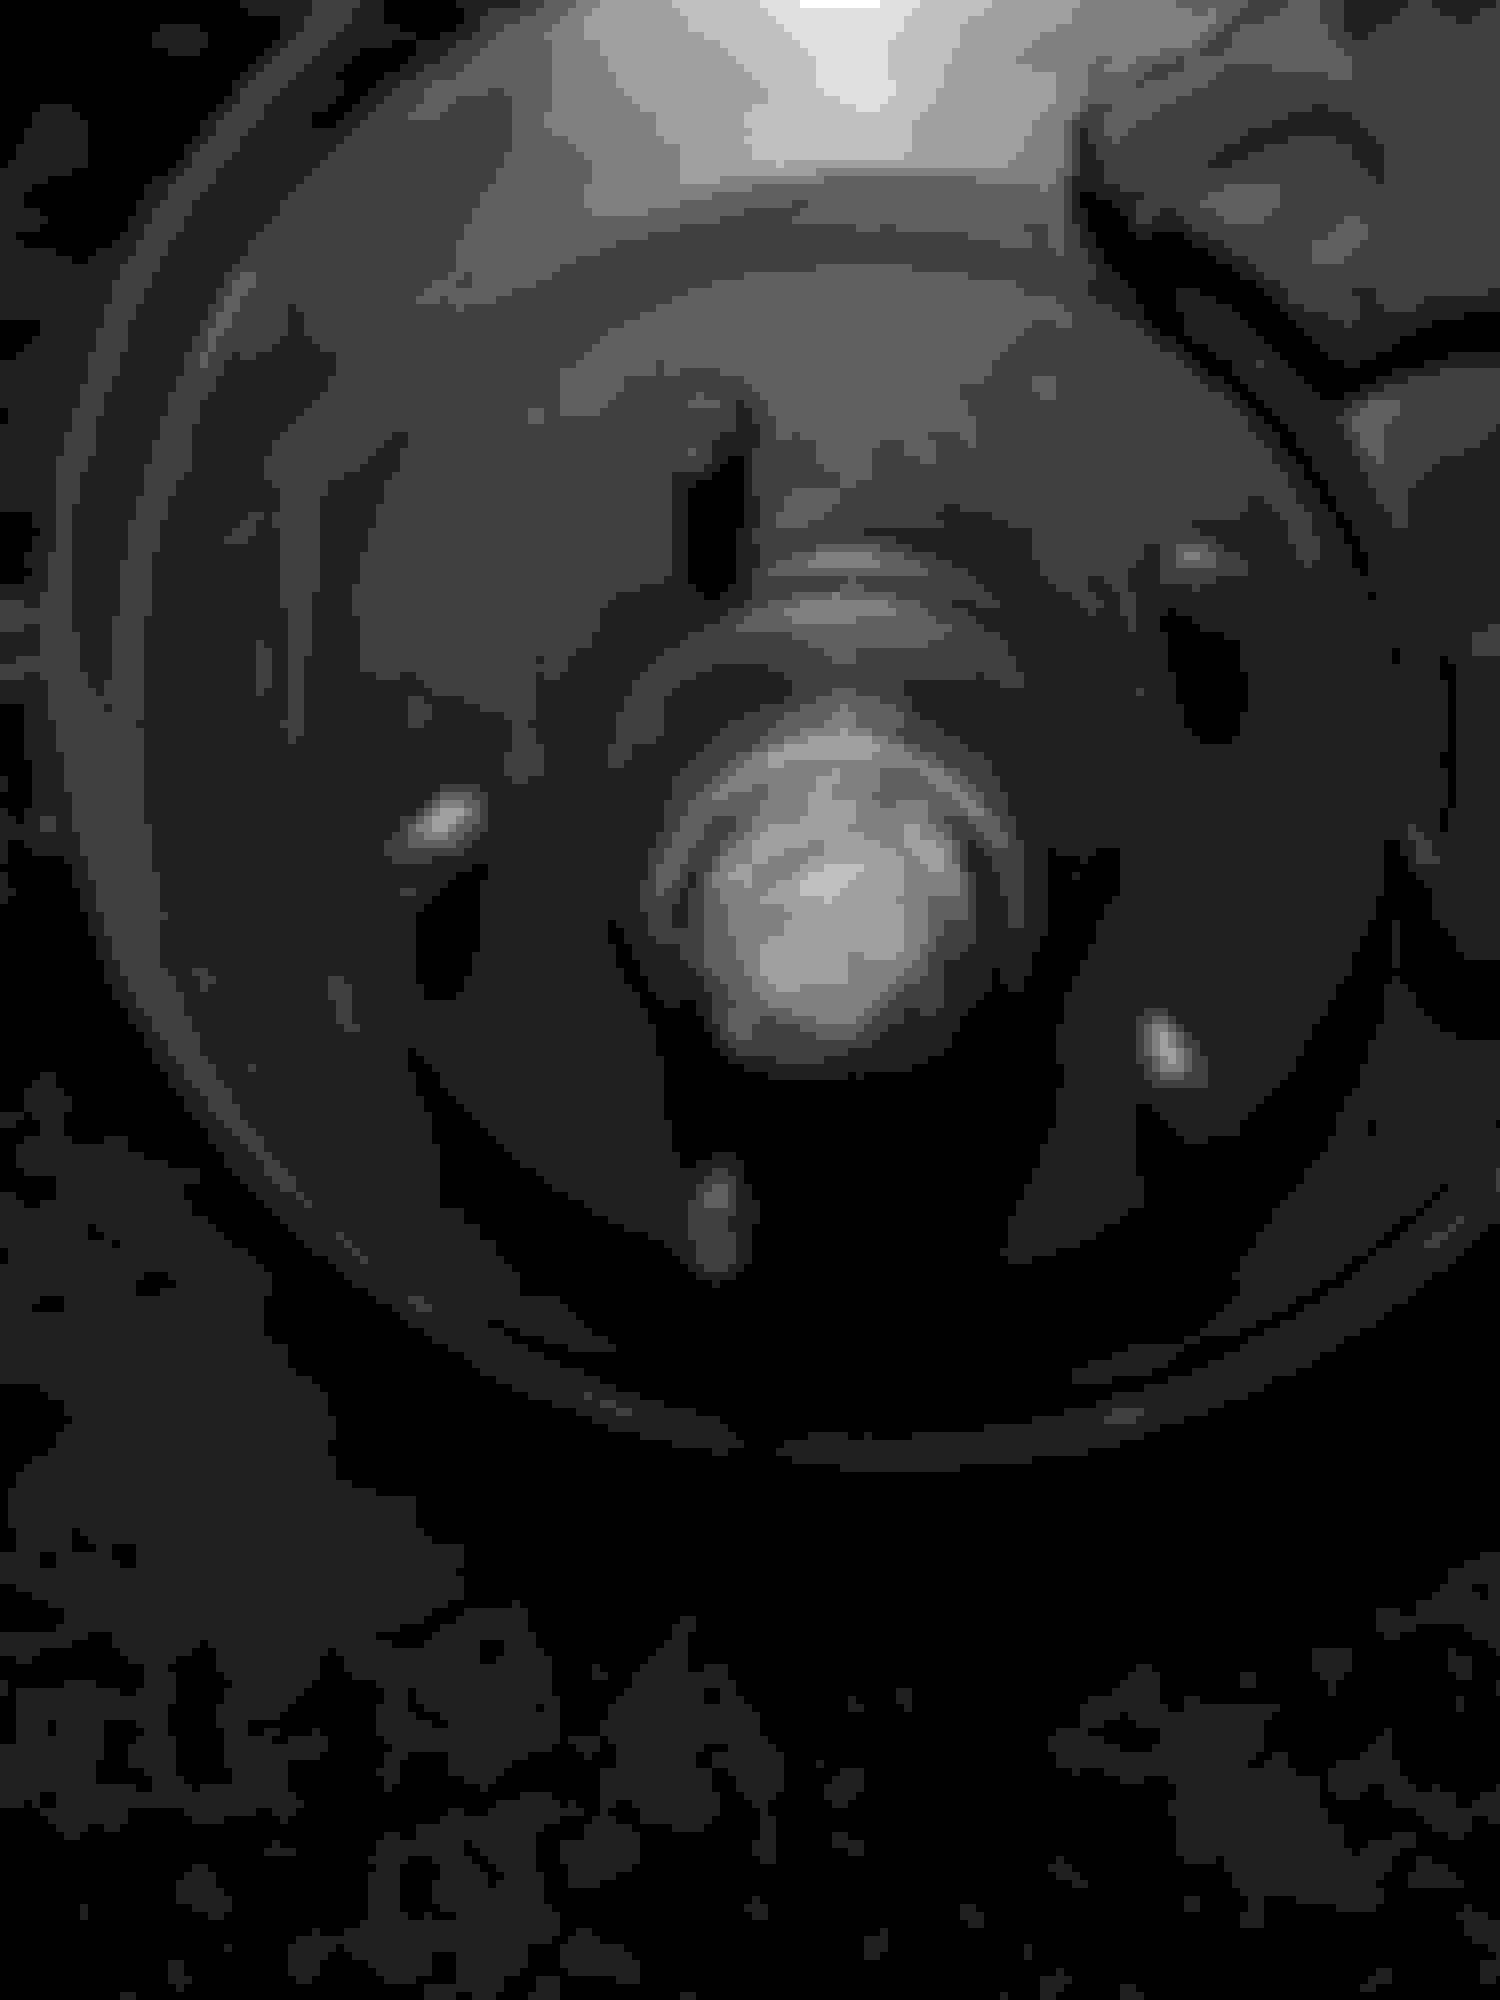
Here is what a typical rotor bore looks like without the race in it. This is the inner side only, the outer side looks abut the same. These are also not your rotors but yours will be about the same.
No Race installed
it looked like to me that there were defiantly races installed in the new rotors already because they were angled and looked like the bearings could ride on the area. i dont think i would have put the bearings in if there wasn't a place for them to ride like in the first one. when i watched the other video he was taking them out and i thought that the bearings had a special races that would be specific to each manufacturer or something like that.
It sounds like you do have races installed in the new rotors. If they were not and you installed the bearings, the rotor would not turn smooth at all and you would probably hear some noise when turning them, if you could turn them.
Well then if you installed the old bearings in the new rotors without the bearing races installed, I would just go a head and buy new bearings and install them in the new rotors, along with the new races of course.
Be sure to follow the videos for installing the races, packing the bearings with grease, adjust the preload on the bearings, and blead the brakes is you haven't already.
Have you driven or moved the van since you installed the new rotors?
i have not driven it since i did all this so i wouldnt know if there would be noise. what do you mean adjust the preload on the bearings? I uploaded photos of the races i removed on a new thread like you suggested called wheel bearings: to use or not to use.
also here are photos from the job just in case you want to see.
additionally, i cleaned up the grease fittings on the kingpins and didnt see any resemblance of a boot, but that's a different thread
I like the red paint on the caliper,, gives it a nice touch!!! It is a shame that it will all be behind the wheels...
Wat are you going to use the van for? I am going to convert mine into a camper van..
Below is a video that shows you how to set the preload on a new set of bearings. The video is only for reference on how to do it and not the actual specs you will use.
Step 1
Do torque the new packed wheel bearing to, 264 to 300 "INCH LBS" OR 22 to 25 "FOOT LBS" as he shows in the video. Turn the rotor in a counter clock wise direction a couple of turns.
Step 2
Back the adjustment nut off about 1/2 turn and then re-tighten by hand.
Step 3
Use the torque wrench and tighten the adjustment nut to, 264 to 300 "INCH LBS" OR 22 to 25 "FOOT LBS"
Step 4
Back the adjustment nut off 1/8th of a turn. Install the nut retainer and cotter pin without moving the adjustment retainer nut.
When you install the nut retainer, if it does not line up with the hole for the cotter pin to go into the hole in the spindle, remove the nut retainer and turn it one notch at a time till the cotter pin does line up. Make sure you do not move the adjustment nut while doing this...
Torque wrenches come in inch lbs or foot lbs. They also come in different measurements. Make sure which ever one you use will meet the specs of 264 to 300 "INCH LBS" OR 22 to 25 "FOOT LBS. Some 1/2 drive torque wrenches may not go that low..
After speaking with the company, I ordered Timken SET12 and Timken SET13 bearings and racers, I pulled everything apart and tried to install the new races into the new rotors and there is no way that these things don't have races made into them. ... If you look at the old rotors after i removed the old races they look nothing like the new ones which have a smooth and coned surface in them.
I guess sometimes you shouldn't doubt yourself, I felt like if there wasn't an obvious places they would have rode in I wouldn't have putt hem in... oh well....
Thanks for everyones help.... except the rep at the rotor/brake company that gave me wrong info, but they're trying to fix the problem now by giving me new rotors?? lol
This Hennessey Takes the Expedition Tremor's Off-Roading Capability to the Next Level
Slideshow: The VelociRaptor Expedition gains a lift, upgraded suspension, Brembo brakes, and trail-ready equipment while retaining the stock 440-horsepower EcoBoost V6.
Rezvani's Latest Post-Apocalyptic Monster Is a Ford F-150 Raptor Underneath
Slideshow: Called the Fortress, the 850-horsepower pickup combines Raptor underpinnings with military-inspired features, survival equipment, and a starting price of $285,000.