When you click on links to various merchants on this site and make a purchase, this can result in this site earning a commission. Affiliate programs and affiliations include, but are not limited to, the eBay Partner Network.
Here is another repair thread for the archives. So I decided it was about time to replace the radius arm bushings on my 95 F150 XL 2wd pick up. I had attempted this repair before but was stopped by the incredible hard/rusted on bolt that holds the radius arm into its bracket. Fast forward a year, I decided to attempt the repair again. This time I brought some extra extra muscle with the Milwaukee Brushless Fuel 1/2 impact gun with over 1400 foot pounds of torque! This thing is an absolute beast but those nuts still gave it some trouble.
IF YOU WANT TO WATCH THIS REPAIR AS A VIDEO SCROLL TO THE BOTTOM OF THE THRAD AND CLICK THE VIDEO LINK. IF THE LINK DOESN'T WORK GO TO YOUTUBE AND SEARCH "THE MINUTE MASTERS" AND LOOK FOR RADIUS ARM BUSHING REPLACEMENT.
So if you are going to do this repair the first step is to take some time getting both the passenger and driver side radius arm nuts off. You need a really good impact gun or a huge breaker bar. I also resorted to heating the nut up, cooling it down, and using PB blaster in order to bust through the 20+ years of rust and corrosion. Once the nuts are loose, it's all down hill from there. So lets get started!
Jack up your truck taking precaution not to put jack stands under the i-beam of whichever side your working on. Next pull the tire off and place a jack under the junction where the radius arm and I-beam bolt together.
First: Undo the nut and bracket that hold the top of the coil spring to the spring tower and the nut that holds the top of the shock to the shock tower. Like the picture below.
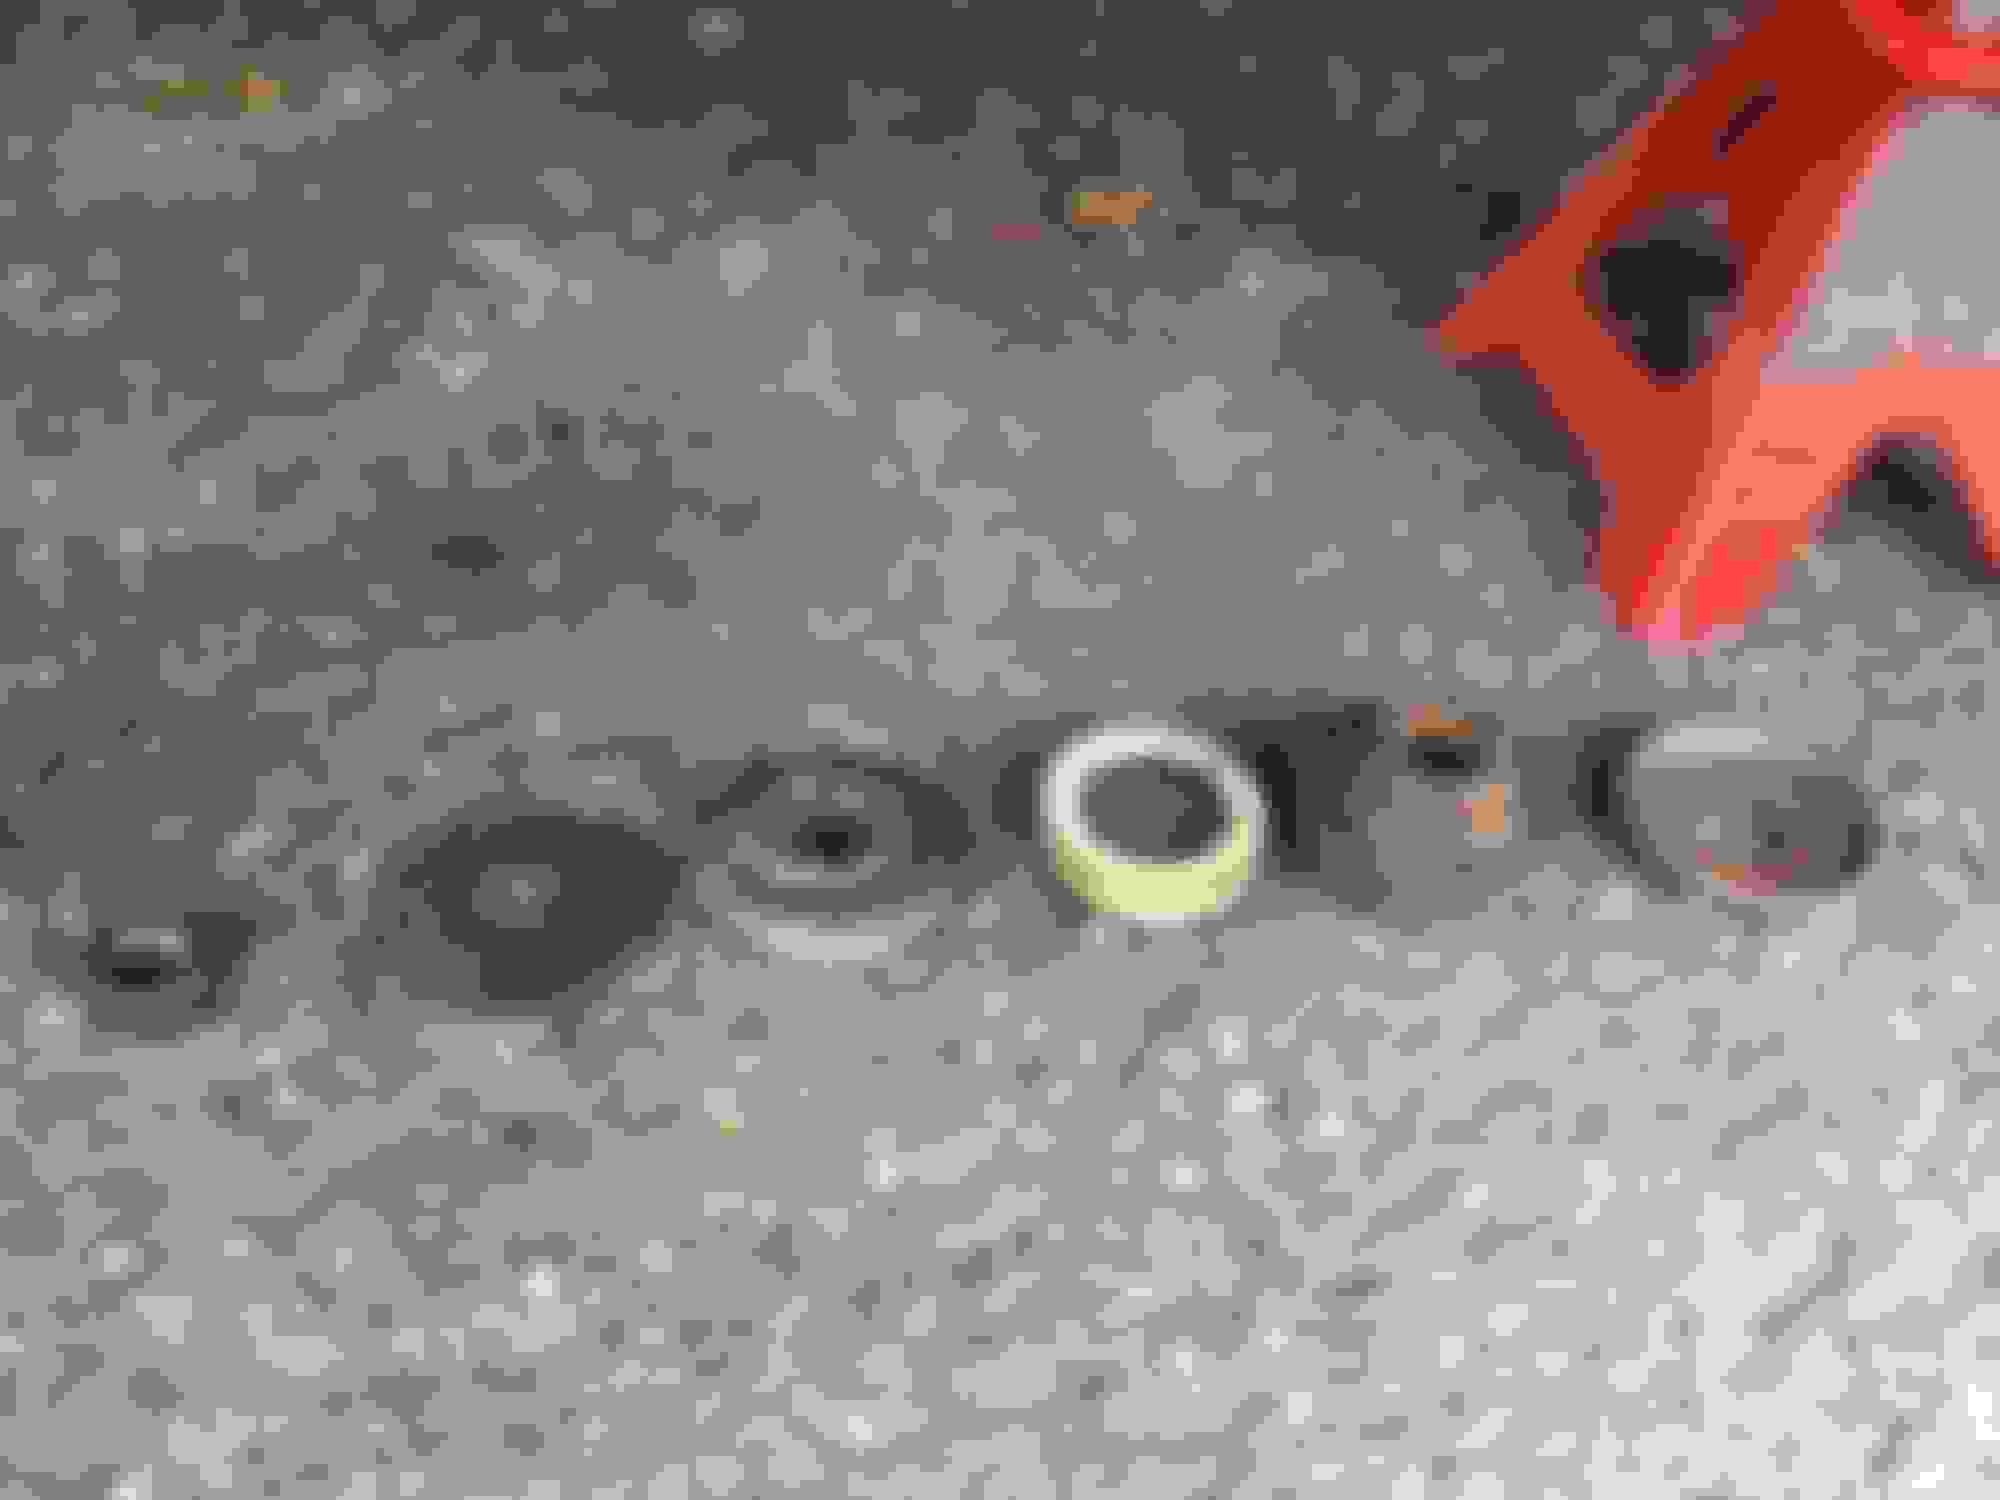
Second: Remove the radius arm bushing nut. After removing the nut, be sure to take the nut, washer, spacer, and bushing off and lay them out in the order they go on like so.
Third: Remove the nut and bolt holding the I-beam to the frame of the truck. The bolt runs through the axle pivot bushing. Once it is off, pull the I-beam down out of the bracket it was bolted into as shown below.
Fourth: Let the jack down removing the tension on the coil spring and the rest of the suspension assembly. Do NOT lower it so far that it puts tension on the brake line. It is not necessary to lower the assembly to the ground. Below is the radius arm bracket free of the radius arm.
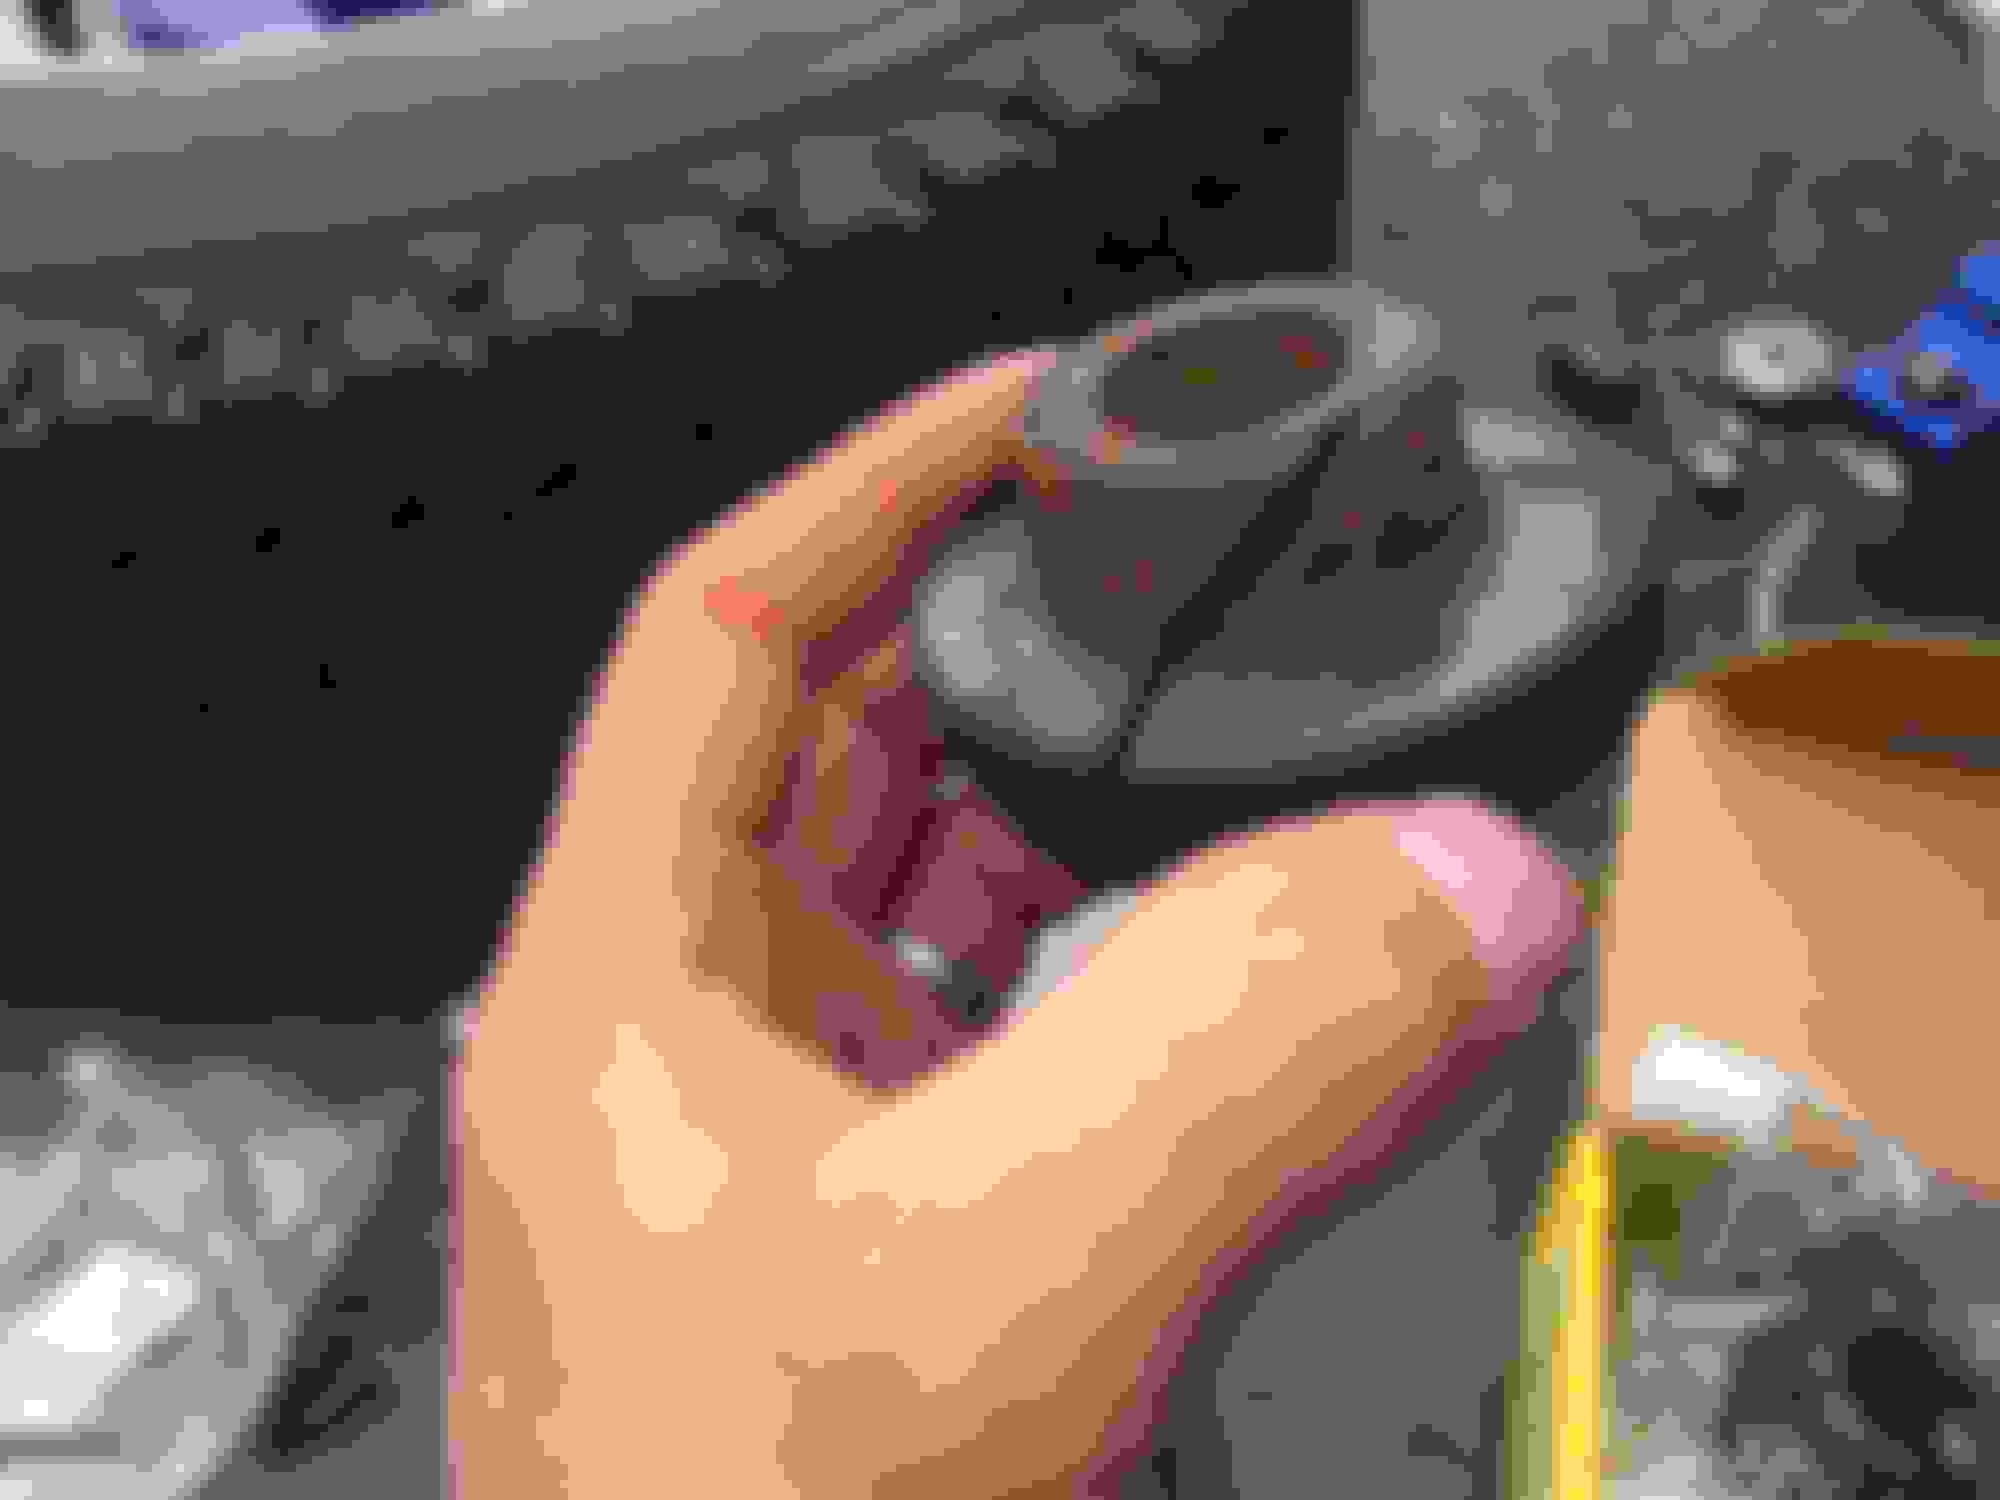
Fifth: Remove the second piece of the radius arm bushing. This part is tricky. The original bushing has a metal sleeve vulcanized/molded to the rubber. This puts a lot of tension on the bushing which makes it hard to remove from the radius arm. New bushing kits do not come with this metal sleeve because it is unnecessary. As such, I resorted to getting the sleeve with an angle grinder to relieve the tensions. Shown below:
Once that is done, you can wiggle the bushing off the radius arm. If the bushing is still not coming off, then take a propane torch (soldering torch) and heat the bushing up. This usually weakens the rubber and the bushing should come right off. This is the radius arm without the bushing attached:
The radius arm is very rusty. So it is worth your while to take a wire brush and clean up the area where the bushing mounts to.
Sixth: Install the new radius arm bushing set. The bowl type washer goes on first then the bushing. All together it looks like this:
In the past when I have used Prothane bushings, they usually came with a type of grease/lube used during install. These bushings don't come with it. Since the radius arm was rusty I put white lithium grease on the inside of the bushing and on the radius arm as a precaution. You don't have to do this.
Once the first washer and bushing is installed, it should look like this:
Hang in there with my guys, we are almost there!
Seventh: Jack up the suspension assembly and stab the radius arm back into the radius arm bracket. Don't put the nut on just yet. Once it is in place, push the I-beam/axle pivot bushing up into its bracket and bolt it into place. Now you can put the nut on the radius arm. Just to clarify, you MUST put the radius arm into its bracket first then the axle pivot bushing. If you do it in reverse, you will have a hell of a time getting it all back together again.
Eighth: Bolt the coil spring and shock into place. Once that is done, your new radius arm bushing should look like this:
And that's it guy! I hope you enjoyed this thread and found it helpful.
IF YOU WANT TO WATCH THIS IN A VIDEO CLICK THE LINK BELOW - IF THE LINK DOESN'T WORK GO TO YOUTUBE AND SEARCH "THE MINUTE MASTERS" AND LOOK FOR RADIUS ARM BUSHING REPLACEMENT.
Great write-up. That's how I went about replacing mine. I luckily didn't need the additional hardware and was able to reuse the original stuff when I installed poly bushings. I think mine are Energy Suspension. They really should include those few extra pieces.
I also replaced my pivot bushings due to wear even with only 70K miles. Time had taken its toll on the rubber. I made up some simple tools to press the old one out and new bushing in using all thread, nuts and some rings that fit the bushings. A quick flick of the impact gun and the bushings came out and went in.
I also replaced my pivot bushings due to wear even with only 70K miles. Time had taken its toll on the rubber. I made up some simple tools to press the old one out and new bushing in using all thread, nuts and some rings that fit the bushings. A quick flick of the impact gun and the bushings came out and went in.
Nice!! That's the way to do it! They didn't have a ball joint press available at the time. It really isn't a difficult repair.
Good write up!! I have all the parts to do my ball joints, radium arm bushings and I beam bushings in the truck tool box. Just need to get a day or 2 set aside to jump into that project. Luckily I am near the gulf coast, so I don't have rust to fight.
Good write up!! I have all the parts to do my ball joints, radium arm bushings and I beam bushings in the truck tool box. Just need to get a day or 2 set aside to jump into that project. Luckily I am near the gulf coast, so I don't have rust to fight.
Oh nice! That's the way to do it! Just get it all done at once. You have to disassemble all the same parts anyway.
Is there any reason not to just remove the bracket holding the end of the radius arm, rather than unbolting the spring and dropping the I-beam? Saw it done that way on another video. Thanks!
Is there any reason not to just remove the bracket holding the end of the radius arm, rather than unbolting the spring and dropping the I-beam? Saw it done that way on another video. Thanks!
Because as hard as the bushing nuts are to remove, each bracket has 4 bolts and nuts that are just as hard to remove and harder to get at.
Because as hard as the bushing nuts are to remove, each bracket has 4 bolts and nuts that are just as hard to remove and harder to get at.
Interesting. Asked and then incorrectly answered your own question. The radius arm bracket was riveted from the factory. It is bolted in if it has been R&R.
Interesting. Asked and then incorrectly answered your own question. The radius arm bracket was riveted from the factory. It is bolted in if it has been R&R.
If I was looking for completely unnecessary rudeness, I'd go to reddit.
My brackets are bolted so in my case what I said was correct.
If I was looking for completely unnecessary rudeness, I'd go to reddit.
My brackets are bolted so in my case what I said was correct.
In a round about way, he is saying that if yours are bolted in, that means someone has done them before. It also means they are a lot easier to replace than the alternative.
This Hennessey Takes the Expedition Tremor's Off-Roading Capability to the Next Level
Slideshow: The VelociRaptor Expedition gains a lift, upgraded suspension, Brembo brakes, and trail-ready equipment while retaining the stock 440-horsepower EcoBoost V6.
Rezvani's Latest Post-Apocalyptic Monster Is a Ford F-150 Raptor Underneath
Slideshow: Called the Fortress, the 850-horsepower pickup combines Raptor underpinnings with military-inspired features, survival equipment, and a starting price of $285,000.