When you click on links to various merchants on this site and make a purchase, this can result in this site earning a commission. Affiliate programs and affiliations include, but are not limited to, the eBay Partner Network.
Do you have a tool or gadget that you have improvised to make the job of diagnosing and keeping your truck alive that others can use? If so let's see it. Maybe we can get a good resource going here.
In a joint effort with expacamper I have assembled a tool and parts to make the Cody test a little easier. I believe that the Cody Test is credited to user with the member name of Cleatus. Much thanks for a great test.
Below is a picture containing a modified circular saw wrench to make the HPO hose release tool, 1 HPOP fitting (#6 ORB to 0.67" STC), a #6 ORB to 3/8 NPT male adapter and an air hose quick disconnect fitting. Being the collector that I am I had all but the ORB to NPT adapter 'in stock' and it cost me $8.00 at the hydraulic shop, who had it in stock.
Now, take that circ saw wrench and make a notch in it with your dremel drill and a cutoff wheel, centered to the best of your ability and about as wide as the hose end is thick. The angle on this tool is helpful in getting to the HPOP hoses. Insert the mouth of the tool under the rubber cup on the hose and work it in there until it bottoms out. The thickness of the steel in the wrench is sufficient to depress the cup enough that you can free that hand up and use two hands to wiggle the hose off of the fitting, no prying with the tool is needed.
Assemble the two fittings and the coupler to make one solid piece. They will only assemble one way, so easy a cave man could do it. Feel free to use some Teflon tape on the threads of the QD fitting. Then push the STC fitting into the free end of the HPOP hose. Attach air hose to QD fitting, charge with air and listen for leaks at heads. I found the hoses on the pump are fairly easy to access and remove and are easier than getting to that fitting on the passenger's side head. There is no oil blown into your face and you can apply as much air pressure as your compressor and hoses will handle. The HPOP puts out more pressure than your air compressor will.
I hope that you find this useful. If you have any questions or additions please let's hear them.
Got the info for this from another member here. Works great! Just some pipe parts from Home Depot. Only mod was to grind down the base so that it would fit correctly for the axle seal.
Bench grinder made short work of grinding off the outer 1/4 to make it fit.
Got the info for this from another member here. Works great! Just some pipe parts from Home Depot. Only mod was to grind down the base so that it would fit correctly for the axle seal.
A little more info here (for me anyhow)...which axle? Inner, or outer? What gets modified?
Video of my test results are in my thread. I didn't take a video of the actual tool in use, all I did was press the blowgun lever
Parts:
Blowgun from Lowes, 12" grease hose from NAPA, custom modified STC fitting (HPOP side) left over from when I changed them earlier this year, and a regulator/gauge thing with popoff and Quick Disconnect air fitting I had laying around. The white is from the extra wide teflon tape I used. No reason to be that wide- except I bought a tube of rolls of it one time and am not going to waste it!
Disconnect hose from HPOP, plug the hose into this STC fitting and you're ready to go.
The blowgun makes a nice valve for the tester, as well as a pressure release after the test and removing the air hose. Keep the tester higher than the head (keep oil out of tester) and press lever. All air pressure released
The hardest part was modifying the STC connector for 1/8" NPT internal threads. Because of all the internal stuff and edges, it went to the machine shop to be true and safe.
OK first up is my IPR removal tool made from a deep socket that was on clearance when O'reilly took over Checker Auto, I think it was $4. I welded a 7/8" nut on top so the IPR shaft could poke thru, works like a champ. Second is a piece of 1/8" steel that I cut with a torch to make a pulley holding tool for my old 6.9, then when I got the 7.3 I flipped it over and made one for that too. Just slip the two smaller holes over two pulley bolts for removing the fan clutch. It's not pretty but works great, made it in a barn when I was stuck on the road in Vermont with a bad water pump.
Next up is my home made top side creeper that fits into my front receiver hitch, used it when I did my uppies and again at turbo time. It is shown folded up hanging on the wall, there were pics of it in use but now gone thanks to Photobucket.
Finally is my wheel well shelf which enables me to keep a large ice chest over the wheel well where I can reach in thru my side window and get things out. It's welded 2" angle and expanded metal, two legs on the front and the back has 3 nuts welded on that line up with 3 holes in the flange at the top of the bed rail where I bolt it thru.
A little more info here (for me anyhow)...which axle? Inner, or outer? What gets modified?
Looks like photo bucket turned **** and won’t allow links from third party sites so.... I uploaded the pics directly.
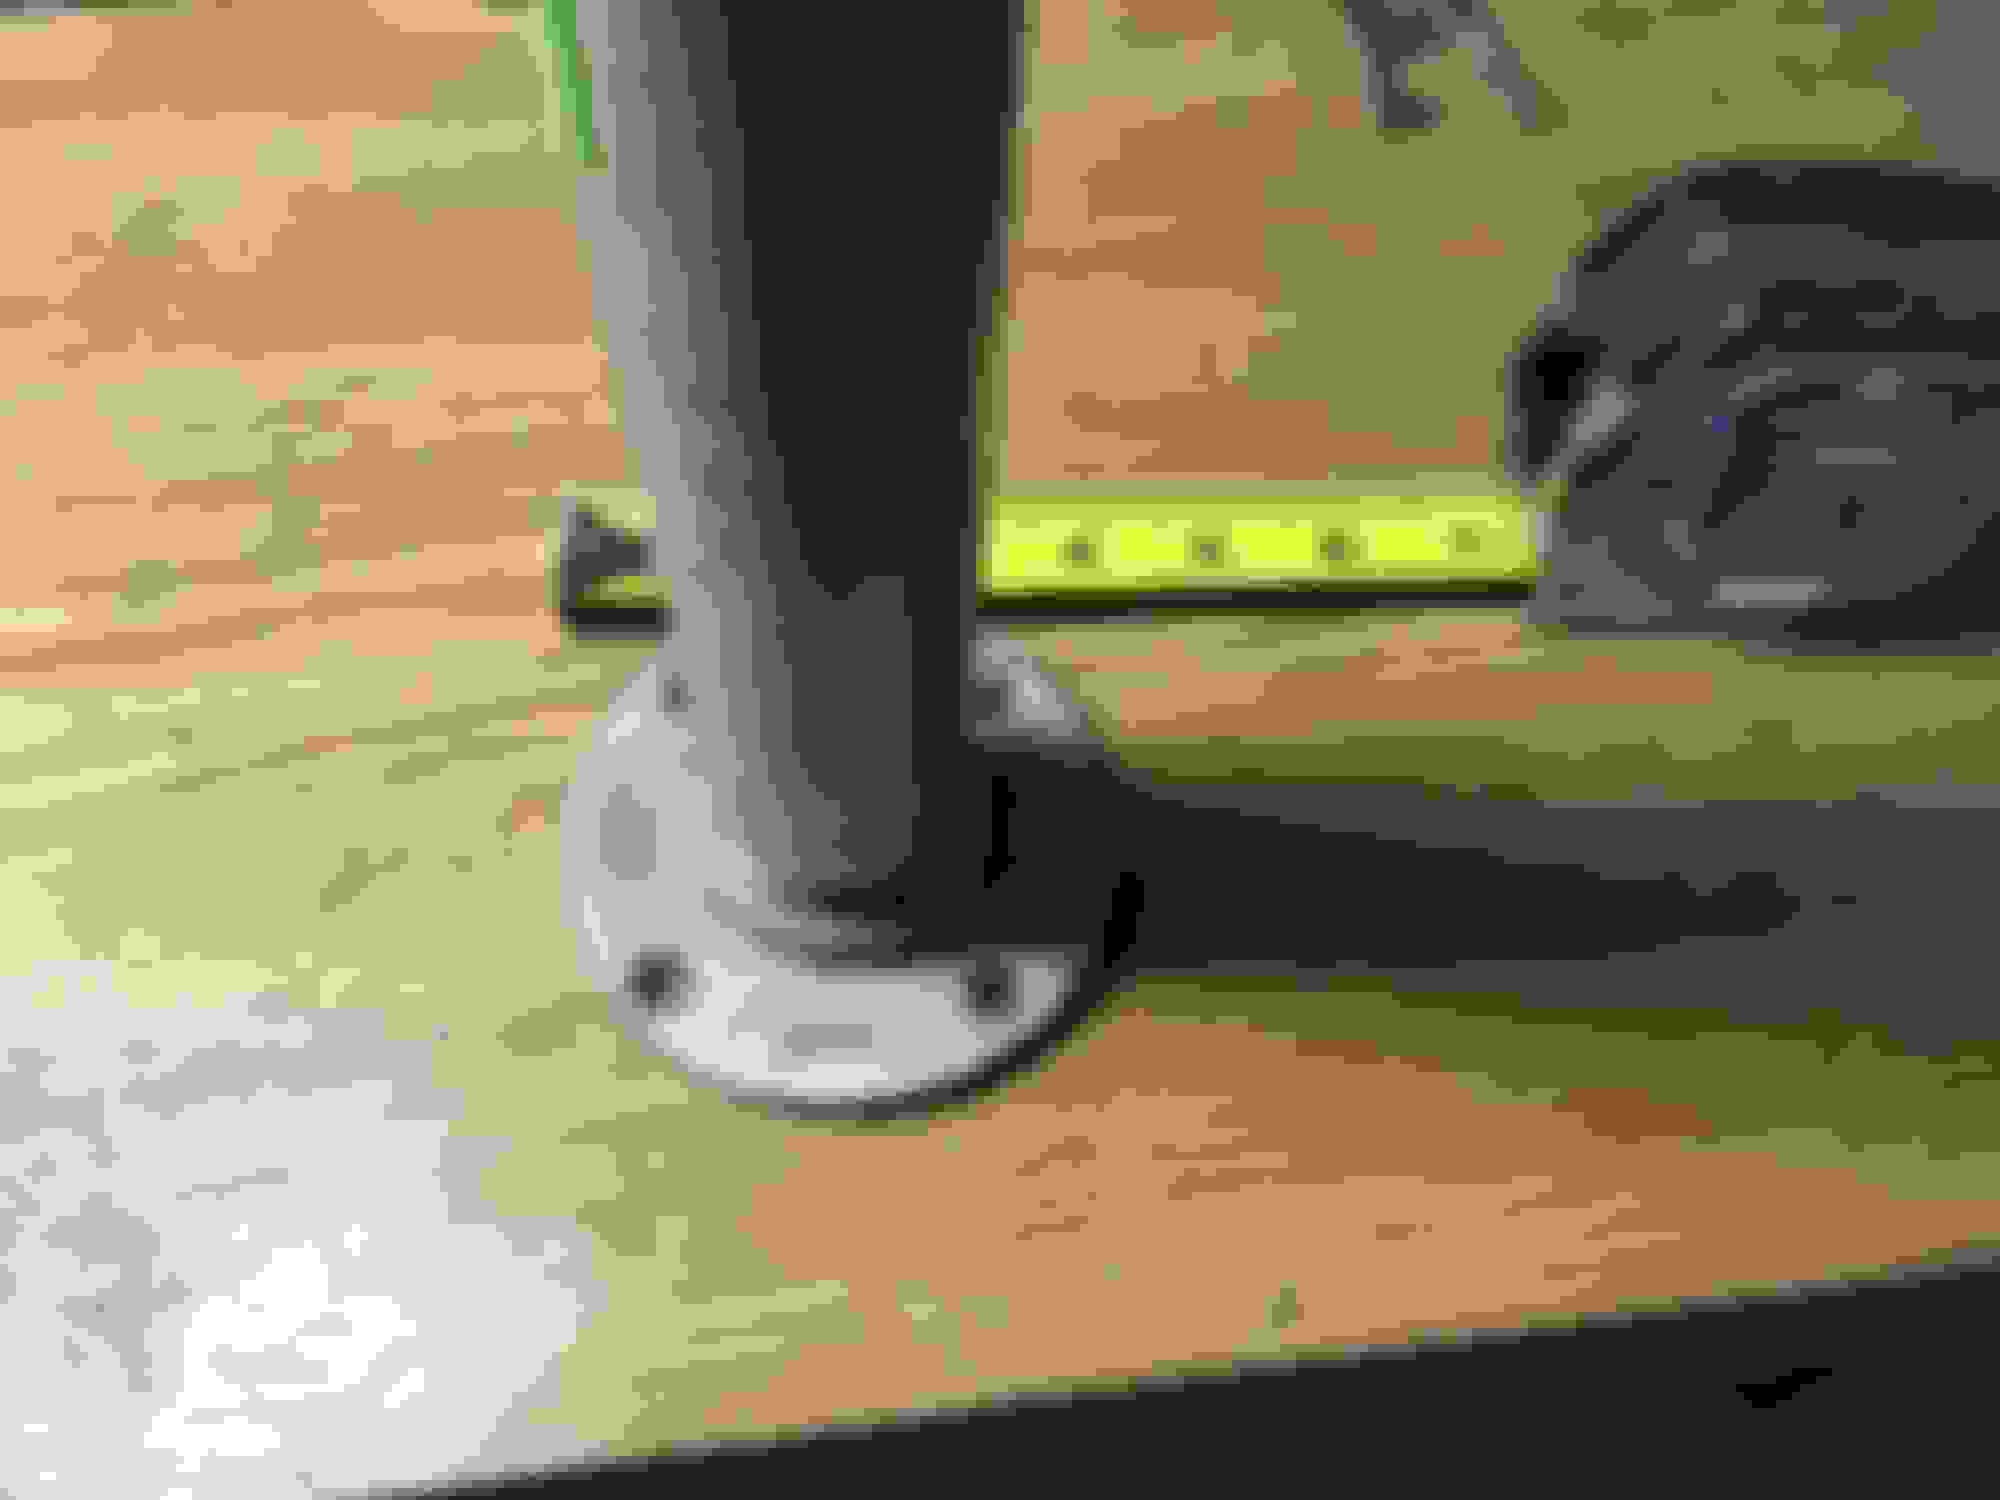
The base piece is about 4 1/4 diameter. Needs to be ground down to about 4 inches. I used an old bearing to test fit against to make sure I didn’t take too much off.
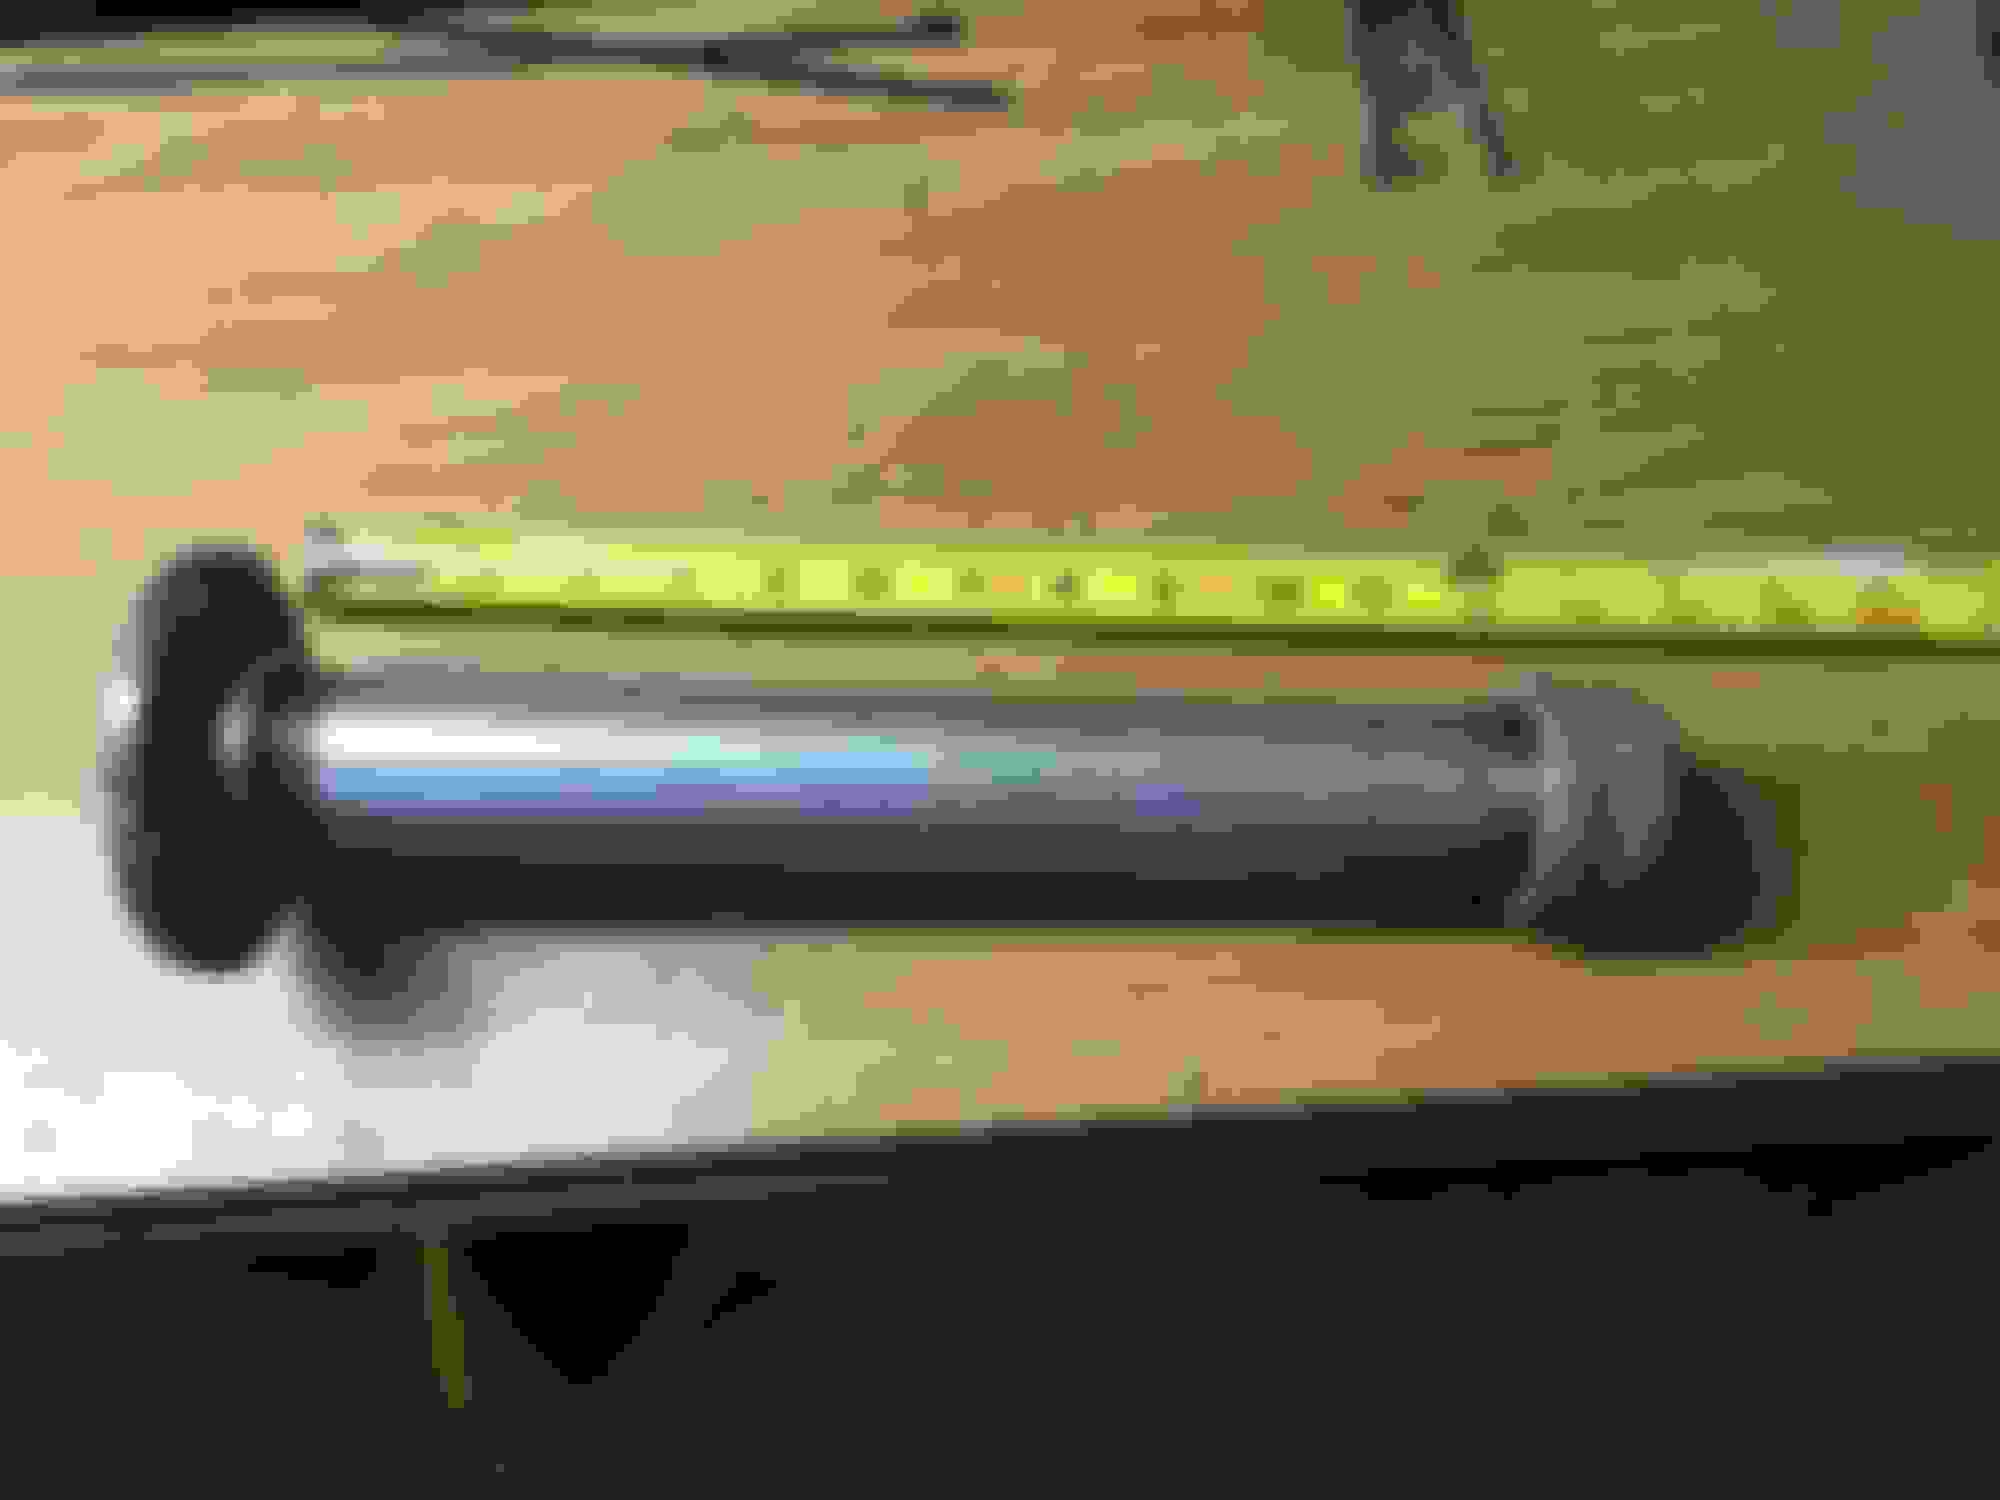
The pipe itself is 12 inches... then add a cap on the other end to beat on when seating the bearing on to the axle.
This is for the large outer axel seals. The two piece that the bearing assembly sits up against.
Looks like photo bucket turned **** and won�t allow links from third party sites .
I bailed on Photobucket a long time ago due to their crappy site always bogged down and loaded with adware/malware. Unfortunately I had already linked a lot of pictures that will now be held for ransom forever by those jerks. I hope they crash and burn.
I bailed on Photobucket a long time ago due to their crappy site always bogged down and loaded with adware/malware. Unfortunately I had already linked a lot of pictures that will now be held for ransom forever by those jerks. I hope they crash and burn.
Chrome toolbar add-on unlocks the pics and lets you see them again.
This Hennessey Takes the Expedition Tremor's Off-Roading Capability to the Next Level
Slideshow: The VelociRaptor Expedition gains a lift, upgraded suspension, Brembo brakes, and trail-ready equipment while retaining the stock 440-horsepower EcoBoost V6.
Rezvani's Latest Post-Apocalyptic Monster Is a Ford F-150 Raptor Underneath
Slideshow: Called the Fortress, the 850-horsepower pickup combines Raptor underpinnings with military-inspired features, survival equipment, and a starting price of $285,000.


 Much thanks for a great test.


 You've tried the modified $2.00 part have you? Tell me how and why it failed you.


 Now that you mention it one of those three pronged forks with a middle digit missing would probably work well too.


 LOL!
LOL!