When you click on links to various merchants on this site and make a purchase, this can result in this site earning a commission. Affiliate programs and affiliations include, but are not limited to, the eBay Partner Network.
How about tape and an xacto knife? If you have a steady hand you can tape off the stars and Ford lettering. The just peal that off when you are done painting. One of my college roommates was a graphic arts major and he could do lots of detail work with the xacto knife.
Use a fine brush or toothpick and put Vaseline over the stars and Ford script. Once the paint is dry, wipe the Vaseline off with a rag and you're good to go. The paint won't stick to the Vaseline.
The wife makes fine jewelry and one of the techniques that she uses is cloisonn�. This technique involves filing the recessed areas with a very fine powder made of ground glass. Once applied, the piece is placed in an oven and heated til the glass powder melts. The finished product is beautiful...you may want to look into this. If you don't want to do it yourself I am sure that there are artisans in your area that could do it for you. Lots of art/craft shows going on right now before the holidays, it might be worth taking a few of those in so that you can see how they look.
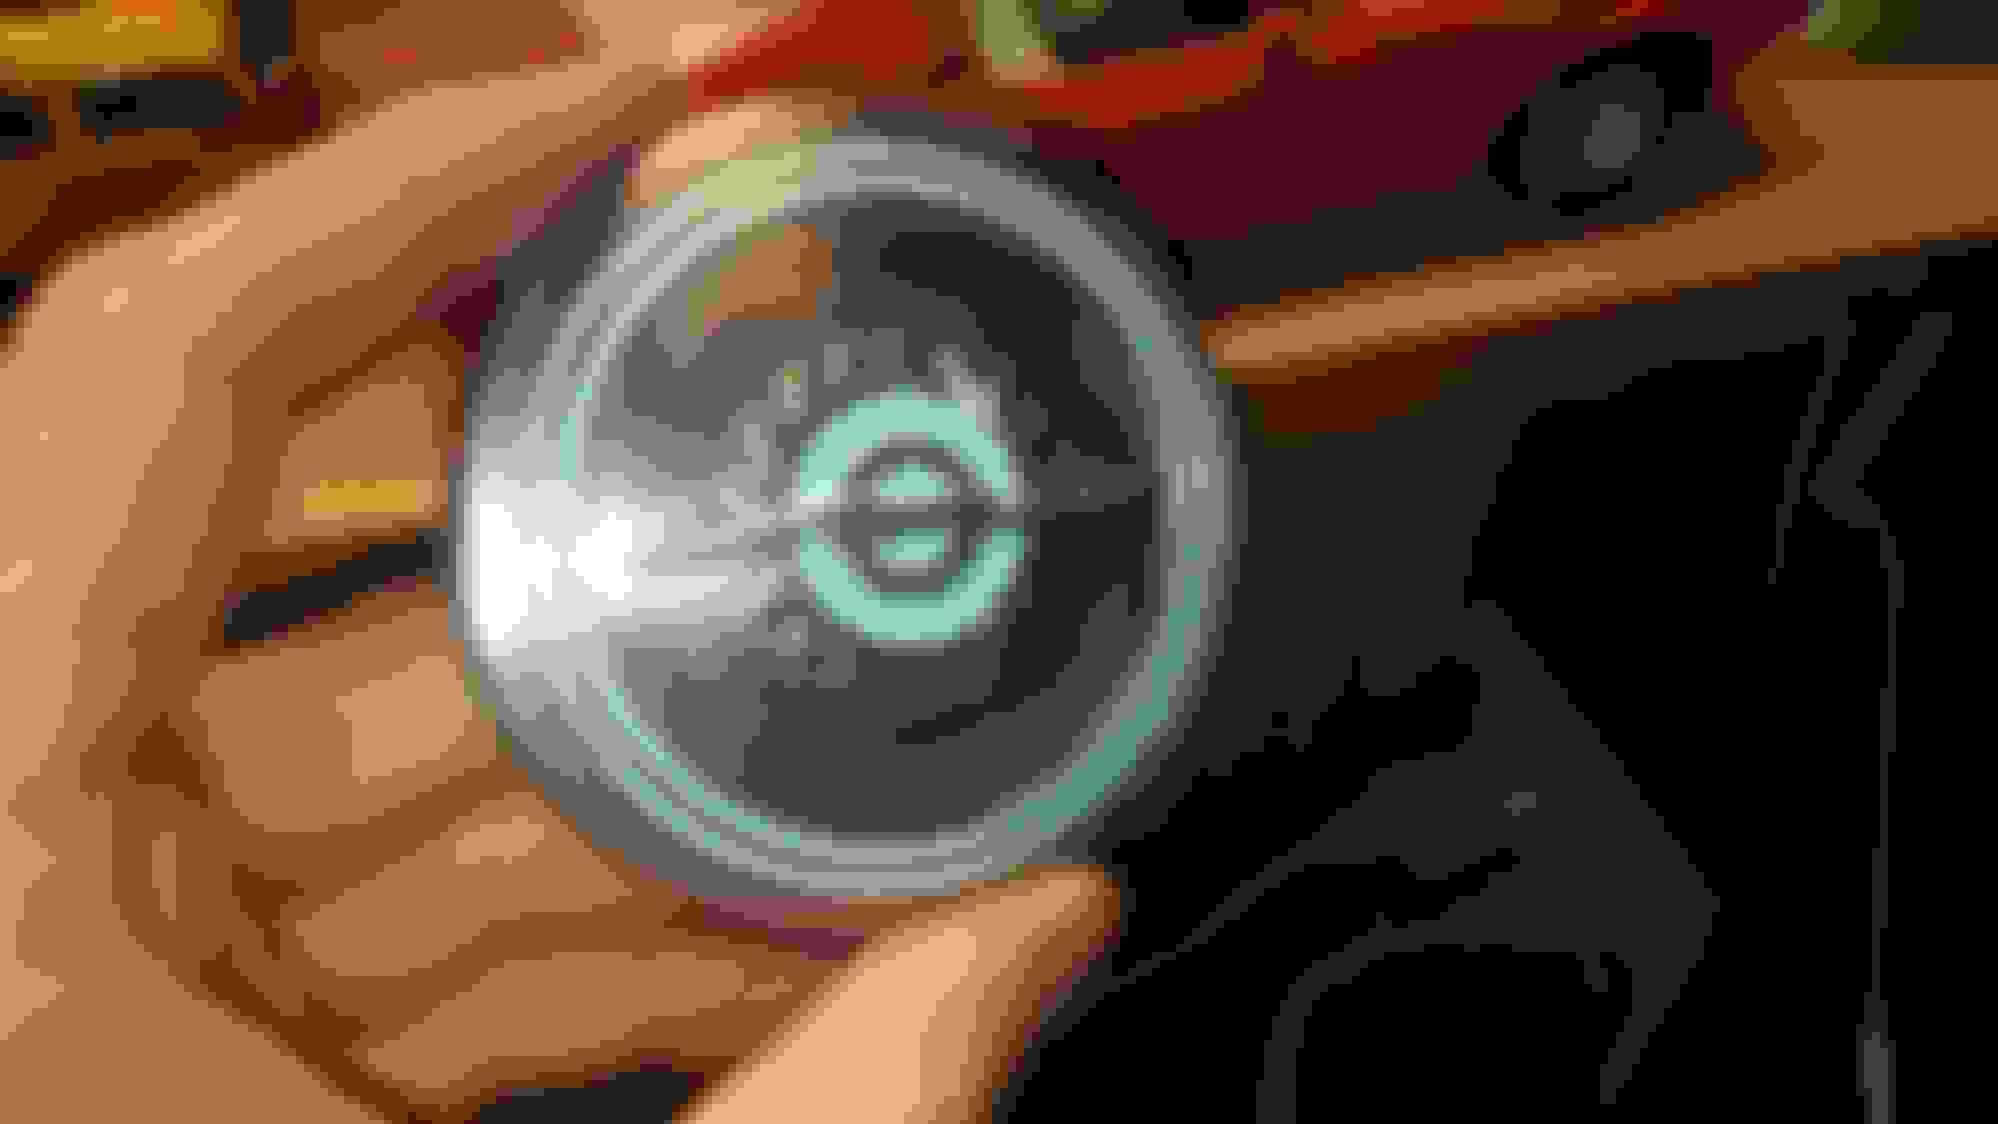
Thanks, Charlie. I've heard of Cloisonne before but never knew what it was. But it wouldn't work for teh horn button. the Ford Script and the stars are not recessed they are raised.
Thanks, Charlie. I've heard of Cloisonne before but never knew what it was. But it wouldn't work for teh horn button. the Ford Script and the stars are not recessed they are raised.
You need to look into this technique a little more before saying it won't work...the recessed area on the horn button is exactly what you want to fill. The ridge, the stars, and the Ford script all SHOULD be raised.
heating it would probably warp or ruin it, but would look good with the melted glass. I would level the button out, and use some thin paint with a brush, and let it self level itself out. Then clear the whole thing. Just my .02
Hobby / Art supply stores sell a masking fluid that is used in watercolor for keeping the white areas unpainted. It rubs off afterward. I would use masking tape and exacto knife first, then apply a thin coat of the masking fluid and remove the masking tape. I think spray etching primer and paint would give the best results. You could try a trial run on a piece of sheet metal first.
This should be easily done. Use a liquid enamel paint with retarder, paint in the center area with a brush in an even coat. Using a tight weave lint free cloth wrapped around your finger moistened with the appropriate thinner and wipe away the paint on the raised areas.
Takes some practice but you will end up a job as good as factory.
I used Rustoleum enamel reduced with laquer thinner, the mix is your experiment. It needs to be thin enough to "run" through the recessed bits, but not so thin it waters out the color. The tiniest modelling brush you can find, let some drops fall inside the areas you want painted and roll the badge left and right, have the paint roll itself in the gaps.
Any enamel that runs up and outside the area, you can take 400 grit paper and remove the overpaint...of course once this is dry and hardened.
I've tried on an other badge that 400 is good to start with, then 600, then 1500, then 2500 wet, then Nevr-Dull polish. I'll post up a pic of mine when finished.
Would powder coating work. Apply powder over entire piece, then remove power, and carefully remove unwanted powder on raised areas with very small hobby sized foam brush, then heat to 400 degrees ??????????? Just 2 cents from a guy with only 1.
Would powder coating work. Apply powder over entire piece, then remove power, and carefully remove unwanted powder on raised areas with very small hobby sized foam brush, then heat to 400 degrees ??????????? Just 2 cents from a guy with only 1.
Not sure the plastic retainer would approve of that lol
 11-26-2017, 09:42 PM