When you click on links to various merchants on this site and make a purchase, this can result in this site earning a commission. Affiliate programs and affiliations include, but are not limited to, the eBay Partner Network.
In-dash cup holder repair...and why it likely broke
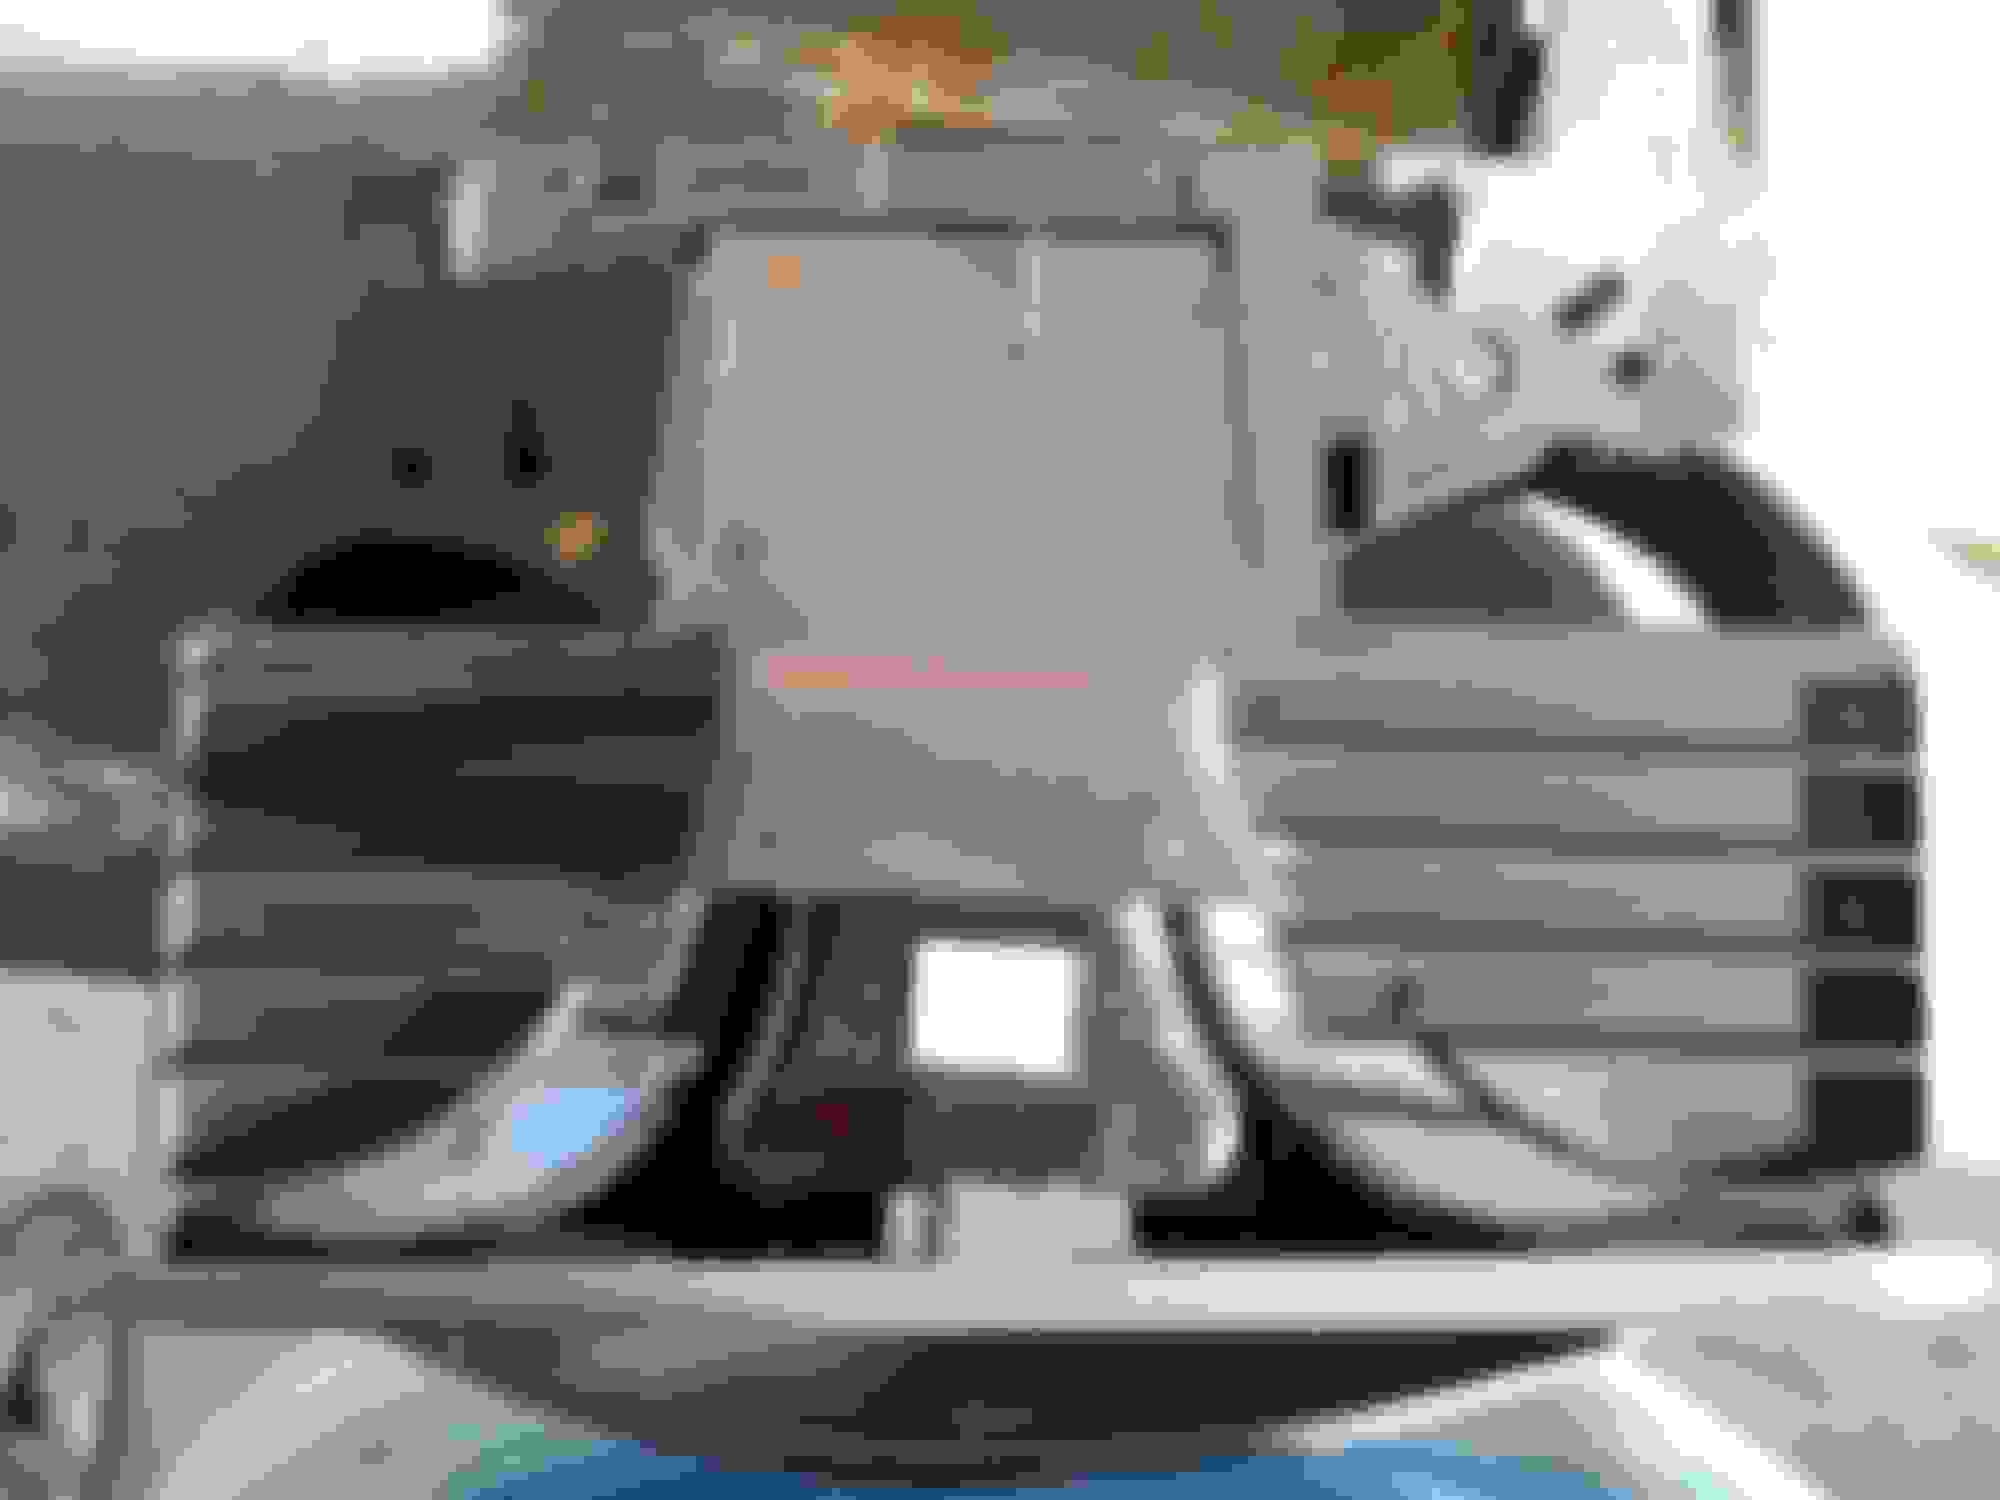
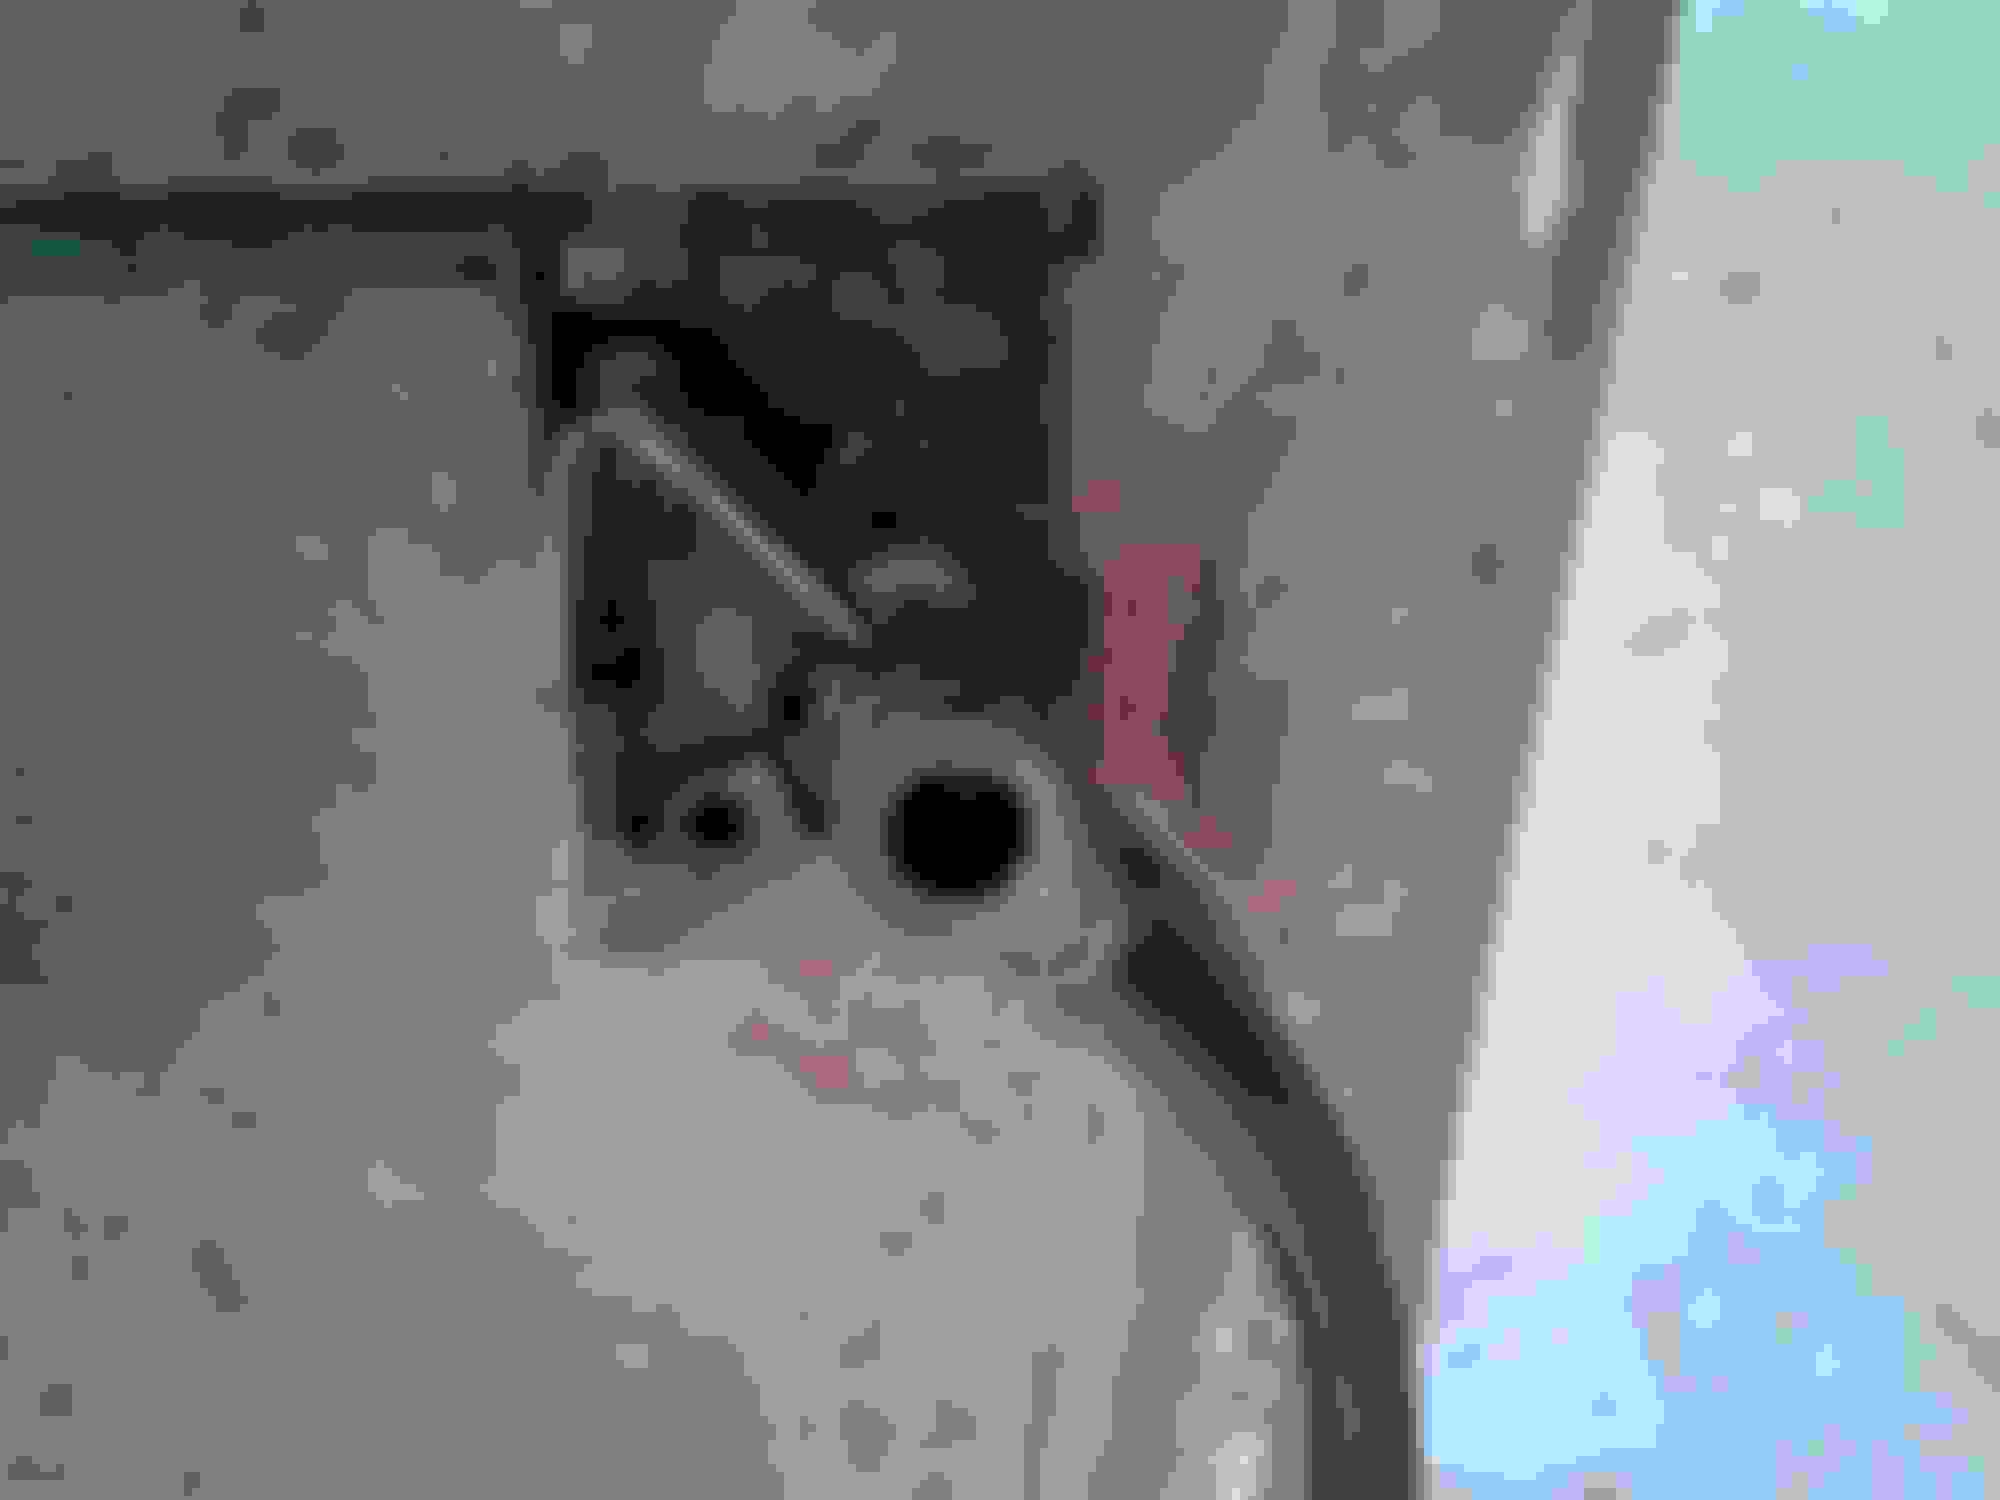
Here is a quick tutorial on how to repair your in-dash cup holder yourself. There are two opposing springs on each arm that keep it centered (spring loaded to center). Remove the cup-holder from the dash by removing the four 7mm screws. 2 in the front, and 2 on the bottom side.
Once you have it out, there are 2 torx screws on the bottom. Remove them.
2 gold torx screws
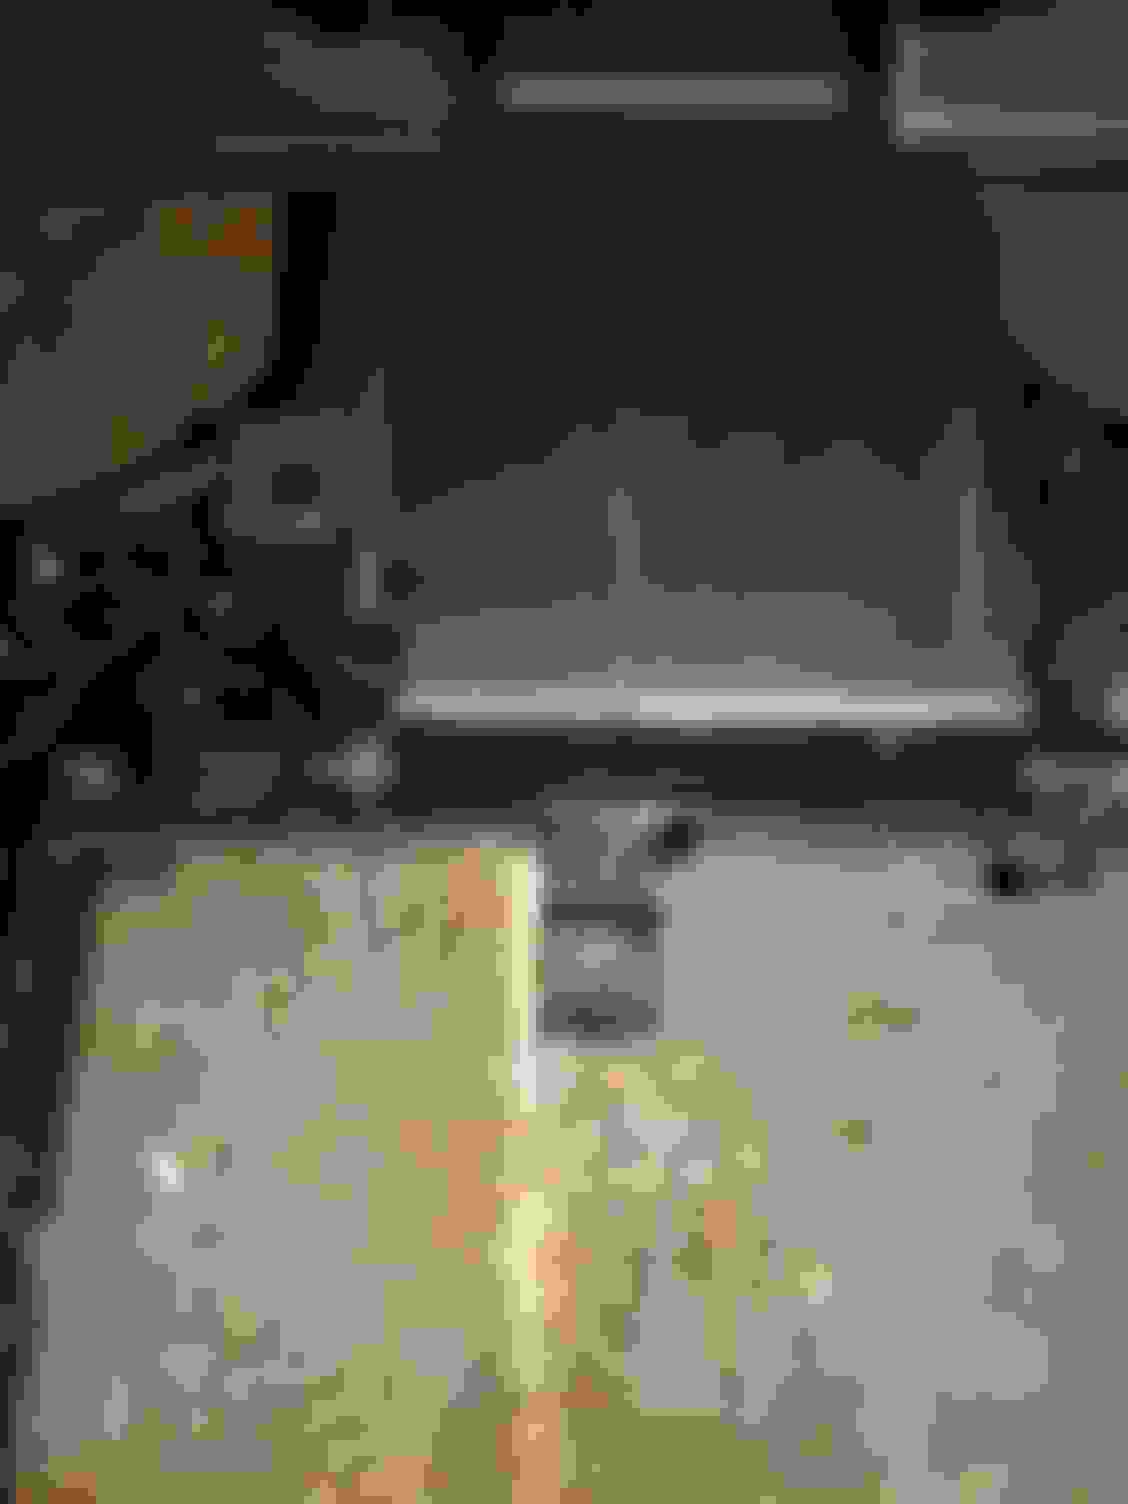
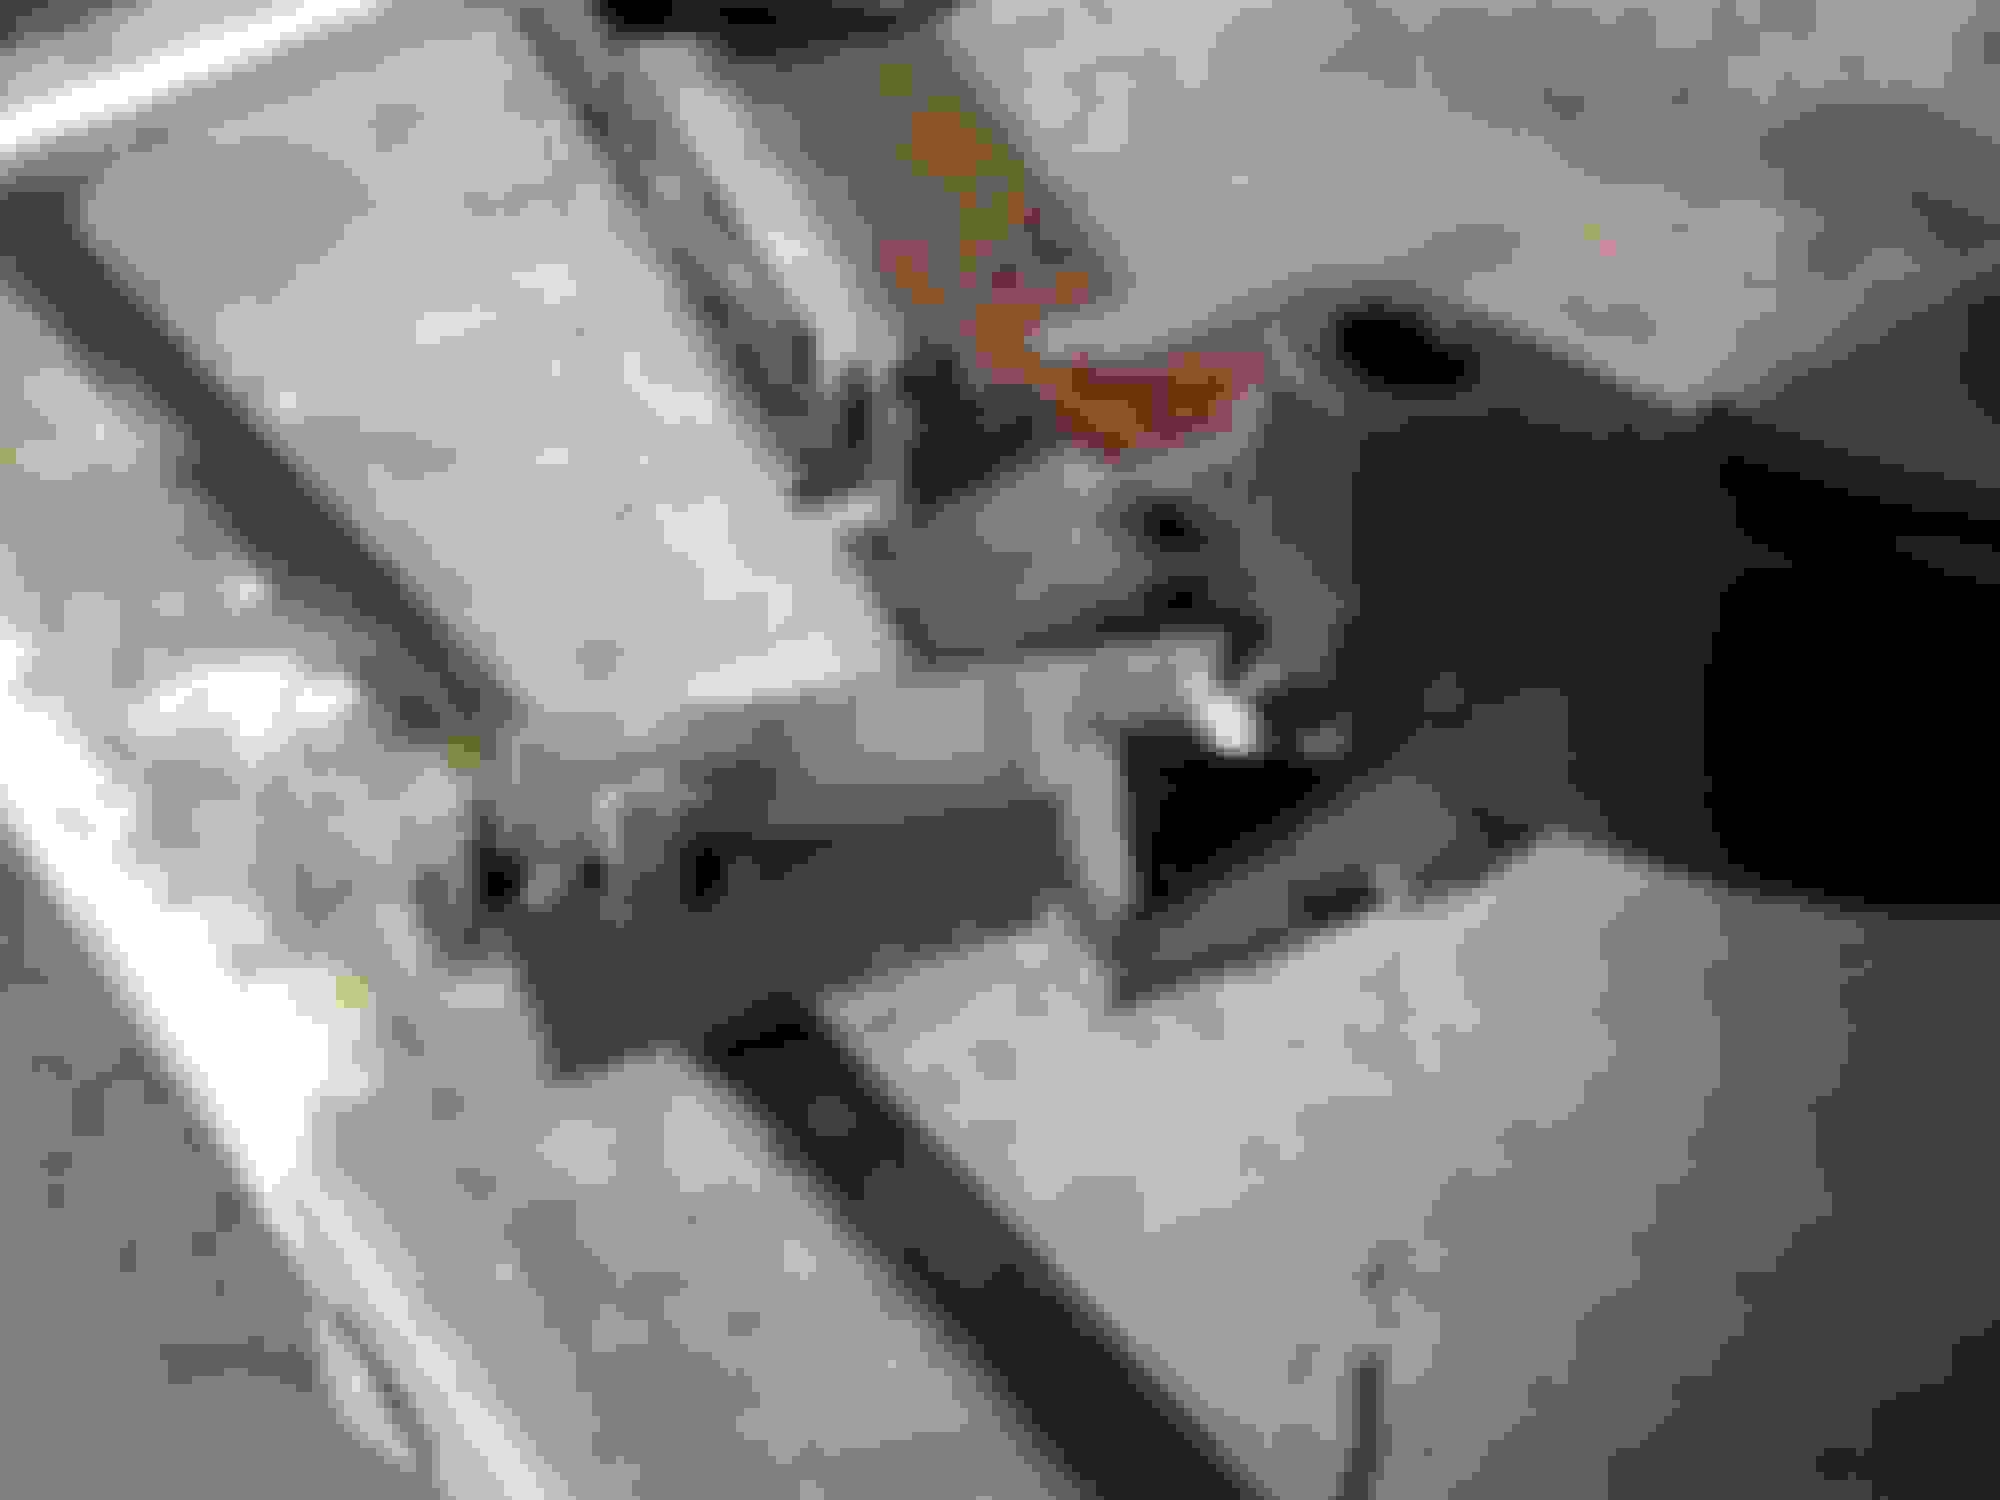
You will find two tabs continuing to hold the bottom plate on. I had to trim the leading edge off with a razor blade to get them to go back through the square channel they lock into.
One of the two tabs and the spring end of the flip-down cup bottom.
Once you have those two tabs released, the bottom plate comes off, and the cup bottom "flap" will fall out with the spring. The spring is easy to put back in. flap spring location and orientation
The little arms will then be freed up. You will find a traditional spring UNDER the arm. One end goes in a hole in the plate, and the other end sticks up into a hole in the arm itself. If pushed too far, the spring can come unseated from the little hole in the arm and get bent. If you find it like this, straighten out the spring and re-insert it into the hole in the arm.
One side...
...and the other. notice how the spring is sticking straight up and not bent over.
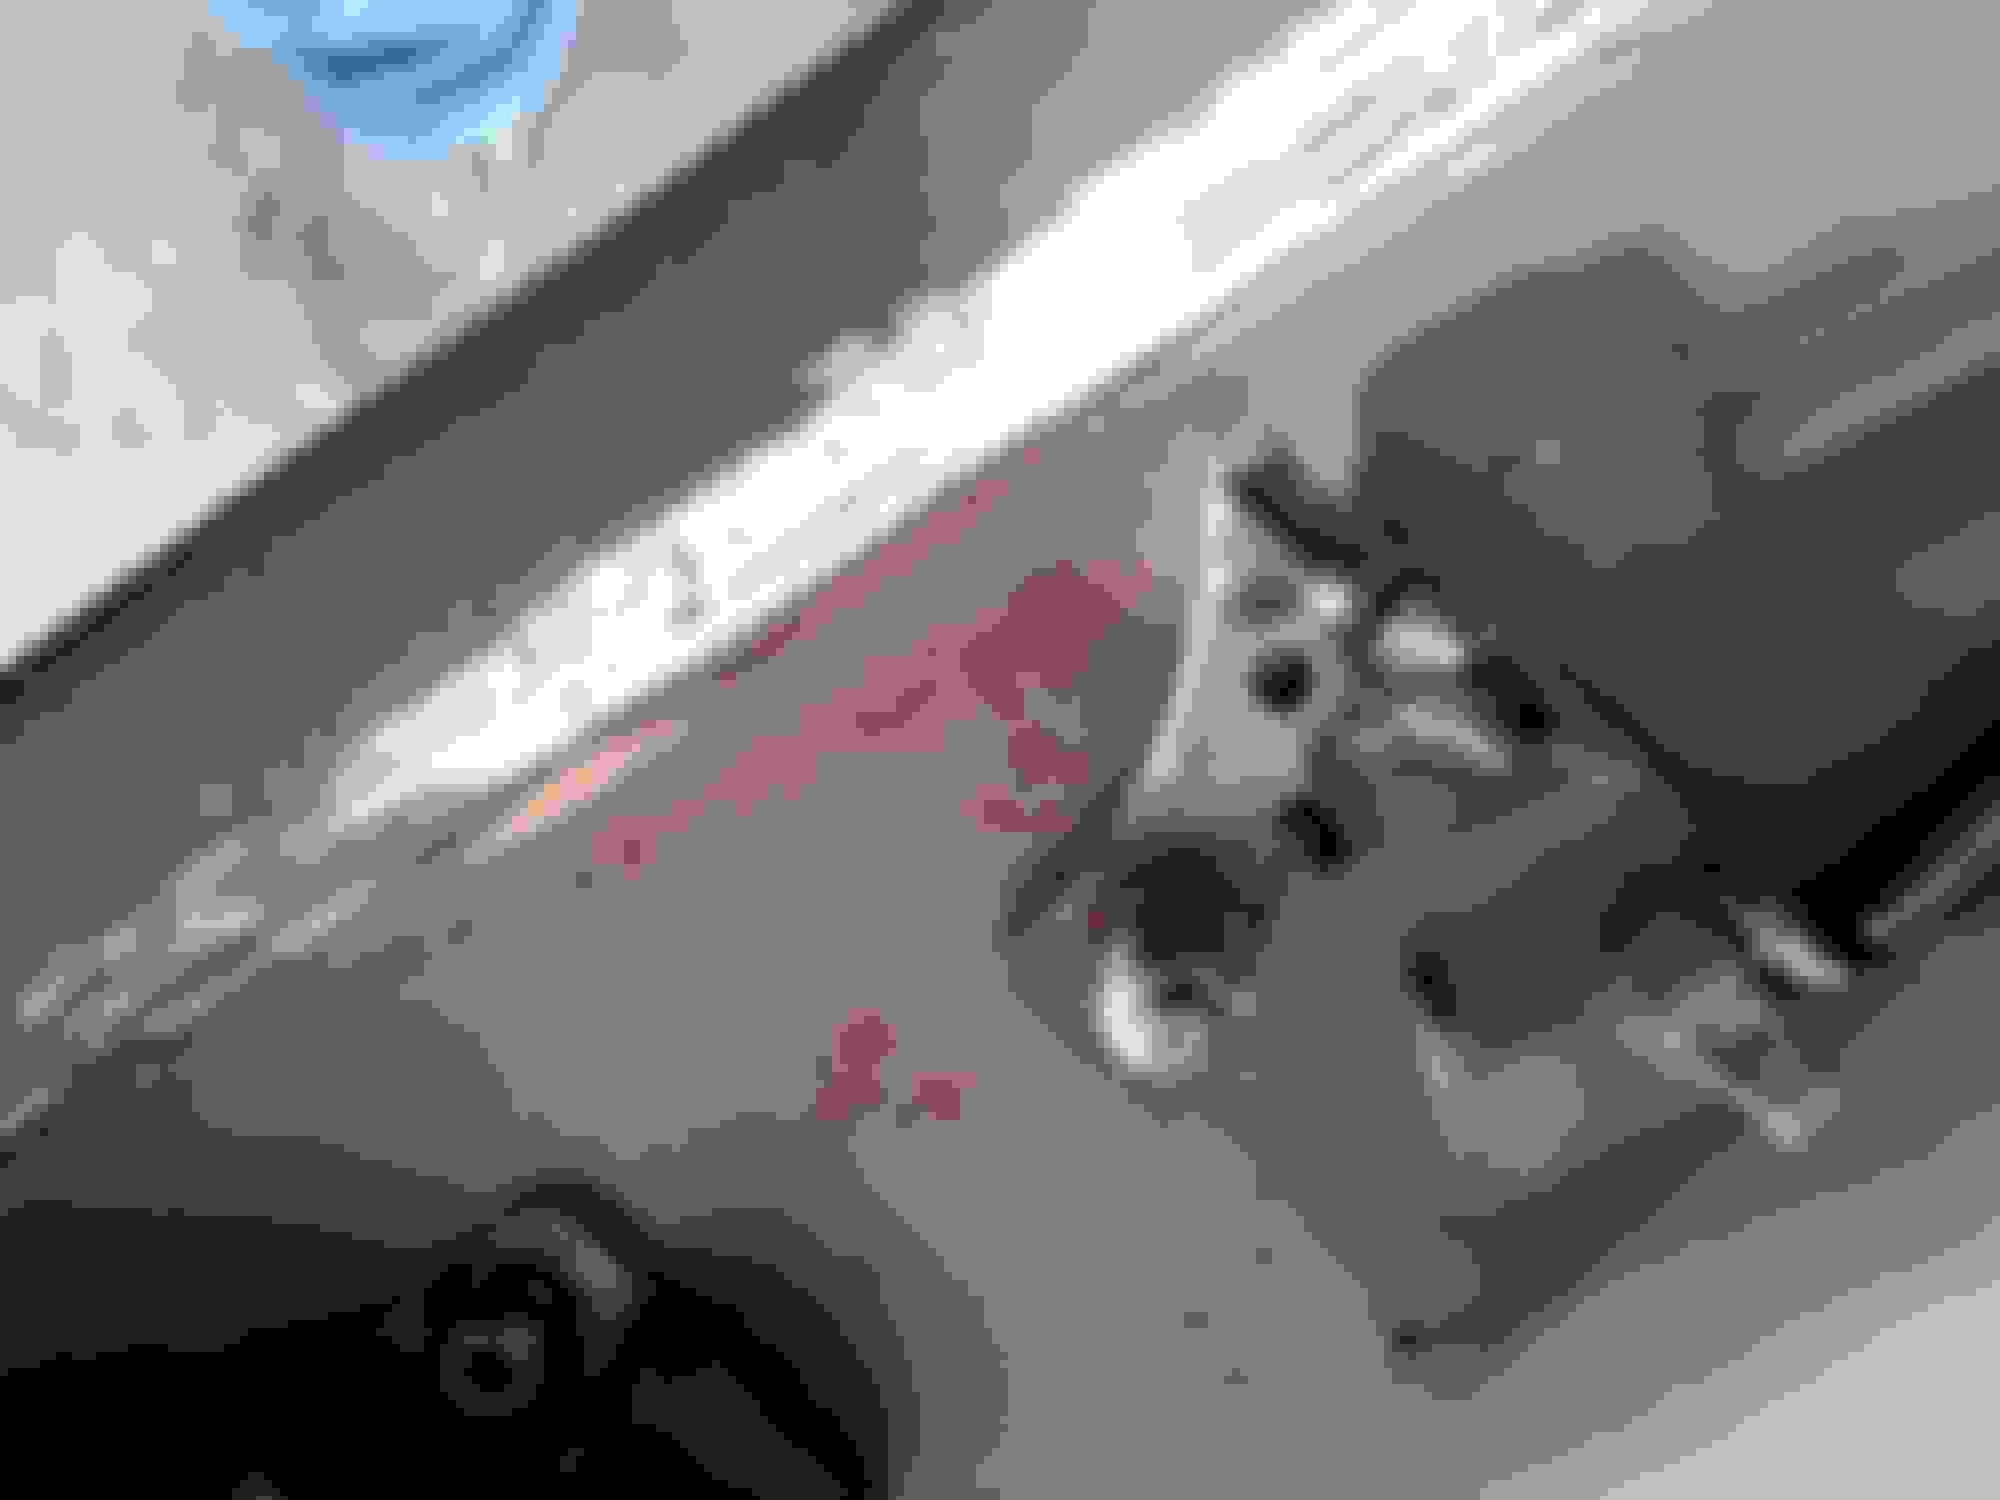
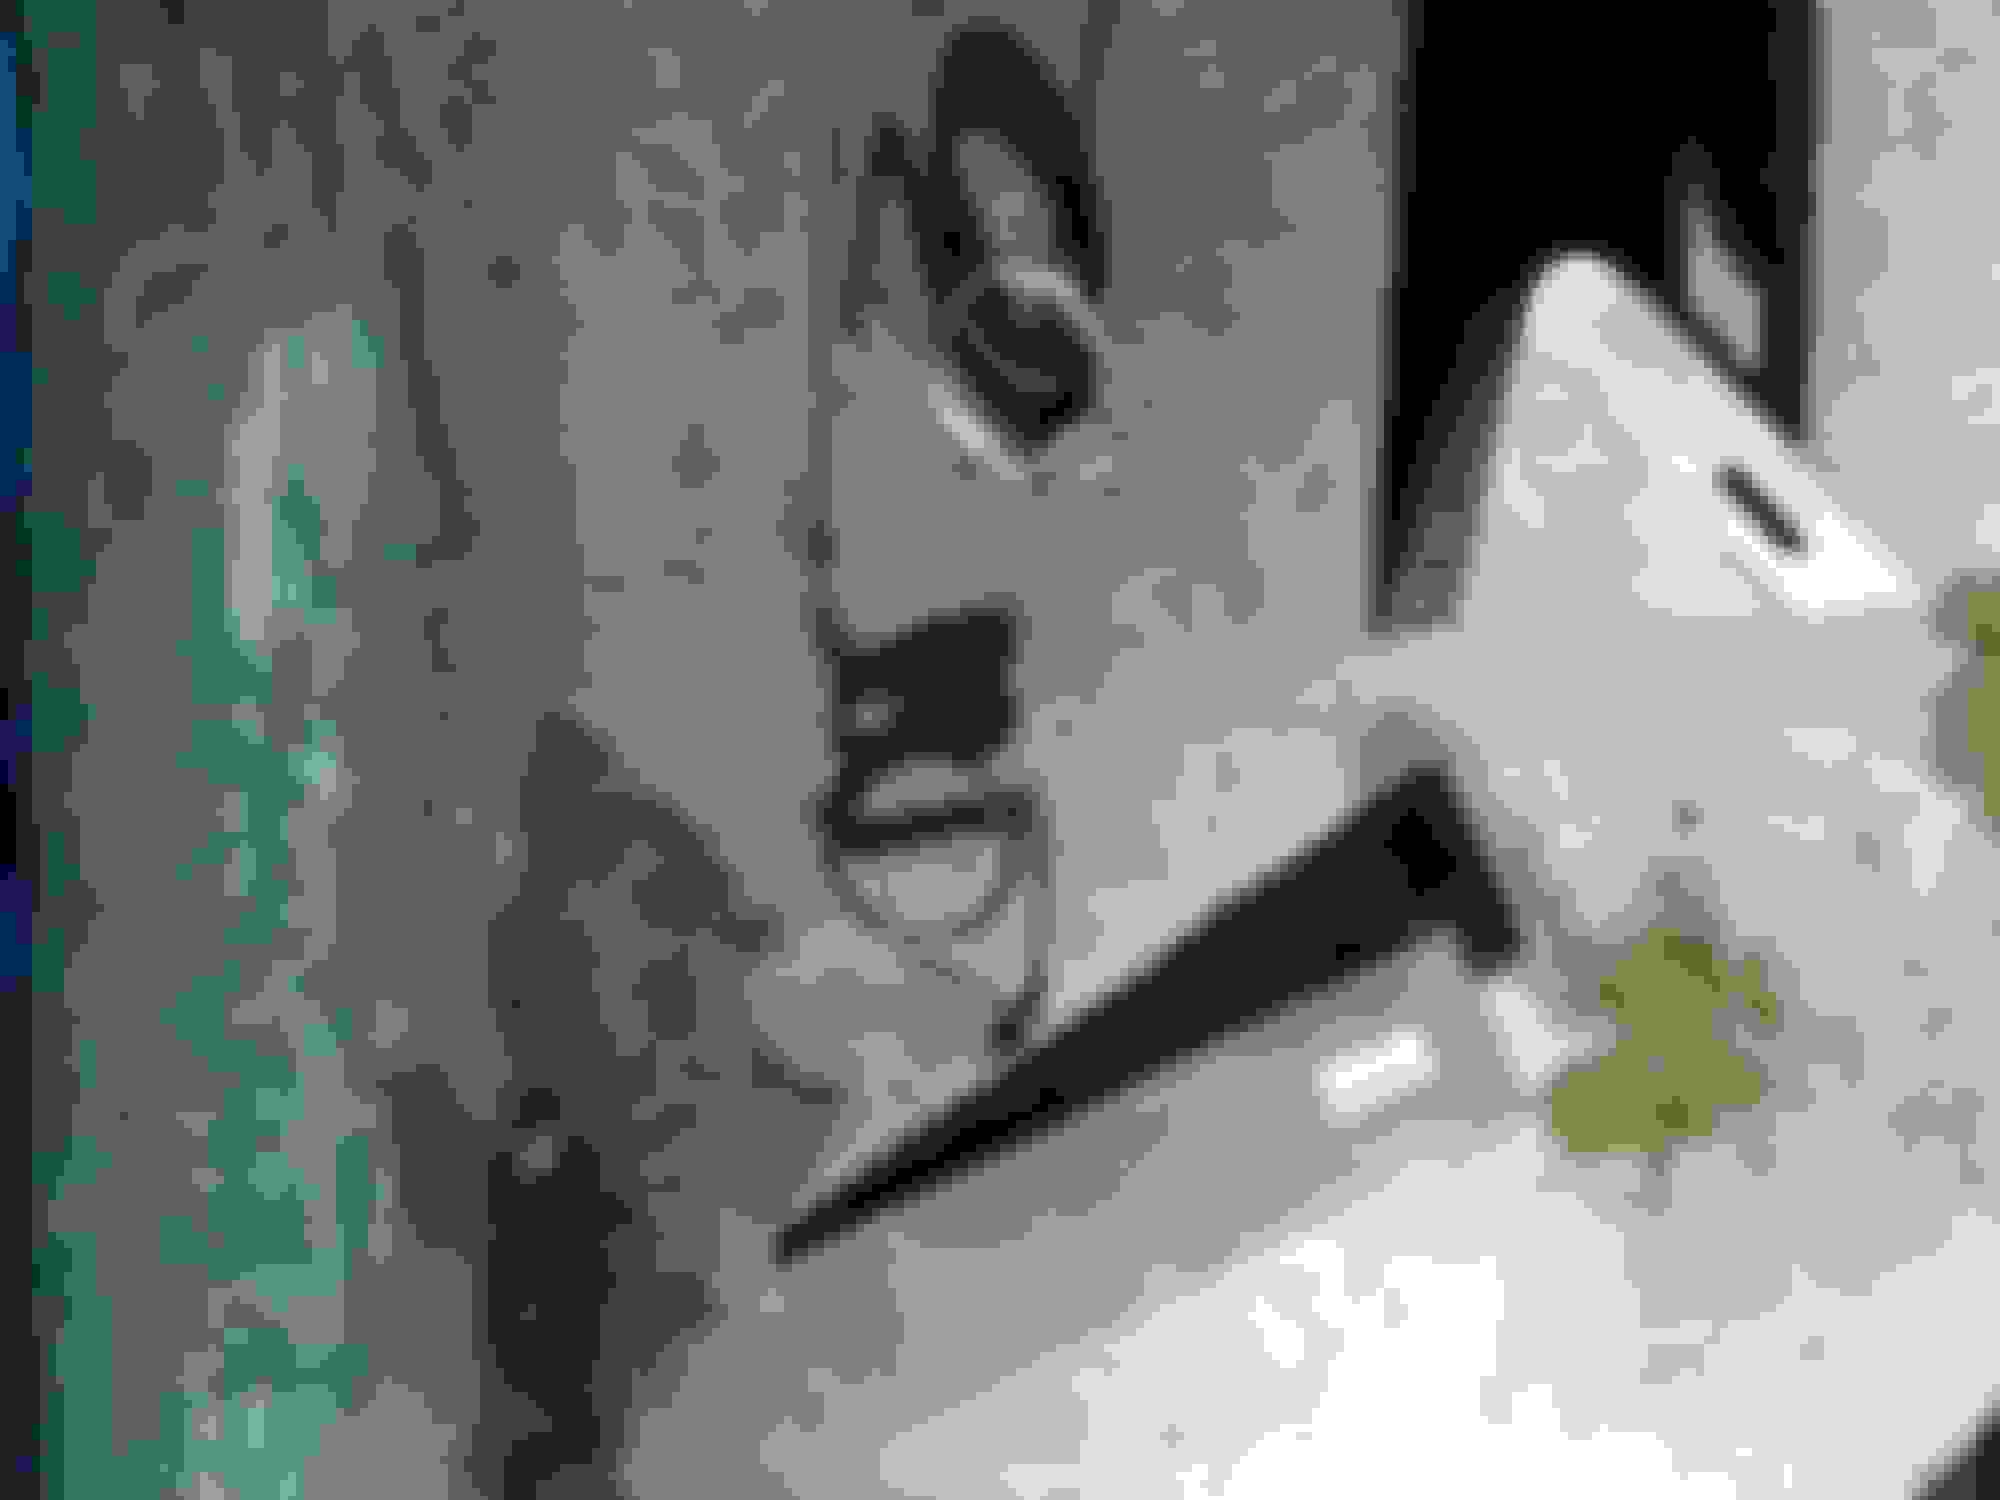
The other spring is a piece of thin, flat steel. There is a tab on each arm that contacts that flat piece of steel and bends it inwards. The tab on the arms breaks off over time, or if you push the arm past its limits with a giant cup. These flat steel springs should never break, but they could come unseated from their little holding bracket. In this case, I found the tab broken off the arm of the cup holder. Shown here:
Tab is missing that should contact that flat spring
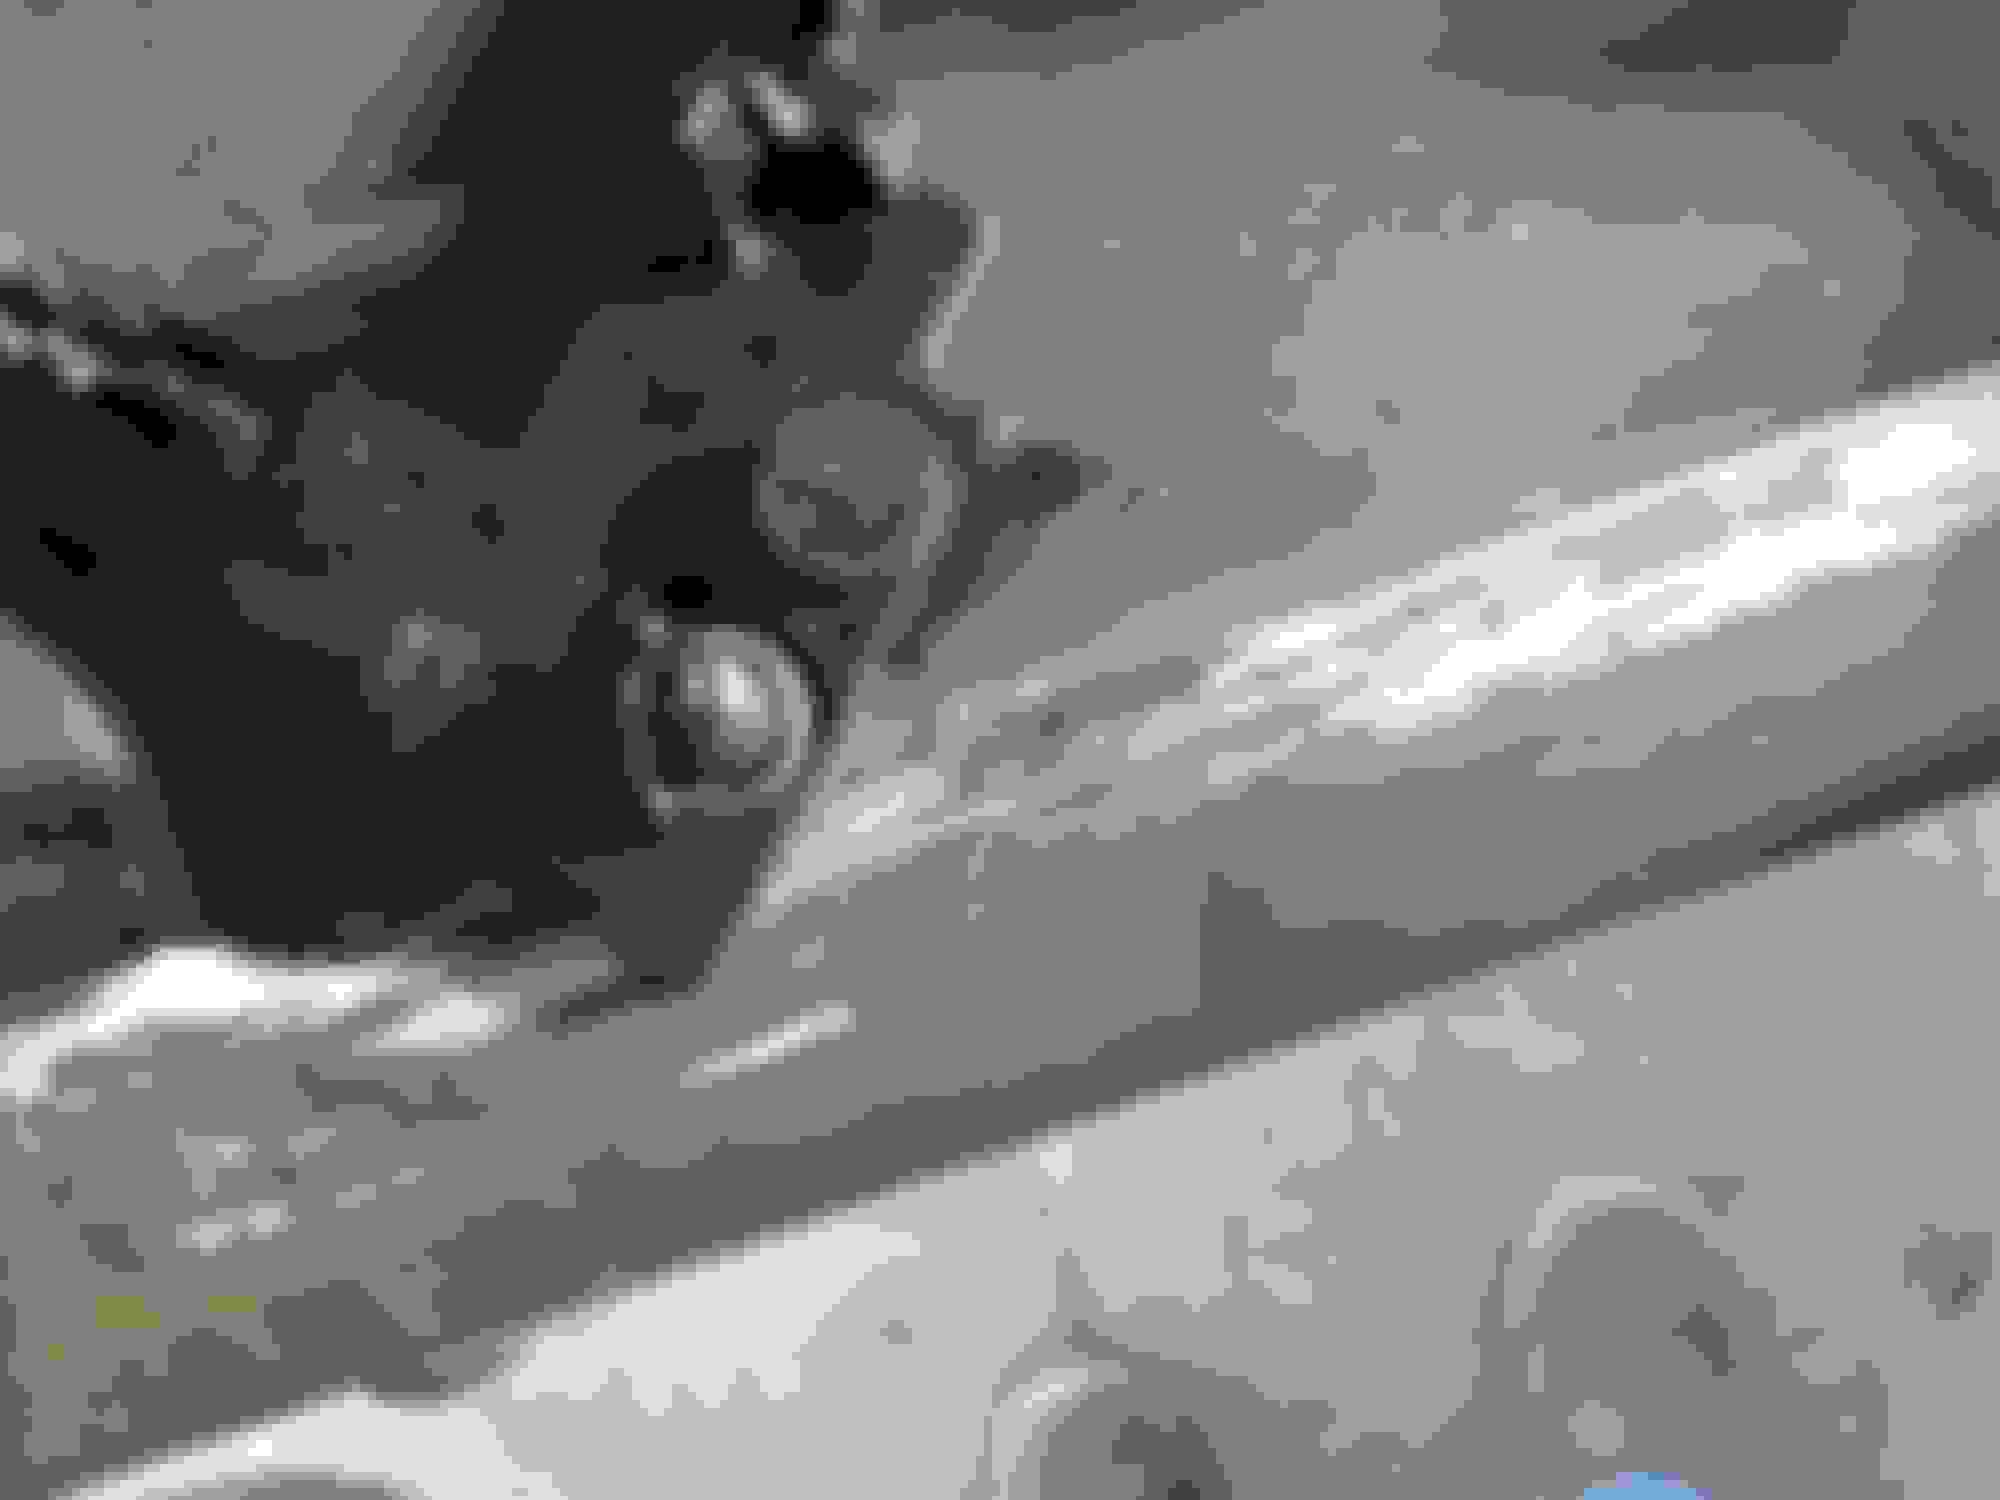
This is the other side and what that tab looks like:
Here is how I fixed it:
Drill a very small hole in the plastic where the tab used to be
Insert the tiny screw. This one was a little bitty sheet metal screw from a computer case. Do not put it in too far. The tip should not enter the cavity for the guide shaft.
The screw replaces the tab very well and works flawlessly.
When reassembling, you cannot get the springs wrong. Each side is different, and they can only go one way.
The four springs involved
Put them in their places. They will stay put pretty well. Then put the arm over the coil springs making sure the ends of the springs go in their respective holes.
Carefully lay the bottom plate back onto the main housing. You will need to hold down the spring for the cup-bottom flap while doing this. I used a straight slot screwdriver to depress it while sliding the tabs back in their square holes. Replace the torx screws and you are done.

 04-25-2017, 06:07 PM