Pre-Power Stroke Diesel (7.3L IDI & 6.9L) Diesel Topics Only

The CrewCab Project

Thread Tools
 
Search this Thread
 
  #61  
Old 01-14-2018, 07:22 PM
theshyguy's Avatar
theshyguy
theshyguy is offline
Elder User
Join Date: Feb 2003
Posts: 584
Likes: 0
Received 0 Likes on 0 Posts
That paint job is awesome!
 
  #62  
Old 01-14-2018, 07:52 PM
90Ford73's Avatar
90Ford73
90Ford73 is offline
More Turbo
Join Date: Oct 2014
Location: Alberta Eh
Posts: 580
Received 65 Likes on 58 Posts
That looks great! My mirrors don't show the surroundings as good as your paint does!
 
  #63  
Old 01-14-2018, 08:28 PM
Azryael's Avatar
Azryael
Azryael is offline
Laughing Gas
Join Date: Feb 2017
Location: San Antonio, Texas
Posts: 990
Likes: 0
Received 5 Likes on 5 Posts
Agreed, it looks really good.

I'll eventually lay paint on my project car, assuming I ever get around to actually working on it; so it'll get me some experience before I considering painting the truck.

Those photos alone motivate me and help me visualize the final result.
 
  #64  
Old 01-14-2018, 09:28 PM
Chevy_Eater's Avatar
Chevy_Eater
Chevy_Eater is offline
Logistics Pro
Join Date: Apr 2005
Posts: 4,220
Received 14 Likes on 8 Posts
Nice work, looks sharp!
 
  #65  
Old 01-15-2018, 02:49 PM
fordtruckman838's Avatar
fordtruckman838
fordtruckman838 is offline
Senior User
Thread Starter
Join Date: Nov 2003
Location: Saint Maries Idaho
Posts: 298
Likes: 0
Received 0 Likes on 0 Posts
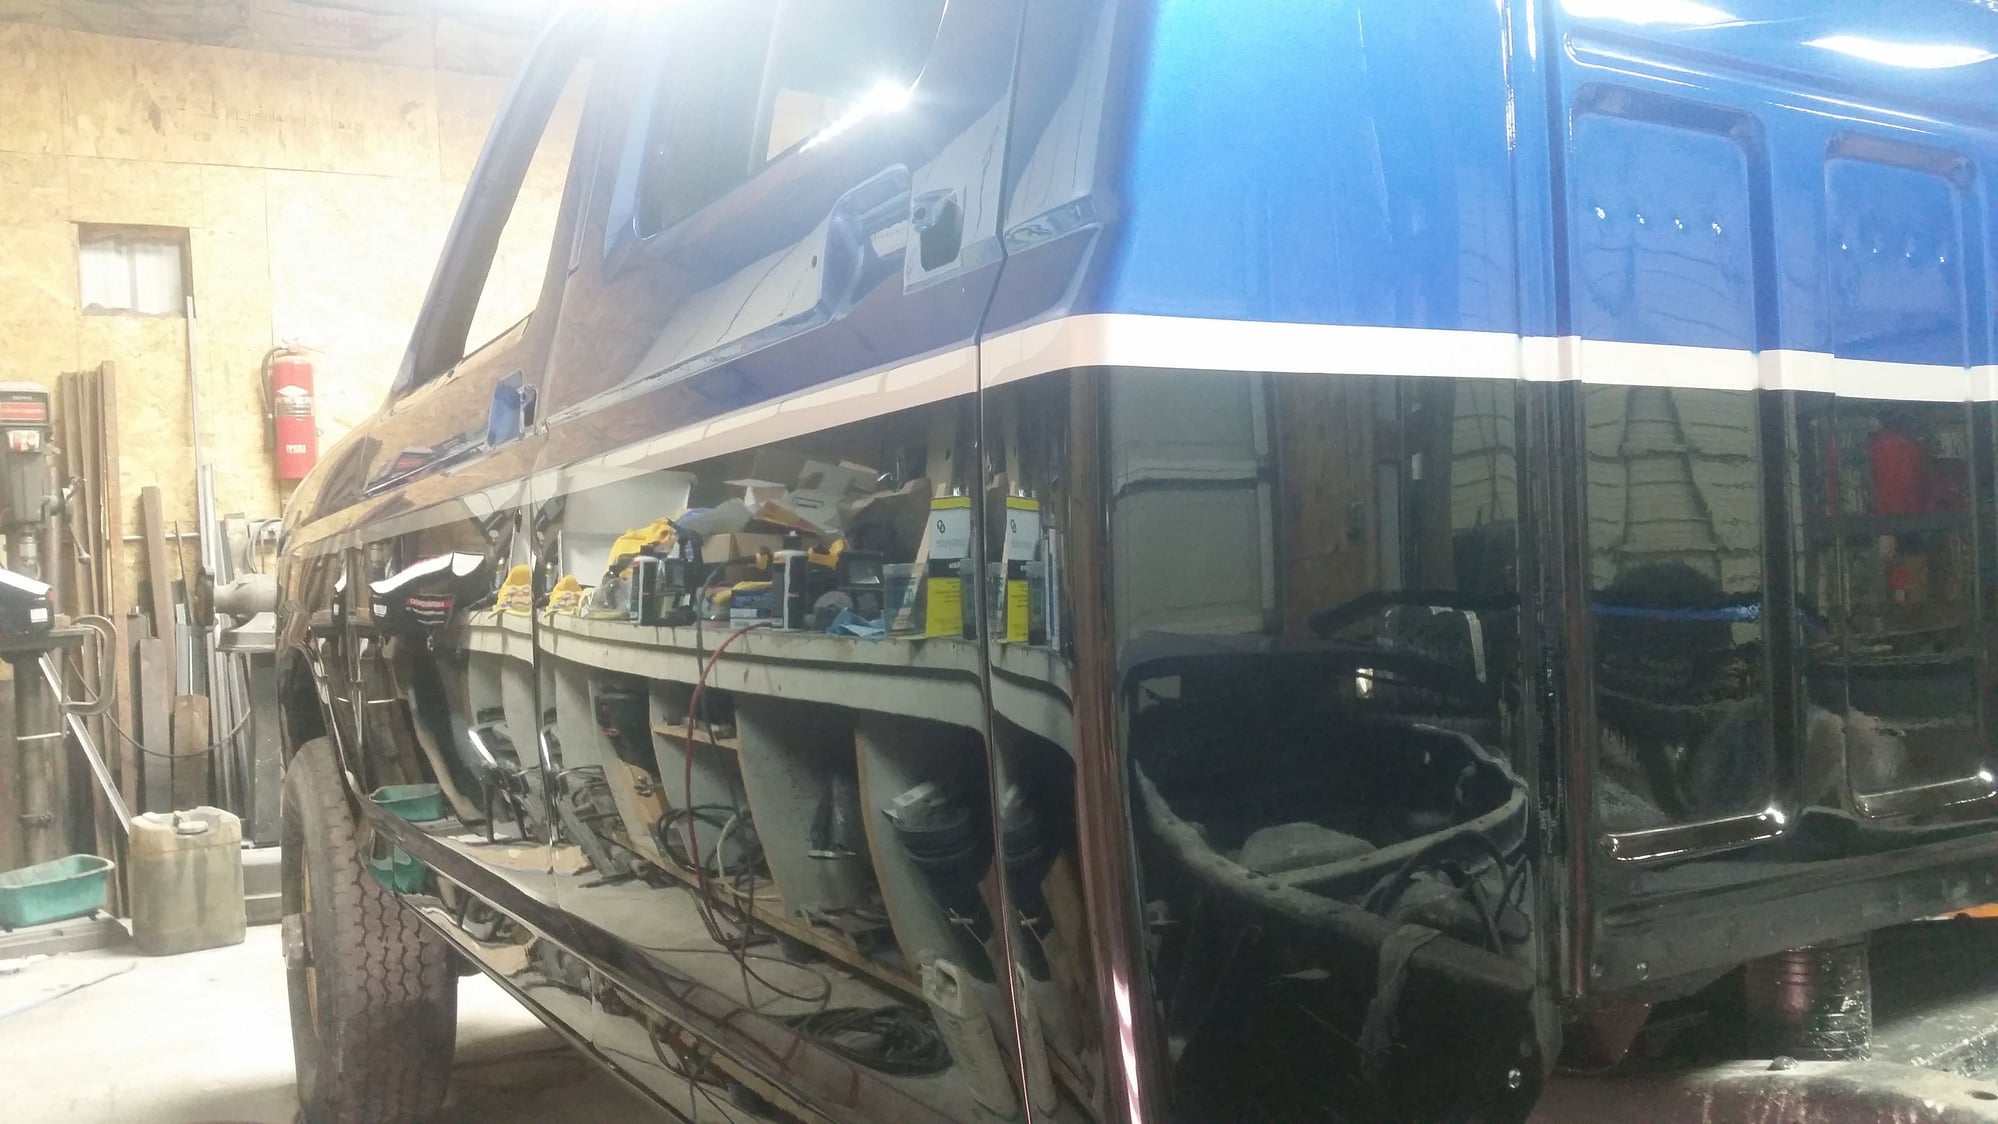
The reflection in the hood is phenominal after waxing!
This is the spot I sanded through, back to shiny!


final polish is done and wax is on! Now to start installing the glass!
 
  #66  
Old 01-19-2018, 06:34 PM
fordtruckman838's Avatar
fordtruckman838
fordtruckman838 is offline
Senior User
Thread Starter
Join Date: Nov 2003
Location: Saint Maries Idaho
Posts: 298
Likes: 0
Received 0 Likes on 0 Posts
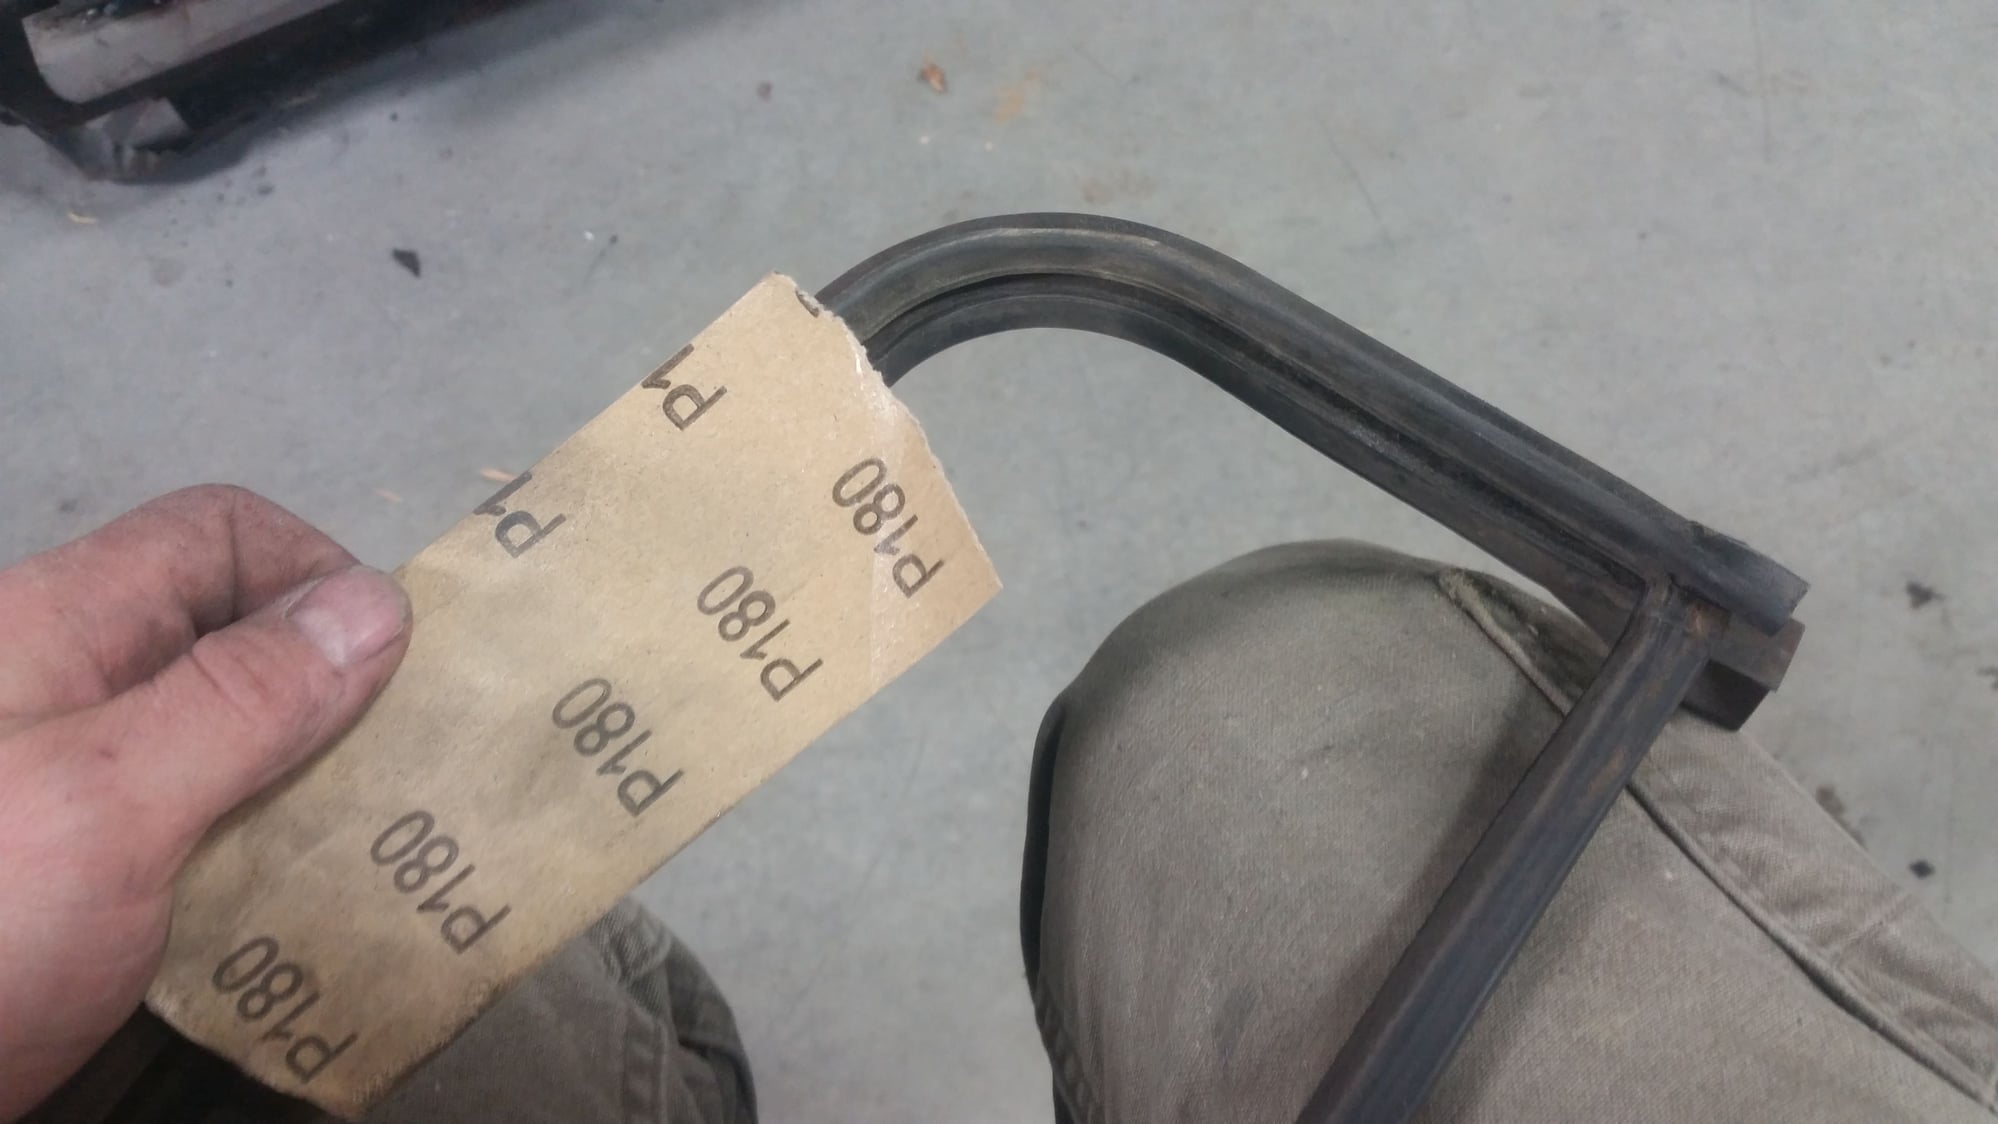
I was unable to find an replacement seal for the front portion of the windows on the rear doors. The seals were still flexible with only minor weathering so I sanded the weathering off with 180 grit and then wiped them with acetone to clean the dust off. They ended up looking pretty good!
I cleaned the glass with 0000 steel wool. This is before cleaning
This is after.
Test fitting
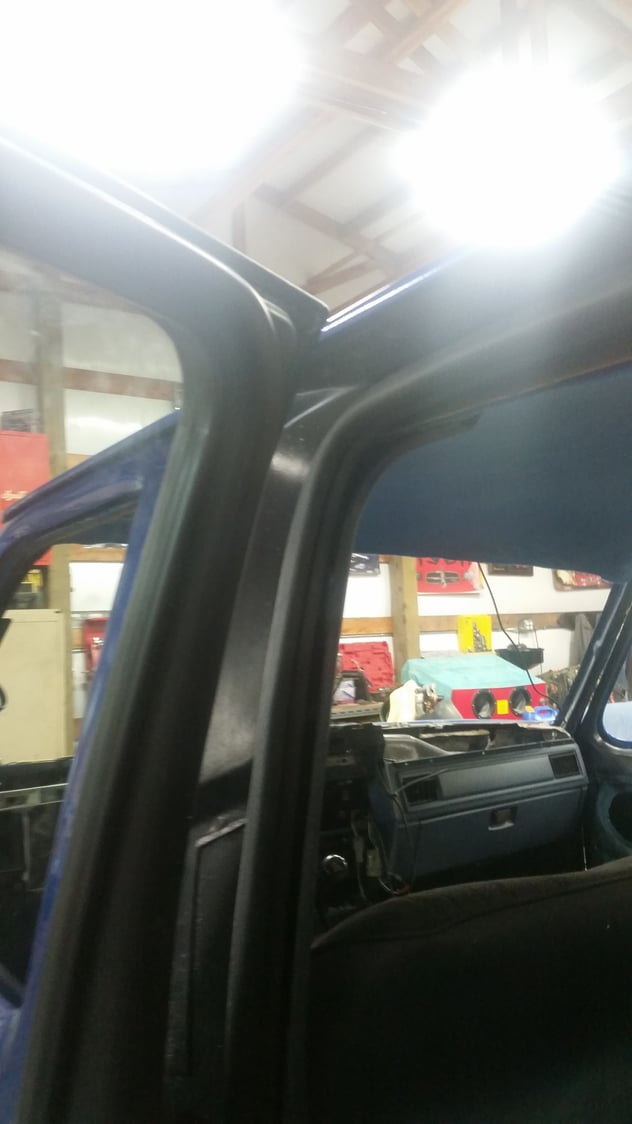
Door seals installed
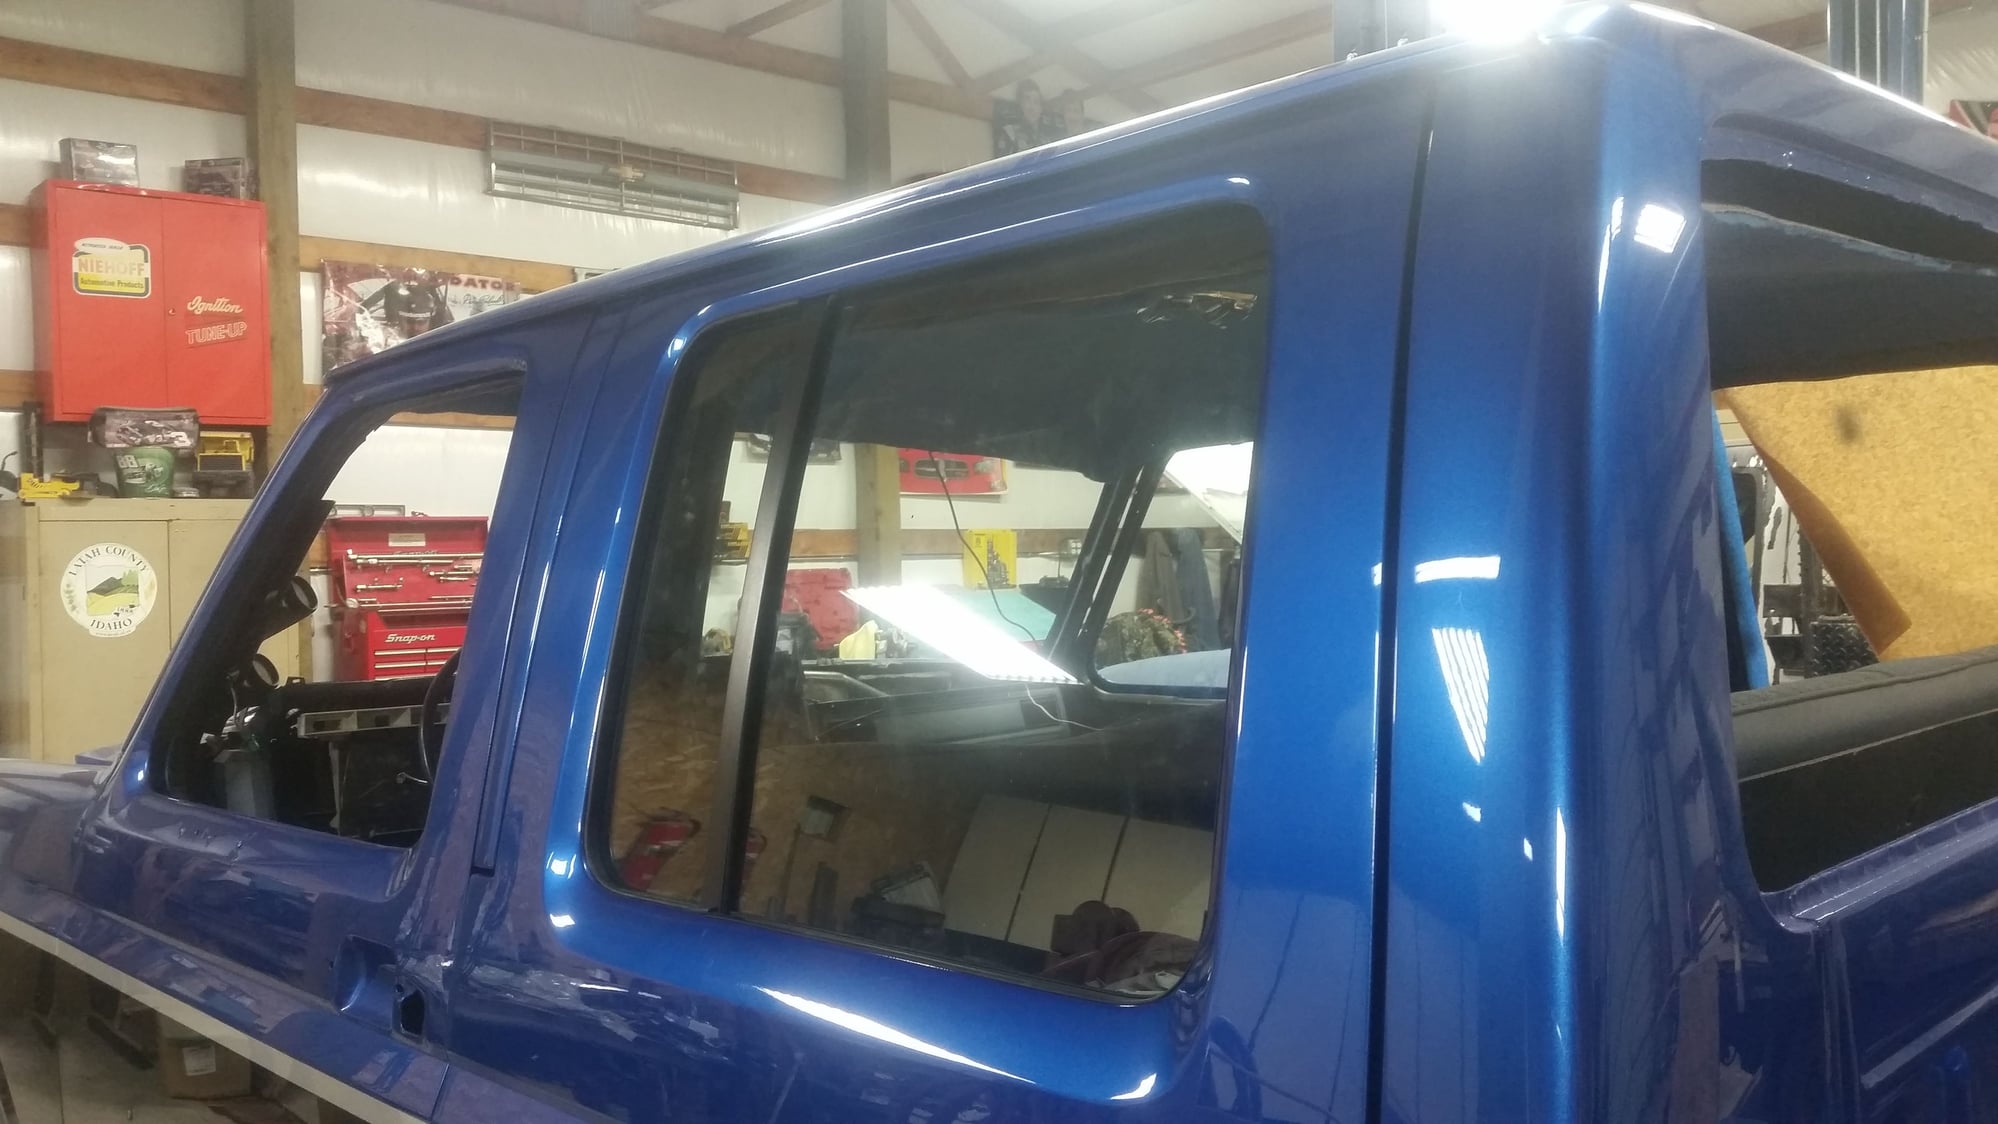
Both rear doors have all seals and glass. Dont have a photo, but the wiper seals for the front doors will work in the rear. I used tin snips to shorten them by roughly 3"
 
  #67  
Old 01-19-2018, 06:46 PM
fordtruckman838's Avatar
fordtruckman838
fordtruckman838 is offline
Senior User
Thread Starter
Join Date: Nov 2003
Location: Saint Maries Idaho
Posts: 298
Likes: 0
Received 0 Likes on 0 Posts
In other news, I ordered blackrock 942 wheels from jegs a couple weeks ago and received an email that they would ship from the manufacturer with an estimated ship date of No Eta.....
I just called on them and the estimate is may 3rd.... glad I was setting down when they told me that...
 
  #68  
Old 01-22-2018, 06:22 PM
fordtruckman838's Avatar
fordtruckman838
fordtruckman838 is offline
Senior User
Thread Starter
Join Date: Nov 2003
Location: Saint Maries Idaho
Posts: 298
Likes: 0
Received 0 Likes on 0 Posts
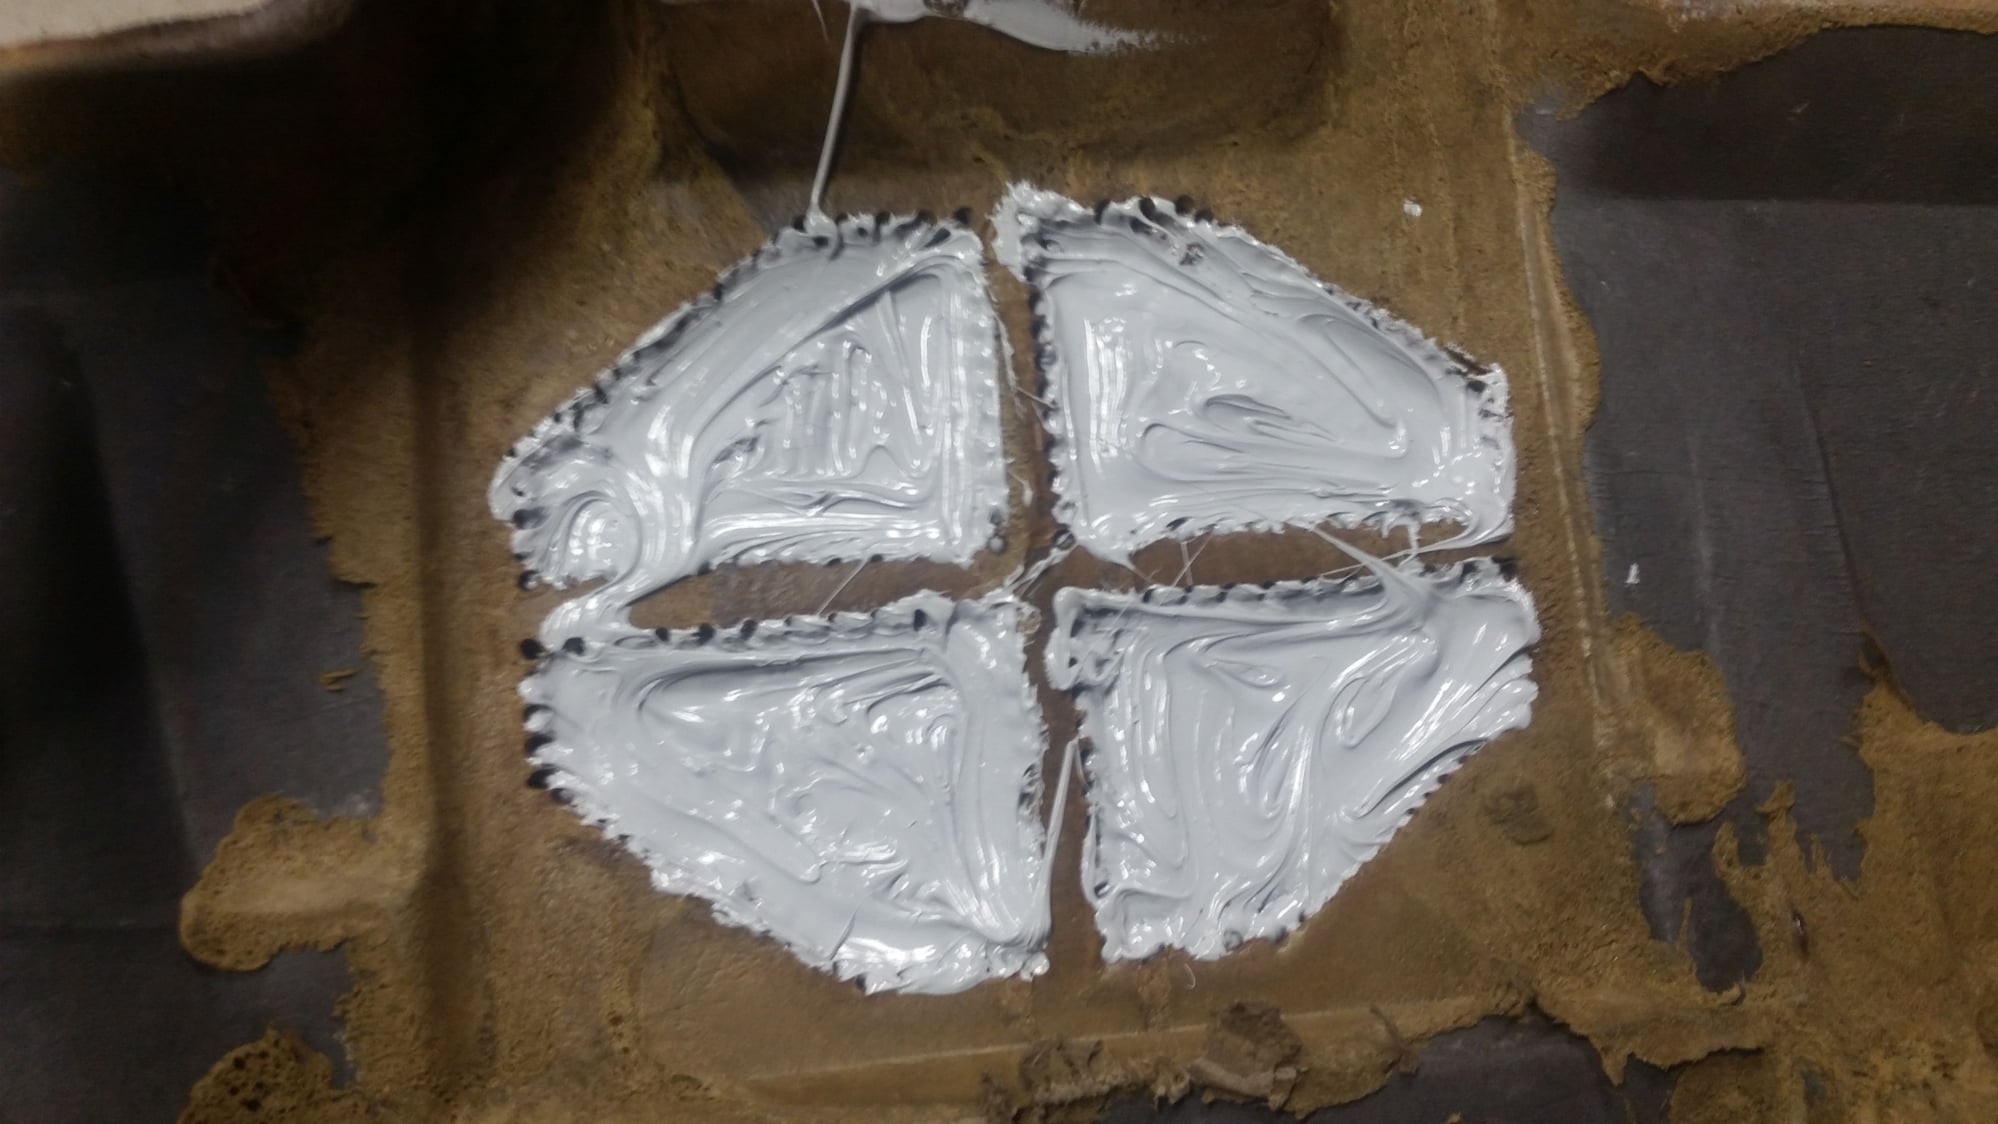
Since the speaker hole is well known for cracking out and mine was in good condition i reenforced it with some leftover seam sealer.

All of the trim ready for painting.
Dashpad after painting.
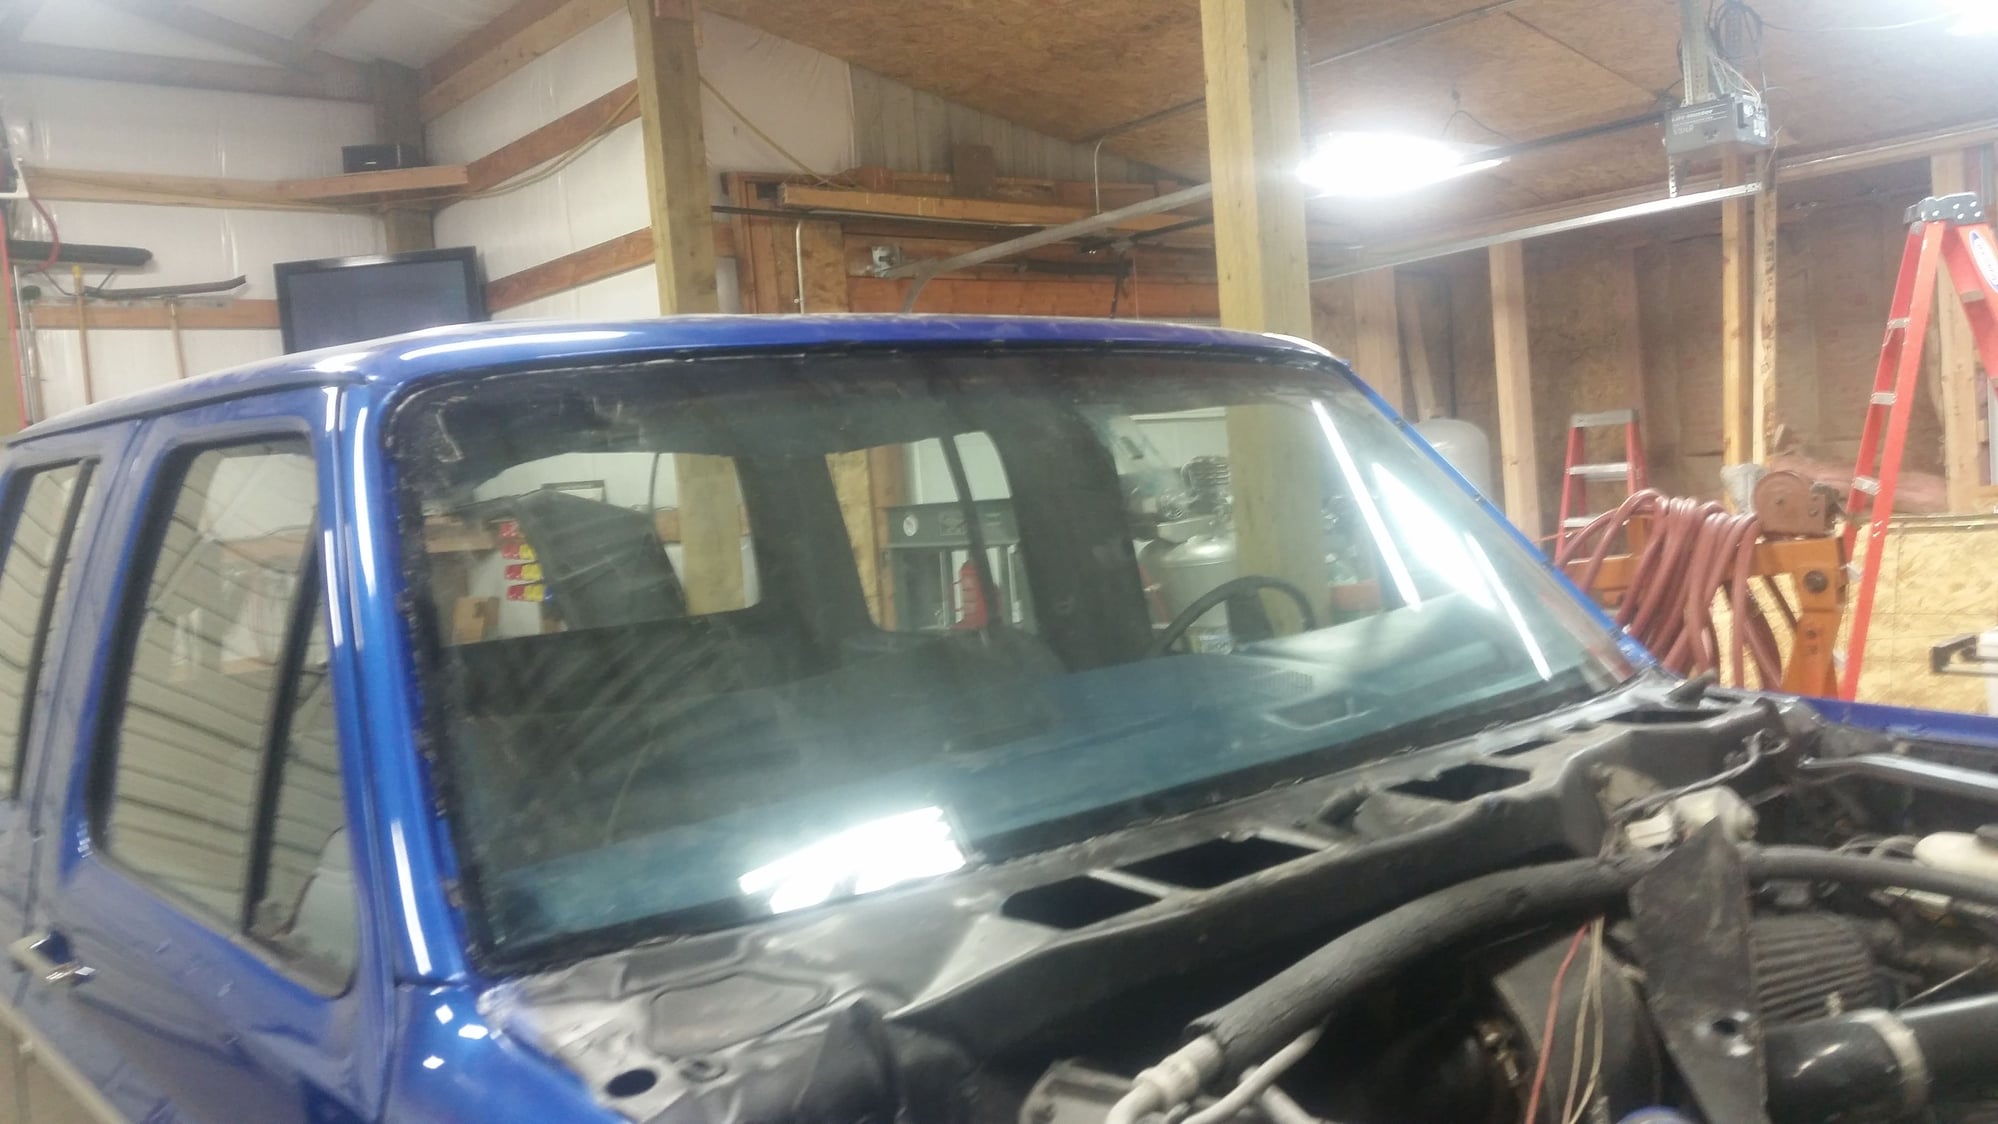
Rear window is now in!
Windshield installed.

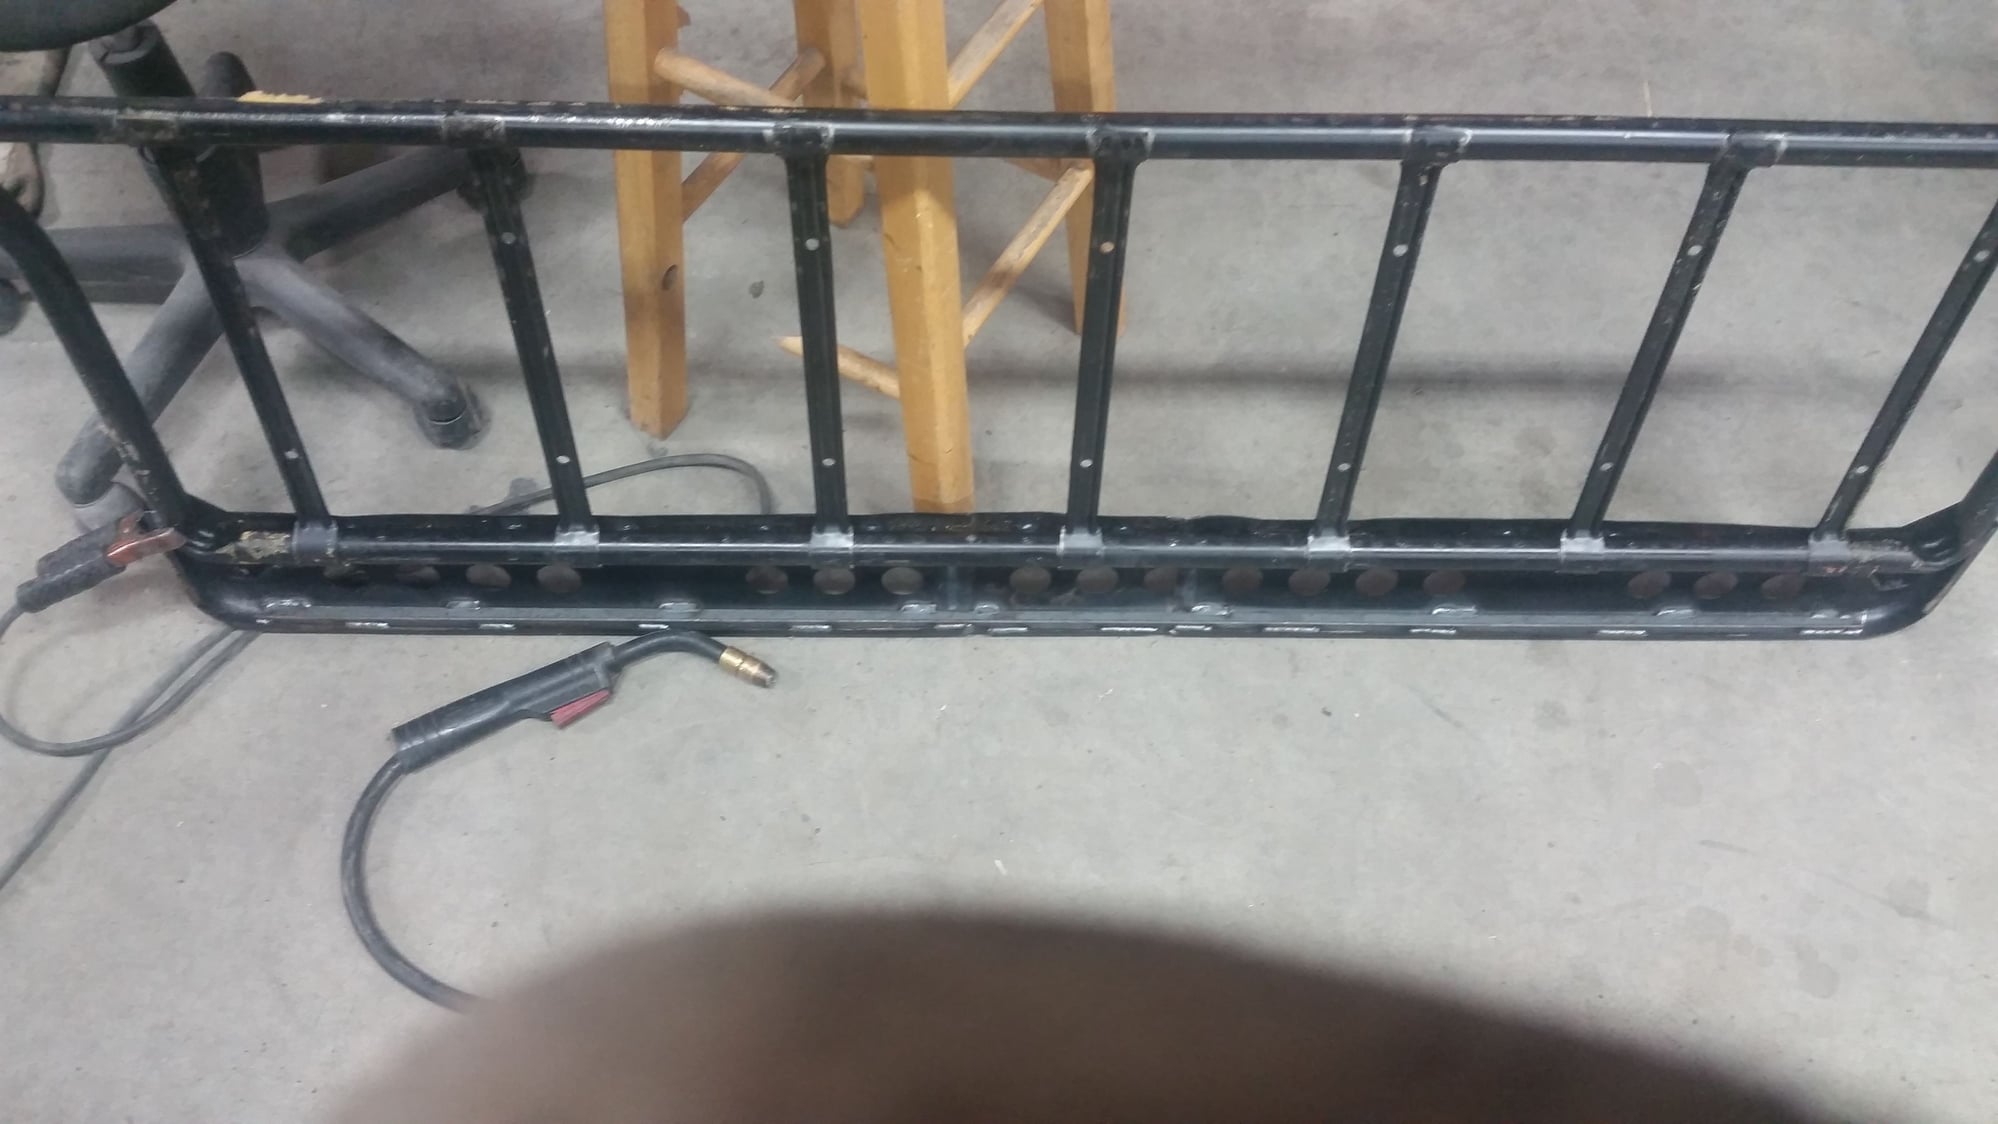
I figured out why the seatback on the drivers seat was sagging...
I welded a piece of angle iron in for reenforcement.
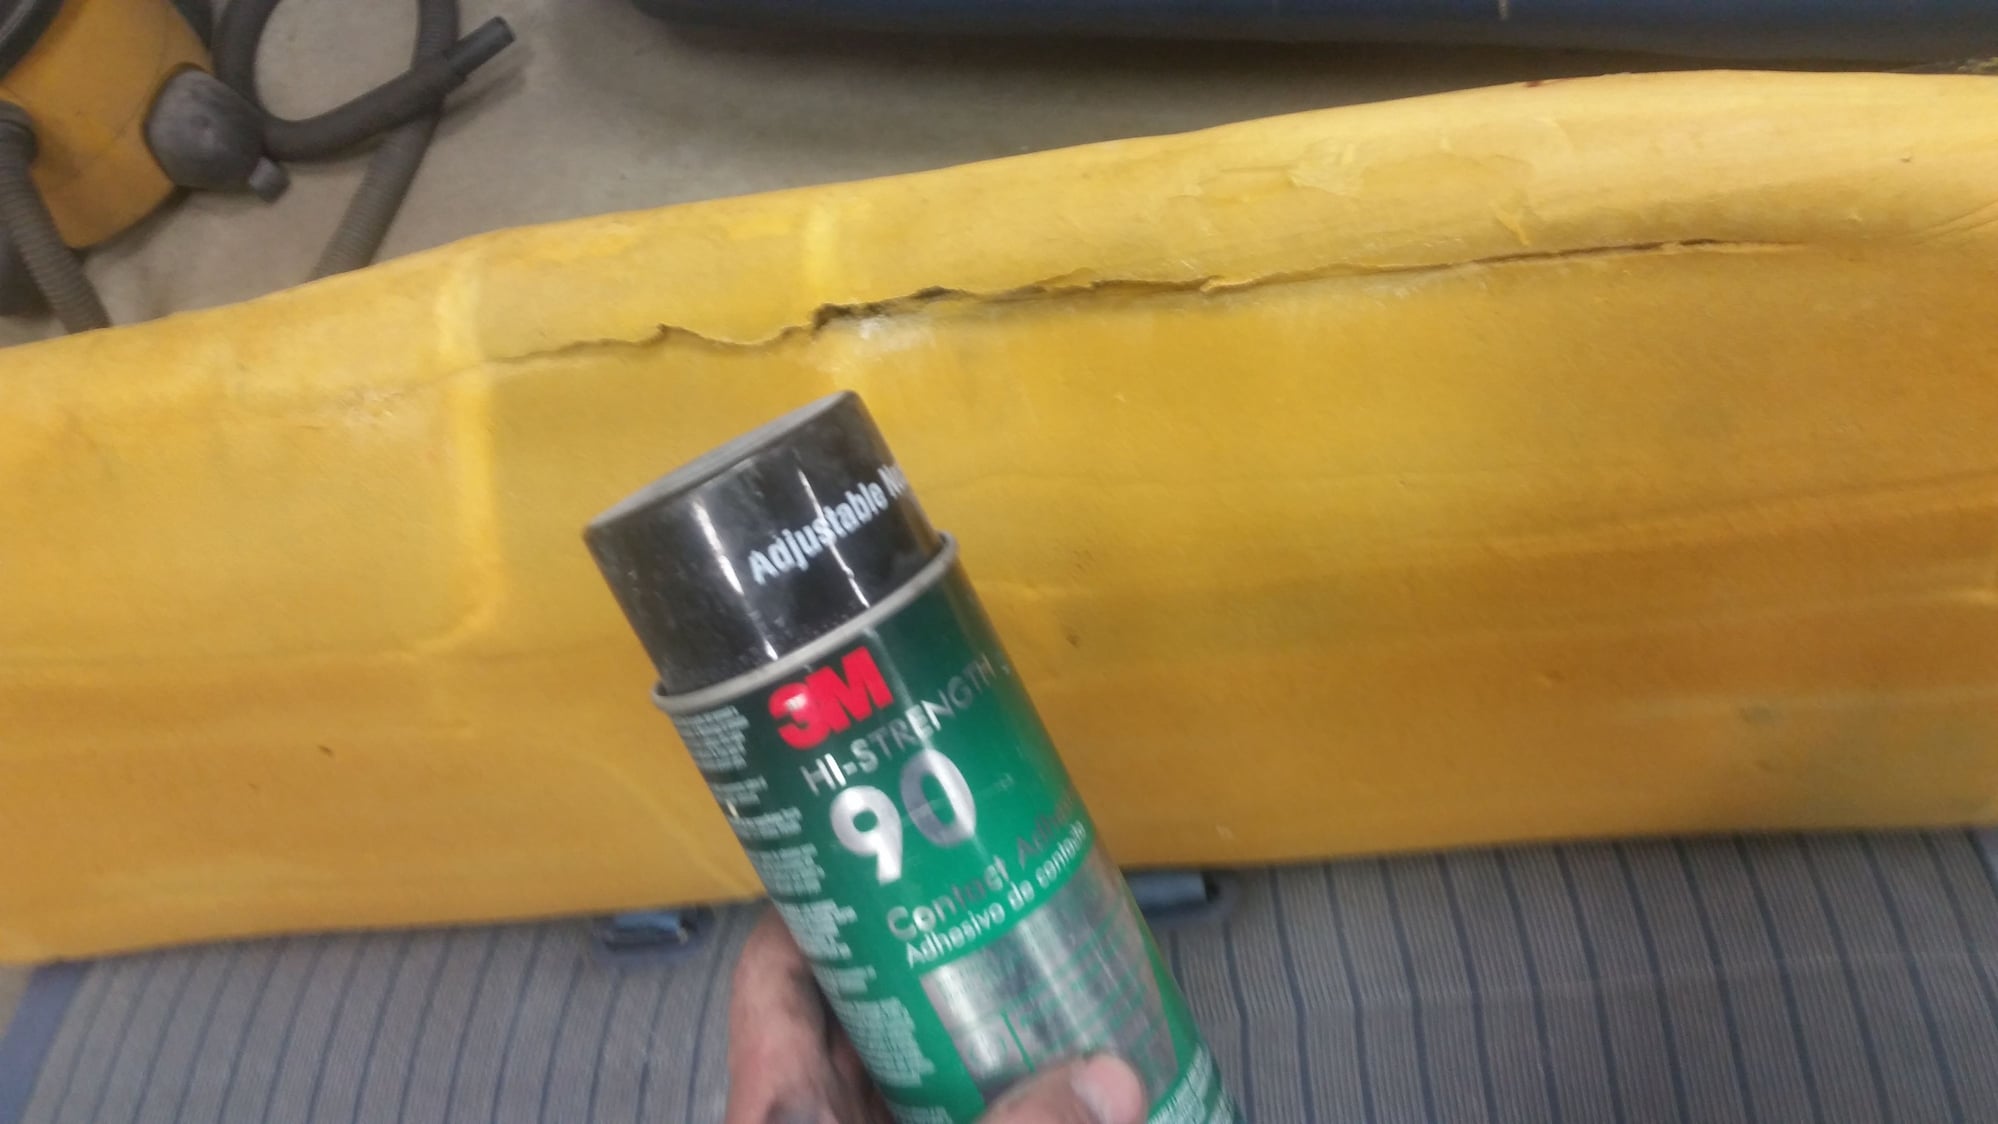
The seat foam i glued back togetjer with contact cement
Flash didnt catch it well but the interior is assembled!
 
  #69  
Old 01-23-2018, 07:04 AM
bart f-350's Avatar
bart f-350
bart f-350 is offline
More Turbo
Join Date: May 2008
Posts: 513
Received 9 Likes on 9 Posts
You do really a neat job there!!!
Dang, I wish I could spraypaint like you can!
 
  #70  
Old 02-04-2018, 02:22 PM
03wr250f's Avatar
03wr250f
03wr250f is offline
Cross-Country
Join Date: Jan 2018
Location: Moscow, ID/ Montana
Posts: 81
Received 9 Likes on 5 Posts
Man that thing looks really good! I especially love how clean those door jams are, and also how beautiful that rear window looks. Some superbly qualified person must have installed it!! LOL
dang man that sucks on your wheels, I was going to ask you when the heck you were gonna get some.
 
  #71  
Old 02-07-2018, 11:52 PM
fordtruckman838's Avatar
fordtruckman838
fordtruckman838 is offline
Senior User
Thread Starter
Join Date: Nov 2003
Location: Saint Maries Idaho
Posts: 298
Likes: 0
Received 0 Likes on 0 Posts
Originally Posted by 03wr250f
Man that thing looks really good! I especially love how clean those door jams are, and also how beautiful that rear window looks. Some superbly qualified person must have installed it!! LOL
dang man that sucks on your wheels, I was going to ask you when the heck you were gonna get some.
Superbly qualified? Naw, it was some hobo off the street that I offered beer and pizza to if he would lend a hand. Sucks for him, he only ended up with a beer. Lol
 
  #72  
Old 02-09-2018, 08:51 PM
wookster's Avatar
wookster
wookster is offline
New User
Join Date: Jun 2015
Location: Perth, Western Australia
Posts: 7
Likes: 0
Received 0 Likes on 0 Posts
Love the detail and workmanship you have done with your truck... you have even answered some smaller questions I had around the turbo fitment, as I will need to raise my cab as well

I cannot wait to see what the new build motor will be for "stage 2" of your build... please keep us all in the loop on that progress .
 
  #73  
Old 02-10-2018, 01:05 PM
fordtruckman838's Avatar
fordtruckman838
fordtruckman838 is offline
Senior User
Thread Starter
Join Date: Nov 2003
Location: Saint Maries Idaho
Posts: 298
Likes: 0
Received 0 Likes on 0 Posts

I ended up having to trim the hood latch 1/2 inch or so to allow clearance between it and the AC condensor The one on the right is now on the truck, the other is for comparision.

I modified it a bit more after this pic, it now clears with a "tiny" bit of room


I didnt like the grille having silver on it, so I taped off the chrome and painted it the same satin black as the remainder of the vehicle.

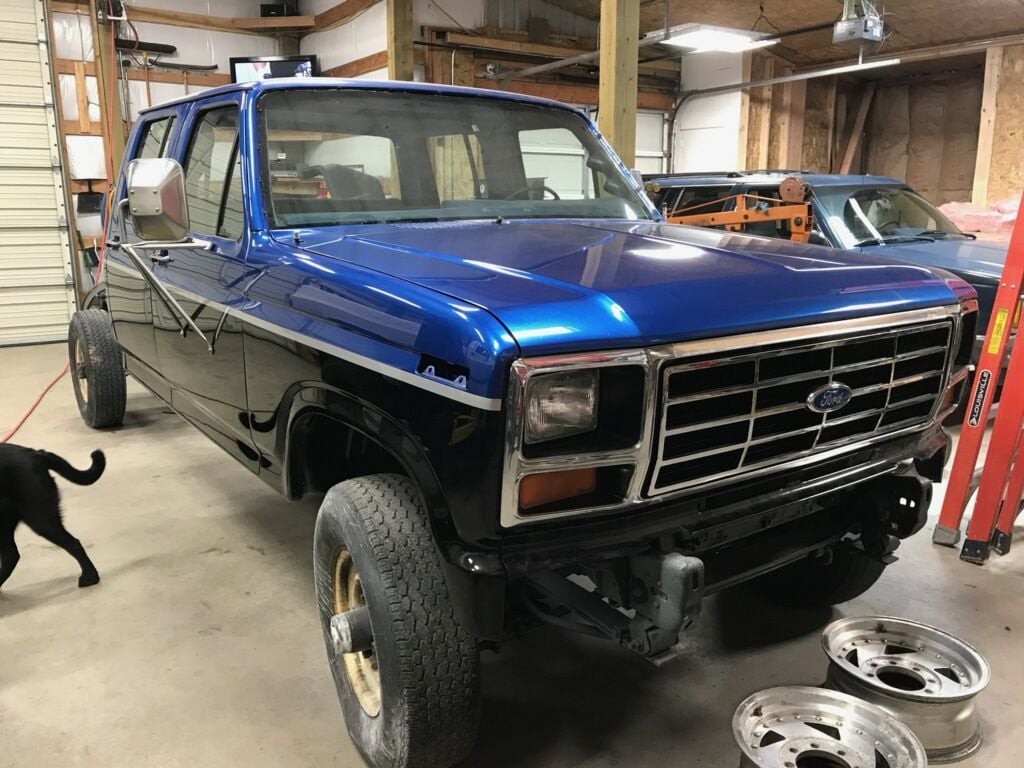


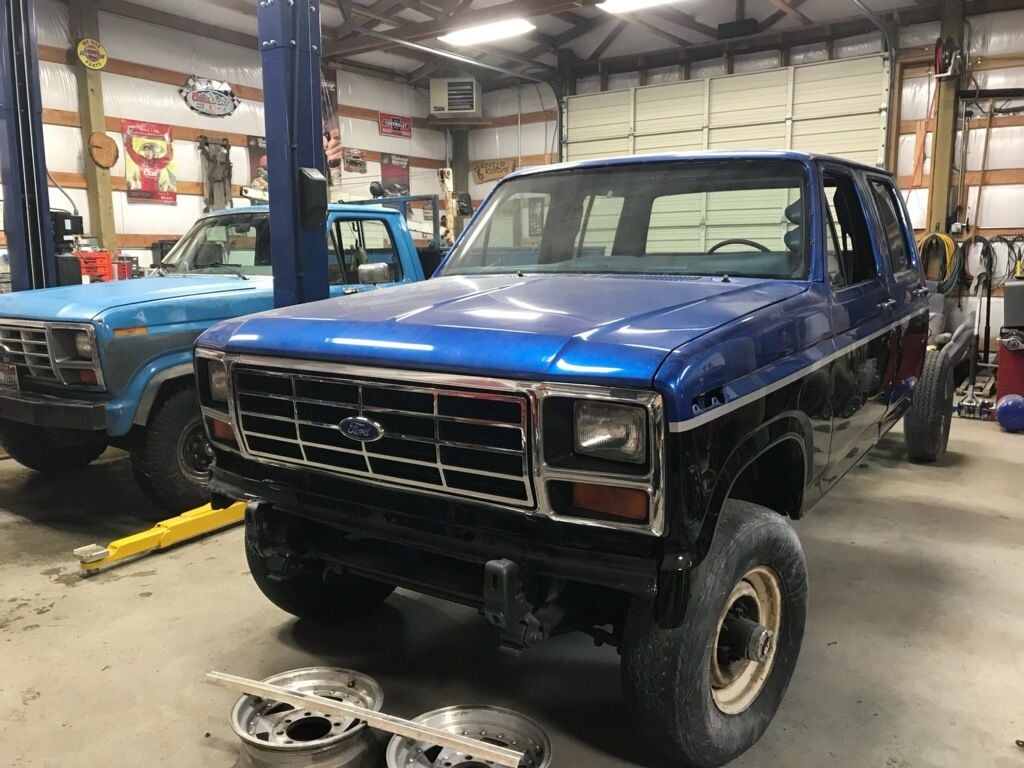
There were some slight miscalculations made.... I forgot about the clearance for the lower valance. When I tried to put it on, it and the ac condensor tried to occupy the same area... I managed to give it slightly more of a bend on either side, which was enough to allow it to fit.. Barely...


I did an initial mockup of the bumper with cardboard, currently I am working on designing it in Solidworks, afterwhich I can cut it on a cnc plasma, bend it, and weld it together.


My light bars also came in!
 
  #74  
Old 02-10-2018, 01:20 PM
fordtruckman838's Avatar
fordtruckman838
fordtruckman838 is offline
Senior User
Thread Starter
Join Date: Nov 2003
Location: Saint Maries Idaho
Posts: 298
Likes: 0
Received 0 Likes on 0 Posts
Originally Posted by wookster
Love the detail and workmanship you have done with your truck... you have even answered some smaller questions I had around the turbo fitment, as I will need to raise my cab as well

I cannot wait to see what the new build motor will be for "stage 2" of your build... please keep us all in the loop on that progress .
Thanks! Glad I was able to help on a couple of points!

.
 
  #75  
Old 03-21-2018, 06:41 PM
fordtruckman838's Avatar
fordtruckman838
fordtruckman838 is offline
Senior User
Thread Starter
Join Date: Nov 2003
Location: Saint Maries Idaho
Posts: 298
Likes: 0
Received 0 Likes on 0 Posts


Well, it has been a bit since I have made any updates. But I am currently in the process of buying a house so the bed and bumper have had to take a back-burner for now. To make the truck drivable I put the factory box and bumper on last Friday and so far have about 500 miles on it. Currently it is running great, making about 18 mpg and pulls hard. Best estimate of power would be similar to a chipped last Gen 7.3 powerstroke. It looks a bit funny with the mismatched bed but it is sure nice to be driving it.


Quick Reply: The CrewCab Project


All times are GMT -5. The time now is 05:37 AM.