When you click on links to various merchants on this site and make a purchase, this can result in this site earning a commission. Affiliate programs and affiliations include, but are not limited to, the eBay Partner Network.
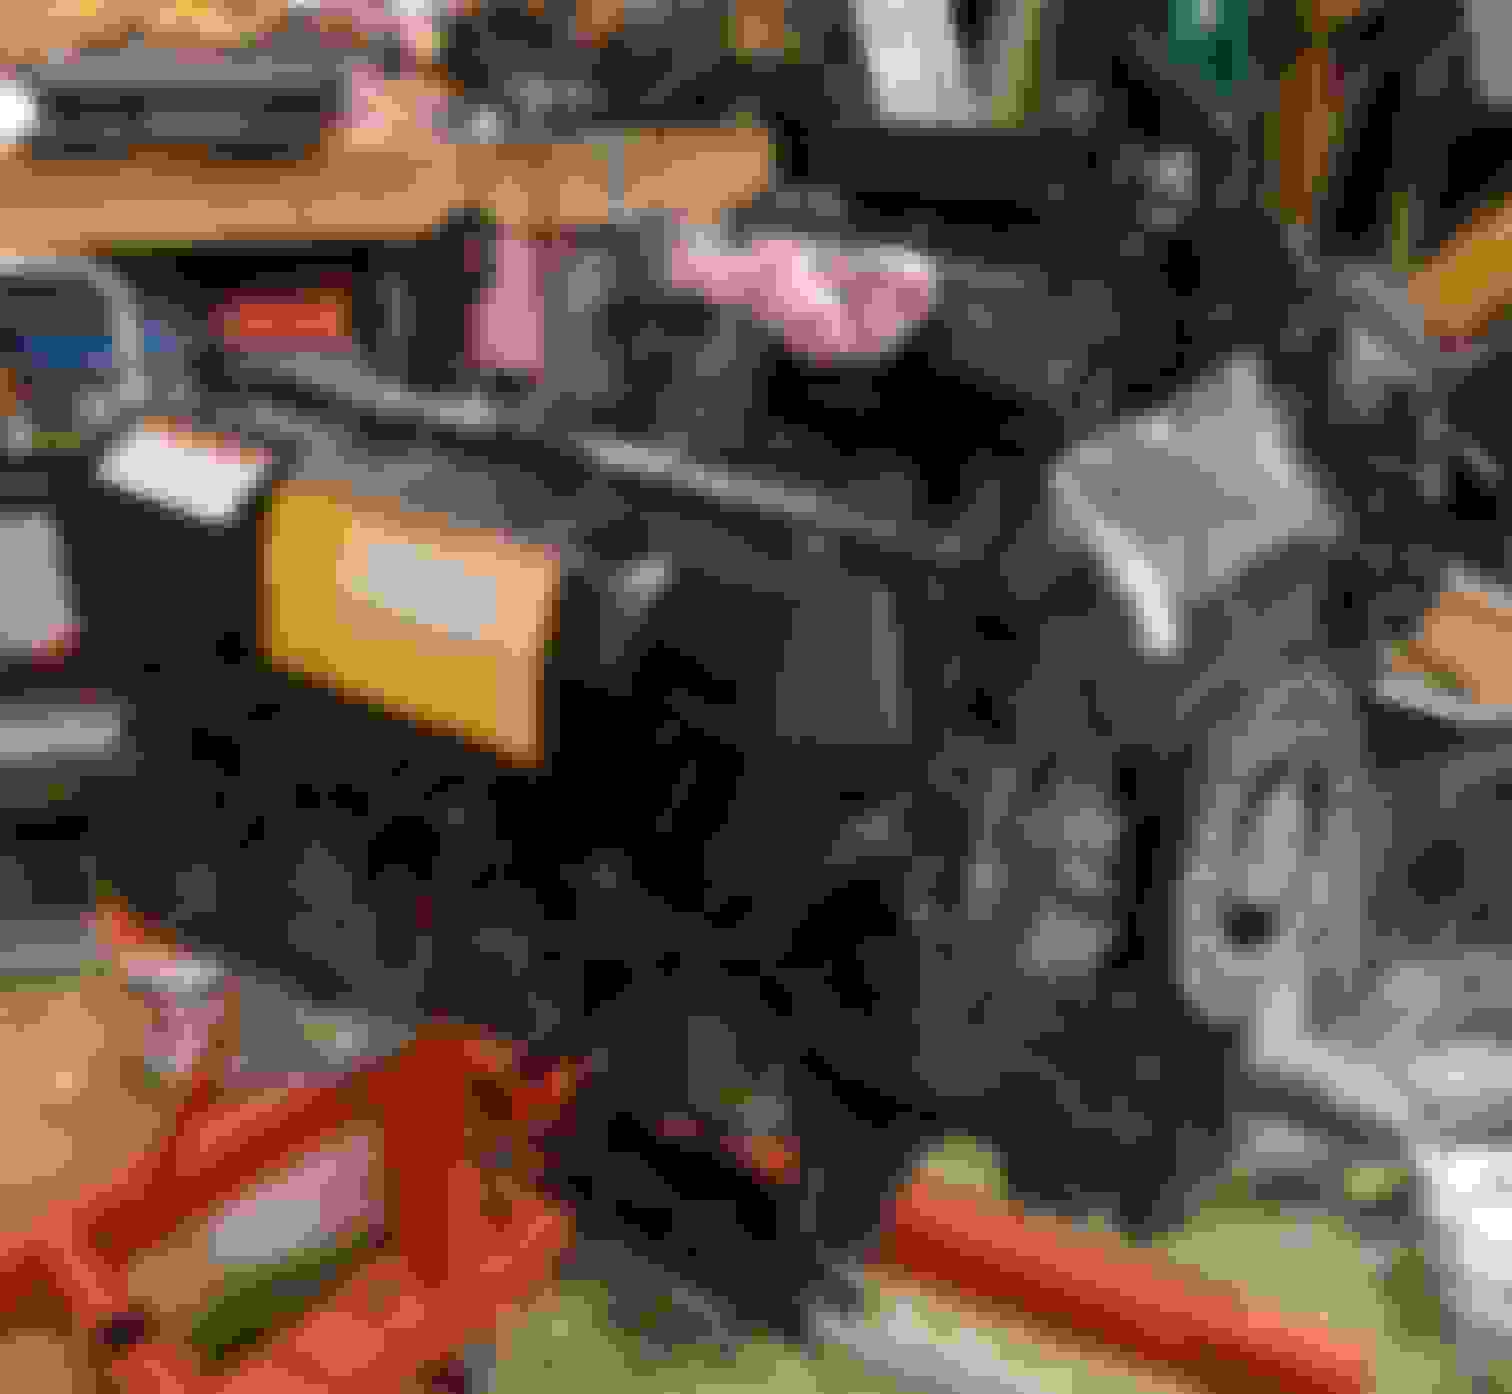
Installed the rear main seal last night with the install tool from Freedom Racing.
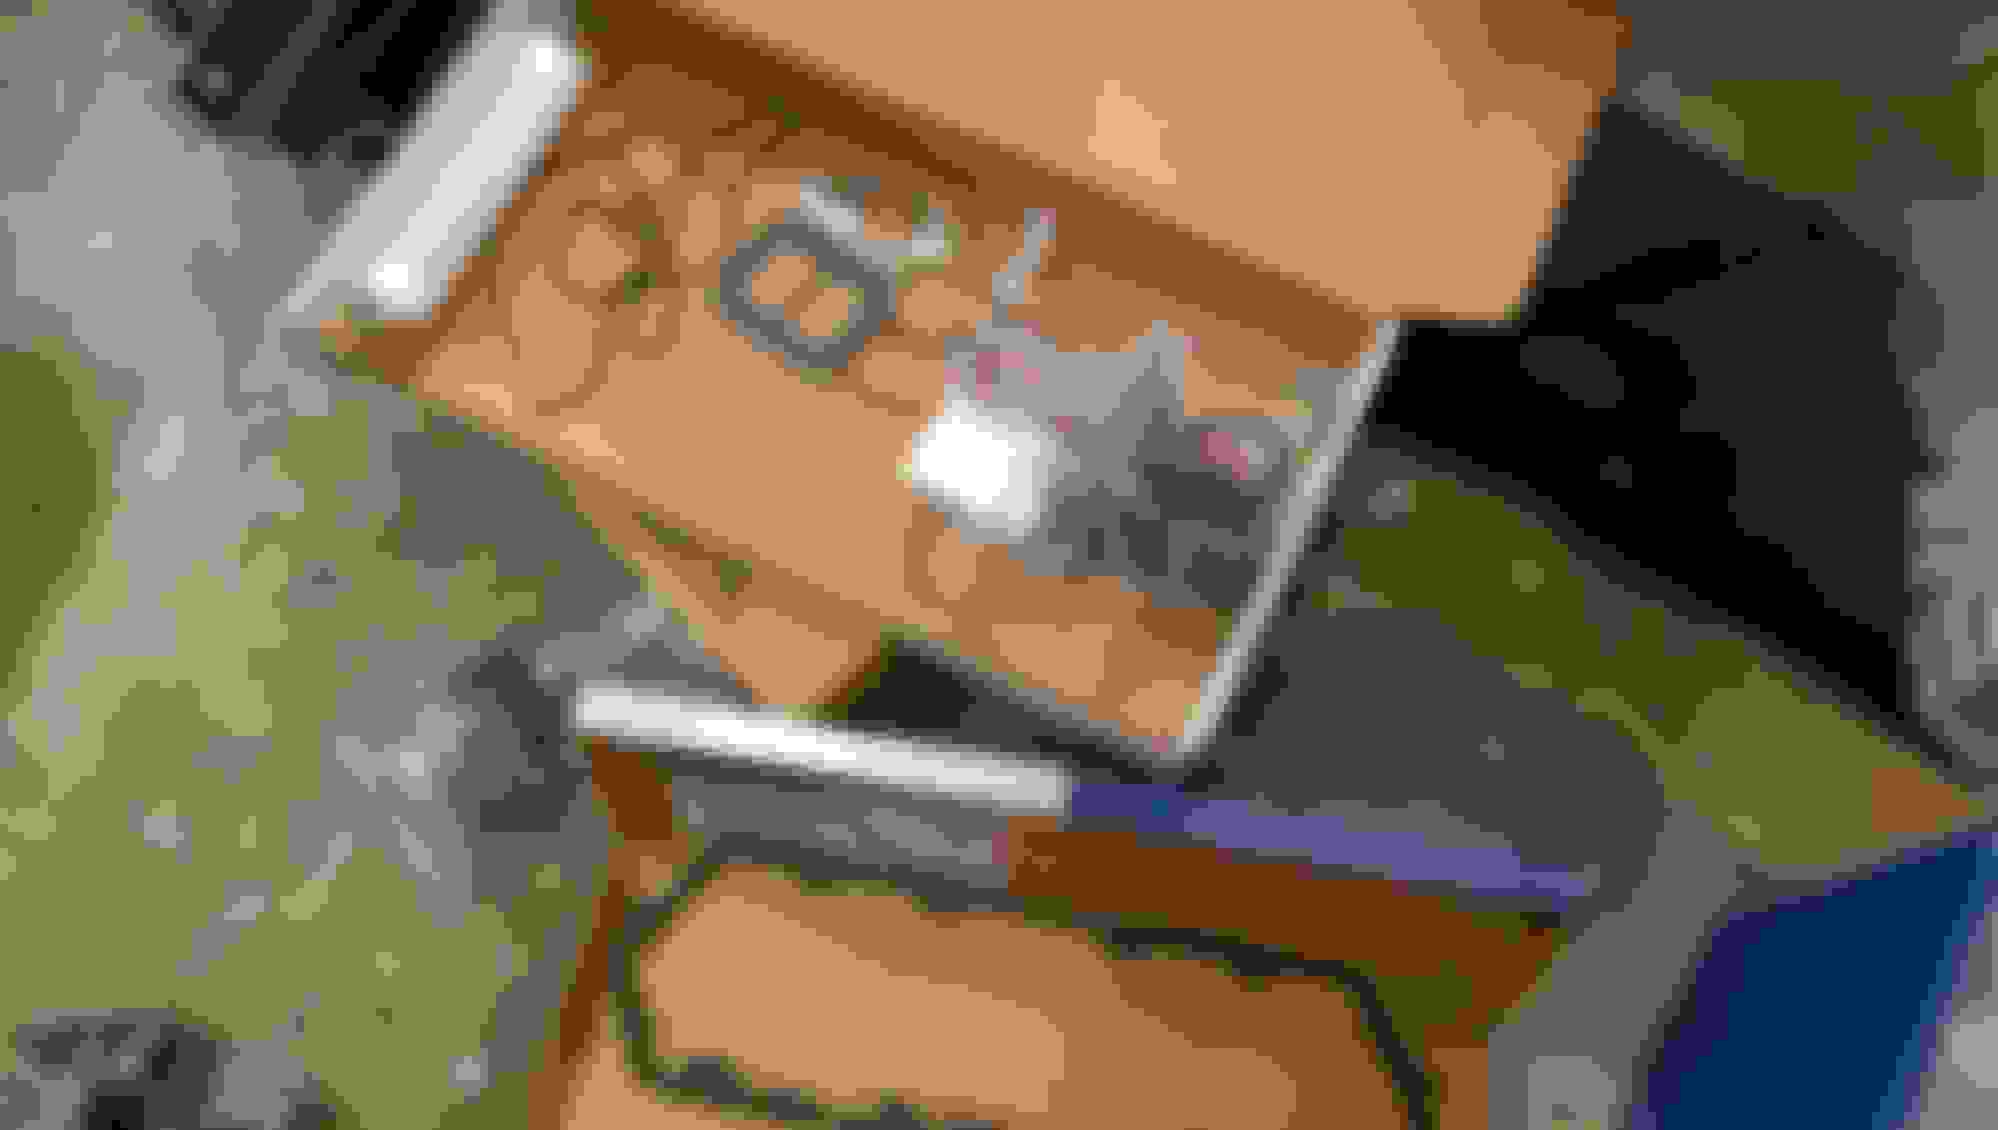
Tools and parts ready to go:
Installed and adapter on:
The seal came with a paper gasket that I didn't use. Just grey rtv spread on the flange. I used Loctite 515 on the wear ring.
I ran into a couple of issues during the install. First, the wear ring went on slightly crooked at first and the tool stopped tightening. I removed and reinstalled the tool and then the ring straightened out went on easily. Second, when the tool stopped tightening I pushed the seal forward off of the wear ring. Getting it back on the ring, which was stuck on the crank, wasn't easy. I pulled the seal off completely and then pushed it back on carefully. Everything looks good to my eyes.
I followed DieselTechRon's example for the install:
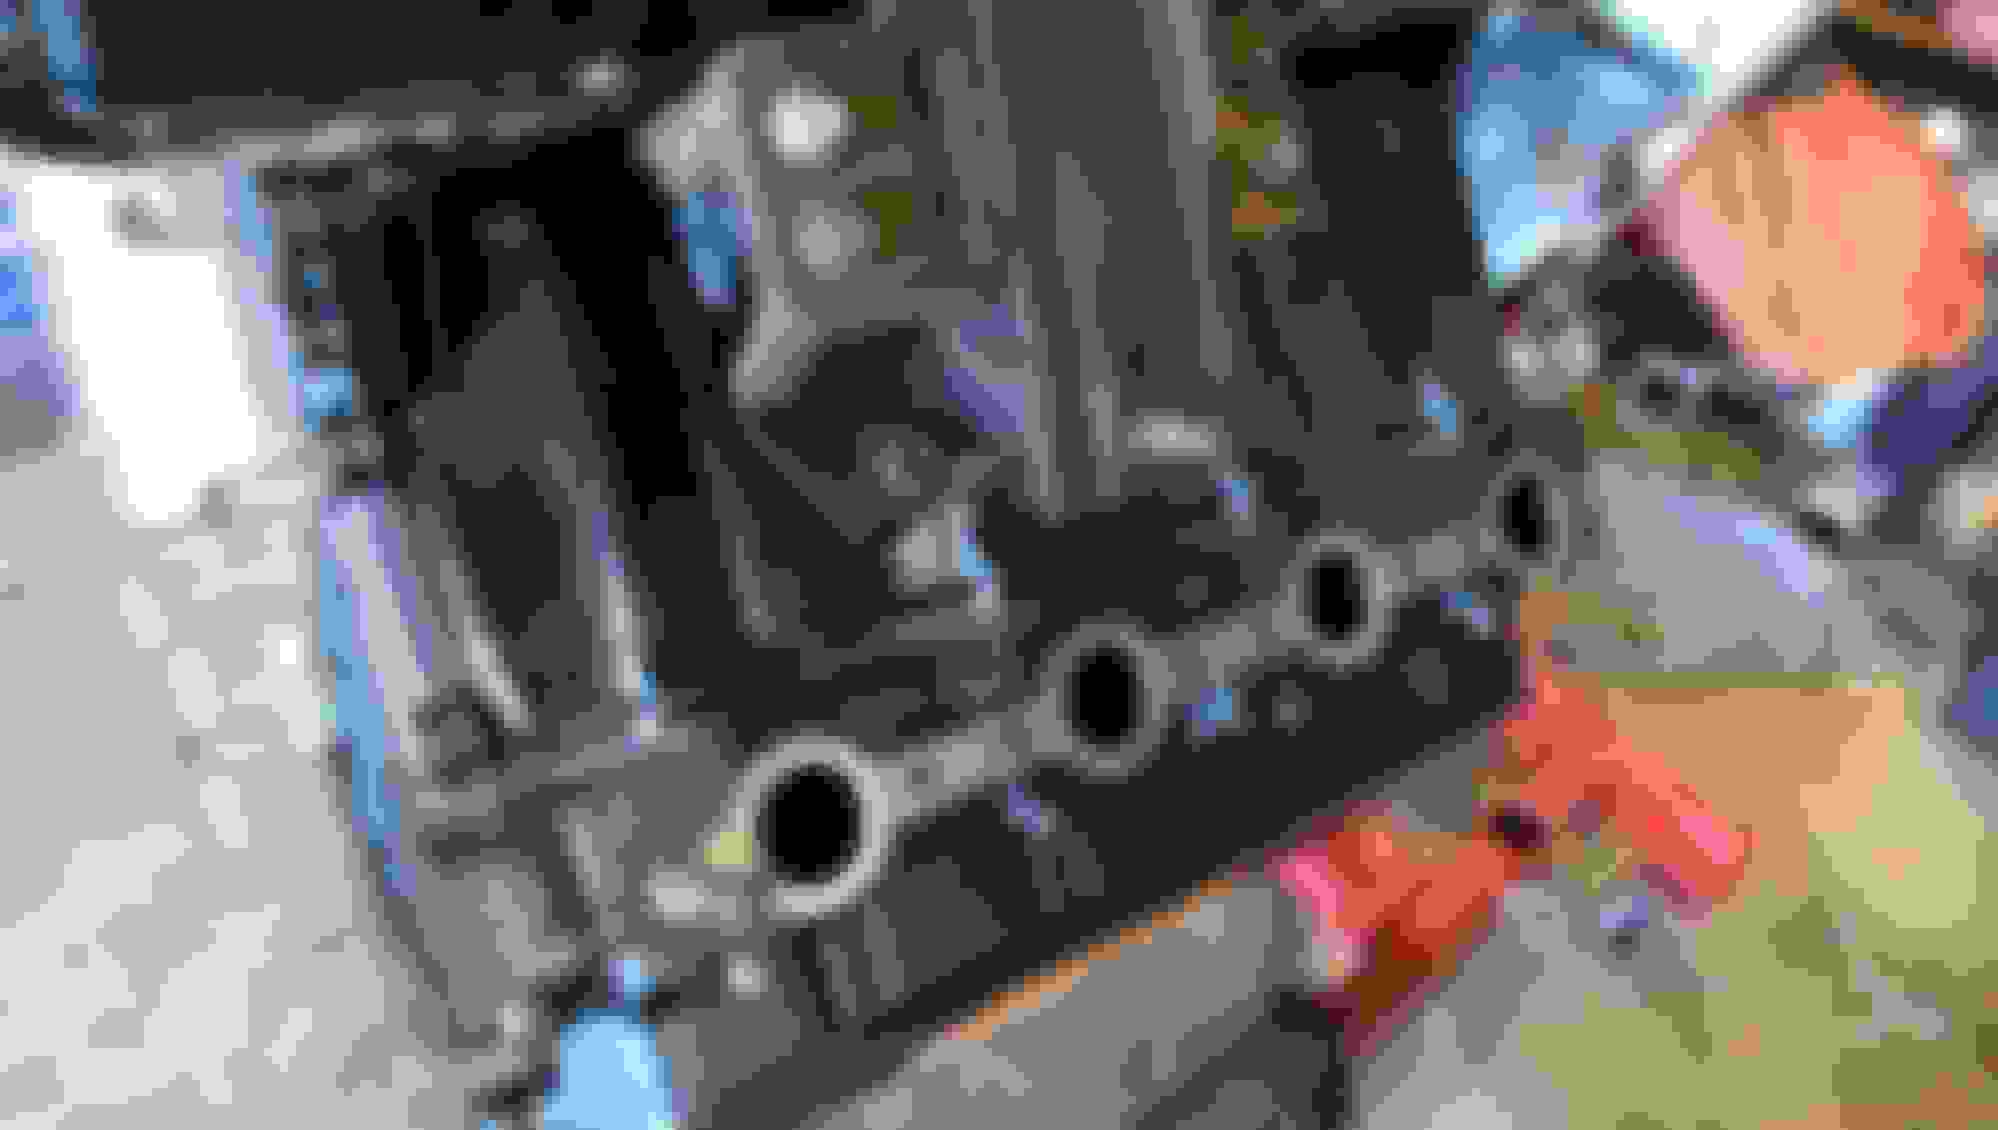
Installed the injectors, glow plugs, valve covers and intake plenums:
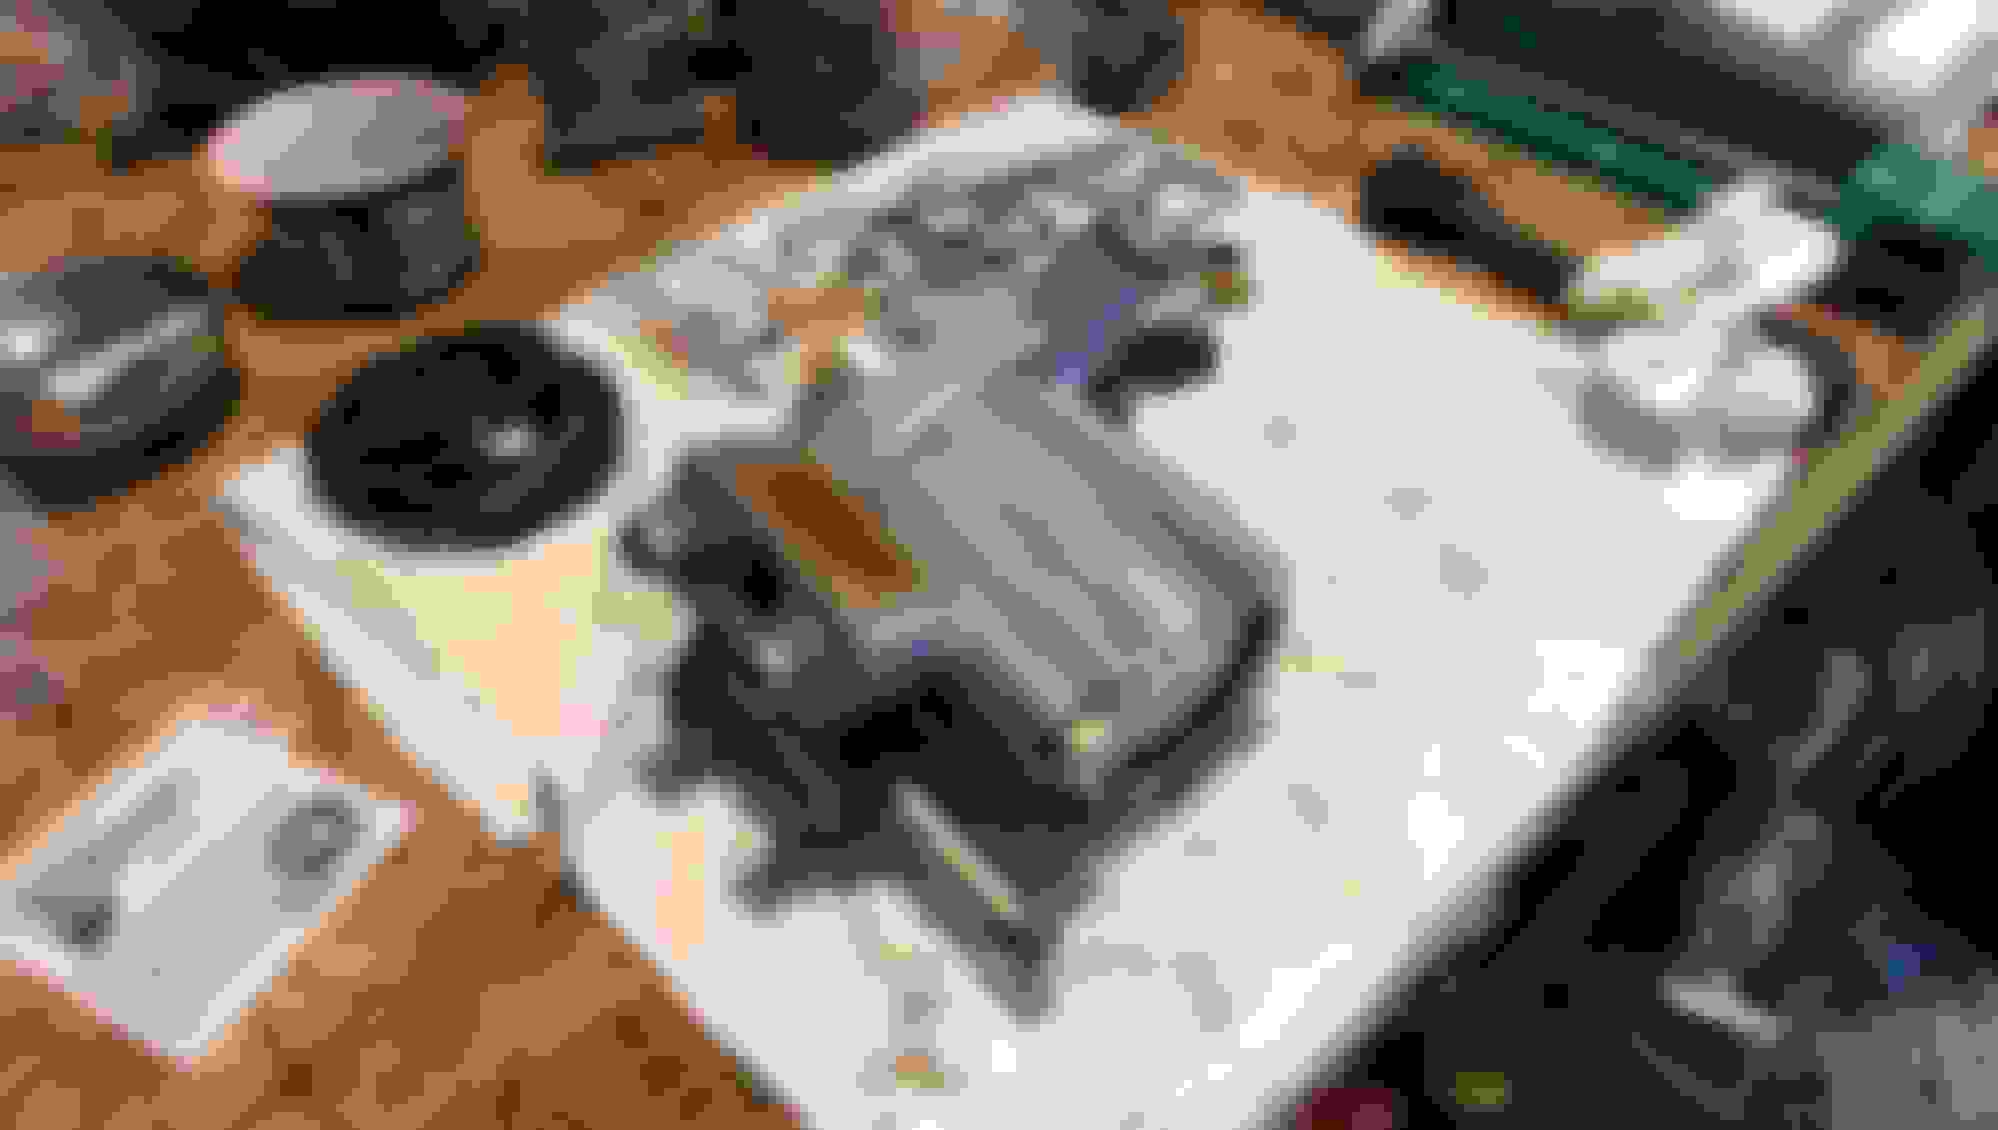
The kit County Auto ordered came with all new seals, gaskets and Mellington LPOP:
It didn't come with new under valve cover harnesses. I used the old harnesses but now I'm second-guessing that decision. The clips that hold the harness to the gasket were brittle and broke on installation. I'm afraid they will wiggle off over time. At nearly 250k they're probably near the end of their life anyway. I think I'll order 2 new ones from RiffRaff.
Bought new exhaust manifold bolts from RiffRaff. I chased the holes with a 10x1.50 tap coated in cutting oil, and the bolts were still hard to install. On the driver's side I think I'll try cleaning the holes with engine cleaner after I chase them:
Bought and installed 2 plenum inserts from RiffRaff for added security:
Are you going to hot-torque those injectors once you get the motor back in?
I've never heard of hot-torquing. I assume that means torquing with the engine at operating temp. Is this recommended? Man I hate getting that driver's side cover off when the engine's installed. I'd rather not go through that again.
I've never heard of hot-torquing. I assume that means torquing with the engine at operating temp. Is this recommended? Man I hate getting that driver's side cover off when the engine's installed. I'd rather not go through that again.
Yup, highly recommended. Install engine without valve cover, start it and let it idle to temp, and retorque
I torqued mine down to 120 in-lb cold. I read about it on here, and a few people recommended that I hot-torque them. I did and some of the injectors took another half-turn or a touch more to get back to 120 in-lb. That's the way they are going to be seated 98% of the time when the engine is running, so I would do it again if it were my engine. You don't want a loose injector - because then you'll have to pull the covers again anyway AND fix a problem.
The passenger side was the hard one to remove for me. I thought the driver's side was much easier to reach. But neither side is particularly joyful; I agree with you on that. I took my time and didn't have any issues though. If you were pressured to have it apart and back together in a day then I can see it being a lot more of a PITA.
Note to self, I checked the torque on the head and rock arm bolts before installing the covers. They were in spec.
Installed the front cover, oil pickup tube and oil pan over the weekend:
The gasket kit didn't seem to have a gasket for the pickup tube. I reused the old one with a bit of Ford sealant around it.
This seemed like a good time to install an EGT probe, so I drilled and tapped the driver's side manifold before installing. Forgot to take a pic. I'll post one next time.
I went through the box of gaskets before throwing it out. To my surprise, there were 2 exhaust manifold gaskets on the bottom of the box, under some cardboard. From everything I've read online, I thought the manifolds go on without any gasket. The machine shop said the aftermarket includes the gaskets and he recommended installing them.
So off came the manifolds and the gaskets went on before reinstalling. Torqued the bolts to 45 ft/lbs:
EGT fitting installed. I'll install the sensor once the engine's in:
Front bits installed. The kit came with a new Melling LPOP. I installed a new water pump about 20k miles ago, so the old went back on with a new gasket. Installed new harmonic balancer with RTV on the washer. I think I'll have the water pump pulley bead blasted, to try to reduce belt slippage and squeal. I saw one of the Diesel mags had done that on a rebuild.
I'm not sure how others hold the crankshaft to keep it from spinning while tightening the balancer. I bolted a 1x3 with extra long fine thread 12m bolts. My torque wrench only goes to 150ft/lbs, so I used a breaker bar to tighten the bolt and extra 1/4 turn.
Started to replace the seals in the HPOP. I didn't notice the RiffRaff kit doesn't come with the non-serviceable plug when I ordered it. I debated whether the spend the money and time, but decided I should replace it while the HPOP is out. Plug should be here on Saturday.
The re-torque/hot torque I think is due to the injector "settling in" to its respective holes. Seams to me the only way to get them to settle in is to run them hot and maybe the shaking under pressure "seats" them. The Ford dealer here hosed me on not taking this step.
If I were you I would source the oil pick tube gasket, you will be kicking later when you have to remove the engine due to a "no start no low oil pressure"
If I were you I would source the oil pick tube gasket, you will be kicking later when you have to remove the engine due to a "no start no low oil pressure"
I think the kit came with the gasket, but it was slightly too large. The original gasket was in good shape and I used a bit of RTV with it. I don't think it will leak. We'll see.
And unfortunately nicked the shaft with the vice grips. I sanded down the shaft with emery cloth and just replaced the o-rings following RiffRaff's directions. Hopefully the small nicks don't cause a problem.
When I went to install the coolant fitting on the passenger side I discovered a pipe stuck in the threads. My guess is the shop installed the fitting to paint the block and then didn't notice it broke off when they removed it. Quick trip to Ace to buy a remover and the pipe was out:
Installed the Dorman up-pipes. The complaints I've read about these is that the bolt holes are sometimes too shallow and the bolt bottoms out. I didn't have that problem. I put some copper antisieze on the threads just to be safe.
Rezvani's Latest Post-Apocalytic Monster Is a Ford F-150 Raptor Underneath
Slideshow: Called the Fortress, the 850-horsepower pickup combines Raptor underpinnings with military-inspired features, survival equipment, and a starting price of $285,000.