When you click on links to various merchants on this site and make a purchase, this can result in this site earning a commission. Affiliate programs and affiliations include, but are not limited to, the eBay Partner Network.
Great write-up, PapaBear. Thank you for taking the time and trouble to do it, much appreciated.
I was going to ask what made you decide to get undersized bearings...then I got to the part where it didn't quite work out (oops). Although it would mean having the truck static for a while longer, it might save some aggravation to pull a bearing first to verify the size before ordering new ones.
Great tip on loosening up the accessory drive belts!
I was going to ask what made you decide to get undersized bearings...then I got to the part where it didn't quite work out (oops). Although it would mean having the truck static for a while longer, it might save some aggravation to pull a bearing first to verify the size before ordering new ones.
Great tip on loosening up the accessory drive belts!
A member suggested the .001 undersize in my initial thread on low oil pressure. As the crank has (at least) 160k on it, it sounded like a reasonable thing to do. Even if I had pulled the bearings before buying new, I still wouldn't have had the crank diameter, so either way it was hit-or-miss
I had read in other places about loosening all the main bolts, that the crank would then be suspended by the timing chain. When I was having trouble with number one, I noticed that the timing chain was not taut. A few minutes later, it occurred to me that it was being held by something else...
And here I am complaining about needing to replace my oil pan gasket......I am glad to see you can do it without dropping the starter. Nice pics and write up.
Last Sunday afternoon, I went to NAPA to order standard-sized main bearings. They didn't have them in stock, nor did they have con-rod bearings. So I ordered them up from Summit, and also a one piece pan gasket, to get free shipping
This morning I pulled the bearings out that I worked so hard last weekend to install. They were .001 under, and were just too tight. I made a new bearing removal tool for the job, and had them out lickety-split
I then installed 1-4 mains with no problem. I found it helps to wear gloves (heavy denim) to work the bearings in. The only place to push is on the end, and that wears out the end of your thumb pretty quick
Loosening the accessory belts made a world of difference on the front end. The front bearings were relatively easy to install. You can't really lower the back end, so 4 and 5 were a little tougher
My big problem now is the upper-half of the split (non-rope) rear main seal. I just can't get the darn thing out. I tried driving it out first, but was only damaging the rubber. So then I threaded a screw into the rubber to pull it out. That only succeeded in damaging that end more
So I reviewed the message board suggestions, and watched some more videos that made it look so easy. I didn't want to use a center punch, like the video, so I ground down a small Phillips to drive the seal out from the other end. Wouldn't budge. So I went back to the punch to make an indentation in the seal, and screwed a screw into the seal. When I pulled the screw, the head came off. When I pulled what was left of the screw, it broke off at the block. Now I'm stuck!
So, before I procure a hoist to pull the engine, does anybody have a suggestion as to how to get the rest of the seal (and screw) out?
Bearing removal tool. And some grease to hold the tool in the hole
Engine rotation tool. 9/16 to tighten up the p/s pump, and the long thing to turn the fan
Last Sunday afternoon, I went to NAPA to order standard-sized main bearings. They didn't have them in stock, nor did they have con-rod bearings. So I ordered them up from Summit, and also a one piece pan gasket, to get free shipping
This morning I pulled the bearings out that I worked so hard last weekend to install. They were .001 under, and were just too tight. I made a new bearing removal tool for the job, and had them out lickety-split
I then installed 1-4 mains with no problem. I found it helps to wear gloves (heavy denim) to work the bearings in. The only place to push is on the end, and that wears out the end of your thumb pretty quick
Loosening the accessory belts made a world of difference on the front end. The front bearings were relatively easy to install. You can't really lower the back end, so 4 and 5 were a little tougher
My big problem now is the upper-half of the split (non-rope) rear main seal. I just can't get the darn thing out. I tried driving it out first, but was only damaging the rubber. So then I threaded a screw into the rubber to pull it out. That only succeeded in damaging that end more
So I reviewed the message board suggestions, and watched some more videos that made it look so easy. I didn't want to use a center punch, like the video, so I ground down a small Phillips to drive the seal out from the other end. Wouldn't budge. So I went back to the punch to make an indentation in the seal, and screwed a screw into the seal. When I pulled the screw, the head came off. When I pulled what was left of the screw, it broke off at the block. Now I'm stuck!
So, before I procure a hoist to pull the engine, does anybody have a suggestion as to how to get the rest of the seal (and screw) out?
New bearing clearance right about .002"
perfect bearing clearance. Nice job.
As for the rear main seal. They can get stuck in there in there pretty good.
You will have to drop the crank down a bit to pry the seal loose from it's seat. If it's an auto it's not a big deal. As you can usually loosen the bolts on the bell housing remove the torque converter to flex plate nuts and then slide the trans and torque converter back enough to clear the flex plate. You may have to pull the starter also. You will then have to loosen the other 3 main caps, it will allow you drop the crank and give you enough clearance to pry the seal loose from it's seat. Use a small flat blade screwdriver and insert it between the seal and the block this should pry it loose.
If it is a standard you are better off pulling the tranny or the engine. If you back the tranny out and then try to drop the crank with the flywheel and clutch pack attached you run the risk of tweaking the crank.
Yeah .... you may even be able to just push the TC far enough back after removing the TC-FP bolts. Maybe loosening the trans bell housing bolts a few turns will help.
Definitely before you drop one end of the crank much, loosen all main caps a little. Don't want to angle those crank journals inside those new shells much.
Your latest problem is why I never even tried to R&R the top half of the rear main seal. I only did the lower half.
Your latest problem is why I never even tried to R&R the top half of the rear main seal. I only did the lower half.
In retrospect, I should have just left the top half alone. But I was on a roll...
I think I've spent enough time fighting stupid things that I'd probably be time ahead had I just pulled the engine. Not money ahead, of course, as I don't have a hoist or stand. Yet...
Anyway, thanks to everybody for the advice and support. If I can't get the seal out next Saturday, I'll look into pulling the engine
So yesterday I got a hoist and stand. Pulled the engine, pulled the hood, and got the engine on the stand.
So today, with a fresh start, I rolled the engine (in the stand) and took a look at the stuck rear upper main seal. Tryring to avoid pulling everything apart, I managed to raise the crank just a bit-but sufficient to get a pick into the broken screw and work it out. Back to the other side with a soft rod, and had the old seal out in just a few minutes
Then I started looking hard at the con-rod bearings and decided to just pull the crank-after all, it wouldn't be much more work, and would likely come out better. I pulled the main caps, and all the con-rod caps and put booties on the exposed threads. Then I rolled the crank out, and put it on the workbench. I sprayed all the oil holes out with carb cleaner. Glad I did, because a wad of crap (shavings?) came out of number one. Blew everything out, cleaned up the con-rods, and installed the top-half bearings. Installed the rear upper main seal, installed the upper mains, and lubed-up the bearing surfaces. Had the kids get on each end of the engine to move the con-rods up and down as necessary, then dropped the crank back in
Installed the con-rod caps and main bearing caps and torqued them down in three stages. Installed the rear main offset by about 3/8" and added a bead of silicone per the diagram in the Chilton manual. Reinstalled the timing chain and cleaned up the cover. Ran out of daylight, so I had the kids help me move the hood to the driveway so it wouldn't fall off the truck, and cleaned up for the day
Bought a timing cover gasket set, a new water pump and some other odds-and-ends
Wrapped the engine in a trash bag until next week
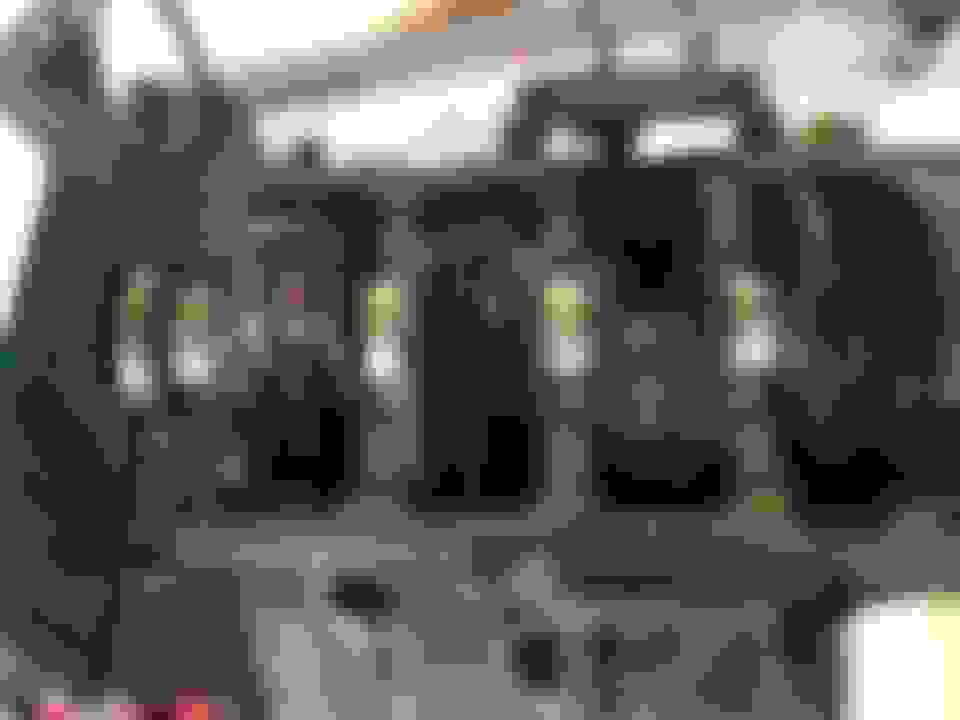
Raised the crank just enough to work the broken screw out
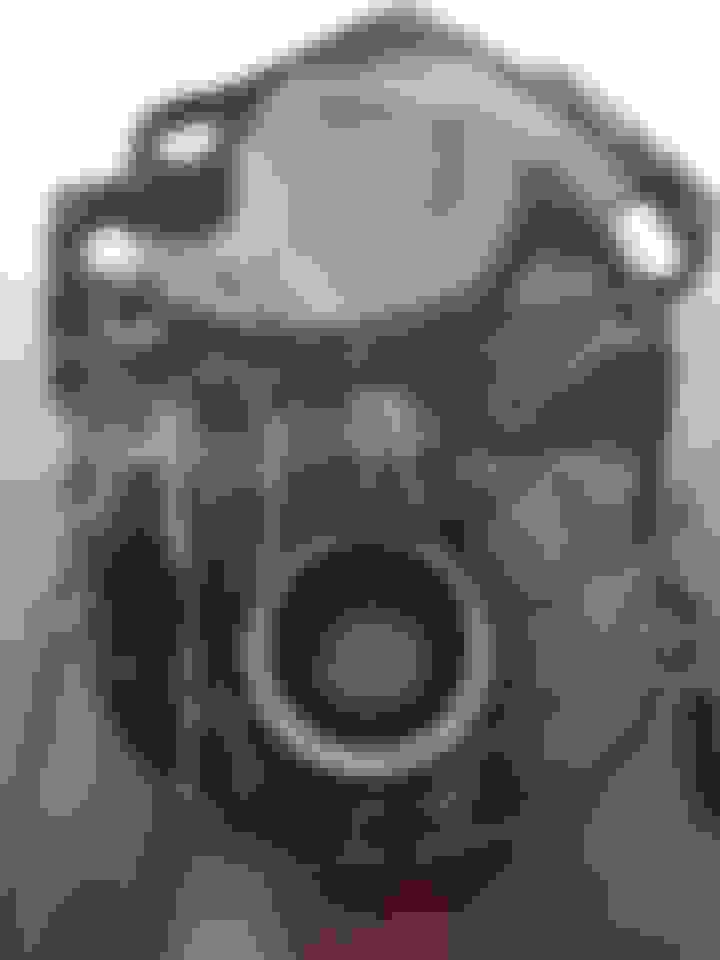
Seal and removal tool
Crank out-you can see what blew out the hole on the cardboard
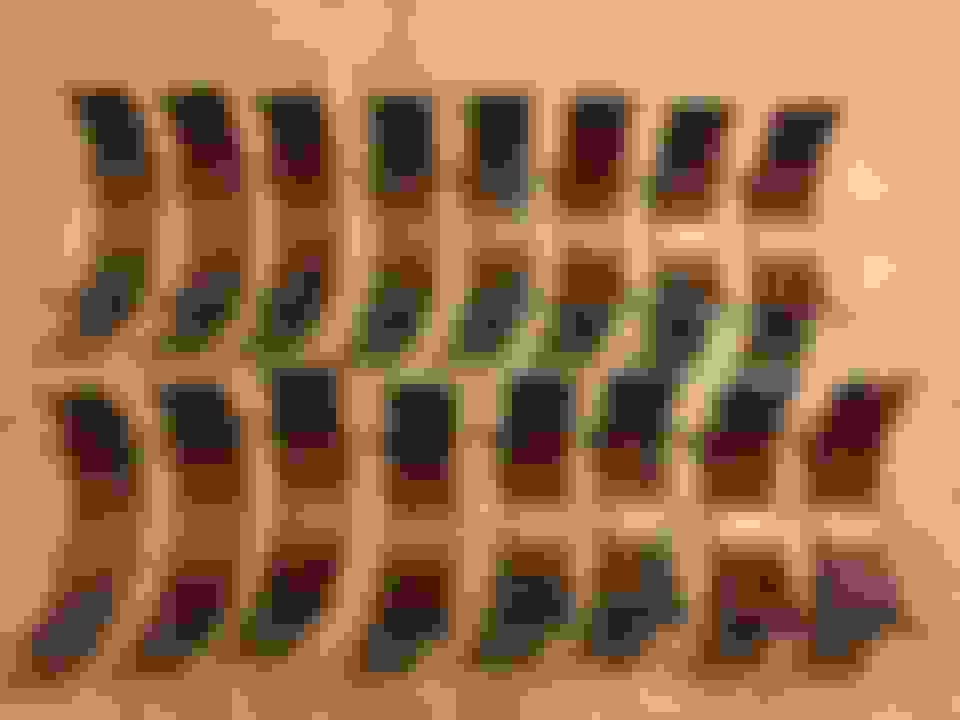
Your rod bearings were worn worse than mine, my rod's lower shells still looked more grey and less copper like. Your mains look pretty much same as mine .... grey up in block and copper in caps .... my worst was the front main lower shell. But then mine only had 75,xxx miles .... but I had driven it a good 700 miles with no pressure showing on electric gage (no knocks, I thought gage sender was bad .... got home after weekend, mech gage showed 4 psi by then).
Might be a good time to put new freeze plugs in since it's out and belly up? Likely if always had good coolant they are OK, but if anyone ever ran just water ..... I don't know ????
Bought that same exact hoist (shop crane) last year on sale .... nicely made! I also like the engine stand, looks more stable than that three wheeled one I have that's umpteen years old!
I've got one freeze plug that looks really good-it's shiny brass and winks at me. The others are so covered in grease and grime I have no idea how they look. But, that pretty one is a reminder to look at the others. Thanks for the reminder, I'll probably just get a set and change them next week
So far, pretty happy with the hoist. The right rear wheel doesn't want to turn easily, so it's kinda hard to position
The stand is stable enough, but it's really hard to rotate the engine. I had to use a cheater and all my will
Both the stand and hoist were easy to assemble and seem well made. Came with all necessary hardware for assembly and decent instructions
Rezvani's Latest Post-Apocalytic Monster Is a Ford F-150 Raptor Underneath
Slideshow: Called the Fortress, the 850-horsepower pickup combines Raptor underpinnings with military-inspired features, survival equipment, and a starting price of $285,000.