When you click on links to various merchants on this site and make a purchase, this can result in this site earning a commission. Affiliate programs and affiliations include, but are not limited to, the eBay Partner Network.
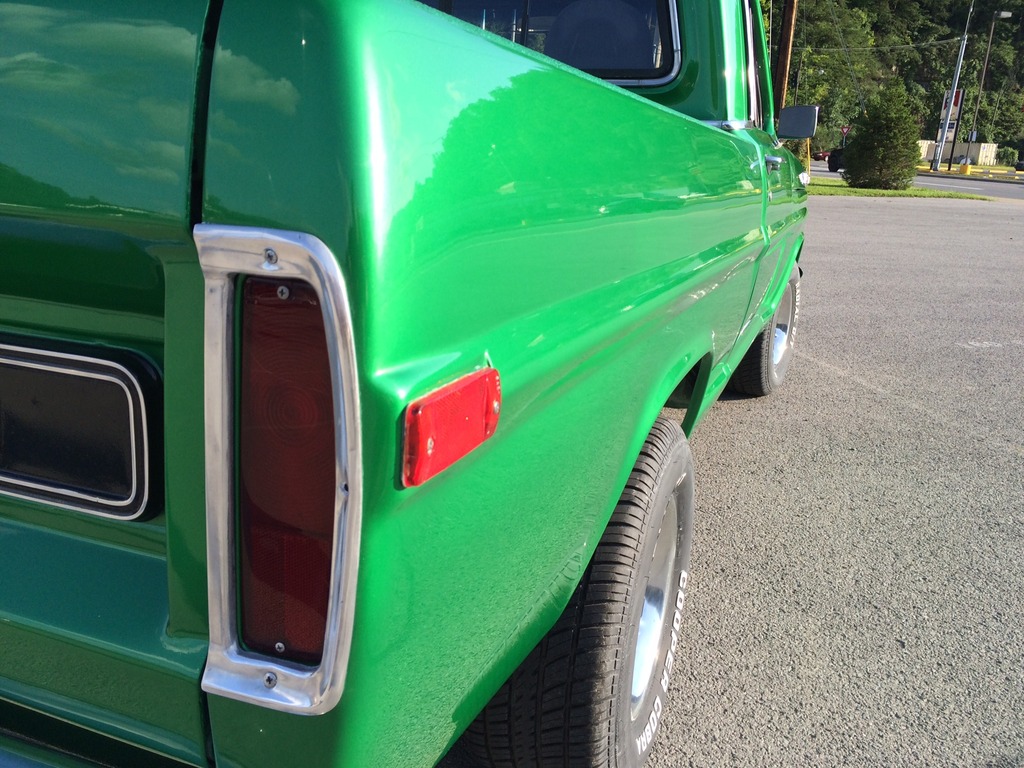
How would you guys go about filling this seam in to have a smooth look? I worried if I do filler it will crack since it flexes a bit. I'm new to doing body work so not sure how much I can get away with.
Interestingly enough, I just asked my hot rod body repair friend about this 3 days ago. Essentially he said this, do not weld the joints because the body twist/roll will eventually crack any welds or the body steel. He said the original design was to allow a flexible joint along the body line and there was some type of seam sealer used to allow for flex without paint cracking. I won't bother to counter or validate his opinions, I'm just relaying his 40 years of bodywork experience.
His opinion actually made me stop & think. I know others have done the seam weld on the box, cab & hood but I have no idea if it held up, aside from it being a trailer queen. I got to wondering just how much/long twist an 8' box would hold up to riding over rough roads in the mountains with a load of wood/camper and doing a bunch of rock-n-roll? I can see NP on the hood, but the box? Hmm? I know I never warped/twisted my box with anything loaded into it so I'm sticking with my body mans opinion.
He said there's something called Rust Mort? that needs to go into the joint to prevent further rusting. We/I failed to follow up on how to rid/seal the rust-mort to prevent further damage. My bad...
Weld it. Grind it. Fill with kitty hair. Finish with quality filler.
The design was NOT to allow a flexible joint. It was made because the stamping methods of the day could not produce a 1 piece bedside. That is also why there is a vertical seam at the rear of the bed. I've welded three of these beds. My first was more than 20 years ago. It never cracked. Here is a picture of my latest one.
Thanks for all the advice guys. I think I will weld it up and take my chances. There is some rust through in the groove I have to take care of anyways. I would think if I did straight filler it would have a higher chance of cracking than a weld but???? Looks slick all smoothed up though!
If you look at that body joint, you will see it's a very wide area where those 2 panels meet. If you have rust, imagine that rust is all the way through that wide area. Is there anything you can do to be sure you've killed it all before you seal it up? Not in my experience. I did everything I could on my 72, sandblast, rust kill, epoxy primer and the correct seam filler. 2 years later the rust was back.
I cleaned out the rust & the liner between the two panels with a hack saw blade the best I could. Then used some swimming pool acid as it was cheap and got a half gal. of it for free so used it and soaked the area, I then hosed it off good then used compressed air to blow dry that area a few times as needed to get all area between the panels etched good.
I then used the body seal sealer with a setup time of 20 minutes then smooth with a wet finger per instructions. This was done 1995 and to this day no rust has returned yet.
I have now removed the 3.5/8" trim an now going to weld/fill the holes switch to the 1.5 side trim moulding as, I never did like the wide trim. But here's a picture a few yrs ago an still no rust in where the two panels meet at the sealed seam. A small build up of dirt that may look like rust but none is there.
As is still today as it will be the last thing, I'll do to it.
Not bad for 20yr+old paint job.
Orich
Probably the difference between living in San Jose and Anchorage,lol.
I welded and smoothed all my seams, it just depends on your personal preference as to what look your going for. One tip if you weld it try not to fill the seam completely full when you weld it, finish filling it with filler. This makes for a lot less grinding, and you can warp metal grinding as quick as you can welding.
For me, I like the bed & hood seams welded over for the smoother clean nicer look like yours Randle.
Orich
Originally Posted by JEFFFAFA
2X. Talk about a seasoned trophy veteran!
Thanks Guys, I take that as a pretty good complement coming from to two of you. To me that is one of the subtle changes that makes a huge difference in looks.
I'll be leading the seams on mine. Less heat, for my level of welding skills, means less chance of warping. Lead is far easier to shape too.
Originally Posted by Ikestang
How would you guys go about filling this seam in to have a smooth look? I worried if I do filler it will crack since it flexes a bit. I'm new to doing body work so not sure how much I can get away with.
Rezvani's Latest Post-Apocalytic Monster Is a Ford F-150 Raptor Underneath
Slideshow: Called the Fortress, the 850-horsepower pickup combines Raptor underpinnings with military-inspired features, survival equipment, and a starting price of $285,000.